So I made a new business card for my design and fab work that turns into a rubber band gun! I've posted the design up on if you want to look at the source files and some additional pics. One of my friends threw it up on and it kinda took off from there (I was #2 on the front page this morning)! For those interested, you can get some cards with your own info on them from my .
Posts Tagged ‘Laser Cut’
Rubber Band Gun Business Cards!
Monday, April 23rd, 2012Building a BeagleBone Enclosure
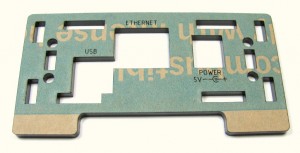
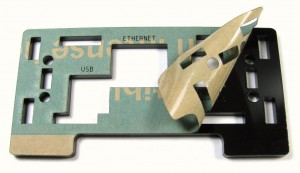
Saturday, January 7th, 2012I got to play around with a borrowed BeagleBone board to get some kernel stuff working for a friend. While playing around with it I decided to throw together an and a for the thing as well. The sled is pretty easy to figure out, but the enclosure takes a little more effort to put together, so I thought I'd do a quick write up outlining how to assemble it.
First off, peel the masking off all your laser cut parts.
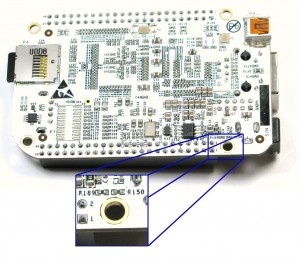
Next, you'll mount the BeagleBone to the bottom using 14mm M3 bolts, M3 nuts, and 1/4" OD 1/4" high nylon standoffs. Make sure to mind the resistors on the back side of the board around the power connect (labeled R150 and R189).
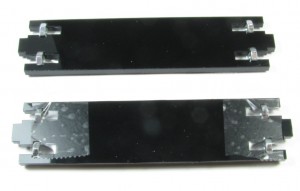
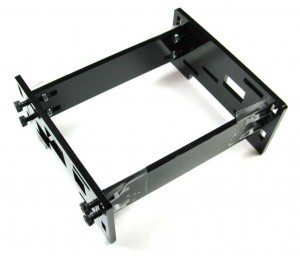
Next, you need to partially thread all the remaining M3x14 bolts into the T-slots of the spanning pieces and the end caps. This is physically possible without assistance, but it's hard. You'll want to save yourself some time by using some scotch tape and securing the nuts in place before inserting the bolts.
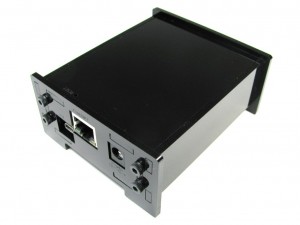
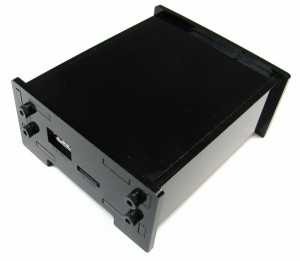
Once this is done, you can slide in the bottom, sides, and top before finally tightening down the bolts. Don't overtighten the blots, the enclosure is all acrylic and it will crack under extreme stress.
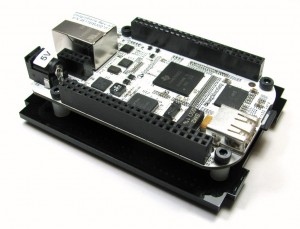
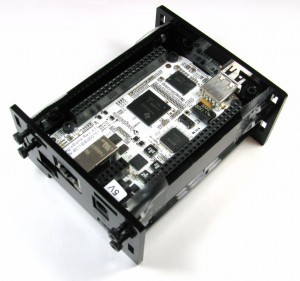
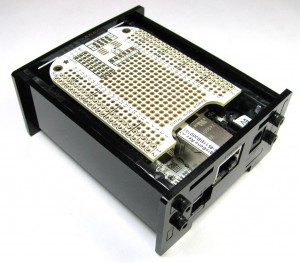
You can simply leave the top off if you want easy access to the expansion headers. The will even fit with the top off:
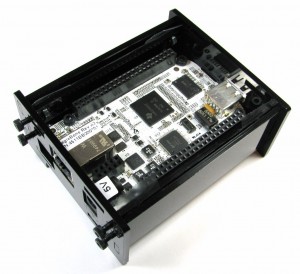
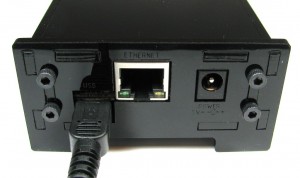
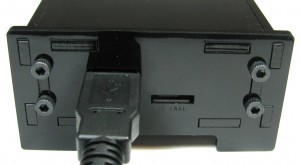
Here are some additional pictures of the enclosure with the USB host and peripheral interfaces plugged in (notice that you can see the status LEDs above the peripheral connection):
Grab an including handy hex wrench from my store and you can grab all the design files and BOM from the .
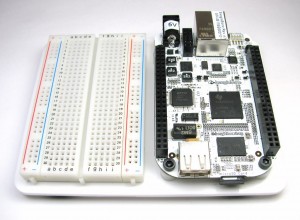 You can grab a there as well, if you feel like your BeagleBone would like a little more of an open air prototyping environment. You can find the design files for the sled, BOM, and instructions on its Thingiverse entry .
Building Boxes and Enclosures with Laser Cut ABS
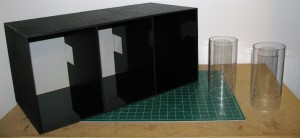
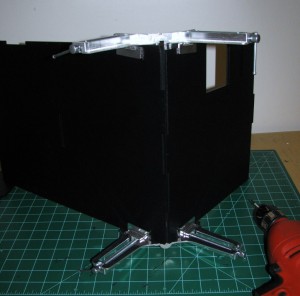
Wednesday, September 7th, 2011Above is a picture of a recent project I did for a client that wanted a custom enclosure for some experiments with mice. It's constructed from laser cut ABS sheets and held together with screws, but it doesn't use the now somewhat ubiquitous T-slot construction used in many laser cut enclosures. Because ABS isn't extremely brittle like acrylic and doesn't have a grain or laminate layers like wood, you can simply screw it together without significantly effecting structural integrity if you do it right.
(Safety Note: This should go without saying, but if you're cutting ABS, properly handle the fumes! You need a properly sized carbon filter on your exhaust and you need to have adequate air flow. Additionally the parts should be left to outgas in a well ventilated area for at least 24 hours after cutting!)
I first used the method I'll be outlining here to construct a "dark box" add on for a piece of lab equipment. It had to fit very snugly inside an existing box, not let light through, and not provide climbing holds for the mice under test. I didn't want to end up gluing everything together (I'm glad I didn't, I had to modify the setup for an additional experiment later), and T-slot and bracket based attachment methods were not ideal.
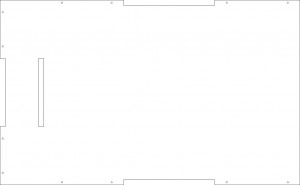
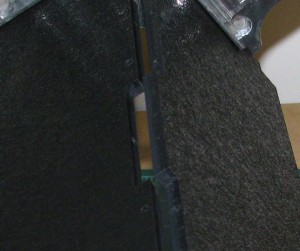
First off, in my enclosure design I've added tabs to ease alignment of all the connecting parts. If done correctly, tabs will prevent you from assembling your enclosure incorrectly and allow you to quickly align edges of parts you're screwing together. Tabs also allow you to insert screws into both of the parts you're joining perpendicularly, which a regular butt joint wouldn't allow you to do. I use 1/2 inch #4 flat head sheet metal for 1/4" ABS. I drill a 3/32" pilot hole is drilled into the parts that will be joined. Pilot holes are a must, as you can drive a screw in to ABS with a little work, but you'll see stress lines and bulging, if not outright splitting of the plastic if you don't use an appropriately sized pilot hole. I place the pilot holes at design time and cut them into the part so I have a nice guide when it comes time to drill. Here's an example of a part with tabs and pilot holes in place:
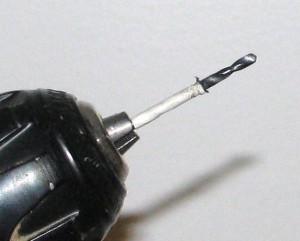
To make sure I hit the correct depth, I add some tape to the bit to let me know I've drilled far enough into the piece.
I use right angle clamps to hold the parts I'm joining in place while drilling.
Here's a close up of the tabs and pilot holes after they've been drilled:
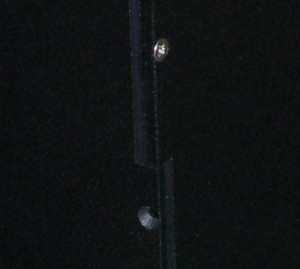
Next I countersink the holes and install the #4 screws:
You can prep and screw a side together relatively quickly with a little practice. Once you've got a few sides on your enclosure, you can rely less on clamping parts together and simply hold down the panel you're installing with one hand while drilling with the other (assuming you've added tabs to your parts so they align properly and stay in place).
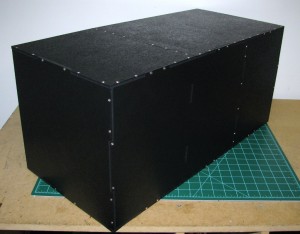
Here's some pics of the finished product:
I've also used black oxide coated screws with this method to make the final enclosure look a little cleaner as well. Overall I like the look of this method over T-slot construction for some projects since you don't have to oversize some parts to accommodate the tabs and screw holes and the joints seem a little sturdier as well.
So it Begins
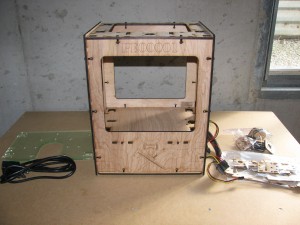
Thursday, August 27th, 2009I’ve been cutting out MakerBot parts for the I belong to because several members would like to see a 3D printer in the space. Initially I had no interest in making one for myself, primarily because of the limitations of homebrew plastic extrusion 3D printers (no support material, build outs < 45 degrees, goop problems). But the more I read about the MakerBot and RepRap, the more I wanted to build one, so finally broke down and started construction of my own MakerBot in parallel with the construction of the Hackerspace’s printer.
I’m hoping to overcome MakerBot Industries’ understocking problems by making some slightly modified motor controllers and using some alternative drive components, but for the most part I’m sticking to the design that they’ve laid out for my first foray into 3D printer construction. I’ve got all the parts I need for the body cut and all the parts I should need from McMaster Carr already, but still need to get the parts for the extruder and drive system cut as well as order all the parts I’ll need from SDP-SI. SDP-SI seems to be out of a number of needed components as well so I’ll likely end up experimenting a bit with alternative drive system.
