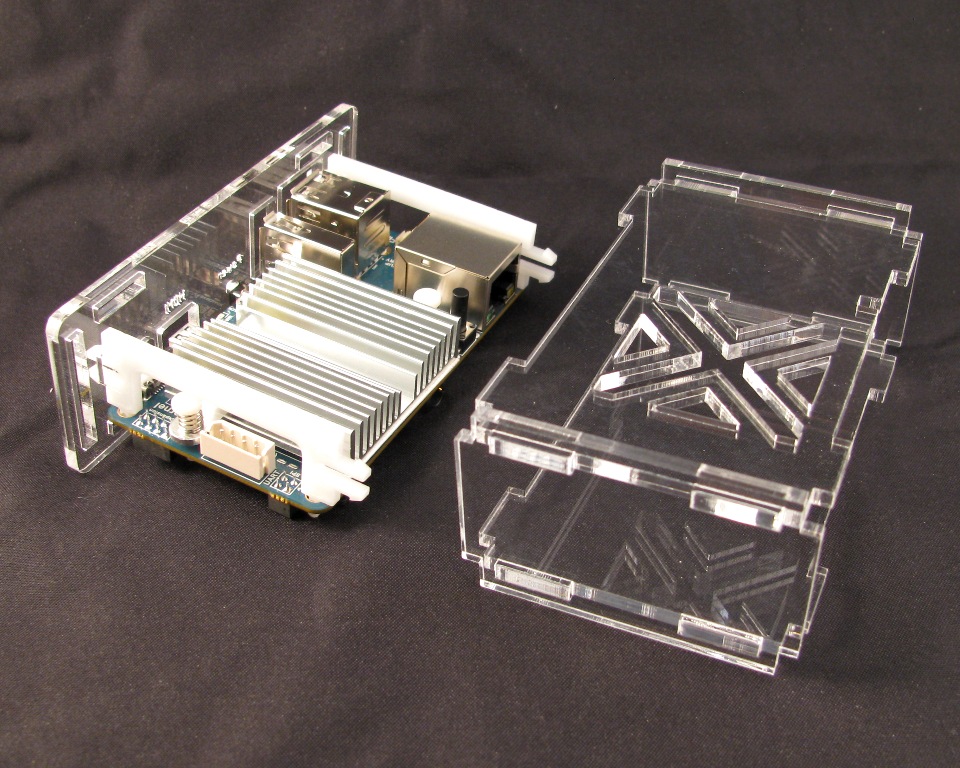
ODroid U3 Case

Step 1: Remove the masking
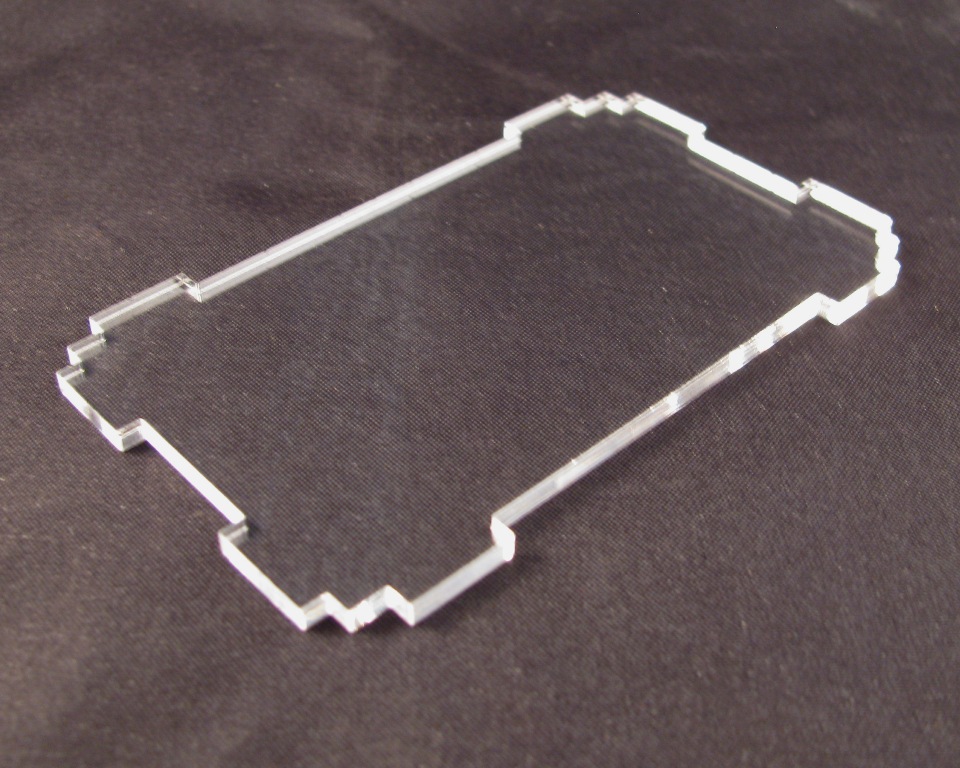
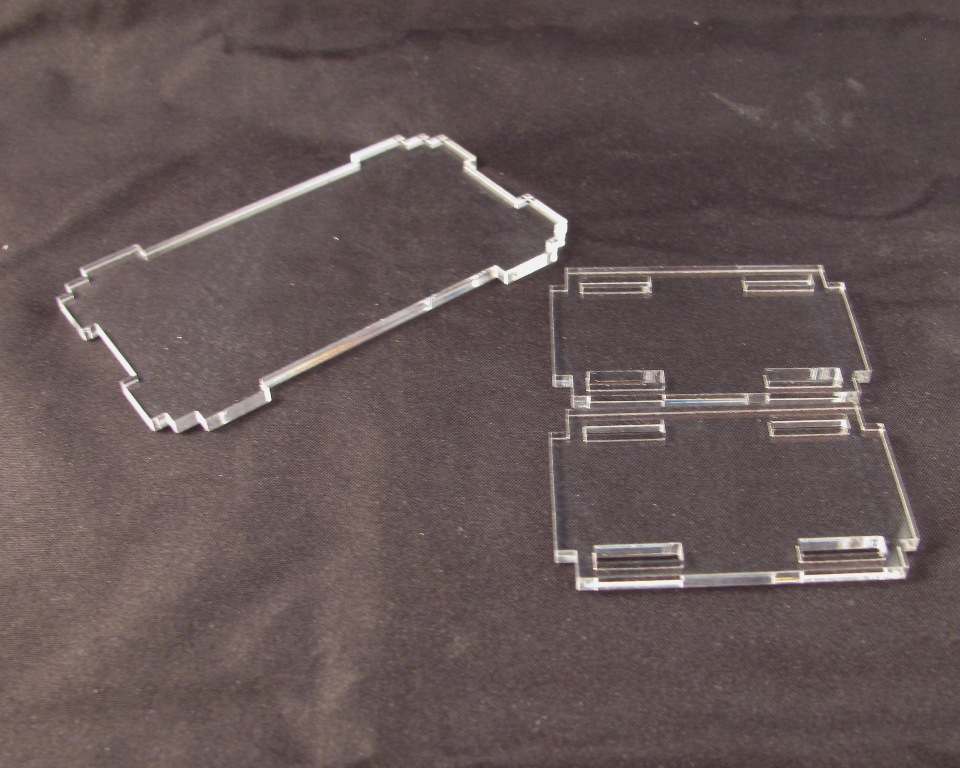
The laser cut acrylic parts of the kit have a protective mask that keeps the parts from getting scratched up or marred during cutting. You'll need to peel this mask off all the parts before assembly.
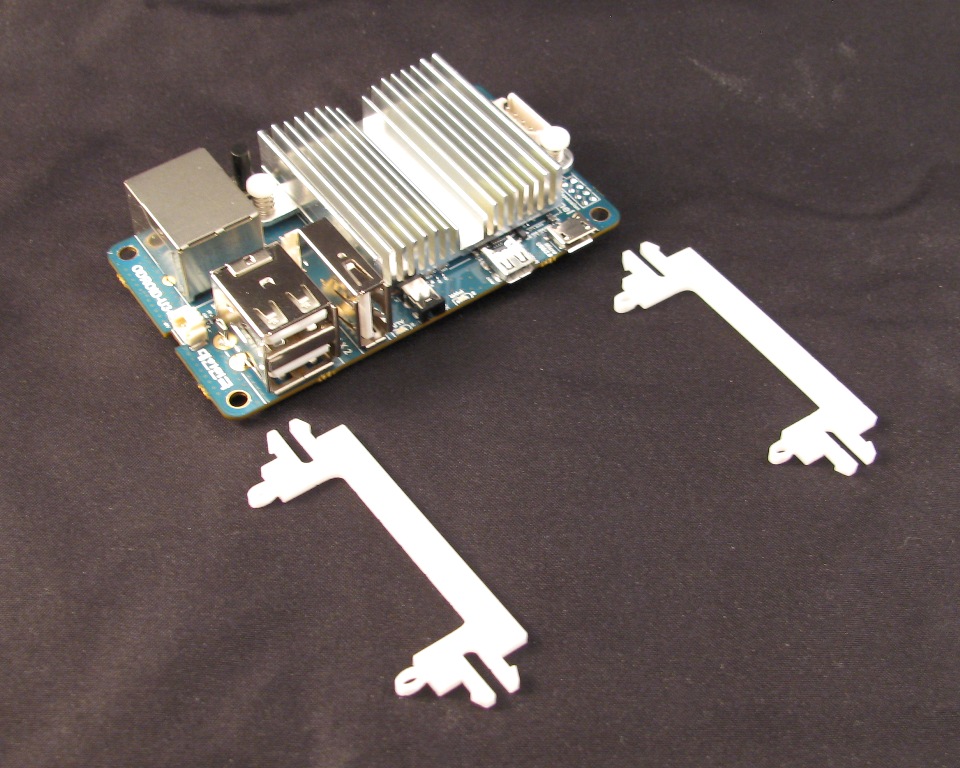
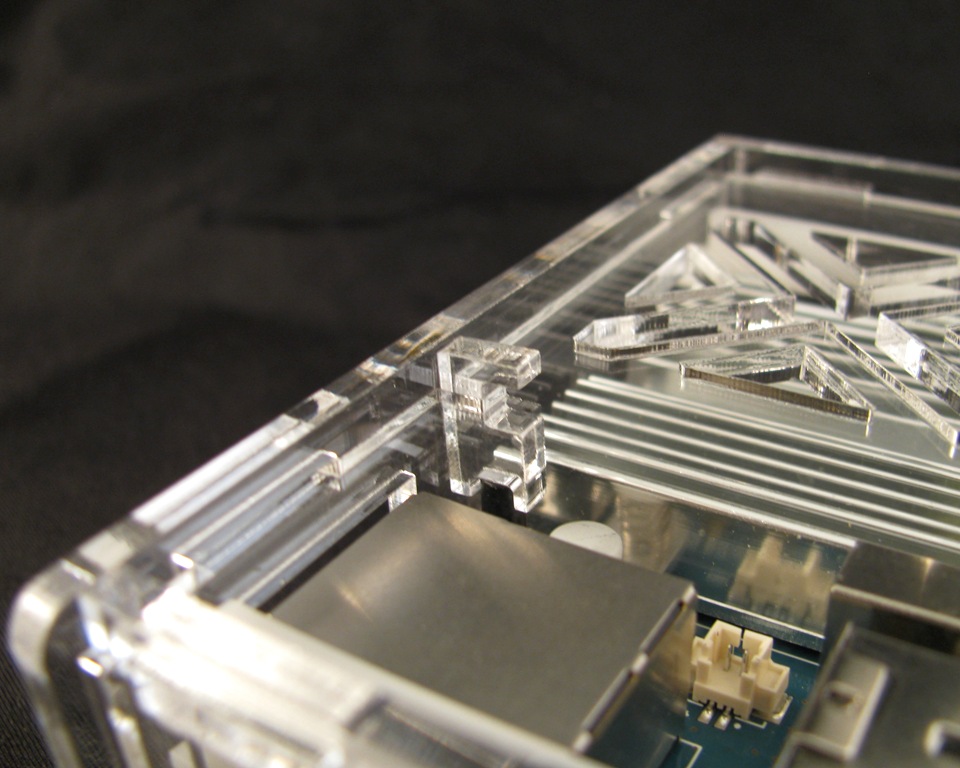
Step 2: Attach the PCB clips
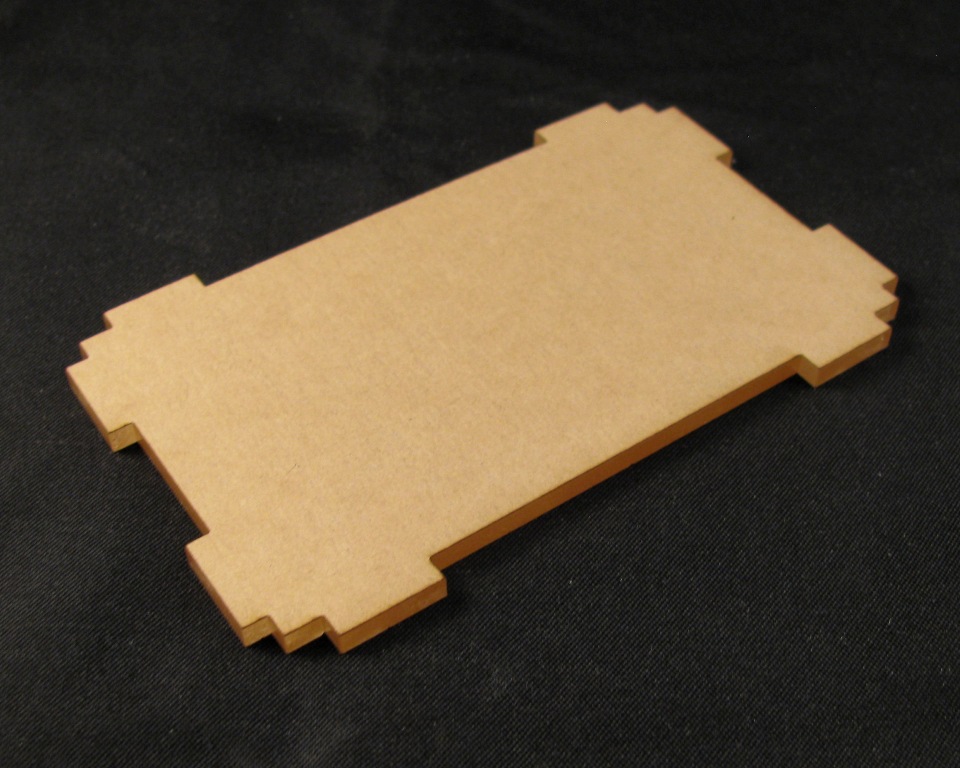
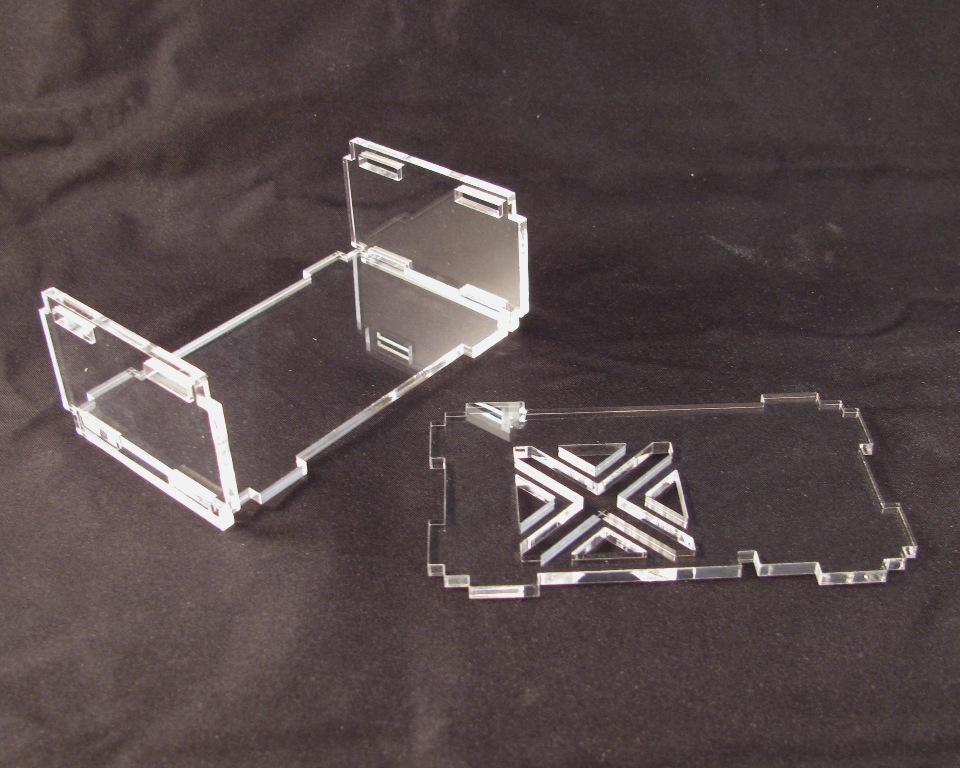
Step 3: Add the end cap panels to the bottom panel

Step 4: Add the top panel
Make sure that you have the top panel in the same orientation as shown in the image below.

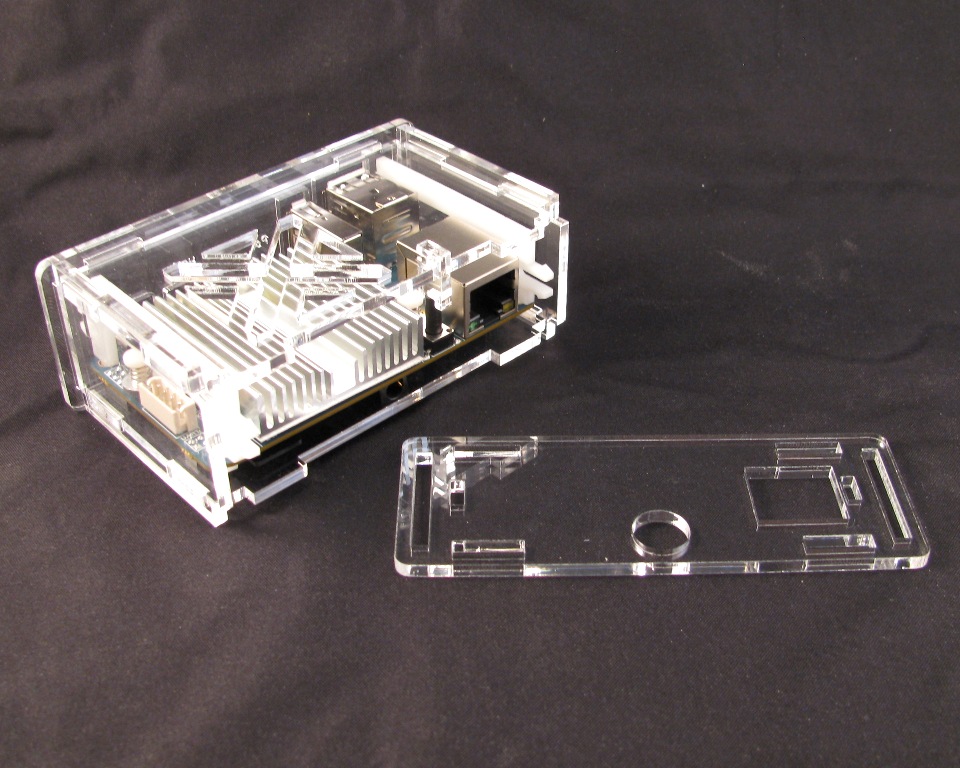
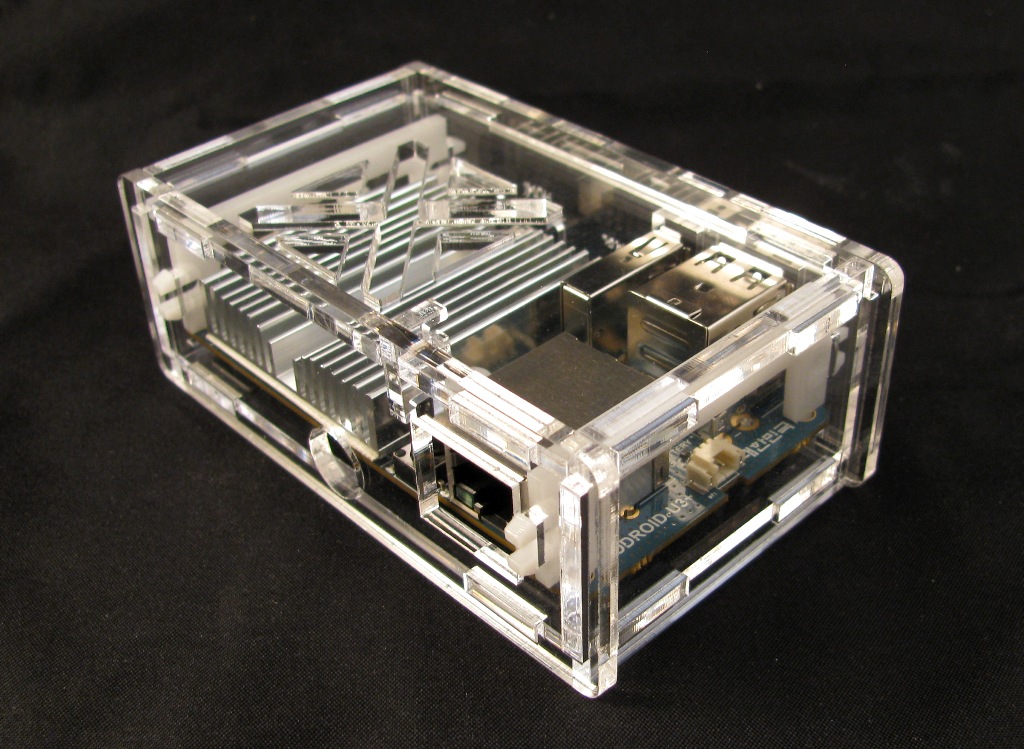
Step 5: Snap the Power/HDMI side on
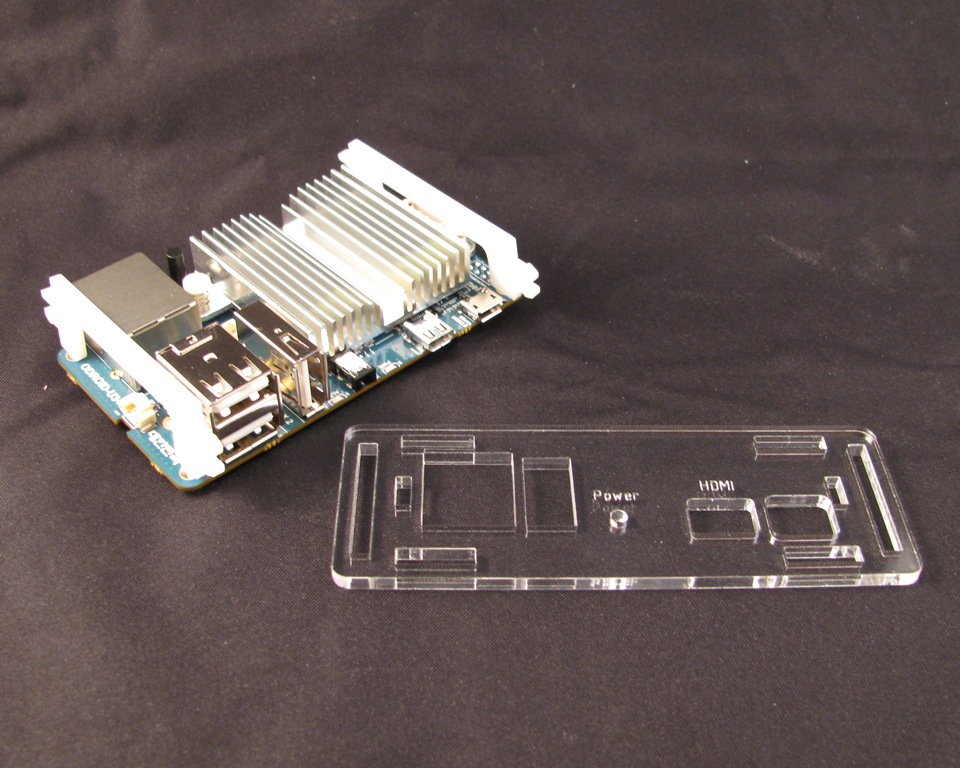
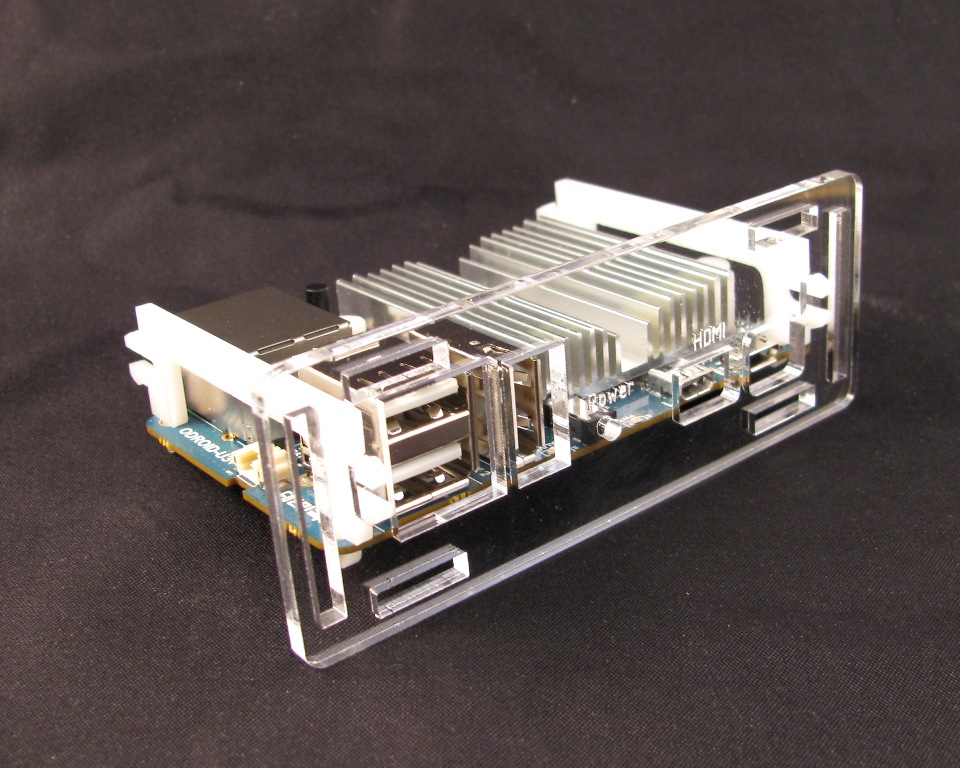
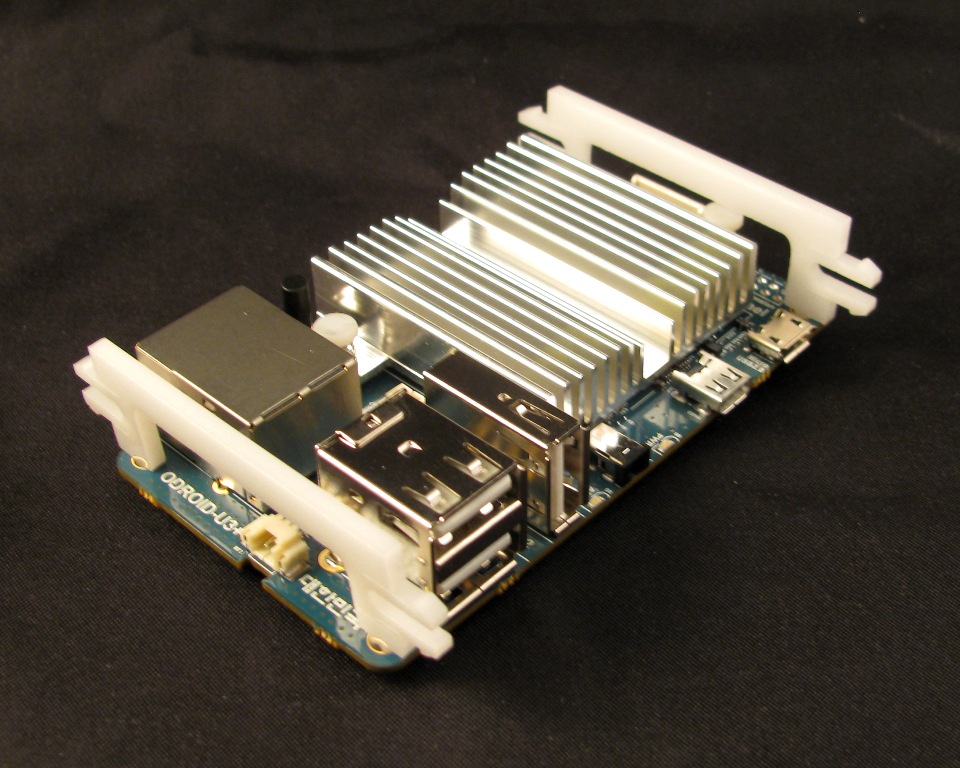
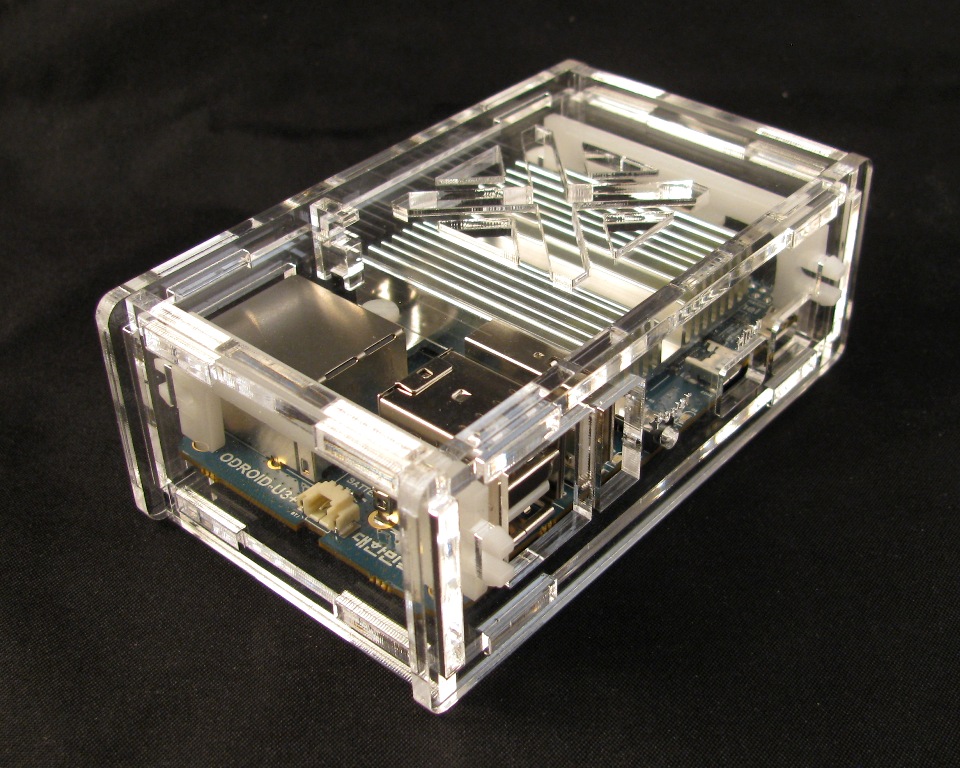
Step 6: Slide the ODroid U3 into the case
The ventilation pattern should be over the heat sink.
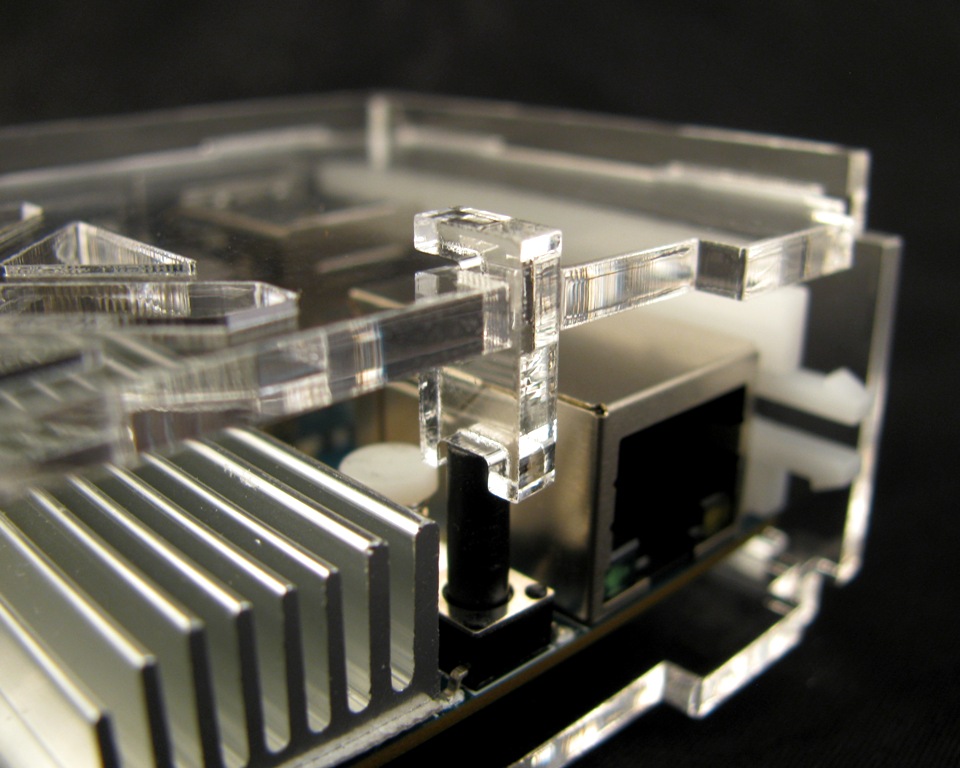
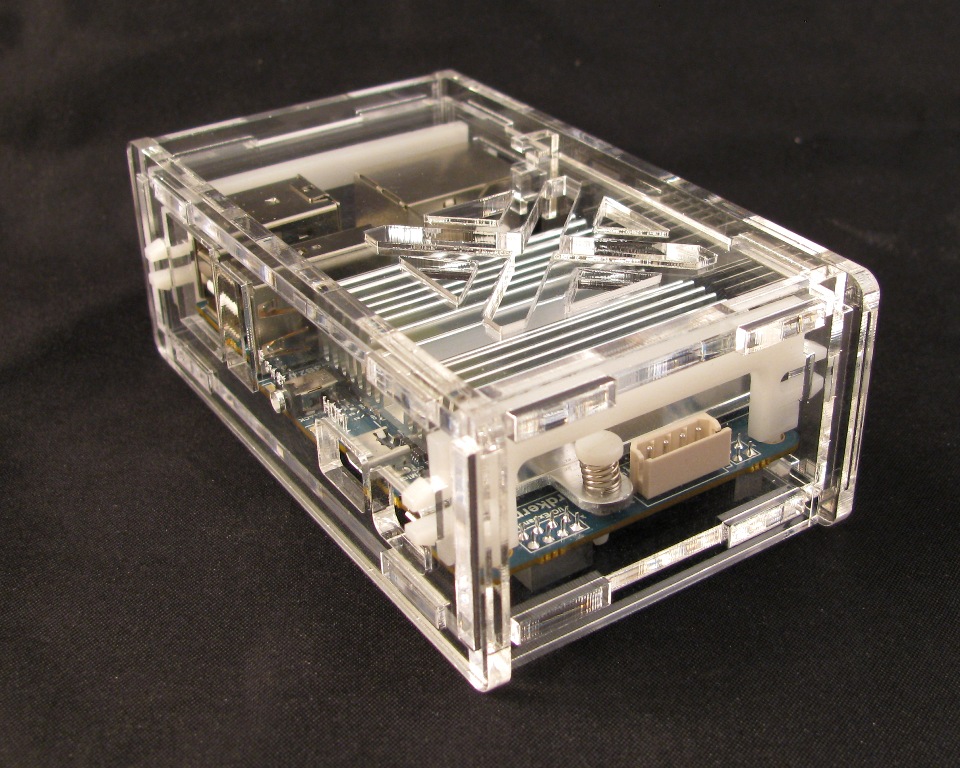
 Step 7: Insert the button


Step 8: Snap the remaining side on

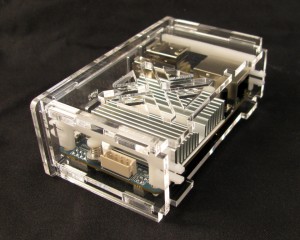
CONGRATULATIONS! You have given your ODroid U3 a new home.
Want one of these cases for yourself? Grab one here:
Want the design files? Grab them from my Thingiverse page:

