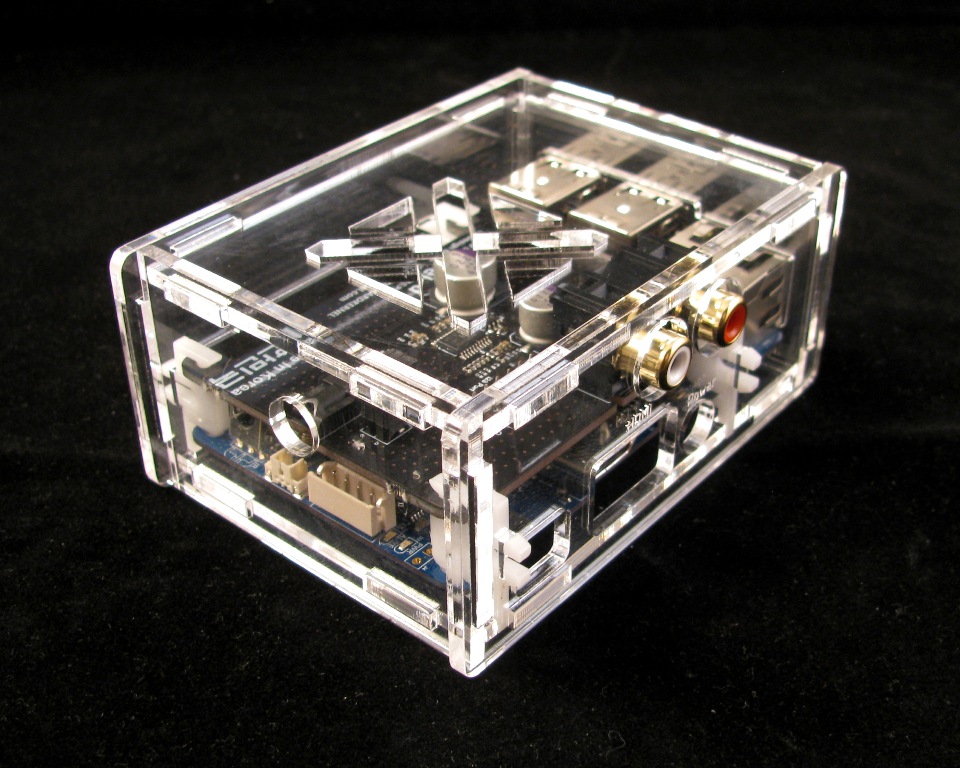
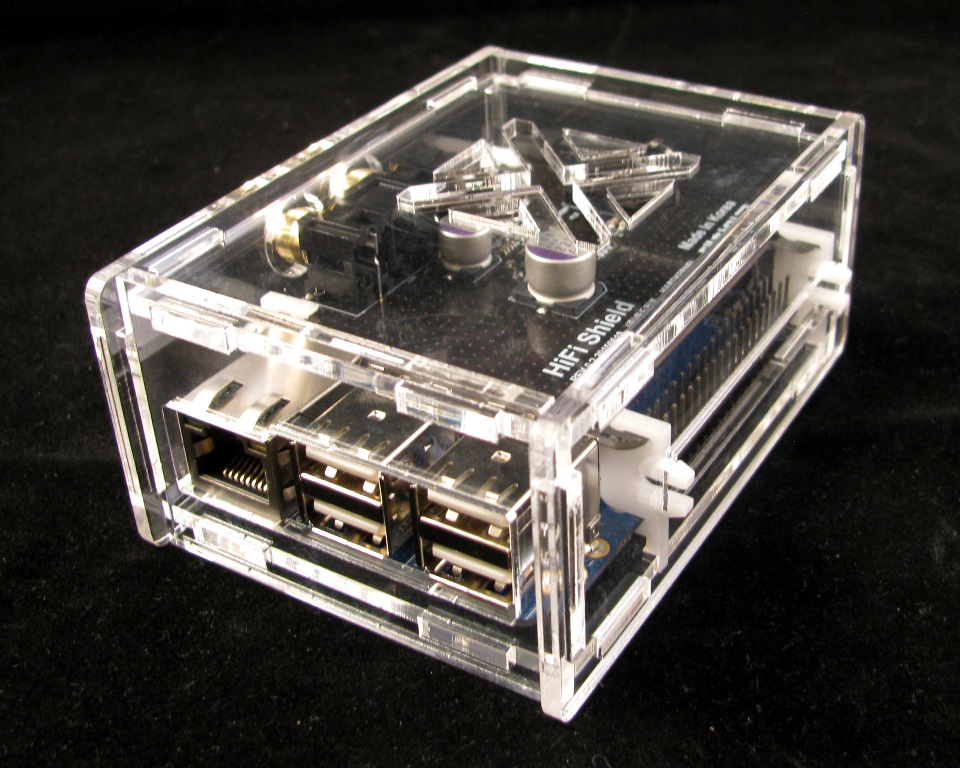
ODROID C1+ with HiFi Shield Case
Step 1: Remove the Masking
All of the acrylic components have a brown paper mask layer on them in order to protect the surface during transport and production. This layer should be removed for proper assembly of the case.
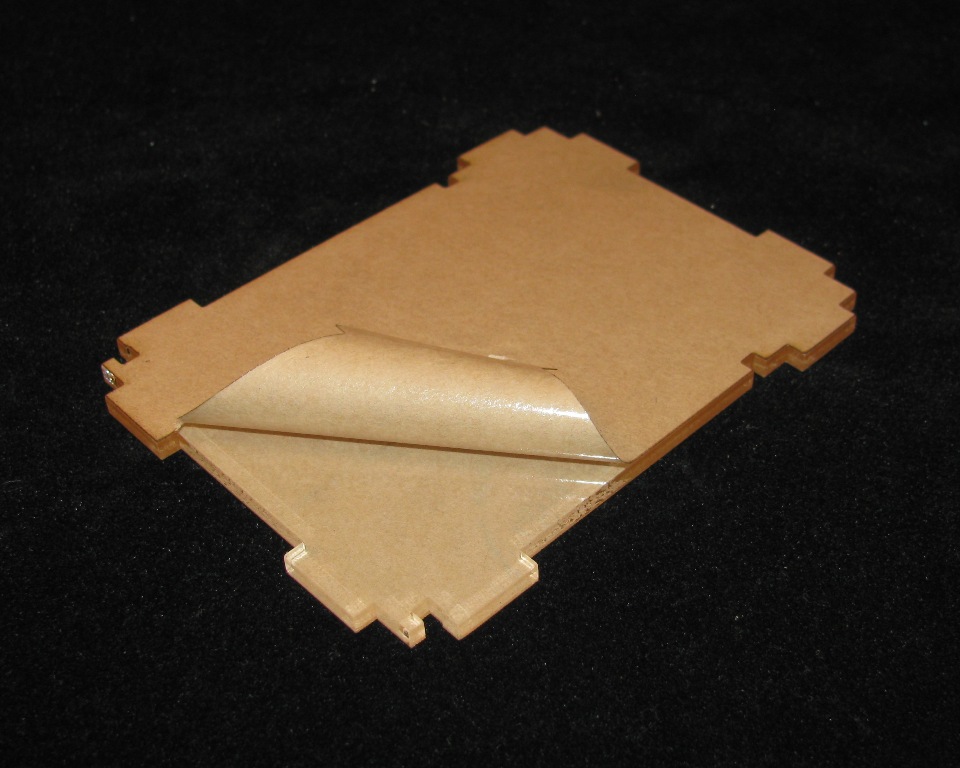
Using your fingernail or other similar tool to start peeling the masking from a corner.
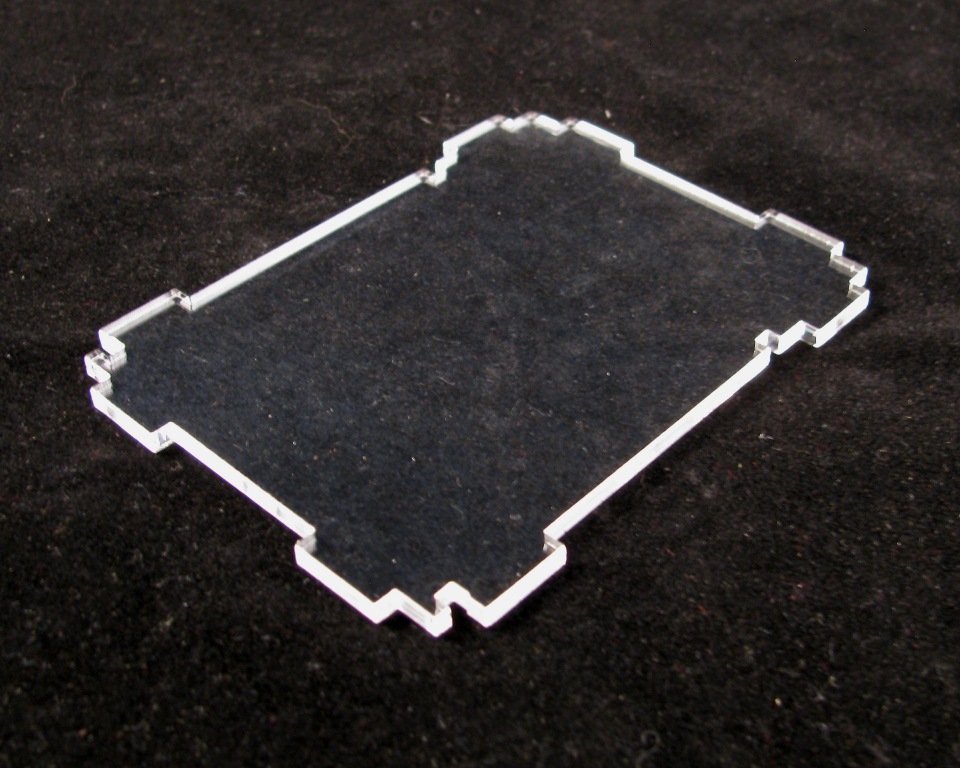
Remove the masking from both sides.
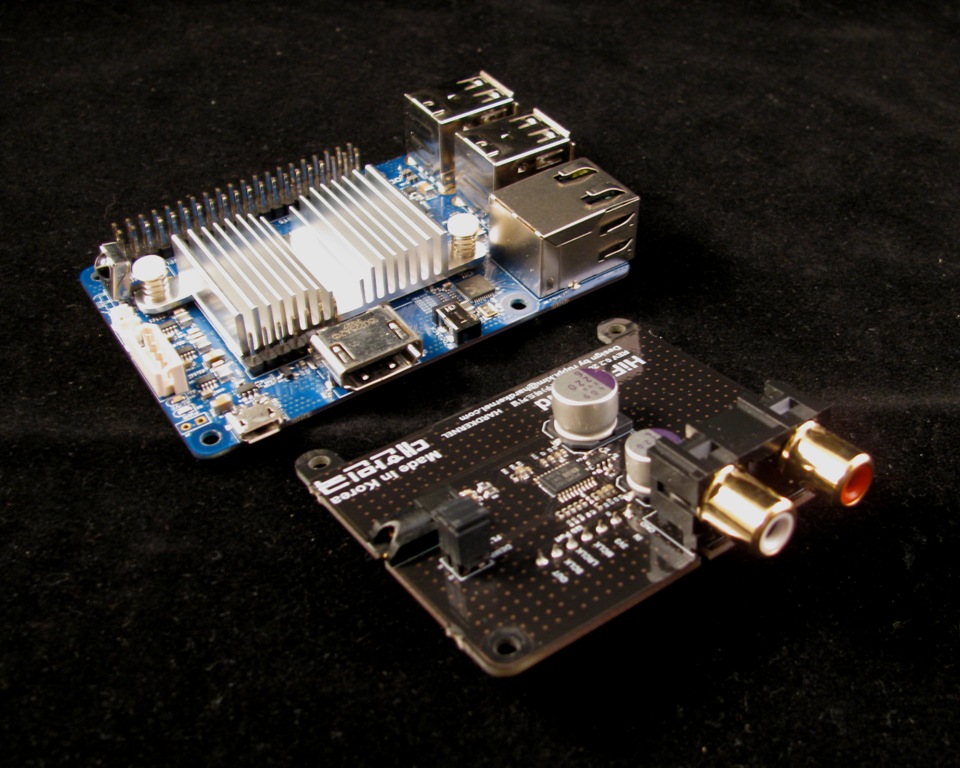
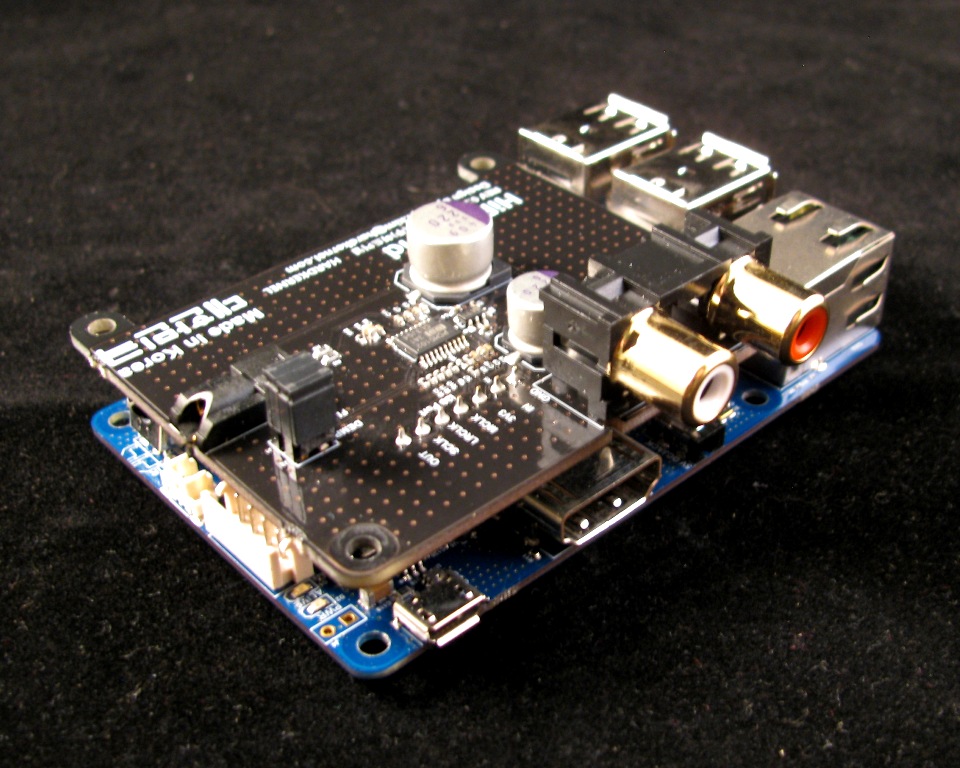
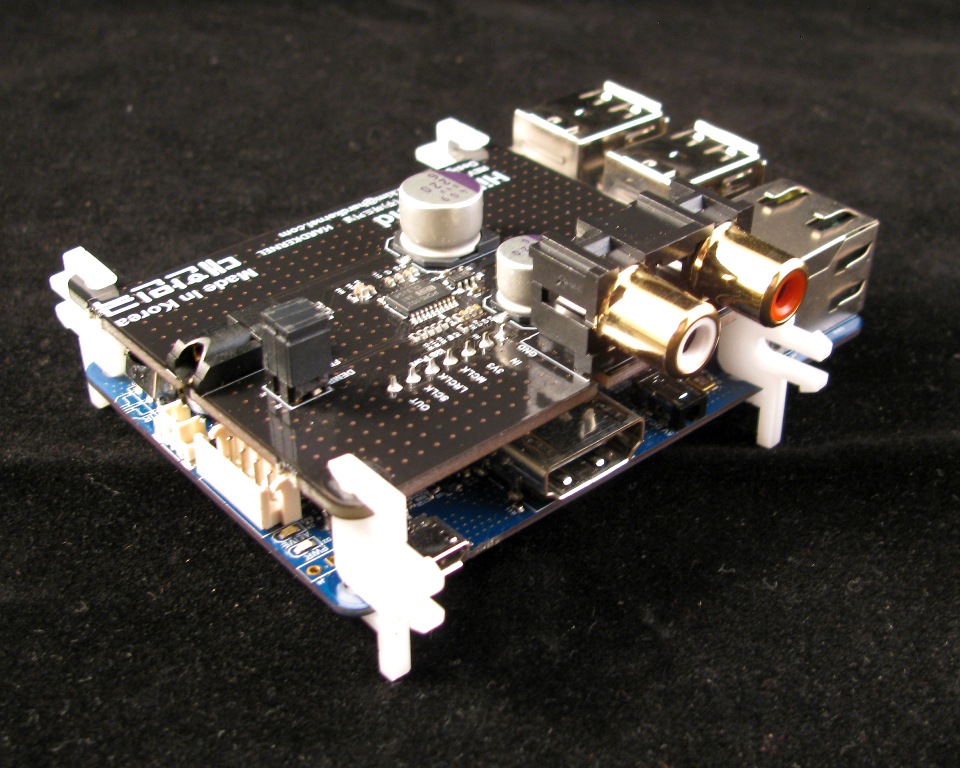
Step 2: Mount the HiFi Shield onto the ODROID C1+
Step 3: Attach the Delrin Mounting Clips
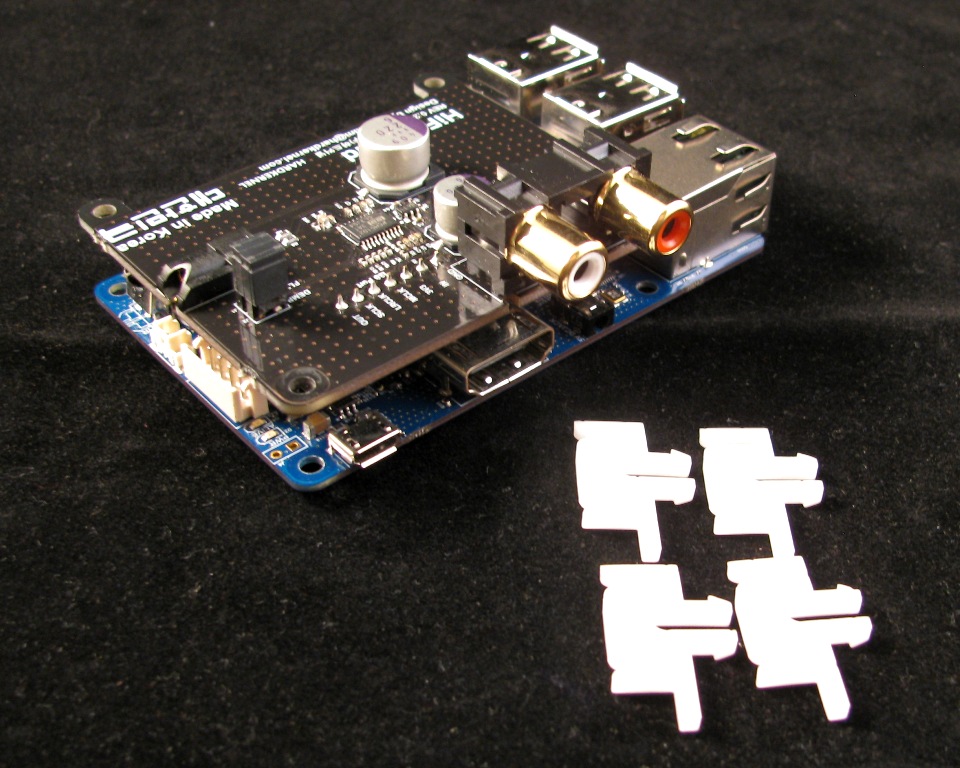
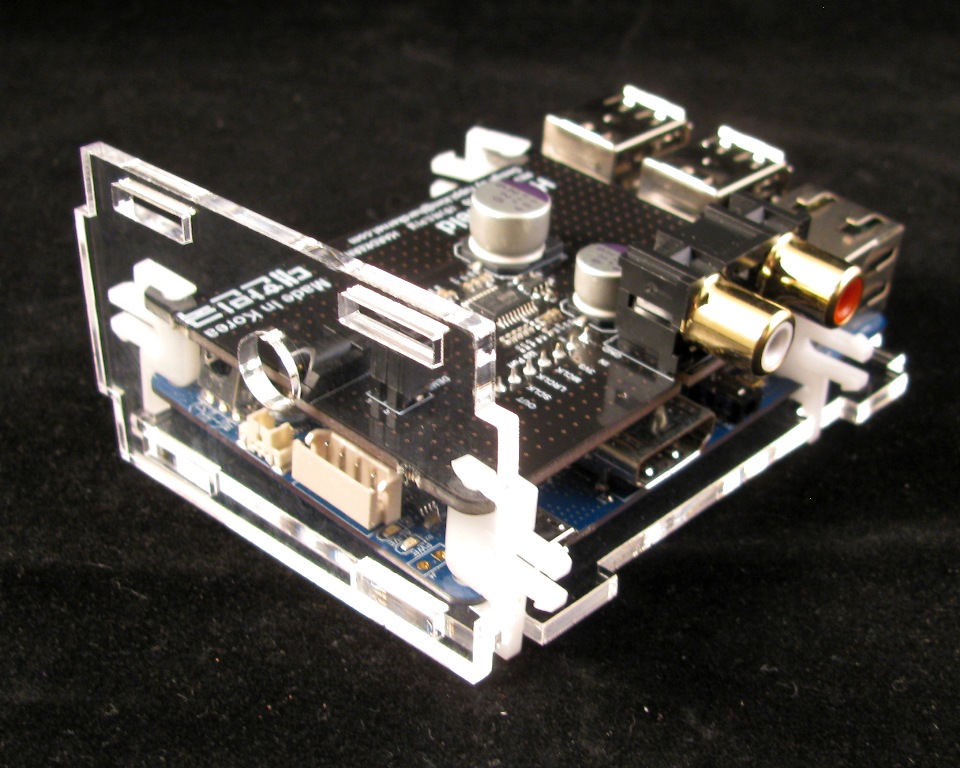
Take the four clips and clip them onto the two PCBs at the mounting holes. Make sure that the "foot" is down.
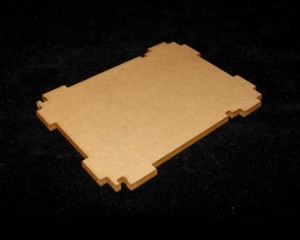
Step 4: Place the ODROID C1+ on the Bottom Panel
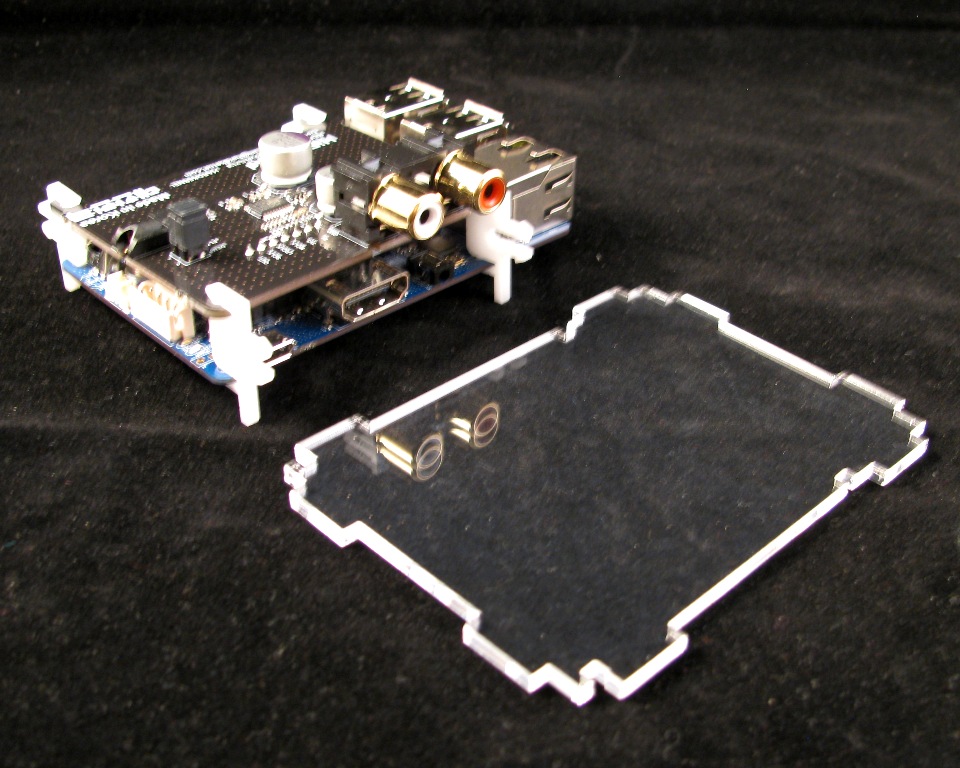
The Bottom panel has cutouts to receive the "foot" of the Delrin Clips in order to stabilize the case clip that is integrated with the clips.
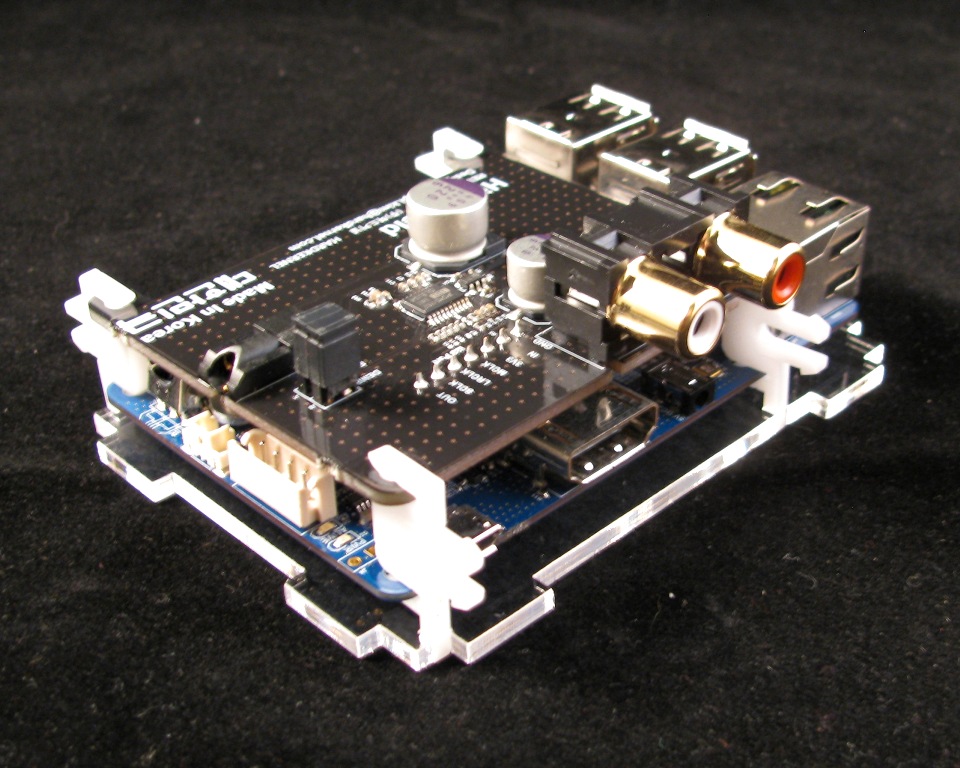
Ensure the ODROID is centered on the Bottom Panel.

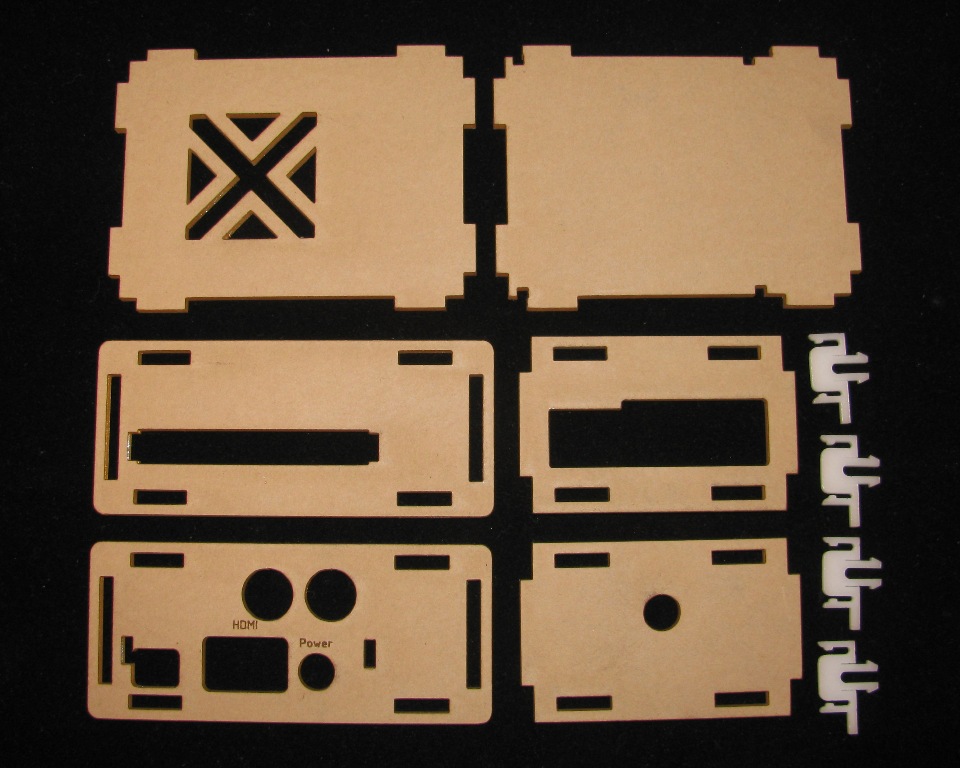
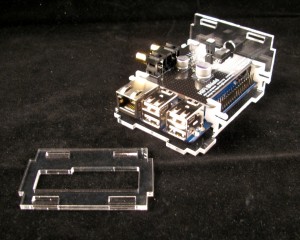
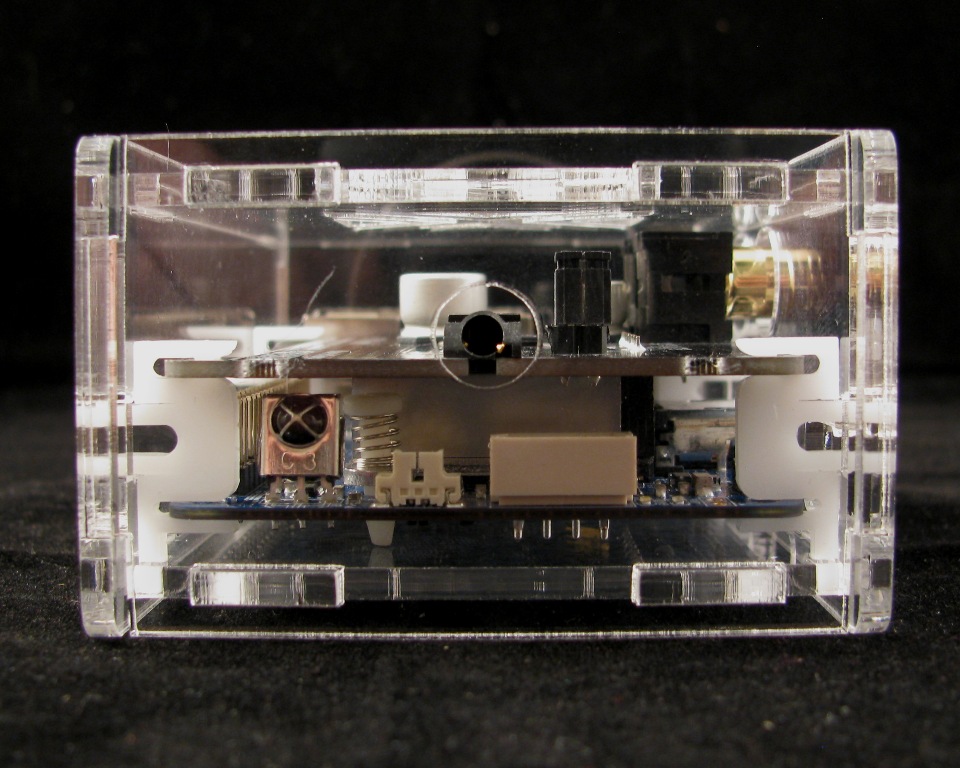
Step 5: Attach the 3.5mm Audio Jack Panel
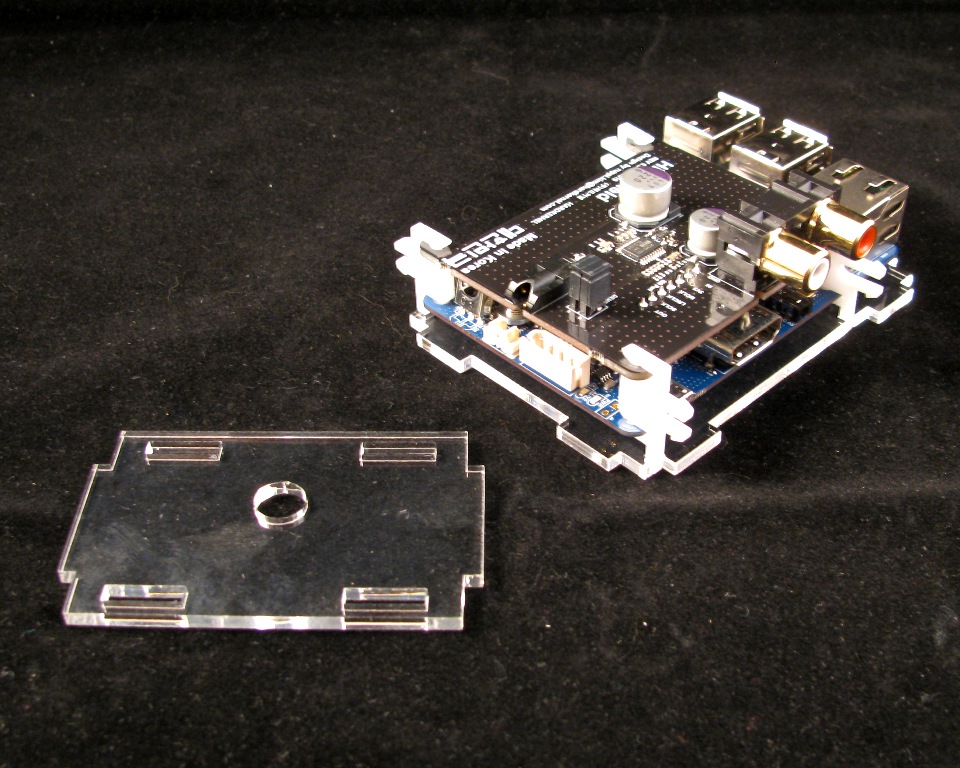
The 3.5mm Audio Jack Panel is the small panel that has a single hole in it as shown in the image above.
Step 6: Attach the USB/Ethernet Panel
Repeat the process from Step 5.
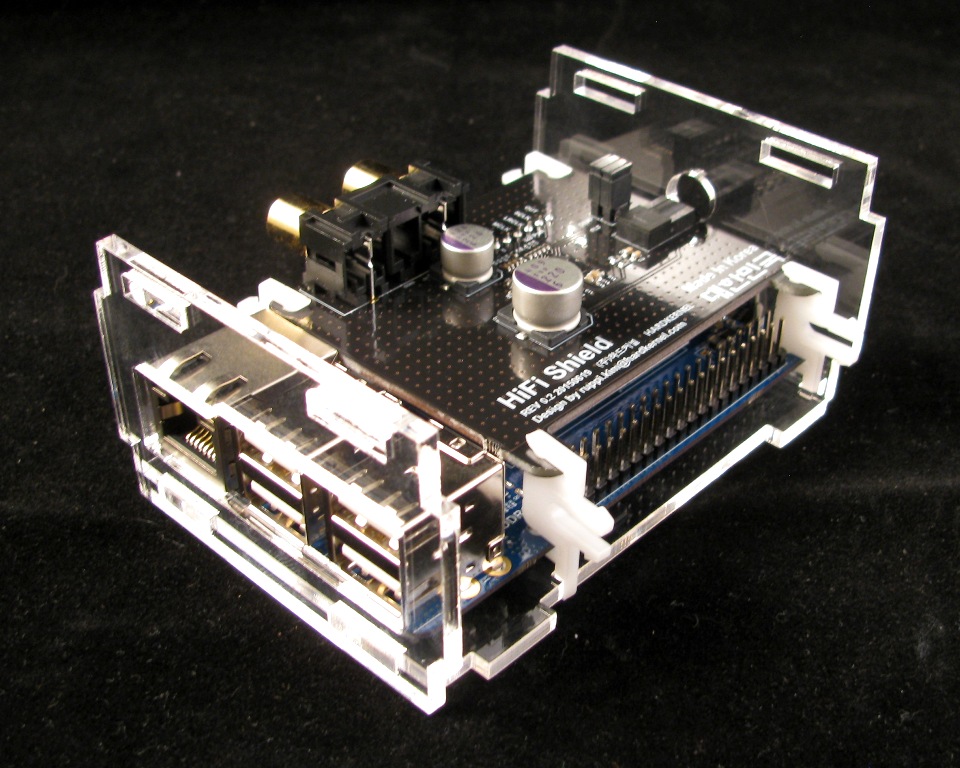
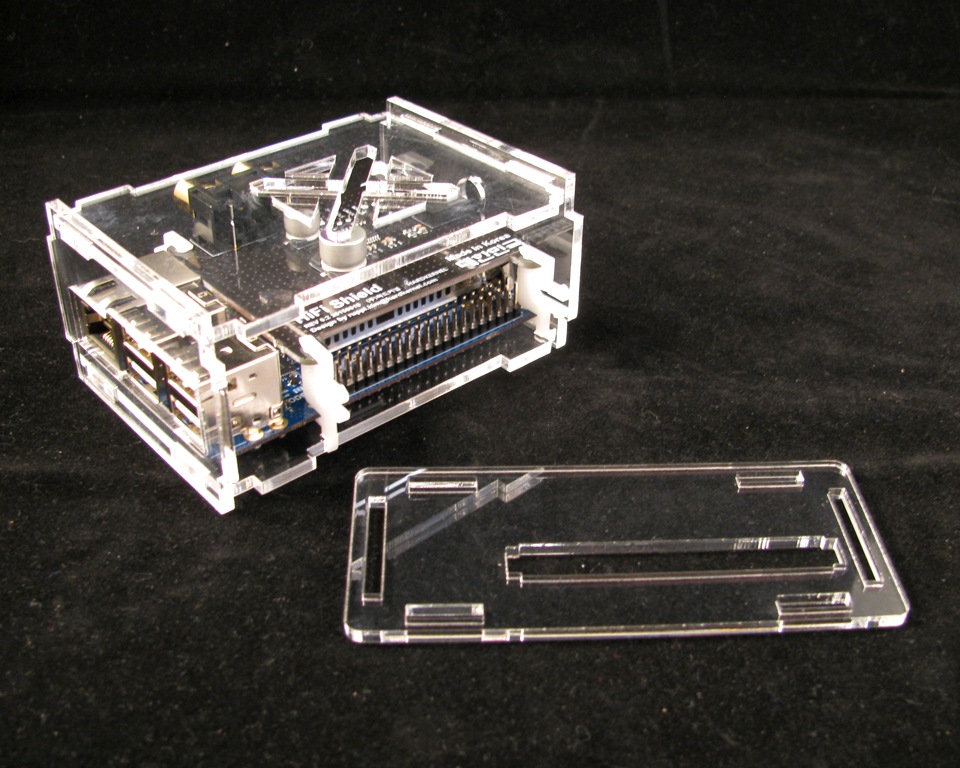
Step 7: Attach the Top Panel
Take the Top Panel and place it between the two end panels.
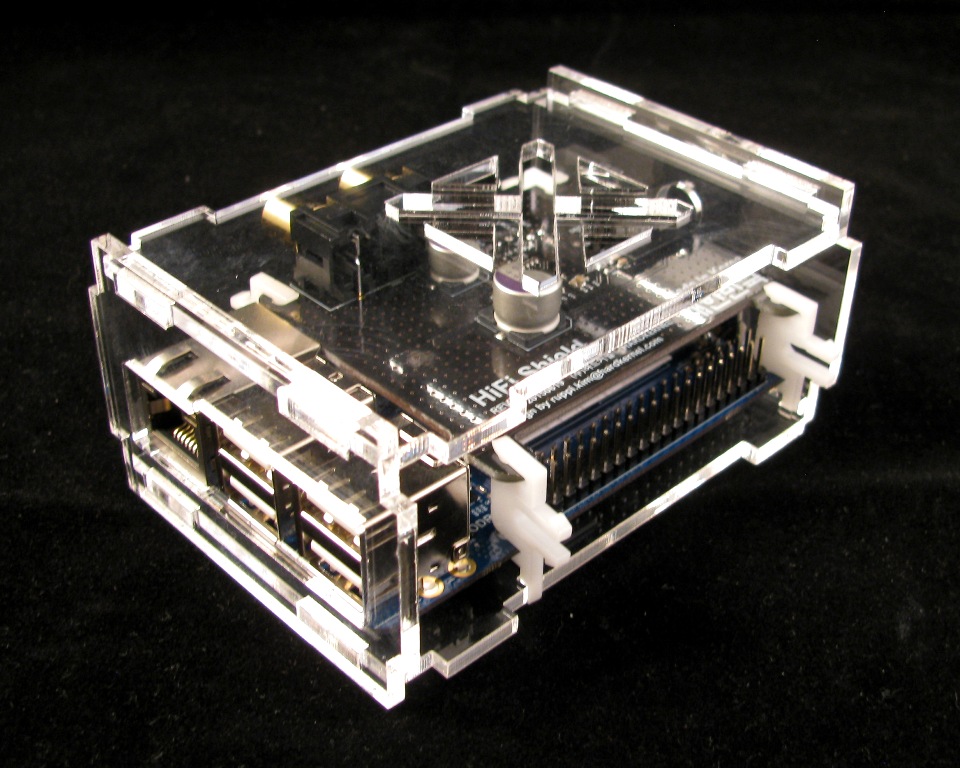
Step 8: Attach the I/O Header Side
Take the I/O Header Side and snap it onto the clips.

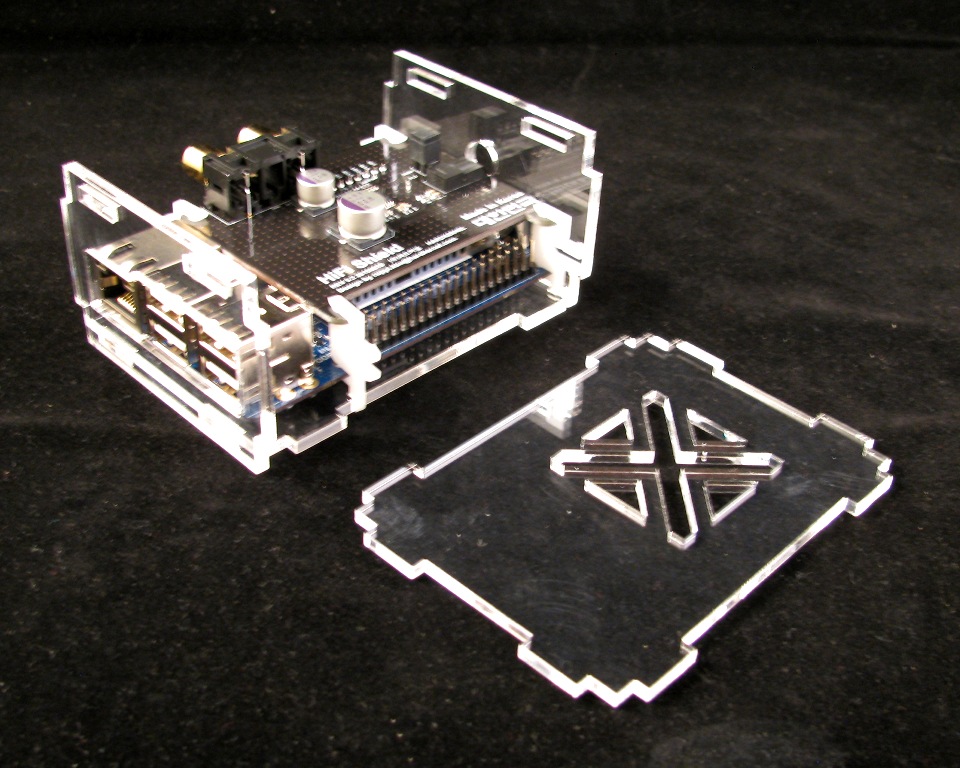
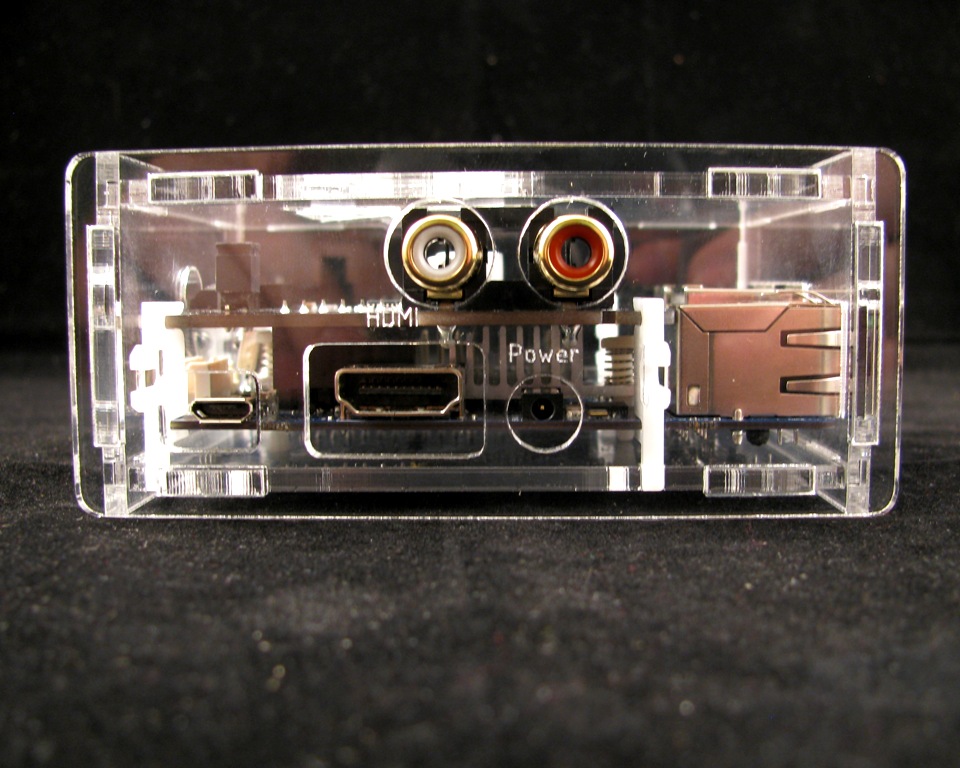
Step 9: Attach the HDMI/Power/RCA port Side
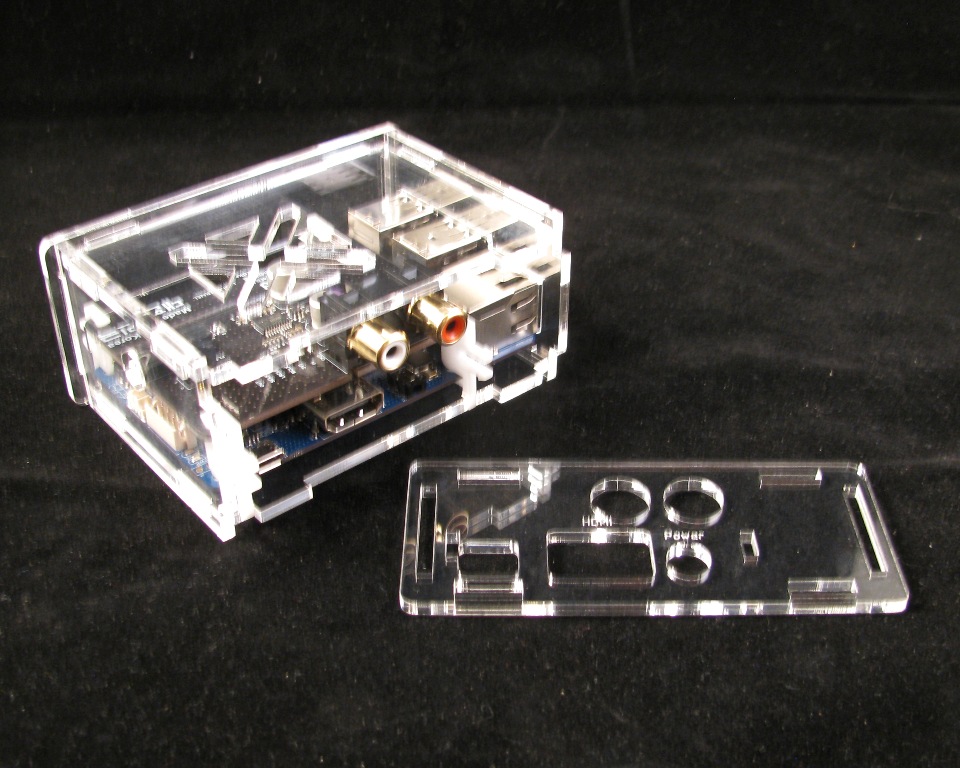
Repeat the process from Step 8.
CONGRATULATIONS!
You have successfully assembled the case for your ODROID C1+ and HiFi Shield.


Want one of these cases for yourself? Grab one here:
Want the design files? Grab them from my Thingiverse page:

