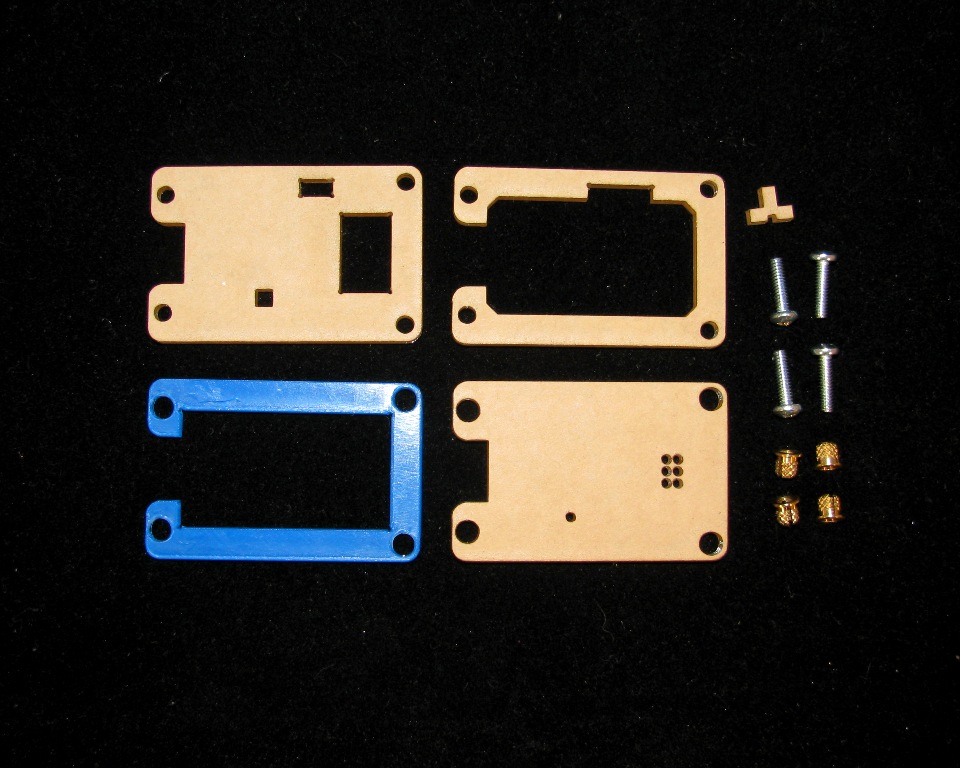
USB µISP Case
Step 1: Remove the Masking
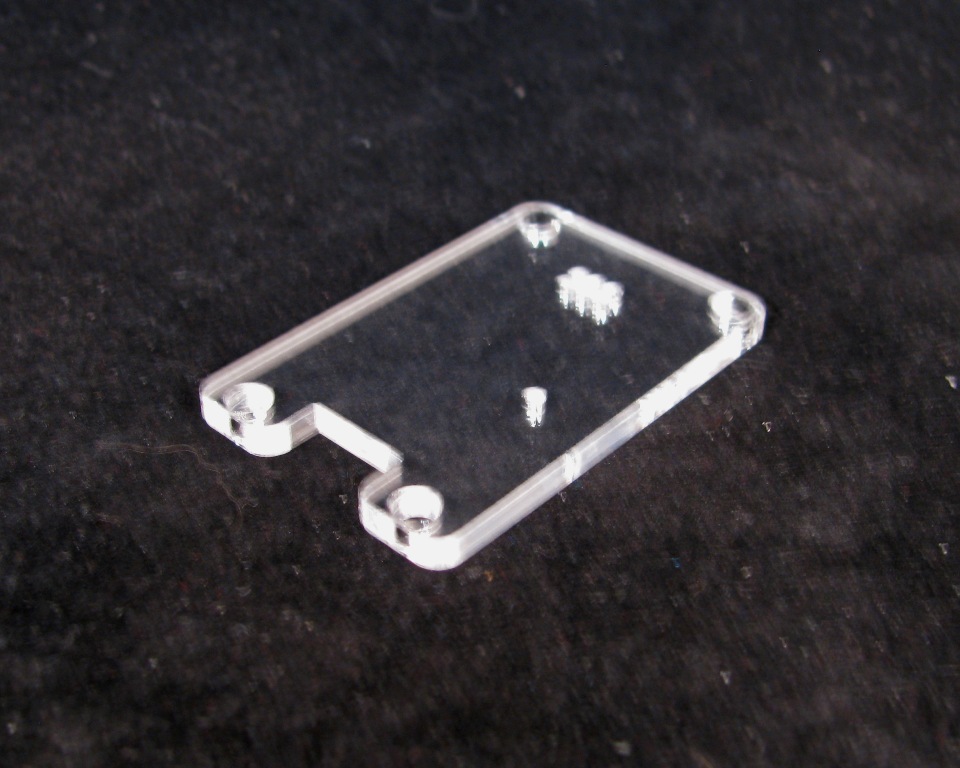
Our acrylic sheets have either a paper or plastic masking on them to protect the surface from developing blemishes. This masking will need to be removed for assembly.
To remove the masking, use your fingernail or a razor blade to start peeling the masking at a corner.
Then just grab it and peel it the rest of the way off.
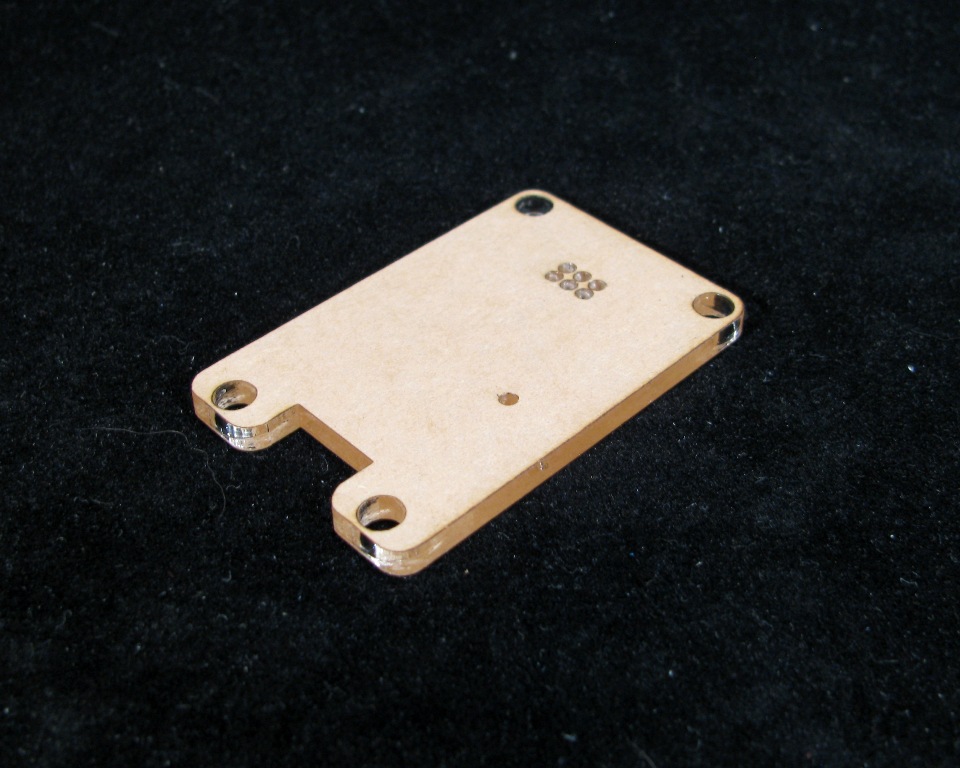
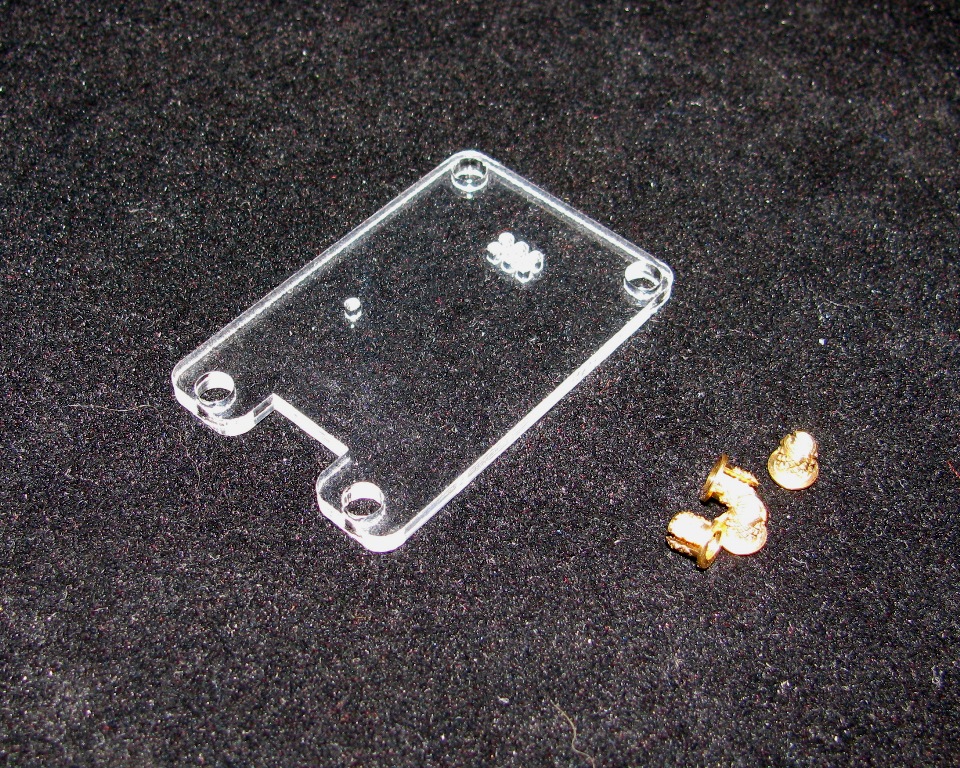
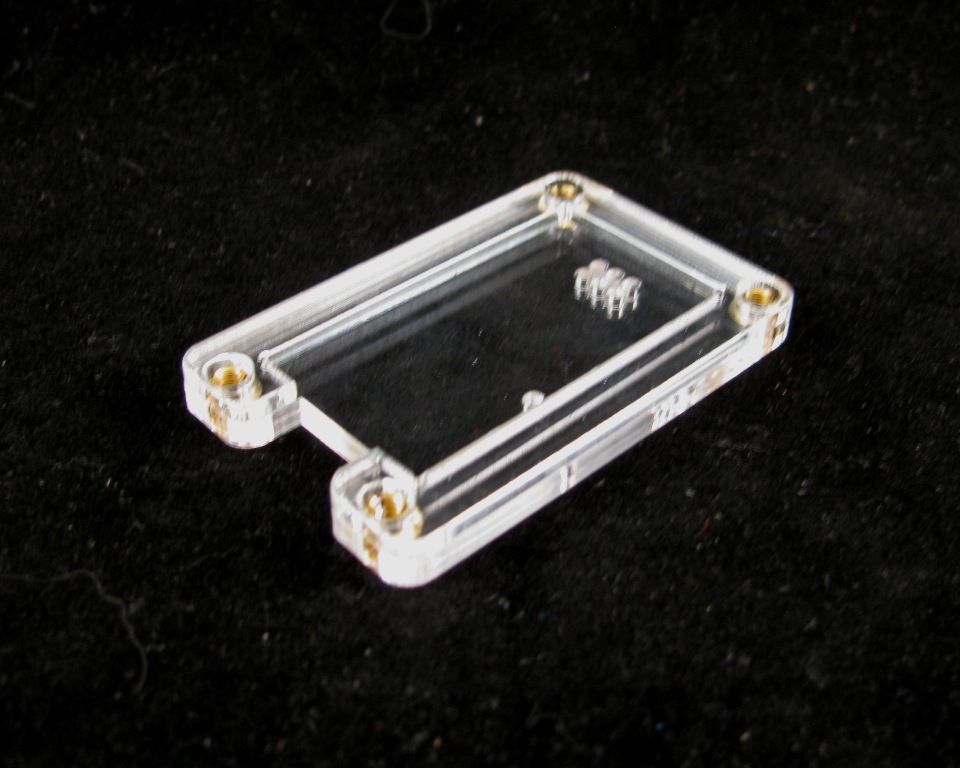
Step 2: Insert the brass fittings
Take the brass fittings and press them into the holes on the bottom layer. Make sure to lay out the bottom layer as shown in the image below to insure that you push the fitting through in the correct direction.
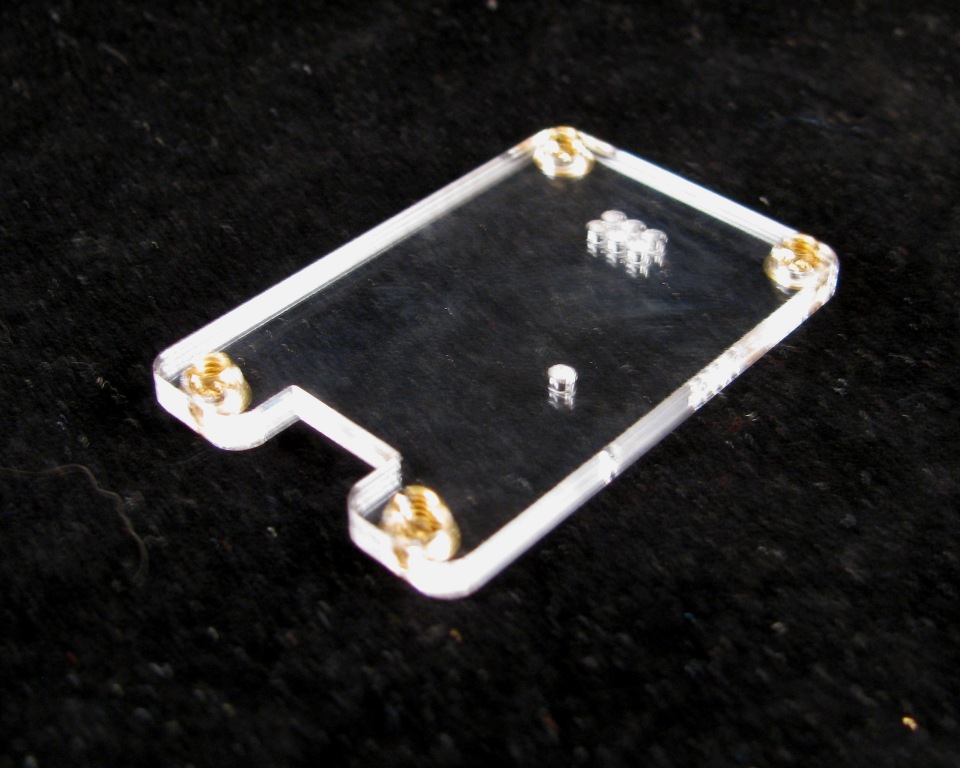
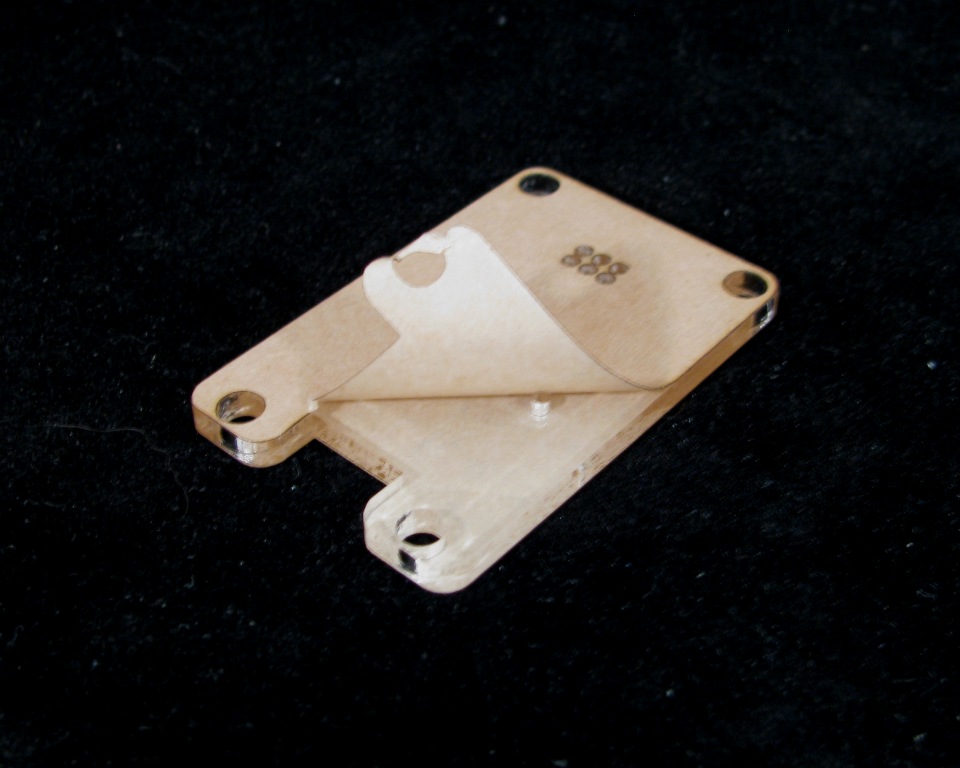
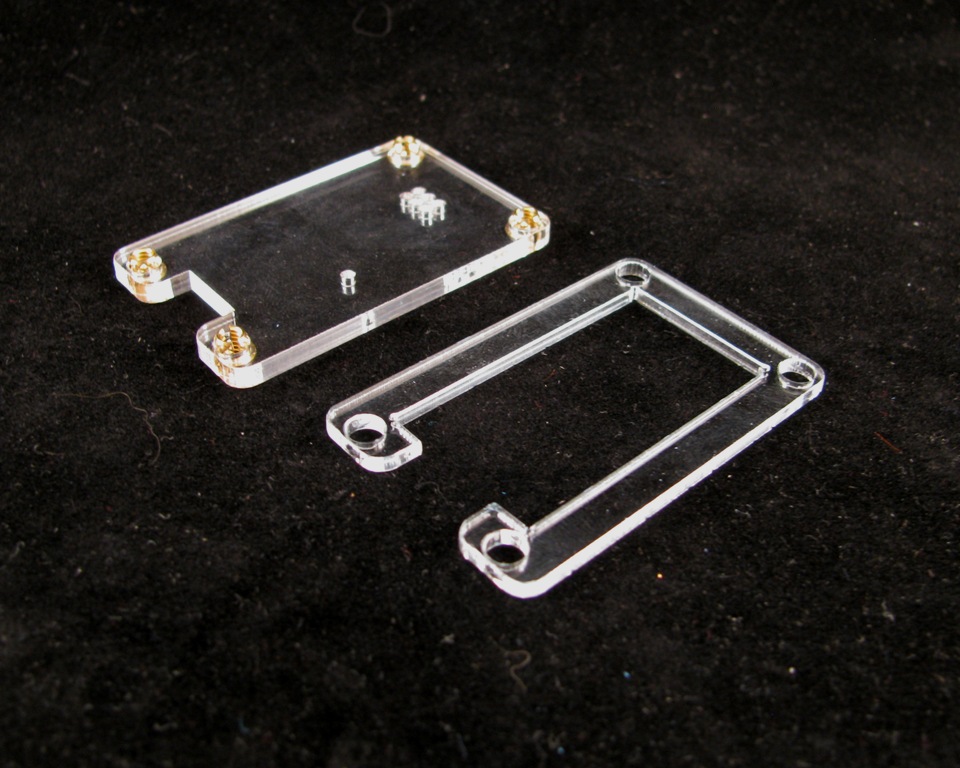
Step 3: Add the thin acrylic layer
This thin acrylic layer has the same size holes as the bottom layer and should press onto the brass fittings.
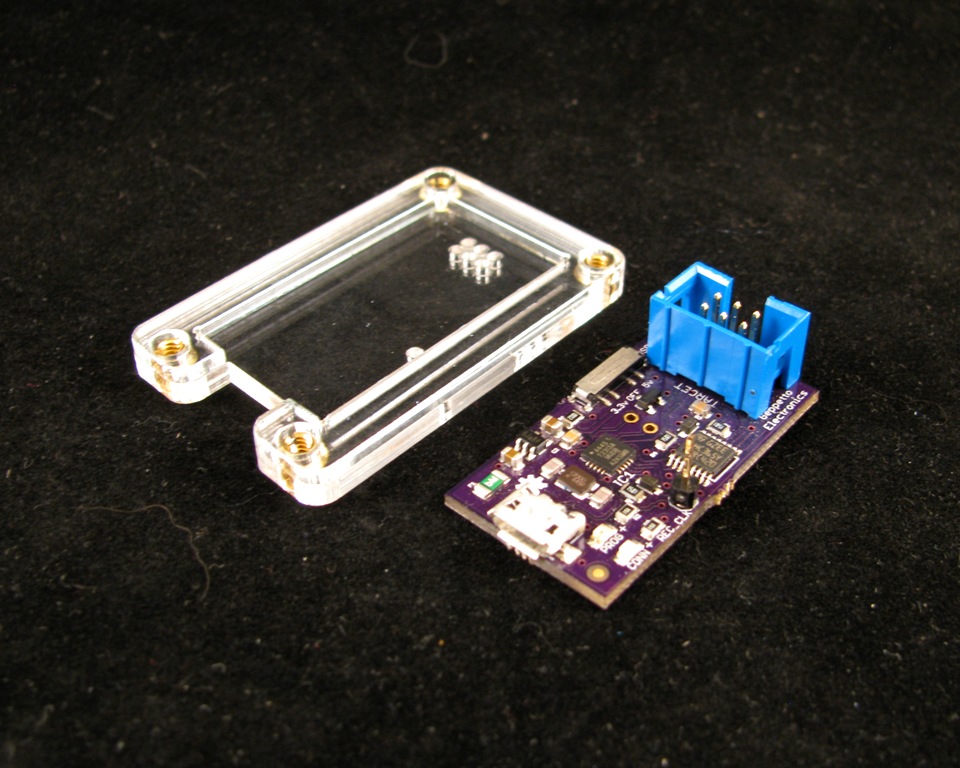
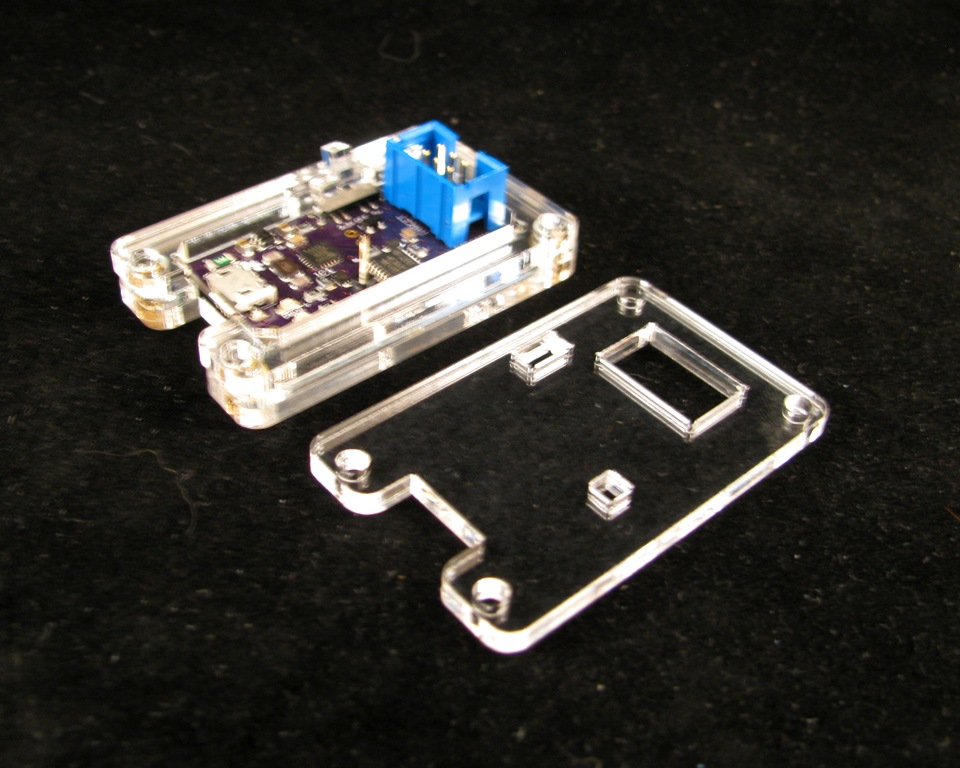
Step 4: Place the PCB into the case
Take the PCB and set it in the case.
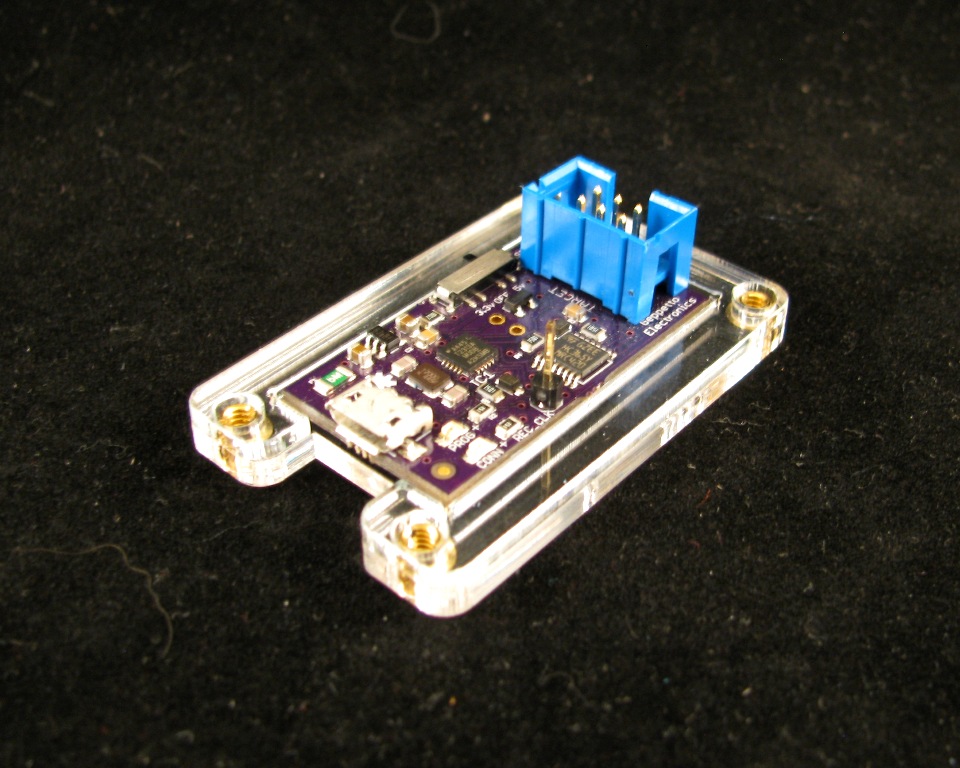
Step 5: Add the switch guide layer
The notch cut out of this layer goes around the switch.

Step 6: Add the switch
The acrylic case switch should fit right over the switch on the PCB


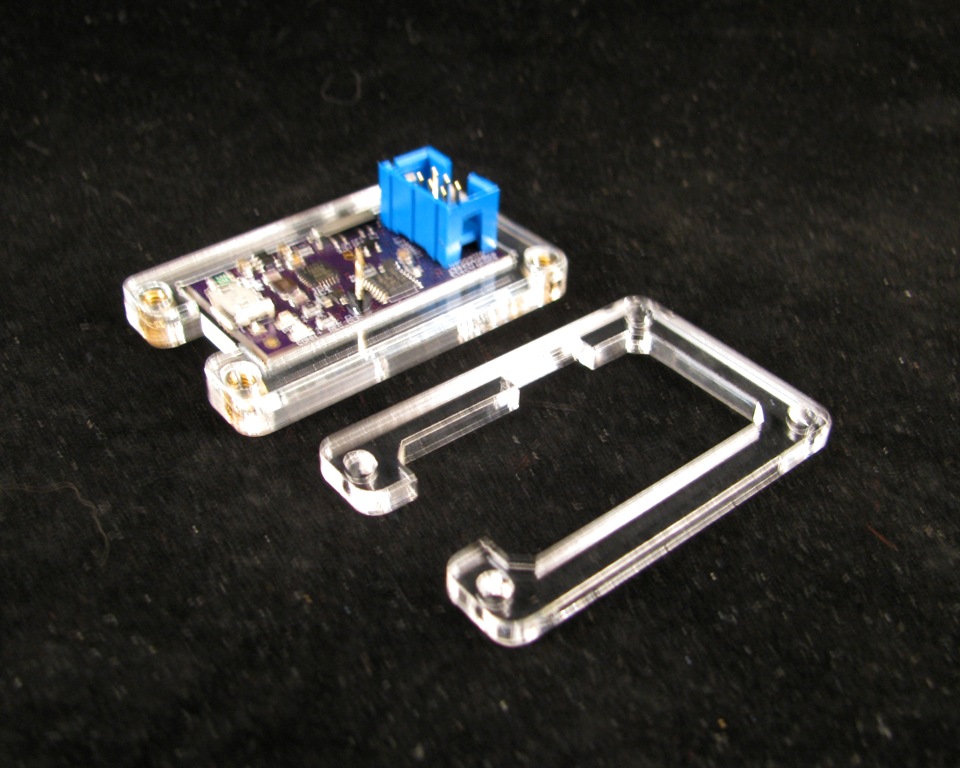
Step 7: Add the top layer
When adding the top layer, be mindful of the switch piece.

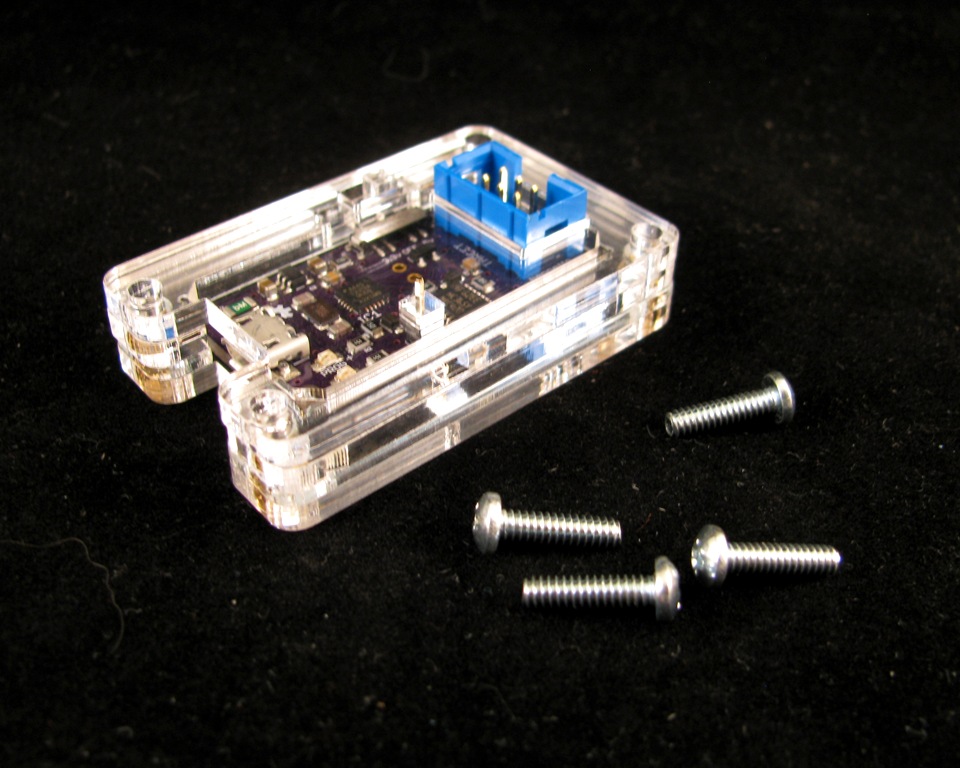
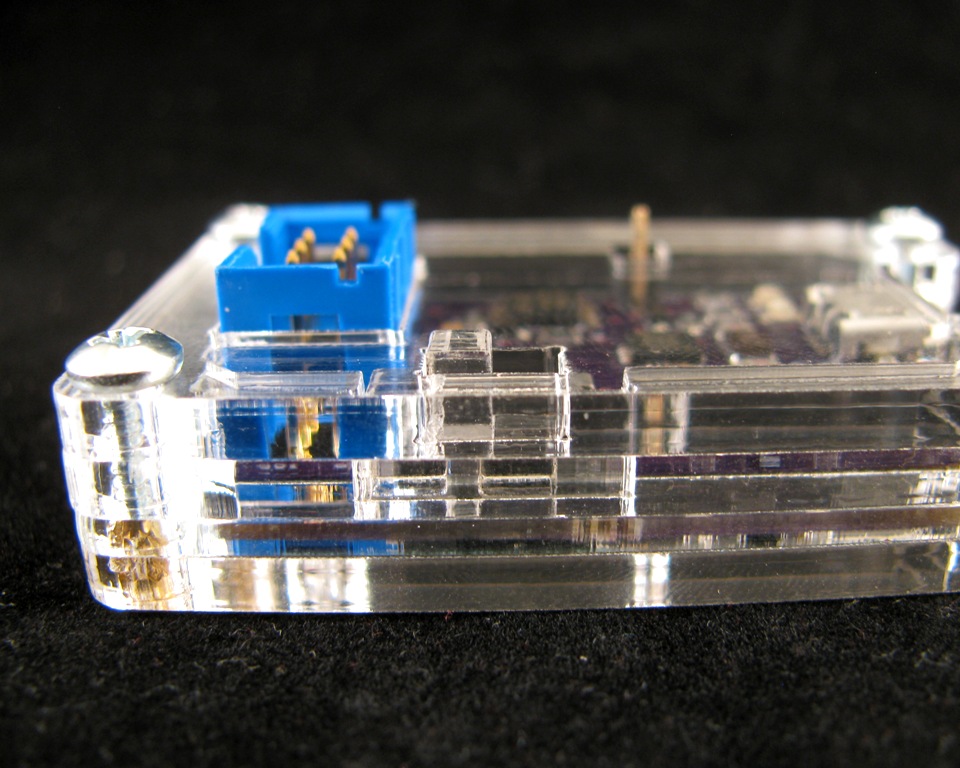
Step 8: Add the Screws
Take the four screws and place them into the four holes and screw them in. No need to crank them down, just make them nice and snug.
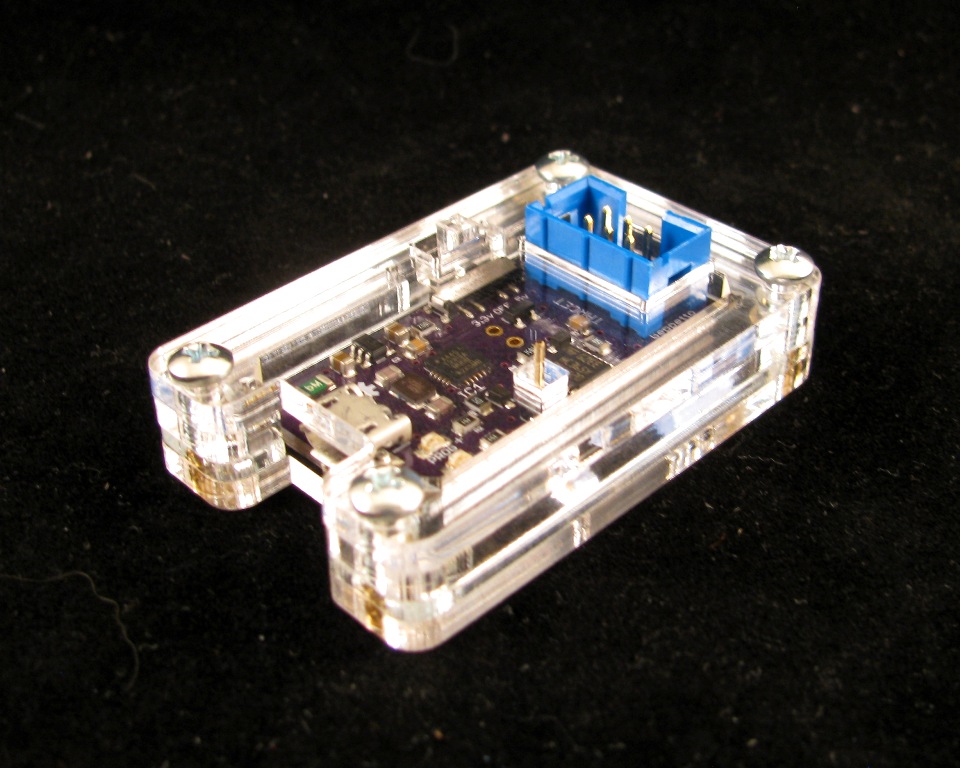
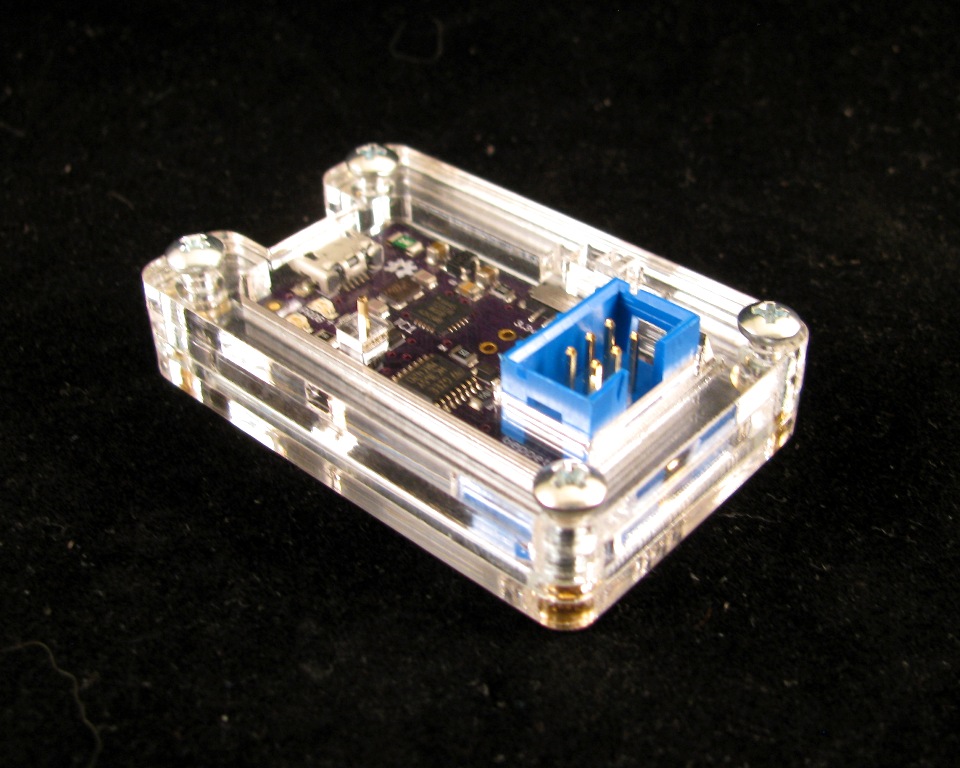
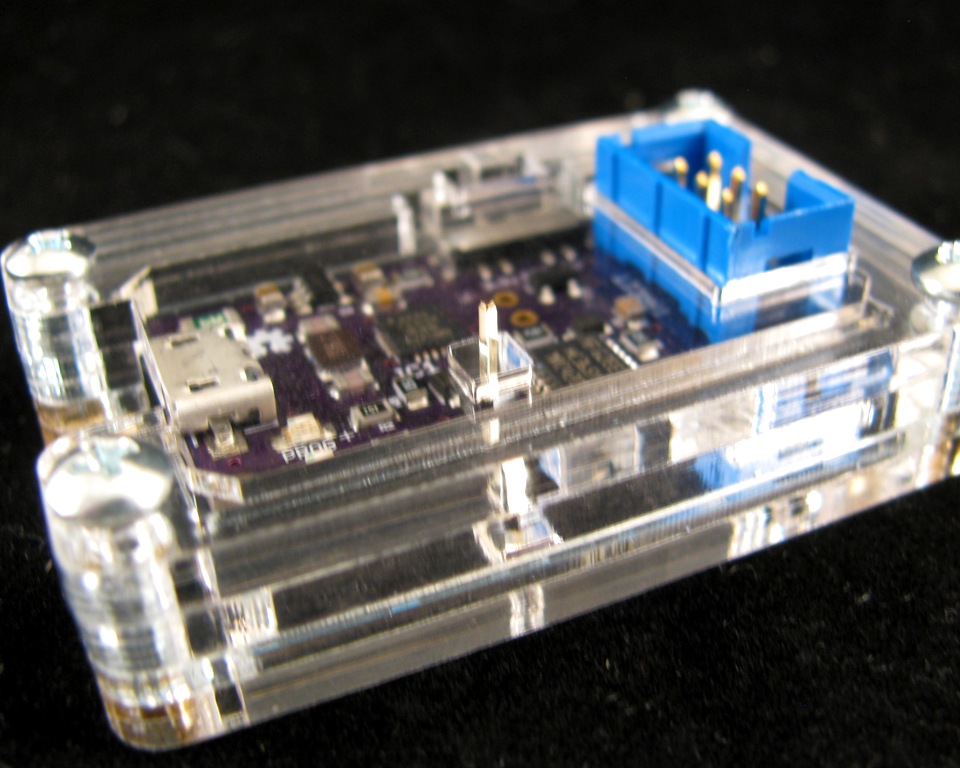
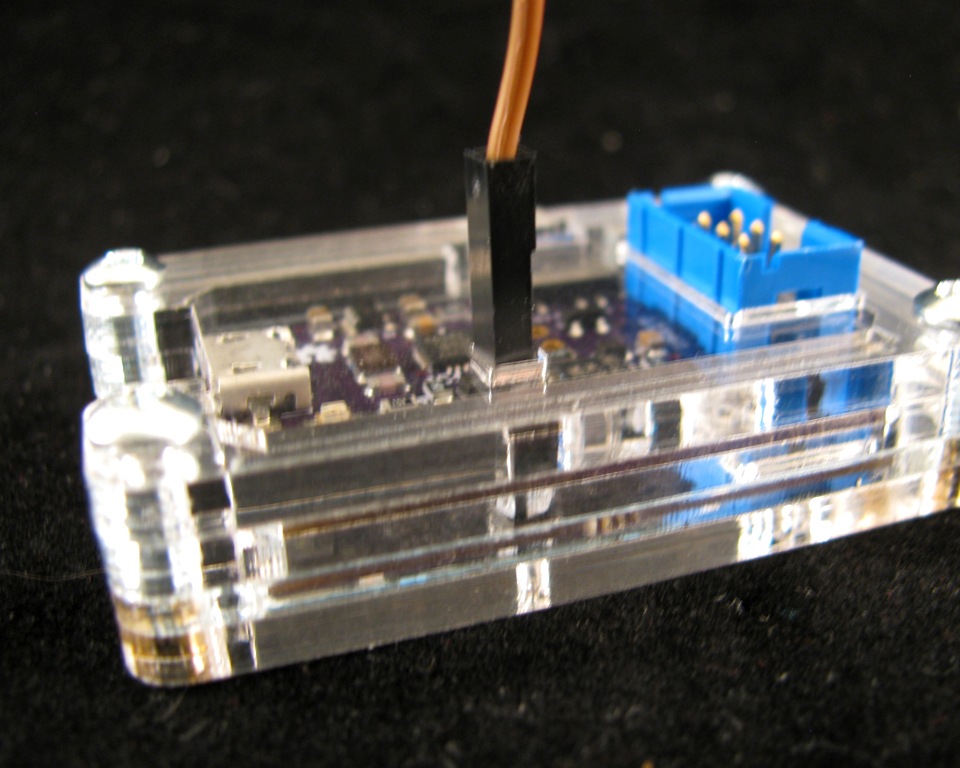
And there you have it! Your USB µISP now has a new home.


Want one of these cases for yourself? Grab one here:
Want the design files? Grab them from my Thingiverse page:

