Odroid C1, C1+ and 3.2inch TFT+Touchscreen Shield Case

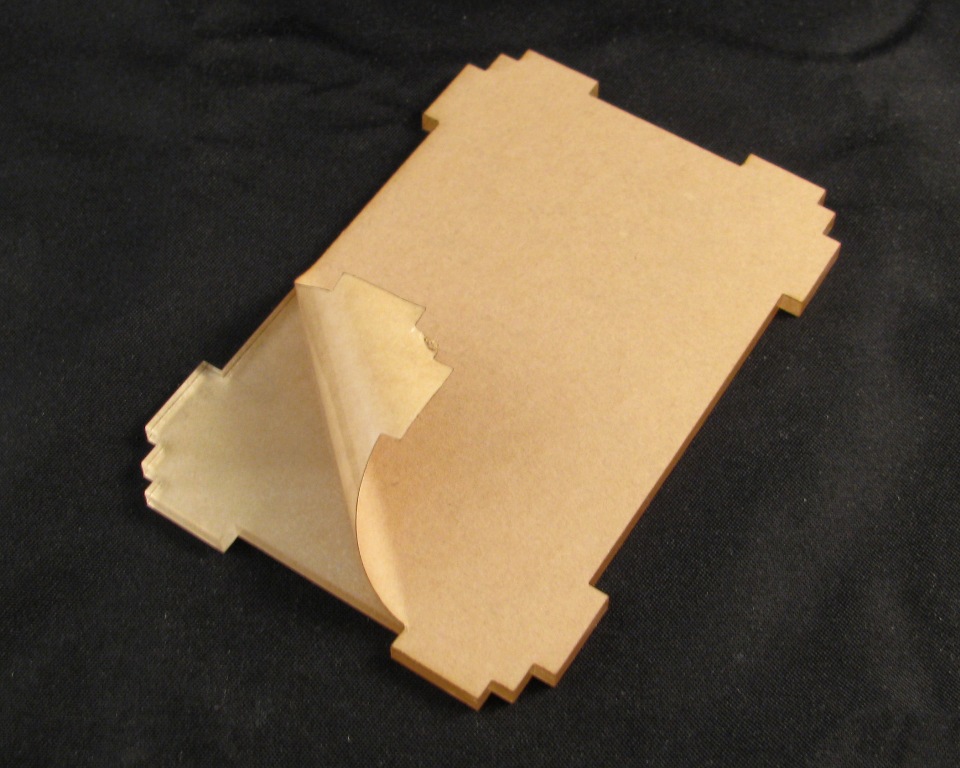
Step 1: Remove the Masking
All of the acrylic components have a brown paper masking on them. You will need to remove it to make the parts fit together nicely. It is best to start at a corner.

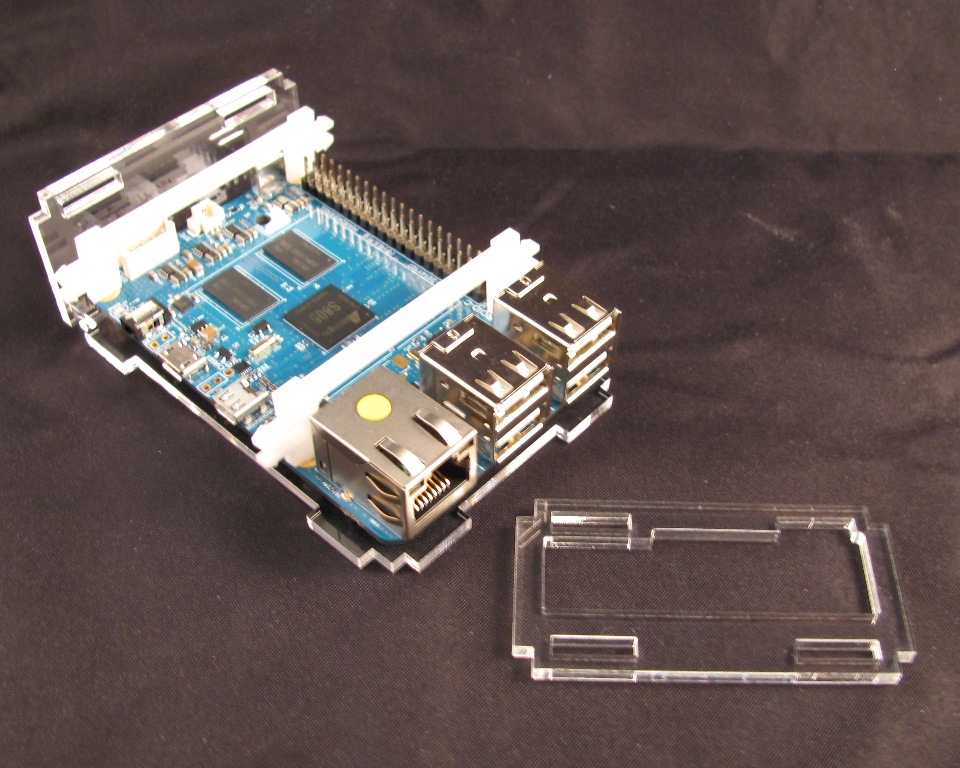
Step 2: Attach the delrin clips to the PCB

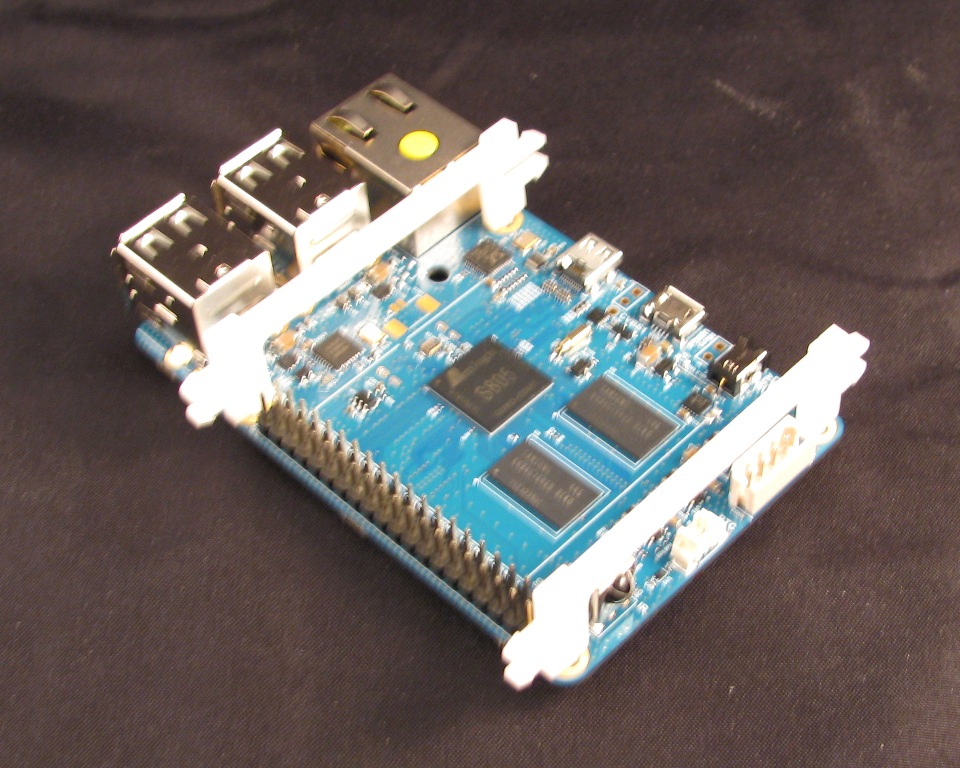 For the Odroid C1+, use the clips with the "+" symbol etched into the corners.
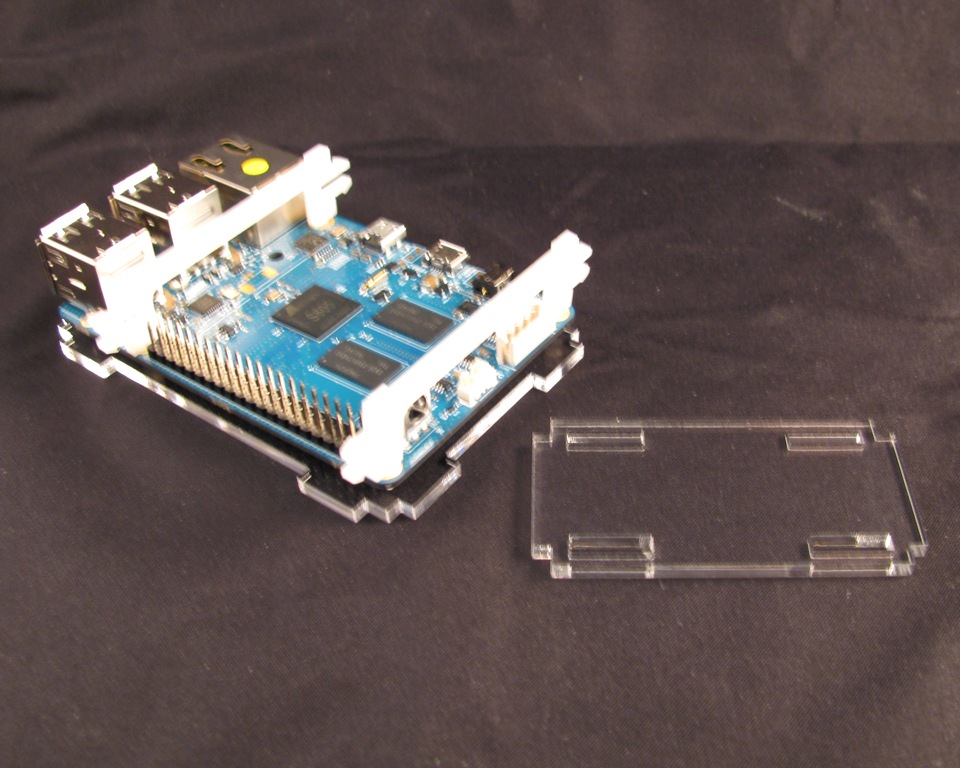
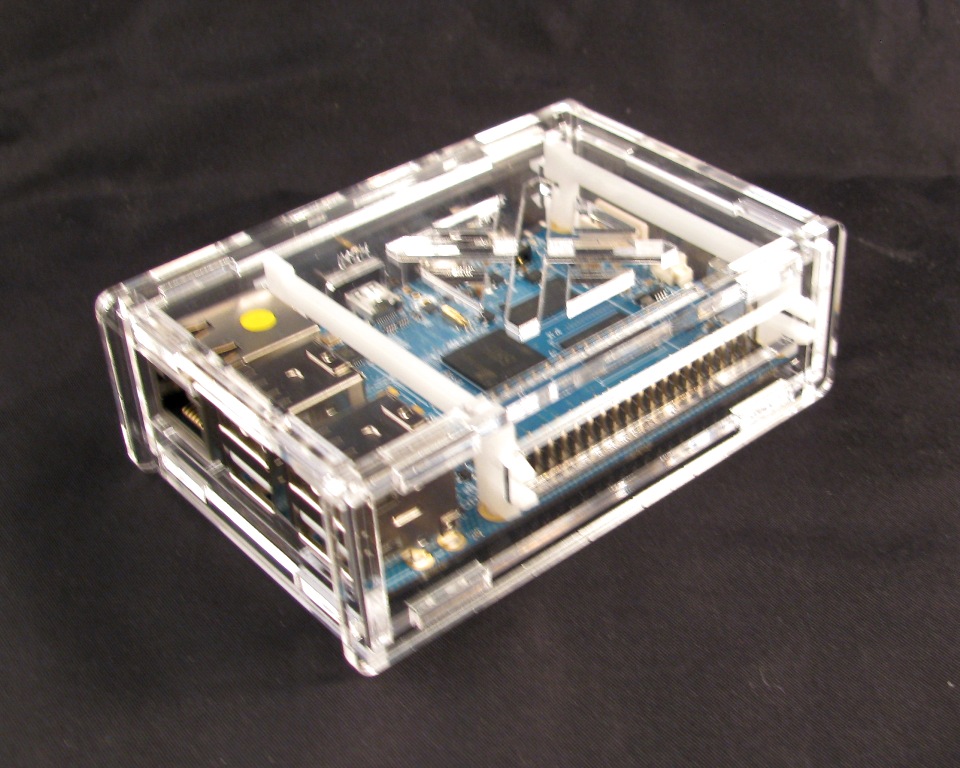
Step 3: Place the Odroid C1 on the Bottom panel

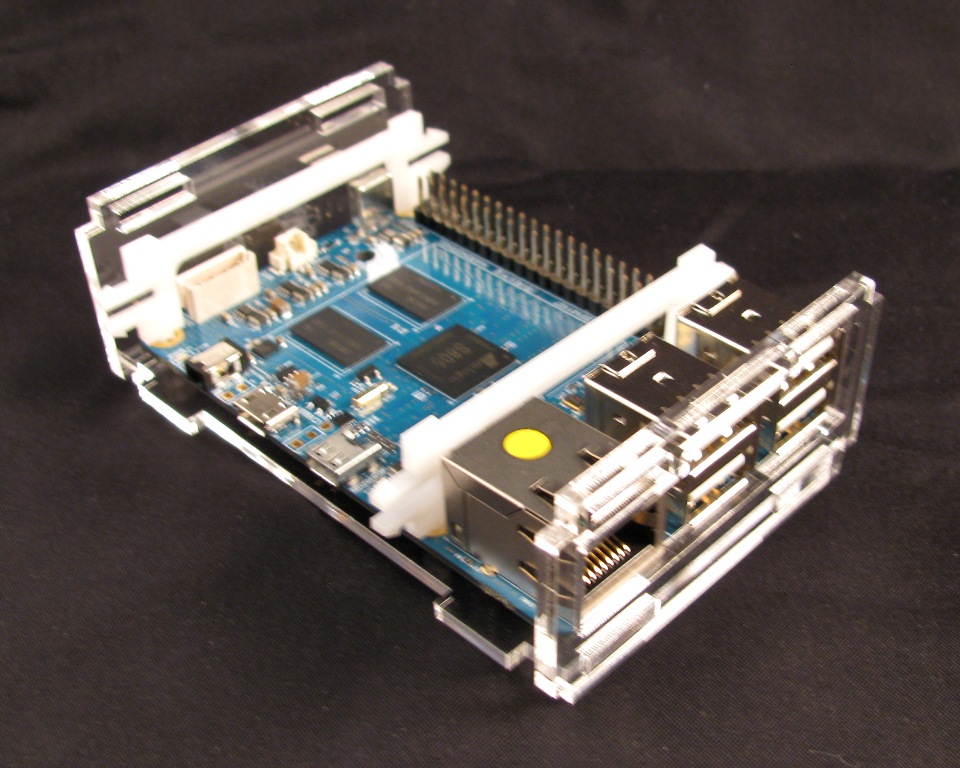
Step 4: Add the blank side panel
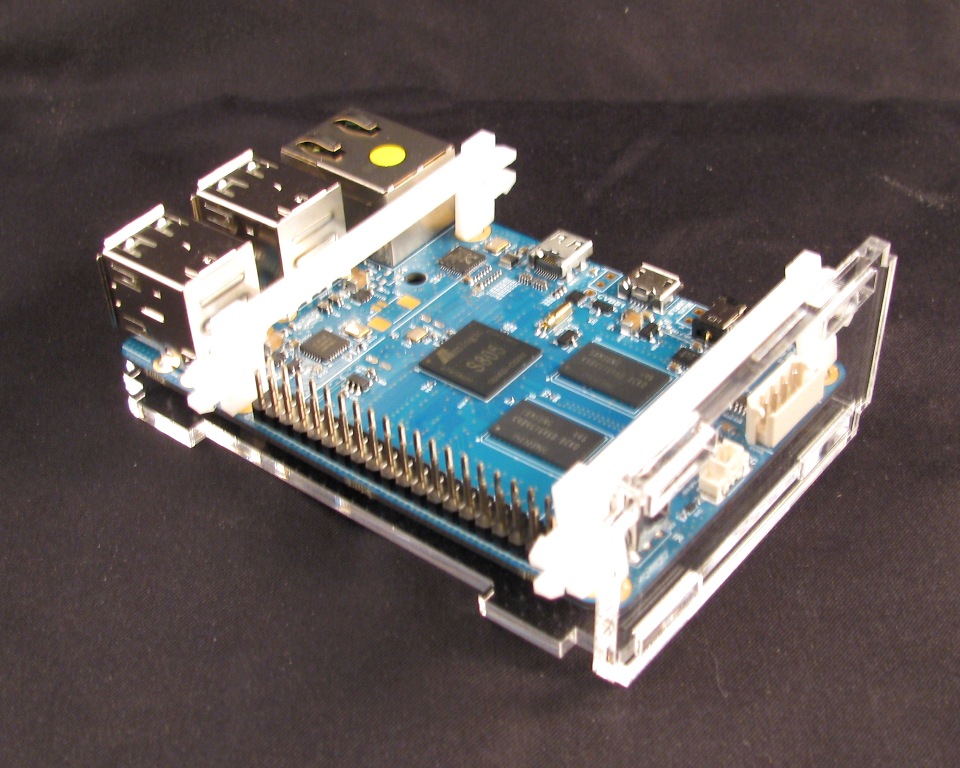
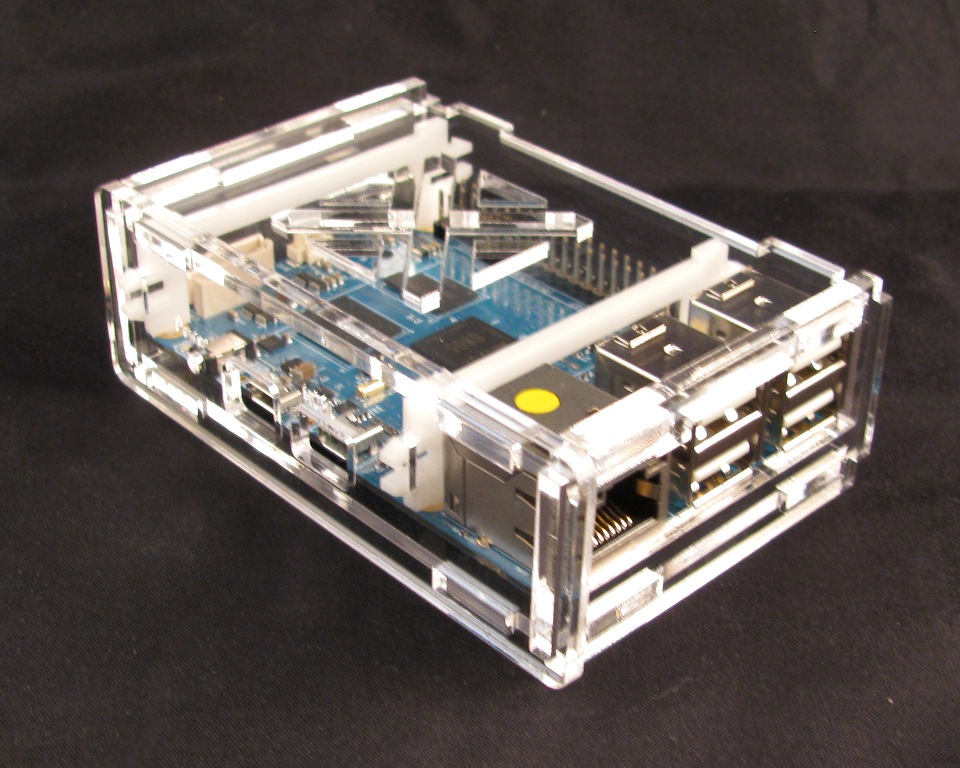
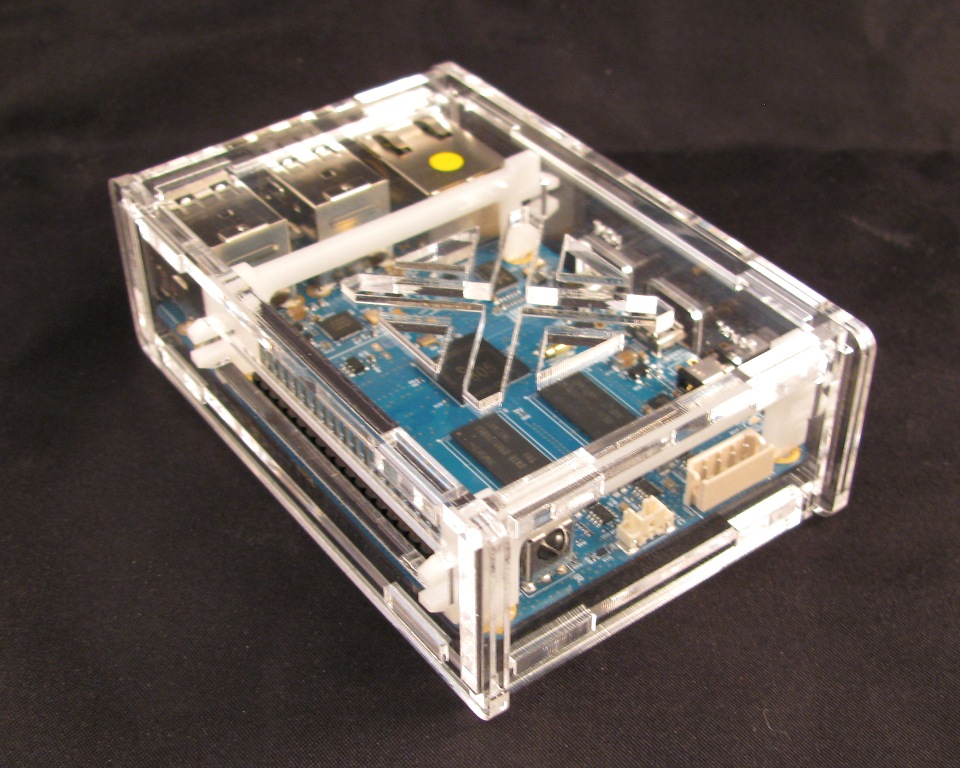
Step 5: Add the Ethernet/USB side
For use with the 3.2inch TFT+Touchscreen Shield, follow step 6b.
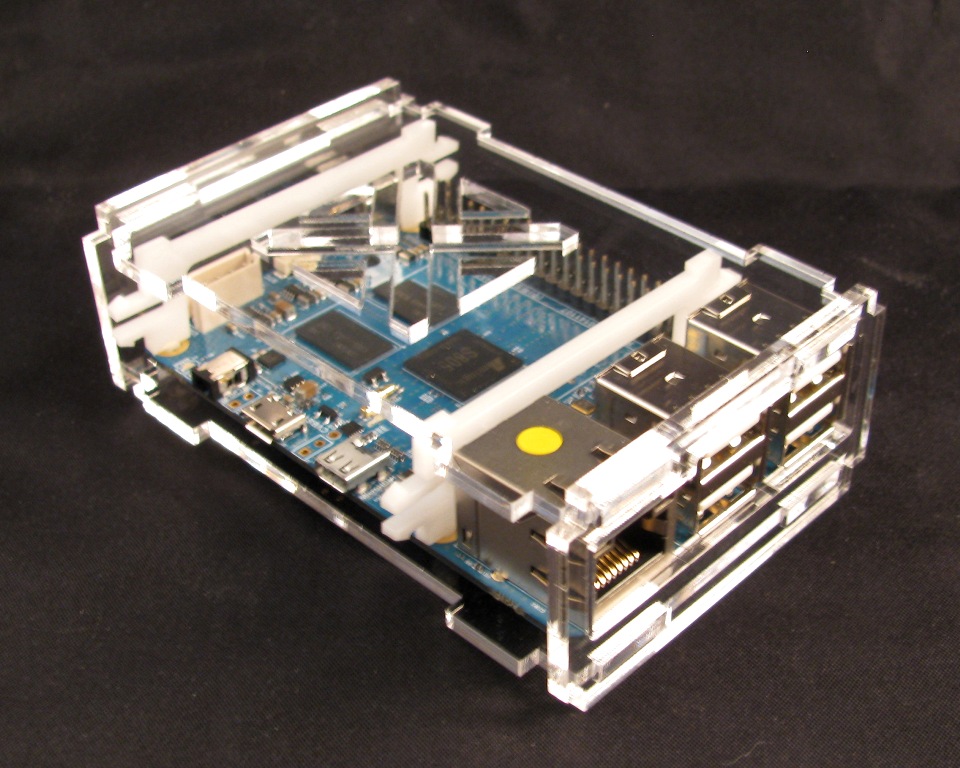
Step 6a: Add the top panel

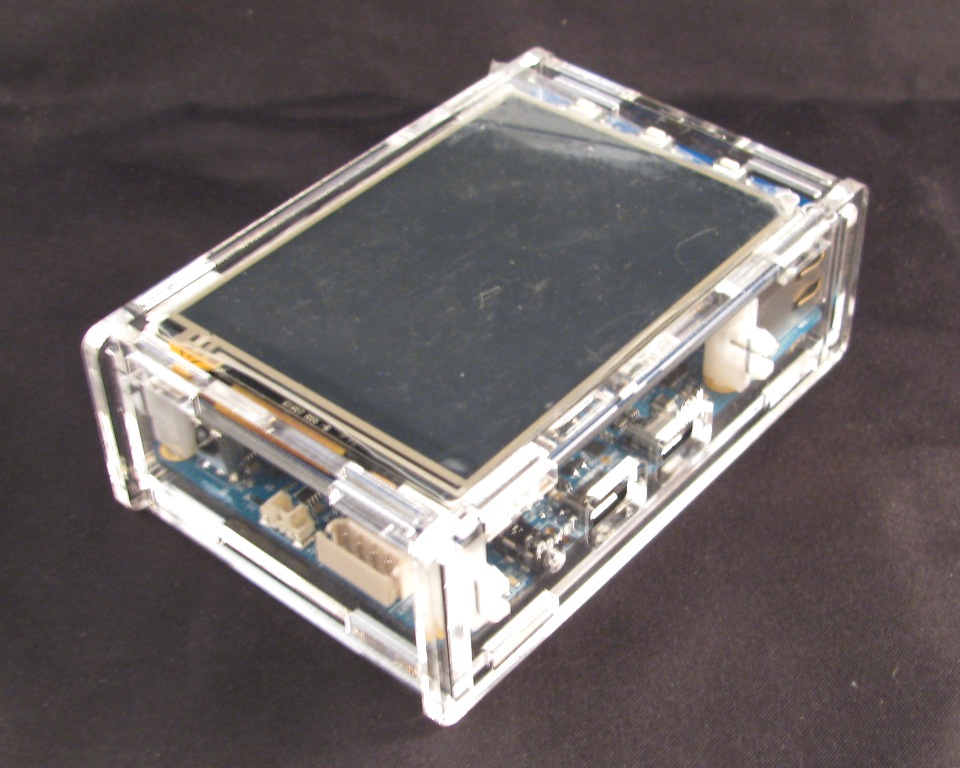
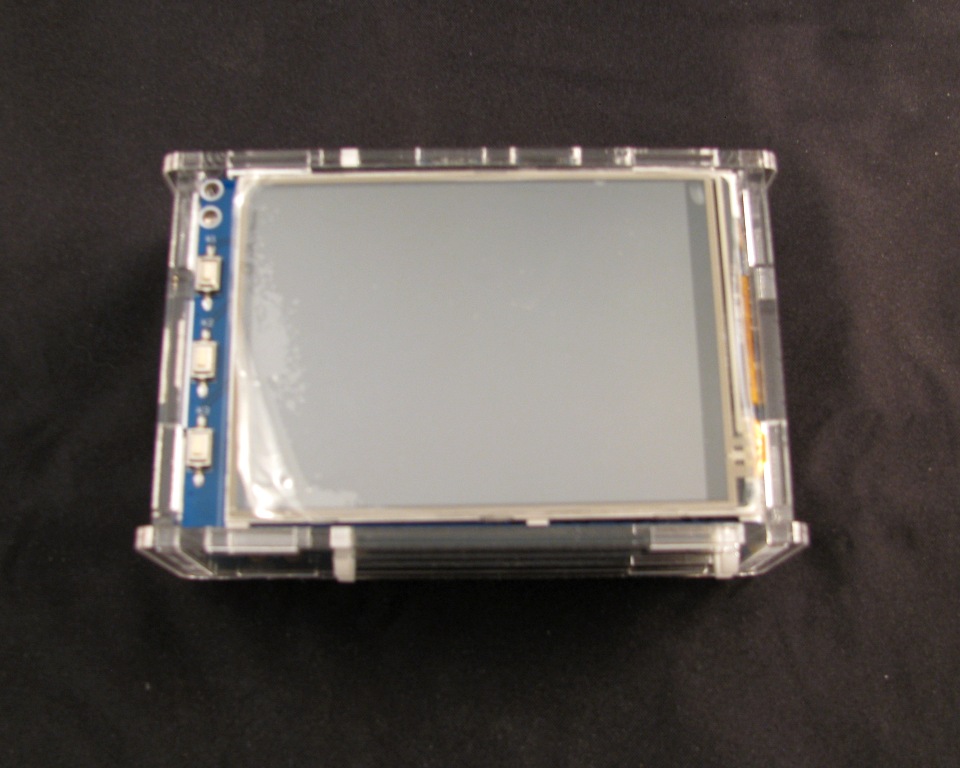
Step 6b: Install 3.2inch TFT+Touchscreen Shield
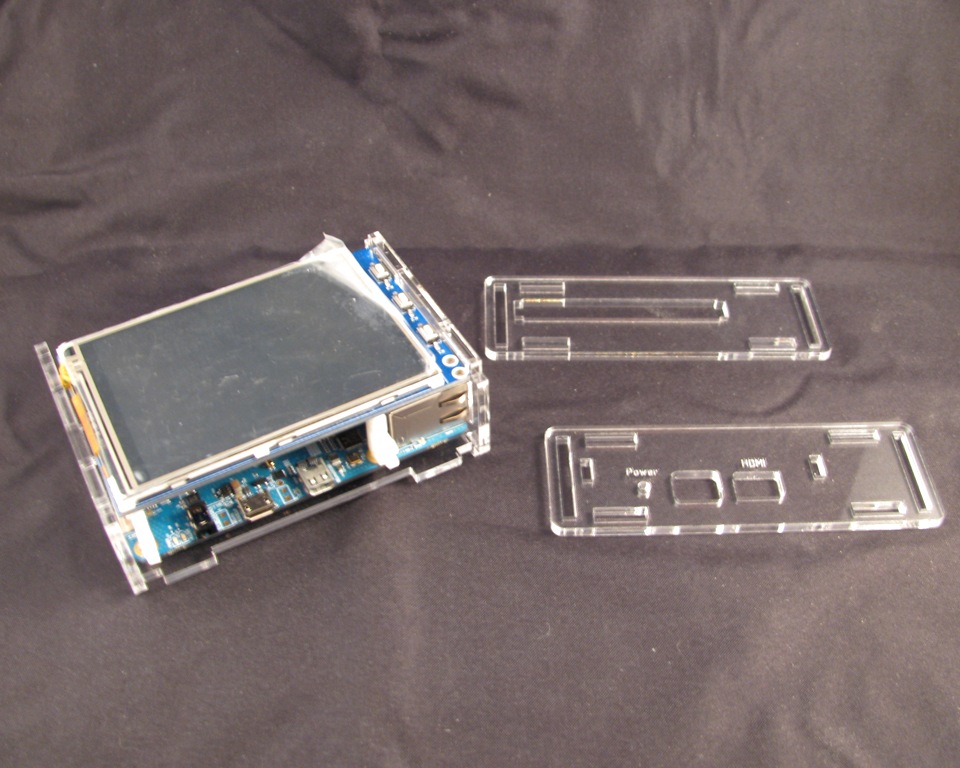
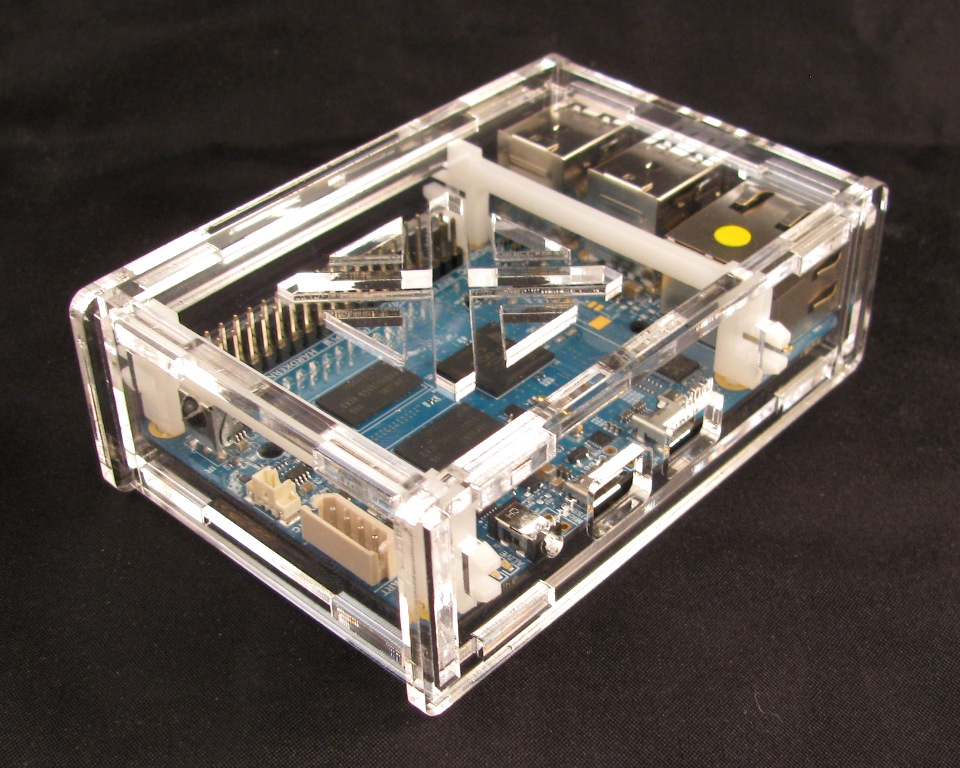
Step 7: Snap the Power/HDMI side on
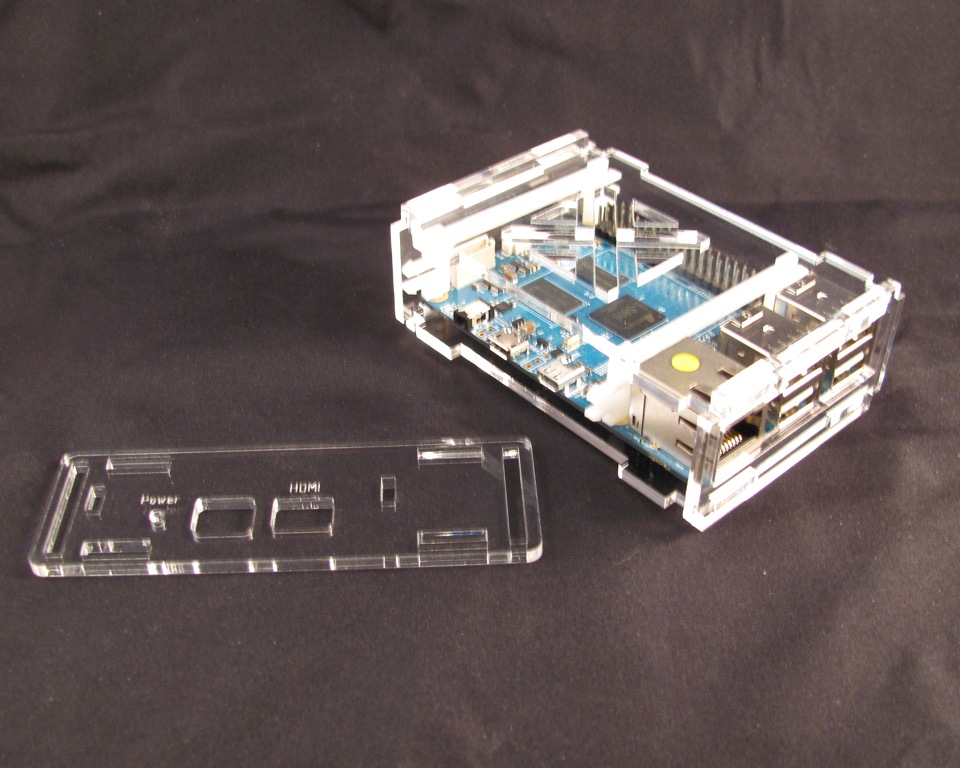
For the Odroid C1+, use the Power/HDMI side with the larger HDMI cutout.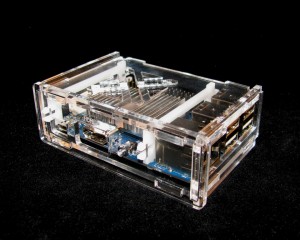
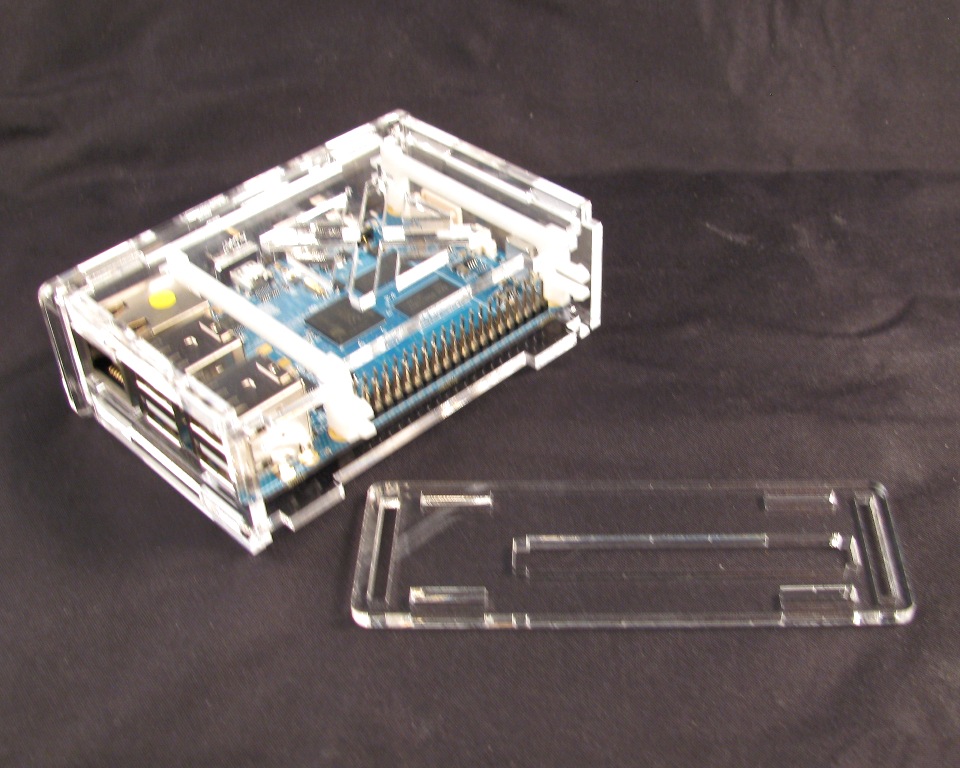
Step 8: Snap the GPIO side on
Congratulations! Your Odroid C1 has a new home.


Want one of these cases for yourself? Grab one here:
Want the design files? Grab them from my Thingiverse page:

