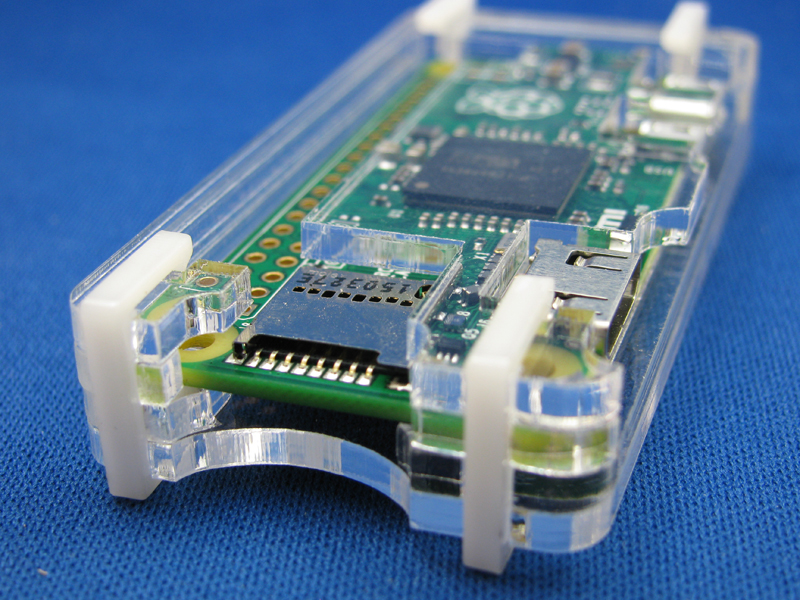
Raspberry Pi Zero Case
*Note: The version of the Raspberry Pi Zero Case used in these instructions has replaced the single retainer piece with 2 new pieces to accommodate a camera connector. The old piece is on the left, the new pieces on the right.
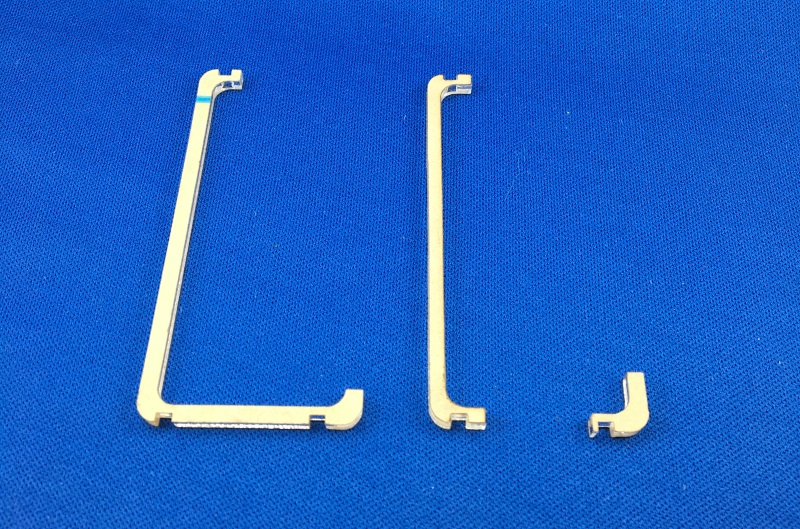
The assembly process is the same and the new pieces have been included in the kit as of 6/17/16. If you picked up one of the older kits and would like an upgrade, email me (craig@built-to-spec.com) and I'll get one out to you.
Step 1: Remove the Masking
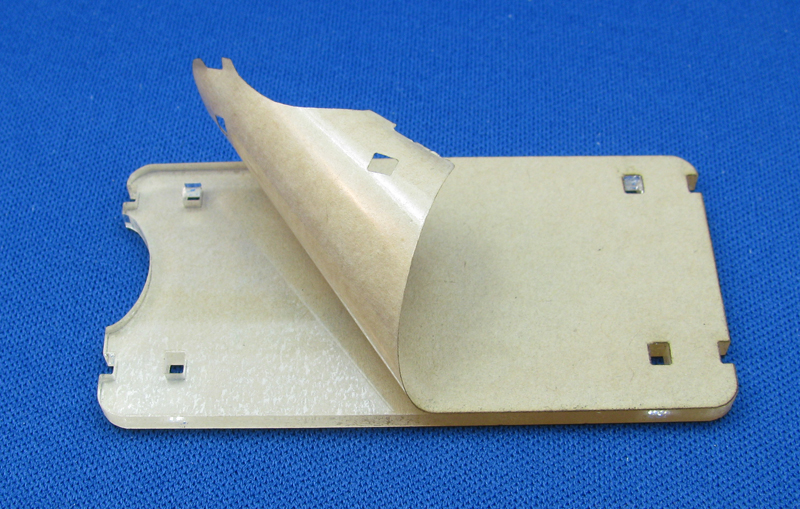
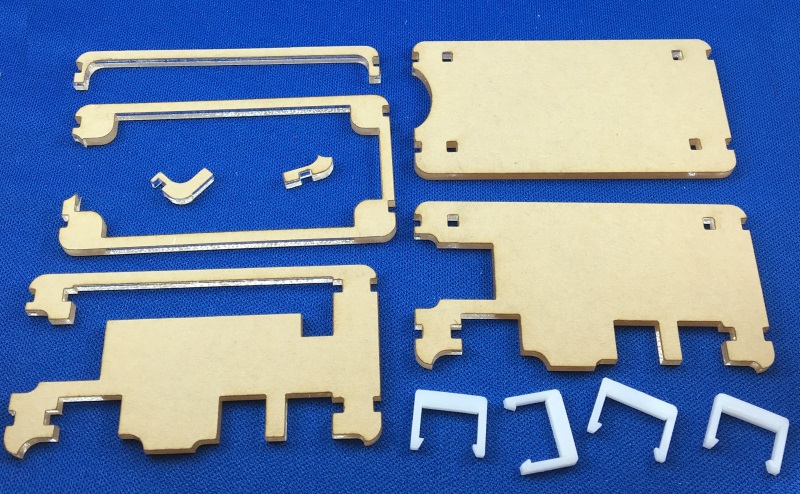
All of the acrylic components have a brown paper mask layer on them in order to protect the surface during transport and production. This layer should be removed for proper assembly of the case.
Using your fingernail or other similar tool to start peeling the masking from a corner.
Remove the masking from both sides.
Step 2: make the stack
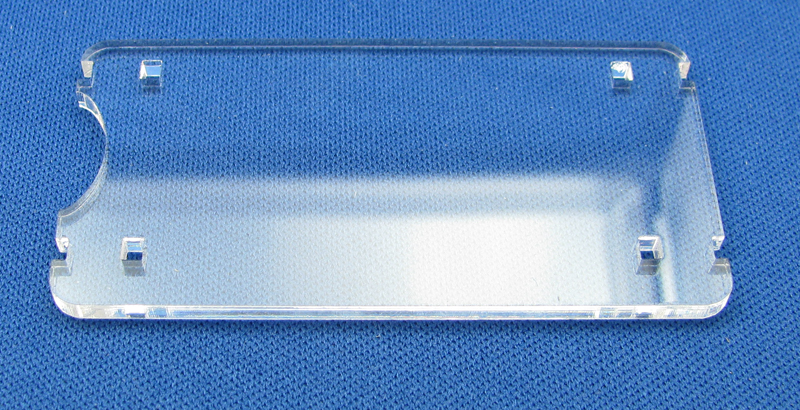
Start by placing the bottom plate down. The side with the notches closest to the edge of the plate should be the furthest from you.
Next place the bottom spacer piece. The notches should align, if they do not you may need to flip it over vertically.
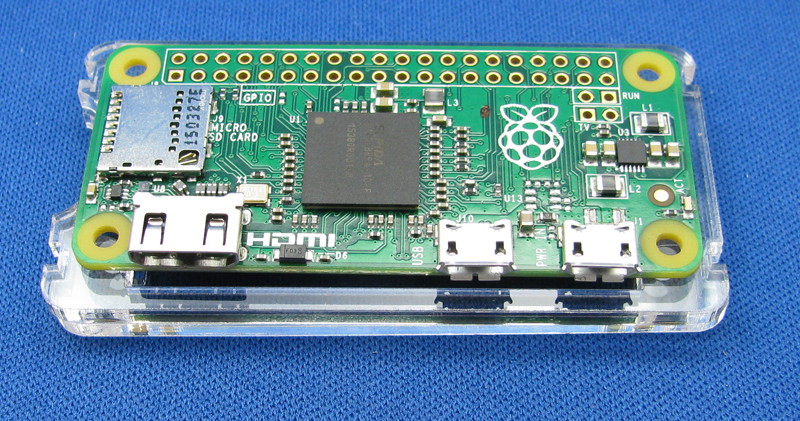
Then place your Pi Zero on top of the spacer piece.
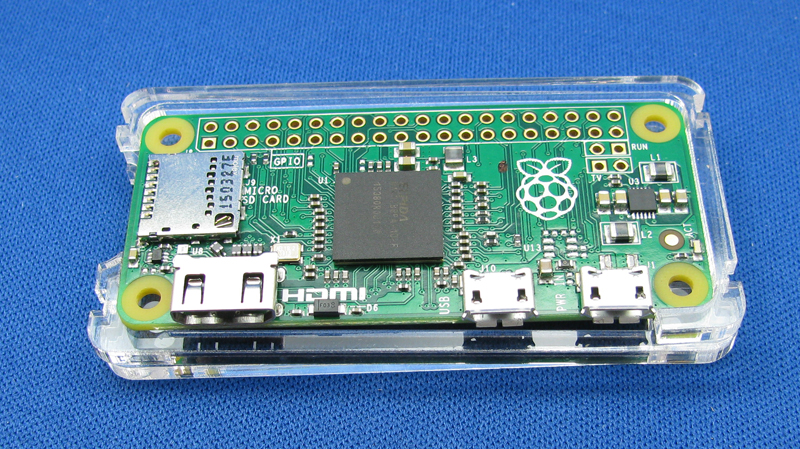
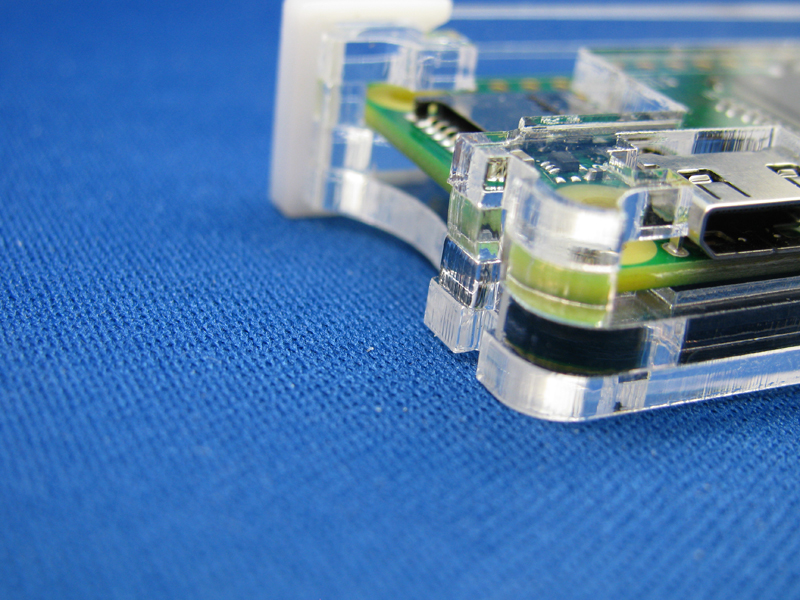
Place the retainer piece around the outside of the Pi Zero.
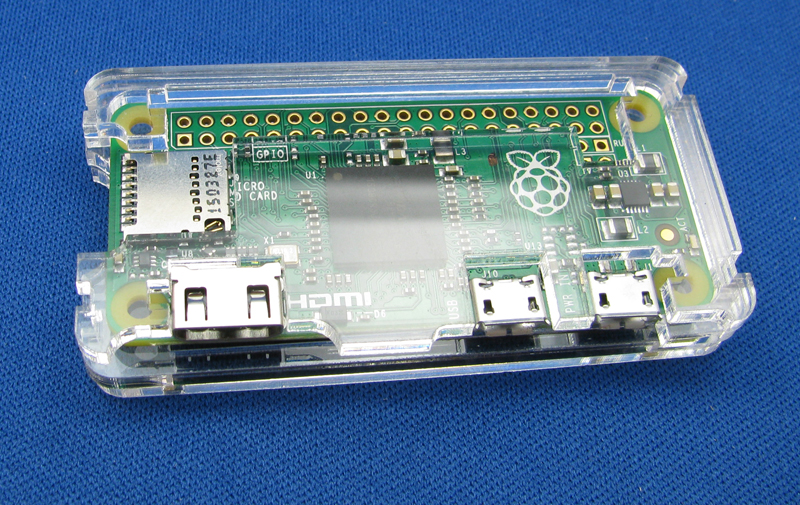
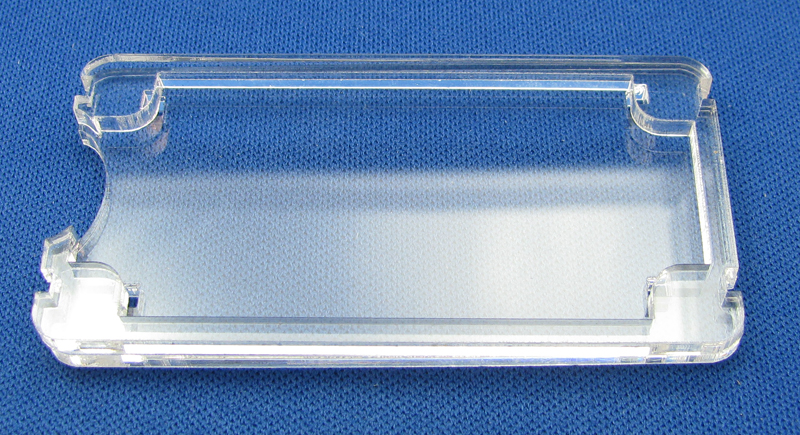
Finally, place the top of the case. Double check to make sure all the clip slots on the right and left properly align before continuing.
Step 3: Attach the Delrin Clips to indicated corners
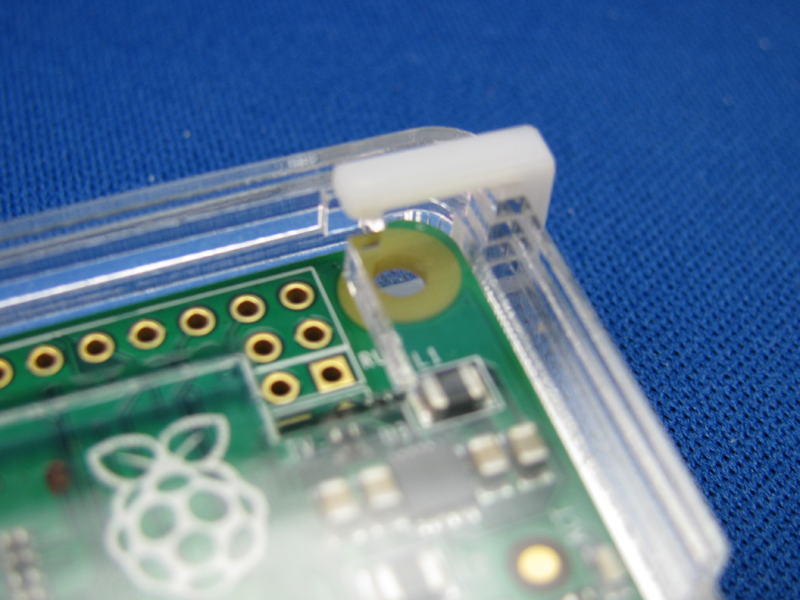
In the upper right corner (near the raspberry), place the first delrin clip. Ensure that the notches in the case align with the clip.
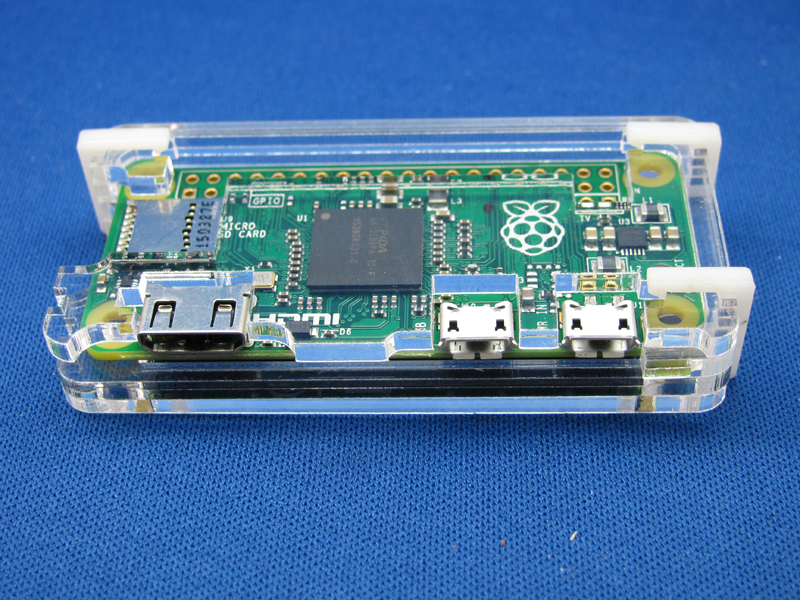
Place three more clips in a similar manner, however leave the corner next to the HDMI port without a clip for the time being.
Step 4: Insert Acrylic Spacer Piece

There is a spot in the corner near the HDMI for the small acrylic spacer included in the kit.
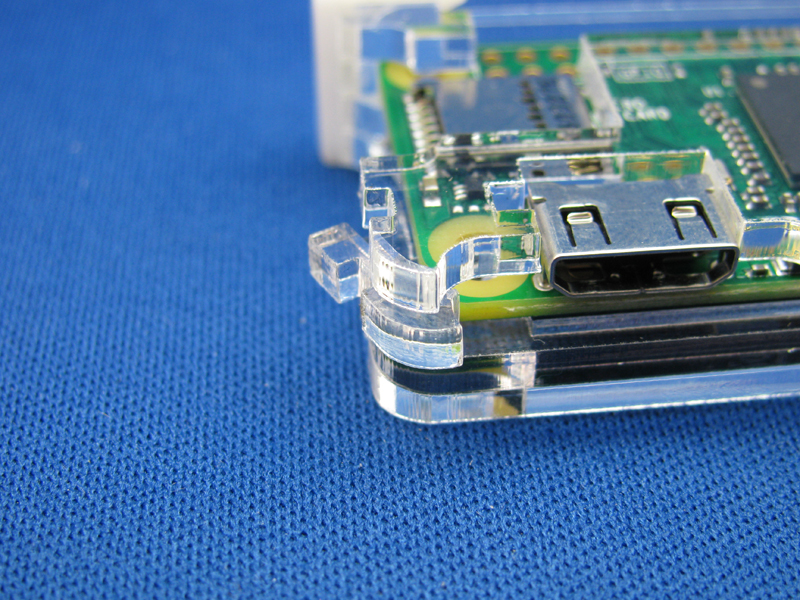
Insert the spacer into the corner.
Align the notches in the corner.
Step 5: Place the final delrin clip
While holding the corner together by firmly pressing it together, place the final clip, ensuring that all the notches line up with the clip.
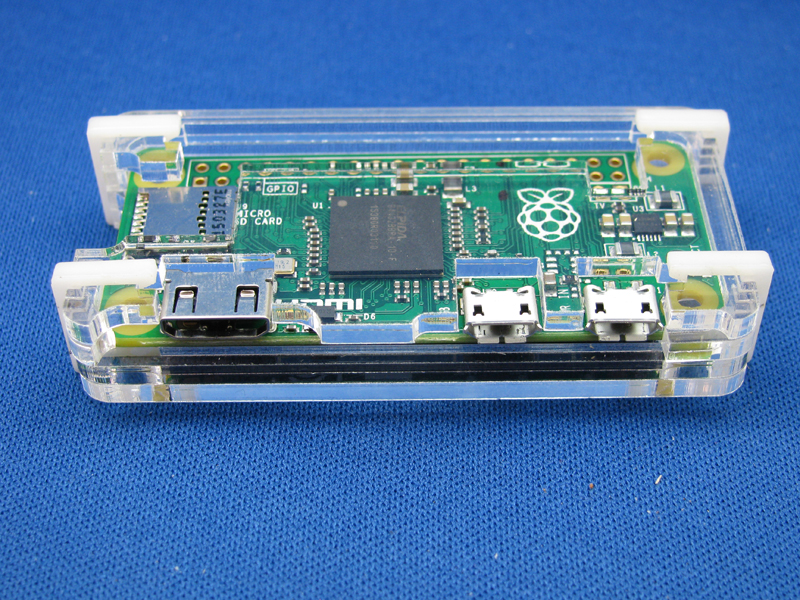
CONGRATULATIONS!
You have successfully assembled the case for your Raspberry Pi Zero Case.
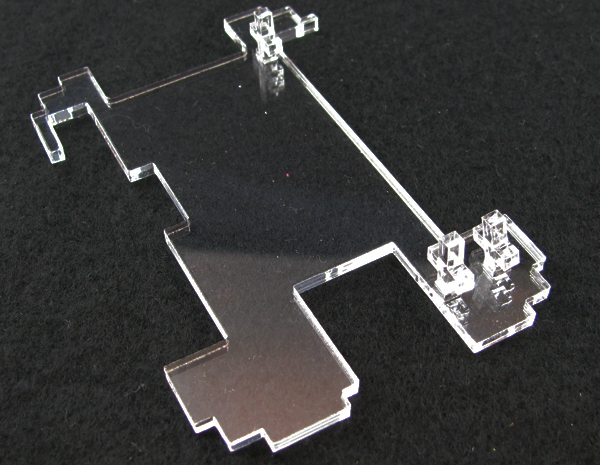
Want the Design File? Grab it from our Thingiverse!
http://www.thingiverse.com/thing:1177593
If you don't have a laser cutter, you can grab one of these cases from our store here:
https://builttospecstore.storenvy.com/products/15401658-raspberry-pi-zero-case

