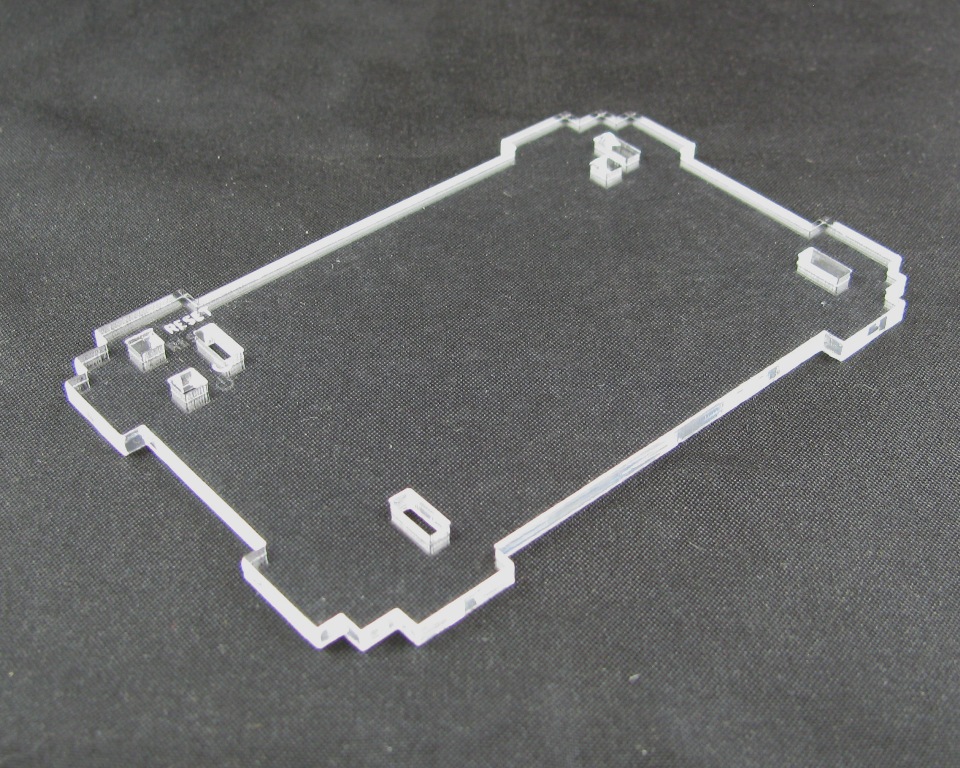
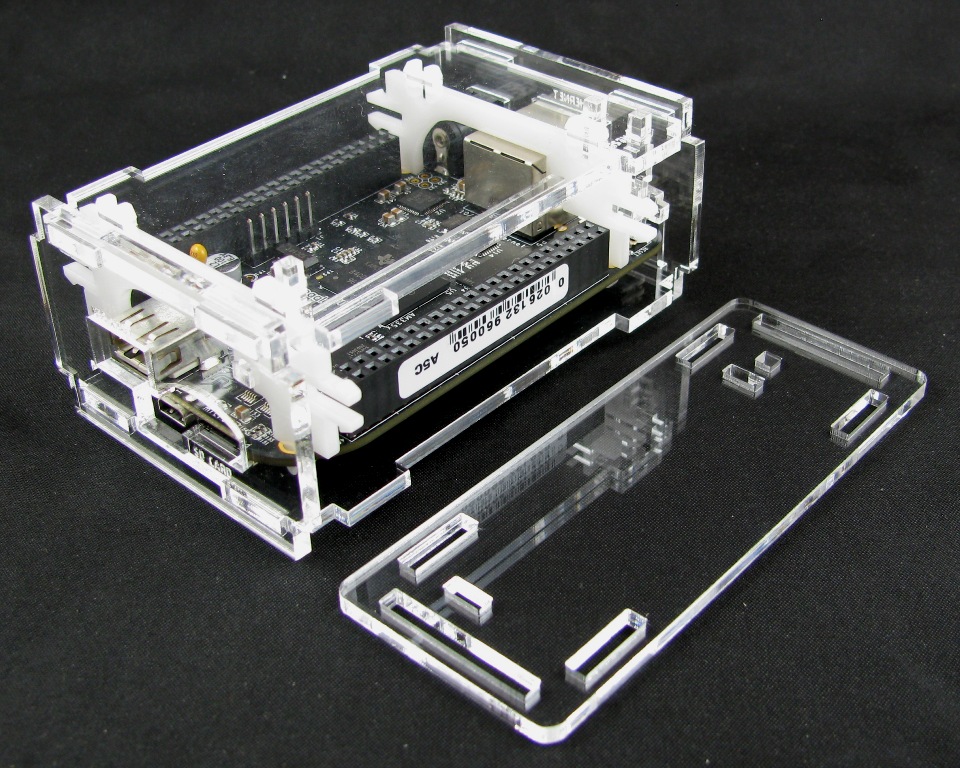
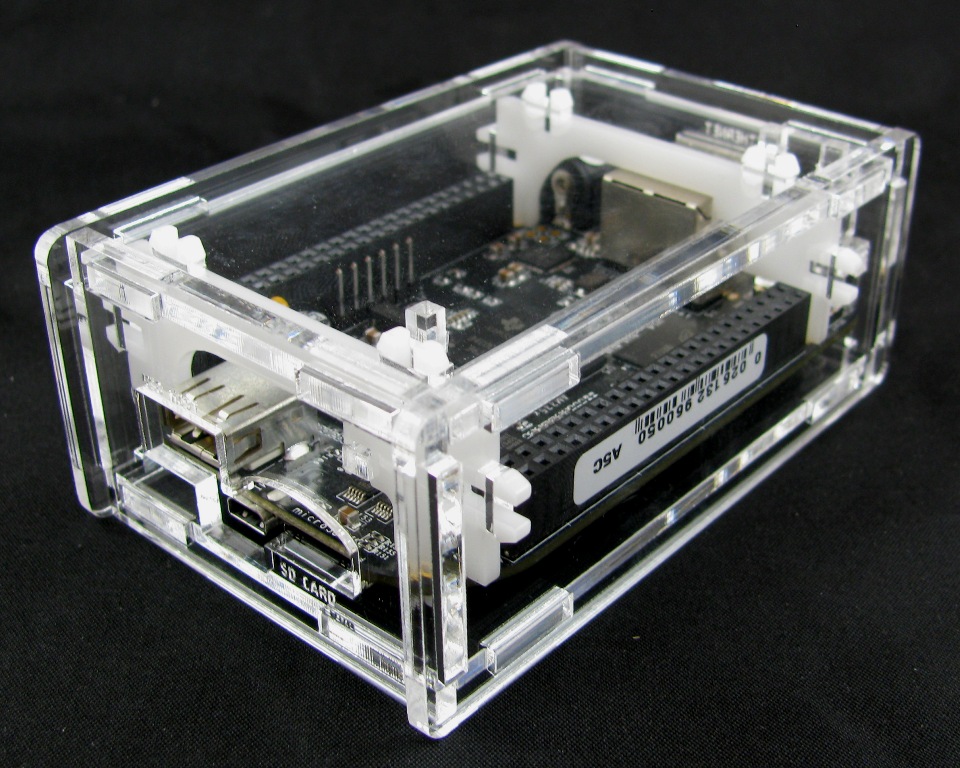
New BeagleBone Black Case

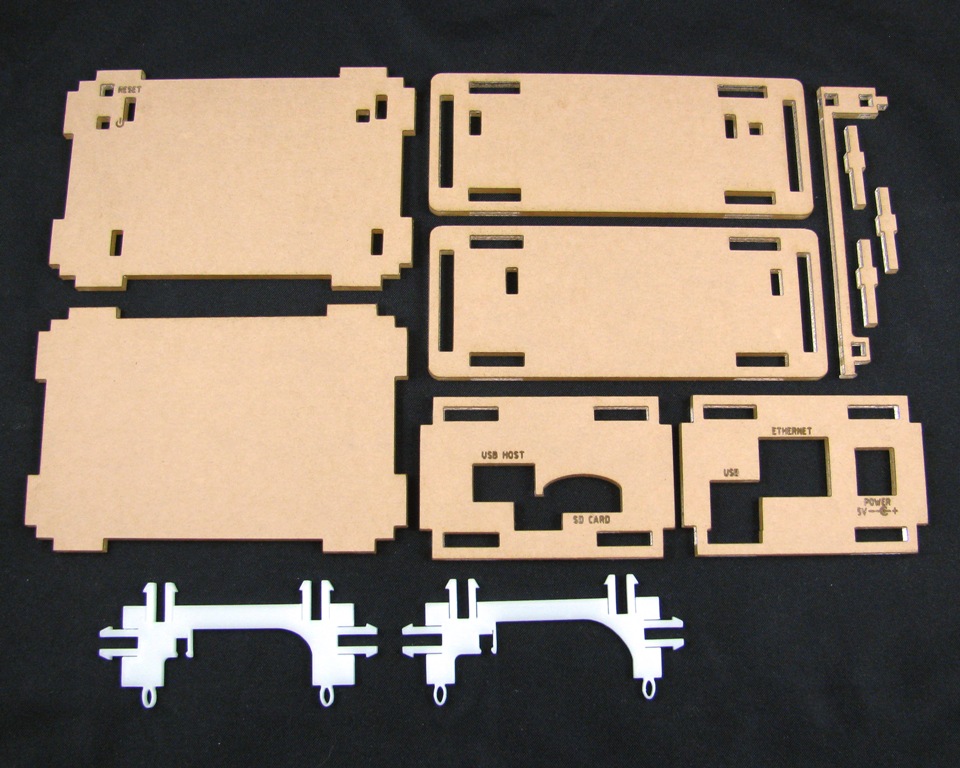 This new case features our hardware free delrin clip design, making it cheaper and easier to assemble.
Step 1: Remove the masking material
All of our acrylic has a paper mask to protect the surface from blemishes.
To remove this mask, simply start at a corner of the part and use your fingernail or some similar implement to peel back the mask.
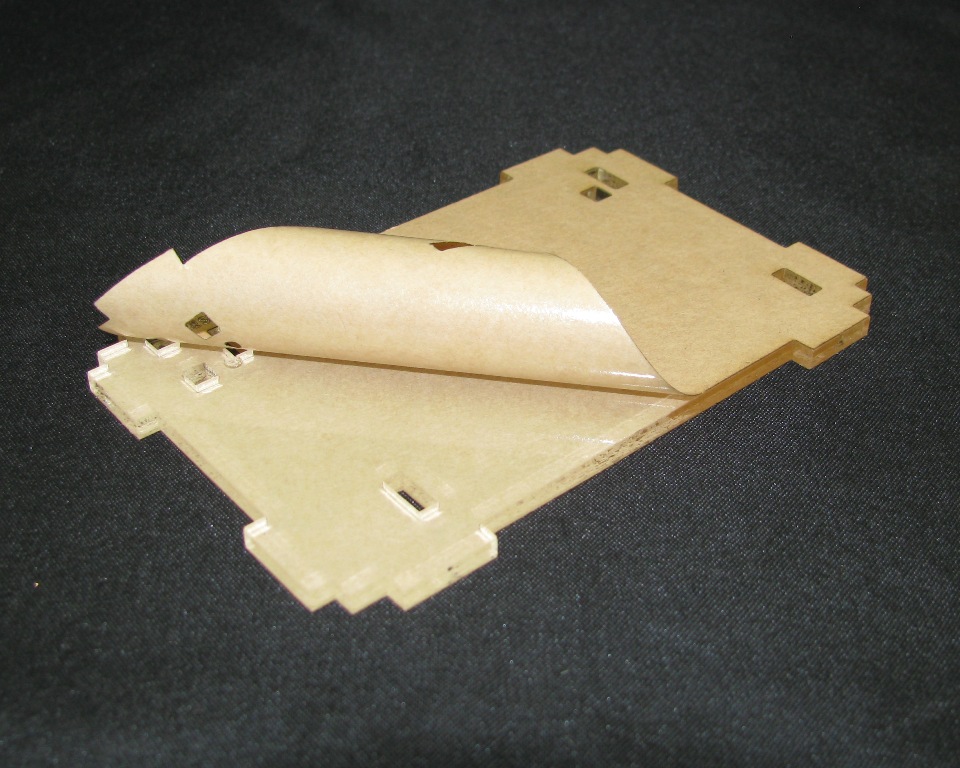
Be sure to remove the masking from both sides of the part.
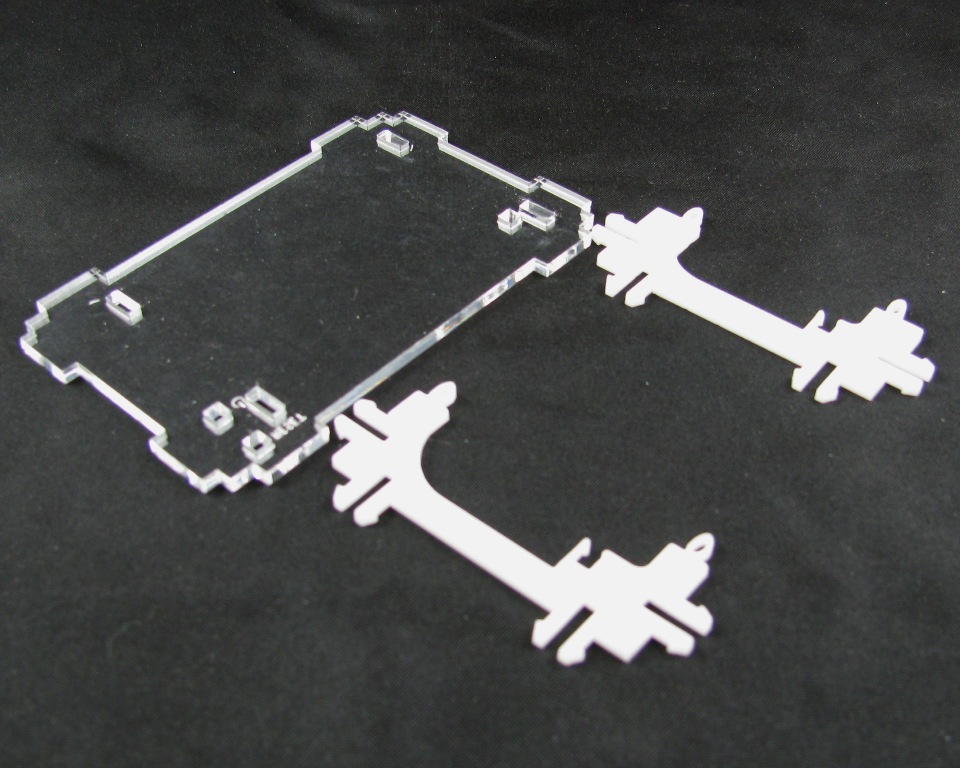
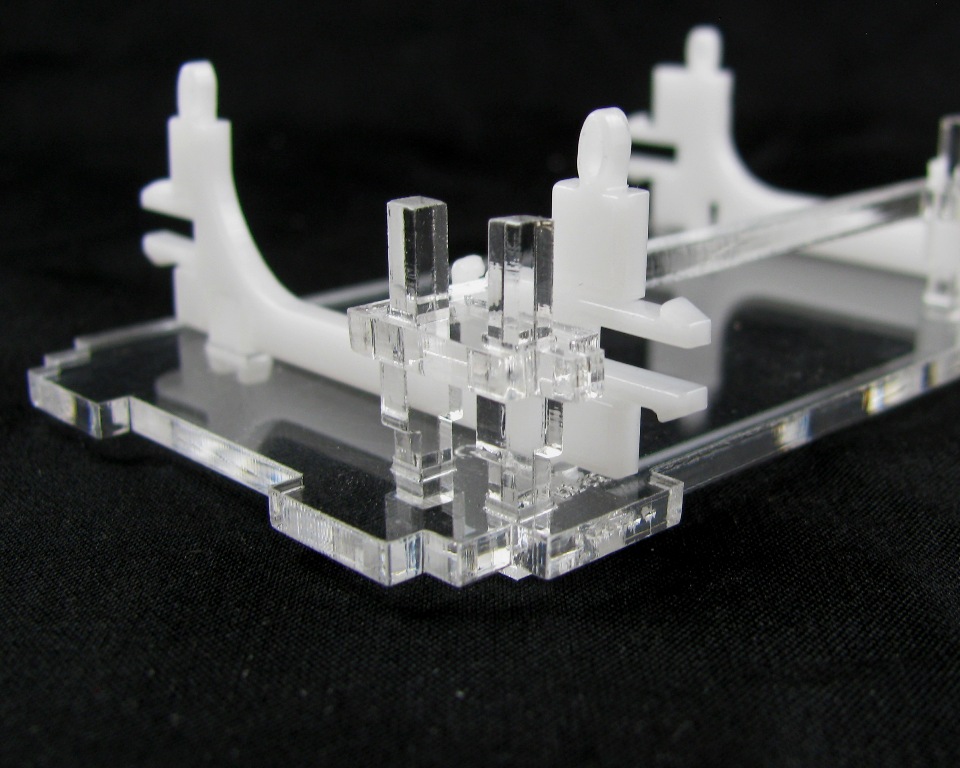
Step 2: Attach the Delrin Clips
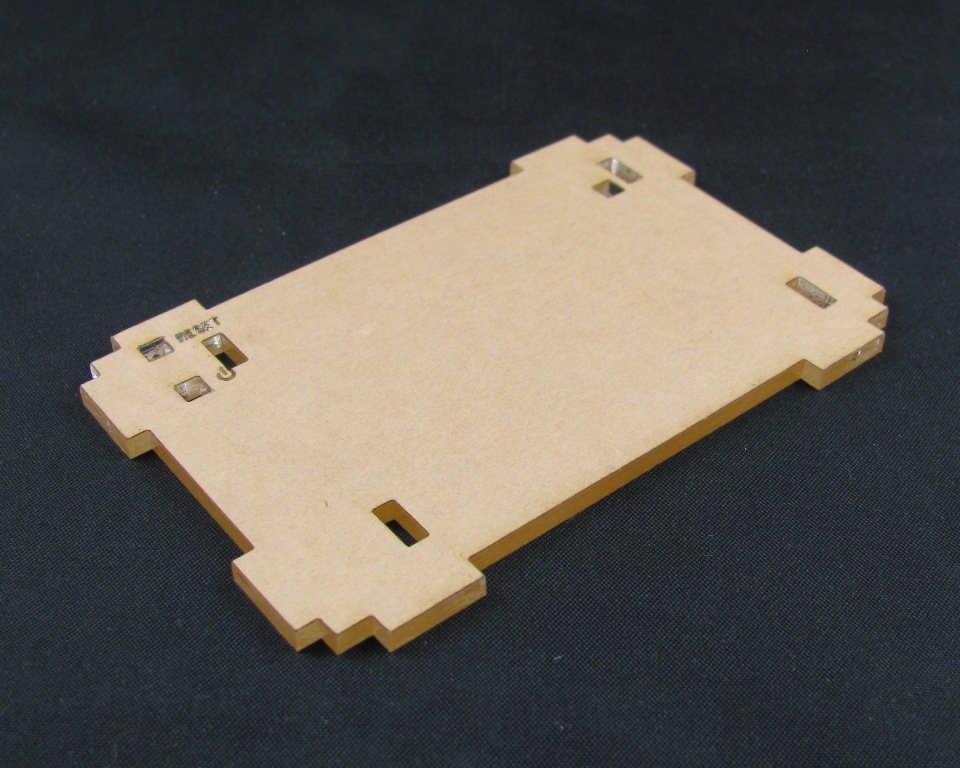
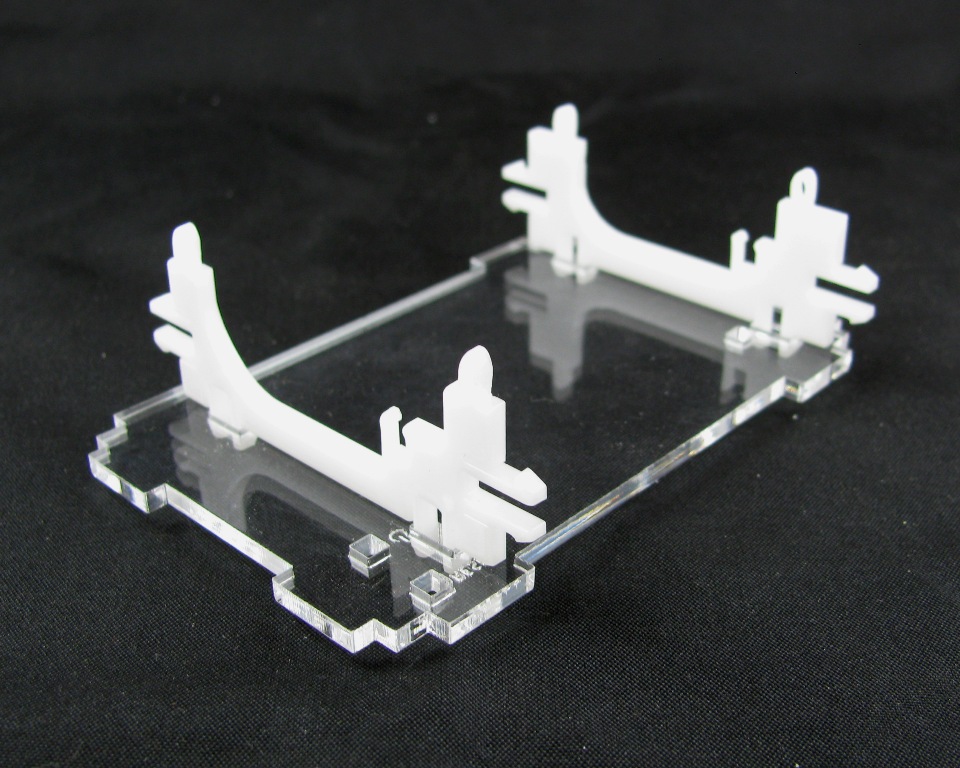
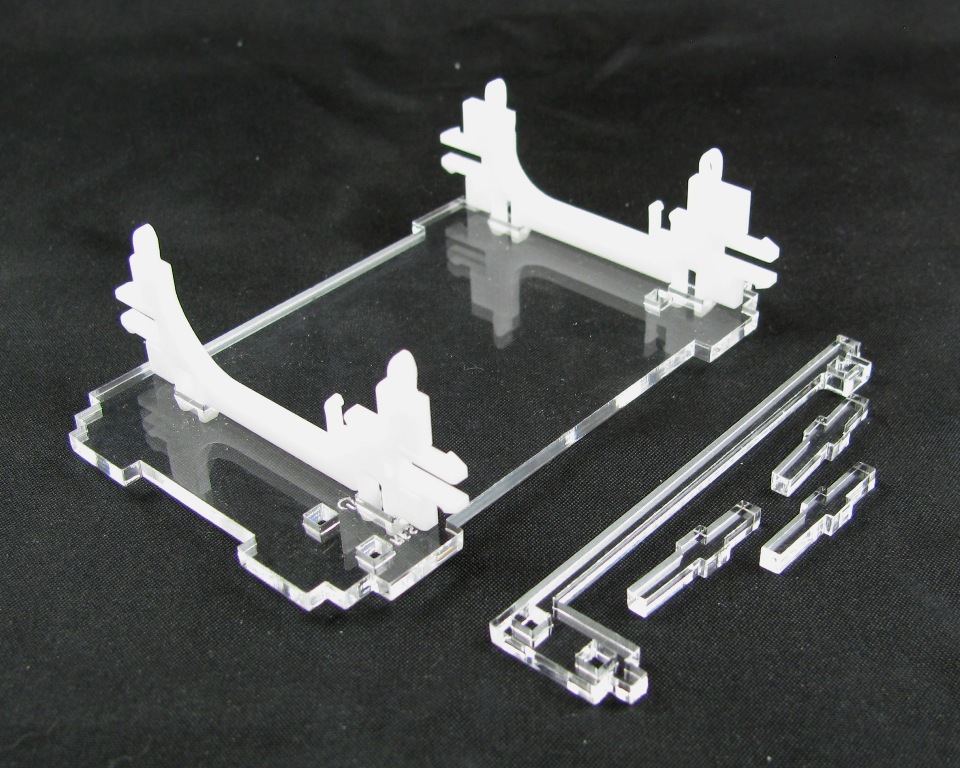
Flip the top panel upside down as shown in the image below
Lay out the clips as shown to insure correct placement
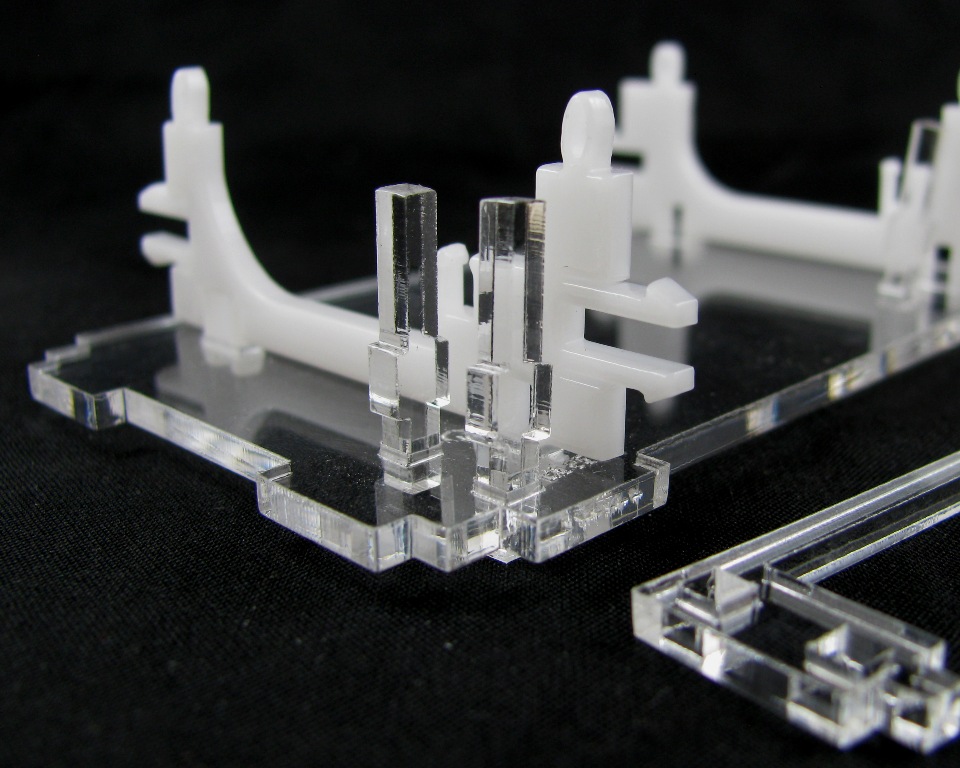
Notice the clip in the upper right.
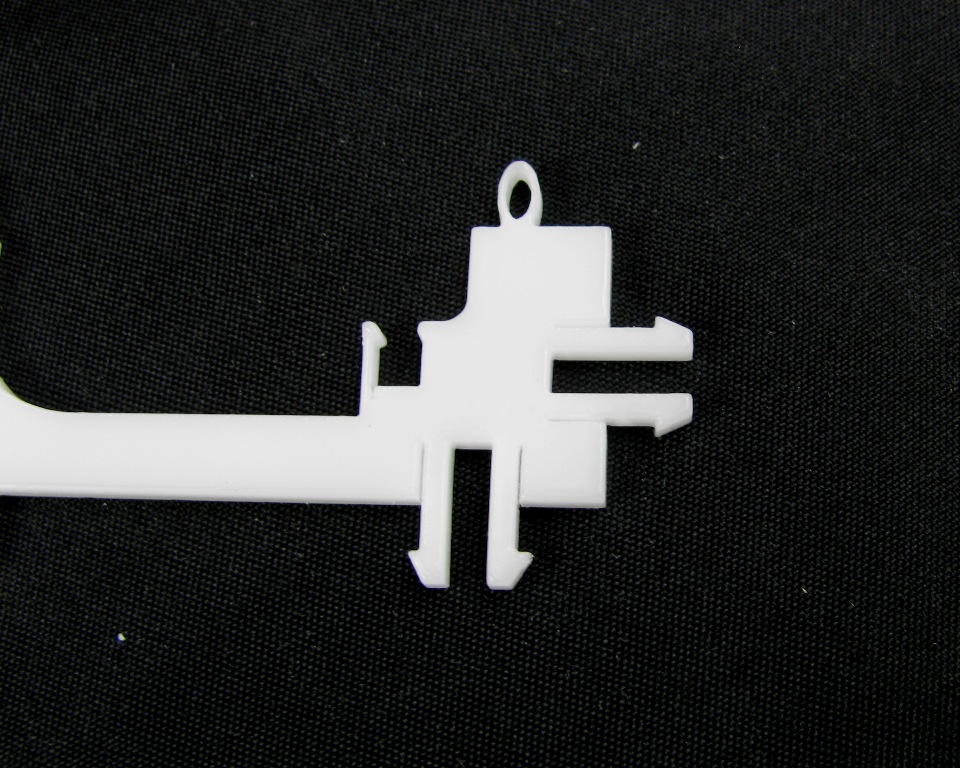
The eyelets on this clip are slightly inset. Be sure that this clip gets snapped in to the slots closest to the edge.
Also, make sure that the integrated square clip is on the side with the button holes.
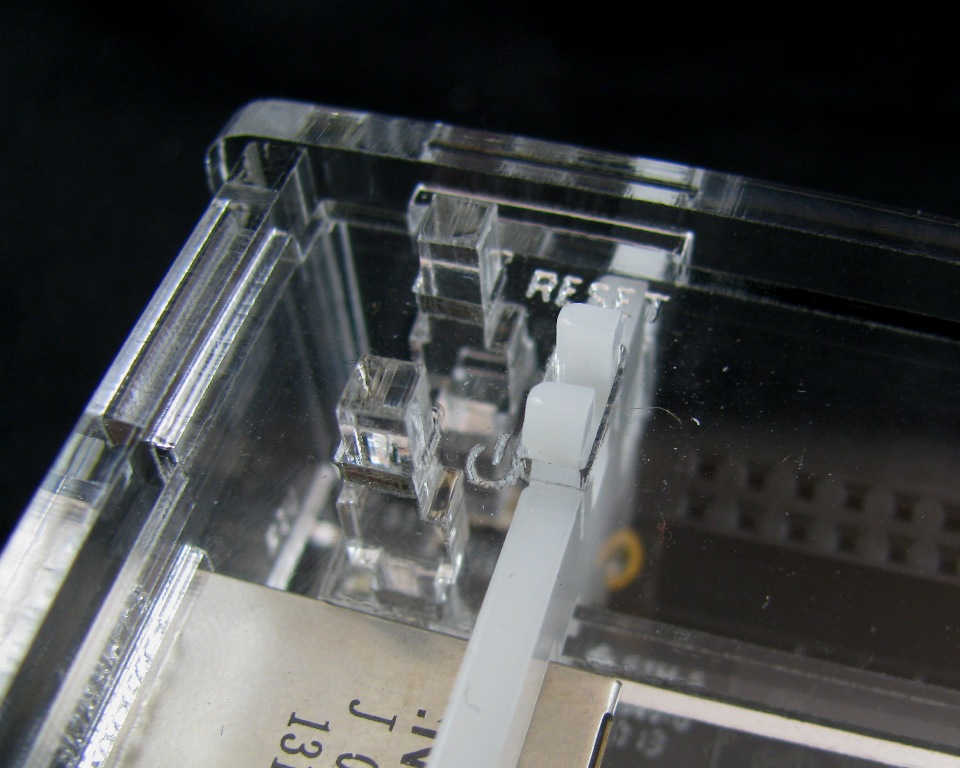
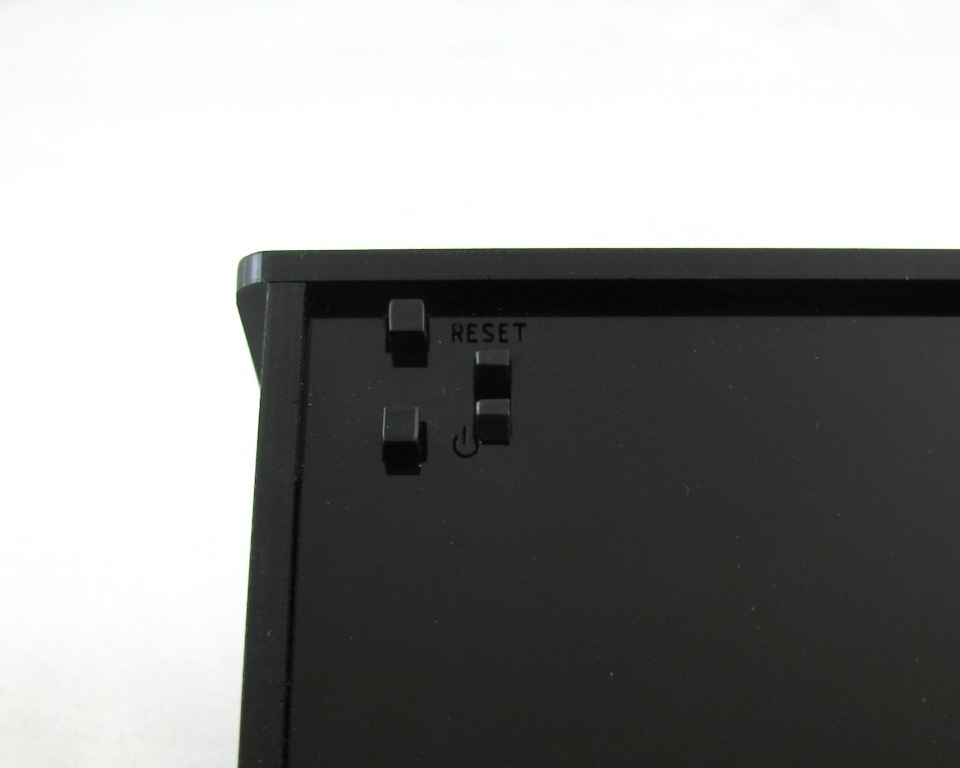
Step 3: Install the buttons and button guide rail
Look at the buttons
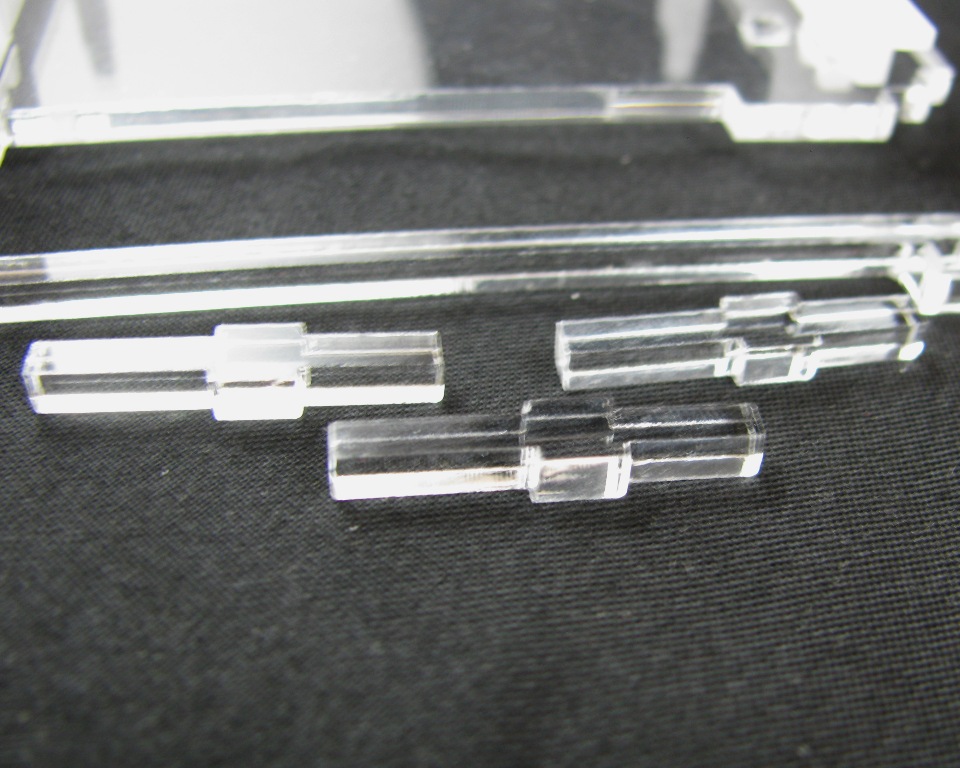
Notice that one side is longer than the other. You need to be sure that the long side is pointing up when the buttons are placed into the button holes as shown below.
Now take the button rail and slide it over the buttons and snap it into place.

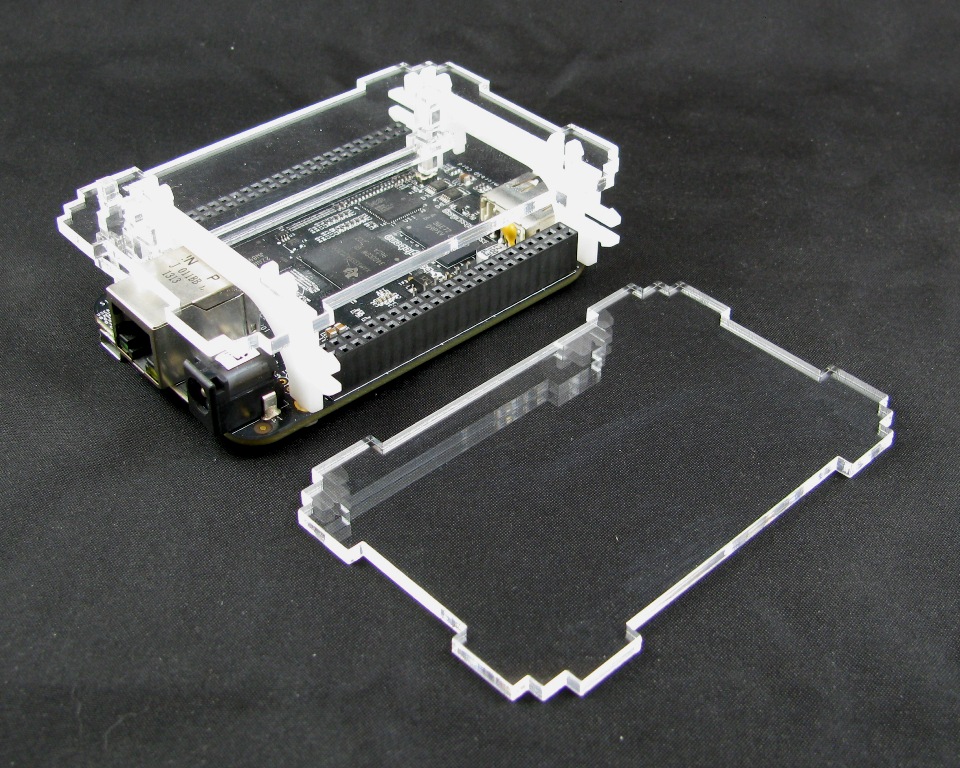
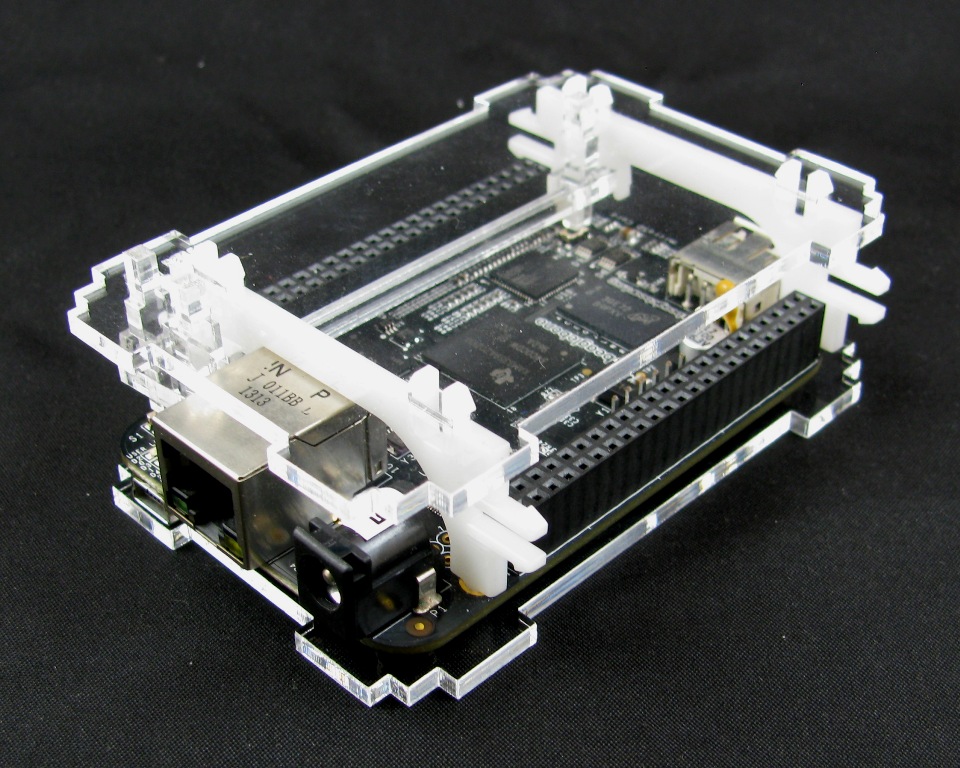
Step 4: Snap the Top assembly onto the BeagleBone Black
Take the top assembly and flip it over on top of the BeagleBone Black, then gently press the clips into the mounting holes.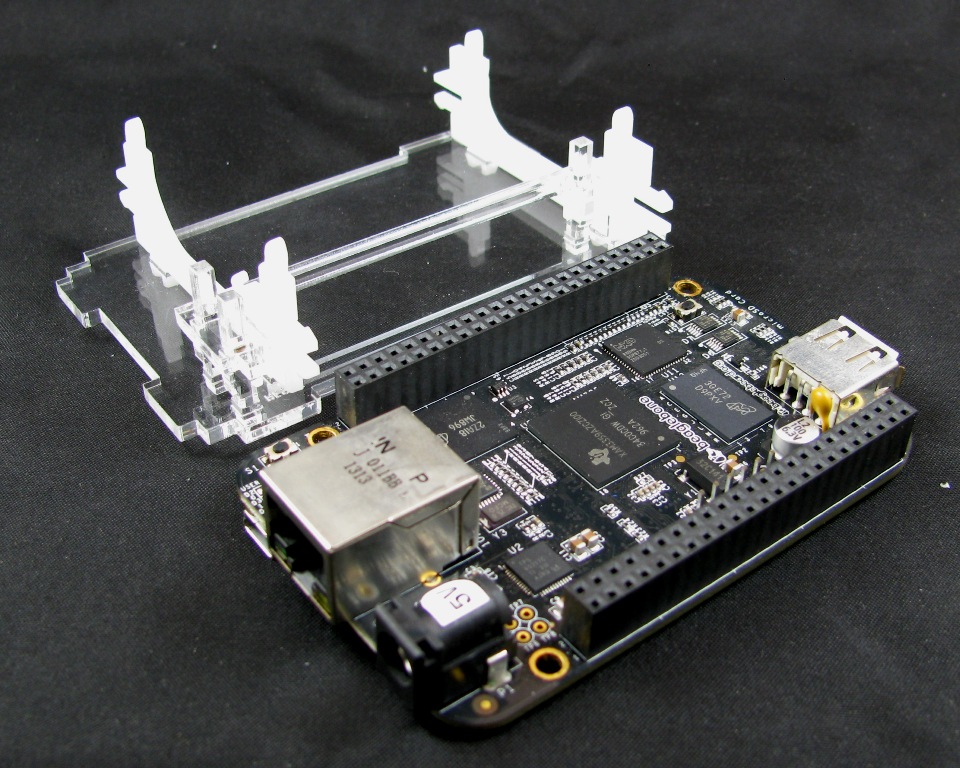

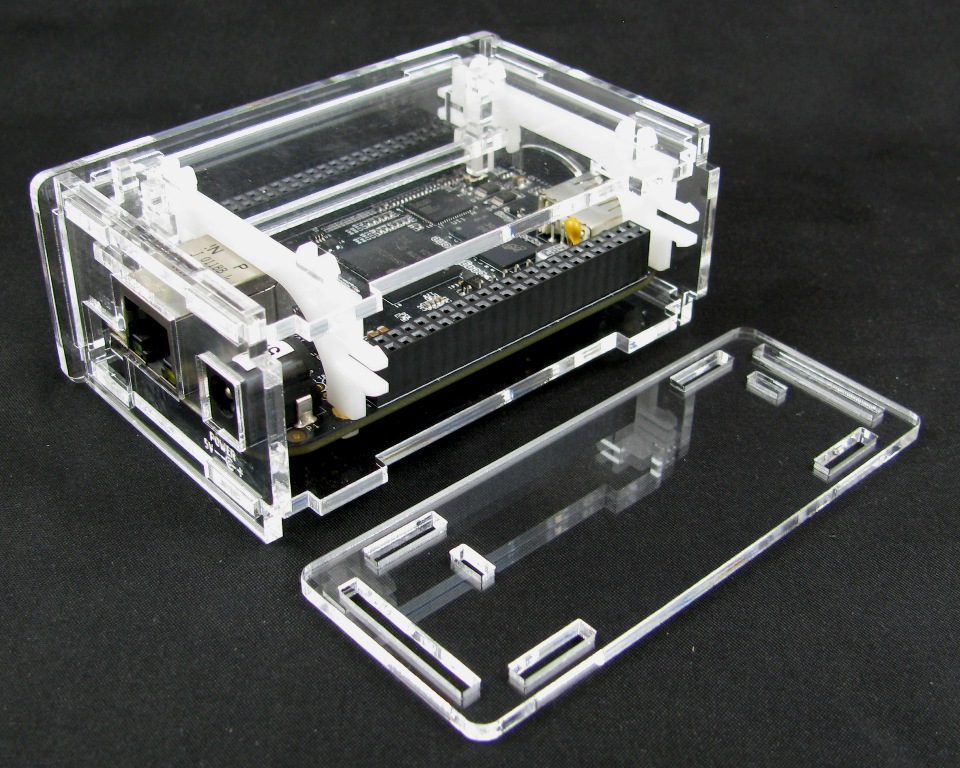
Step 5: Place the board onto the bottom panel
Step 6: Attach the Ethernet/Power panel
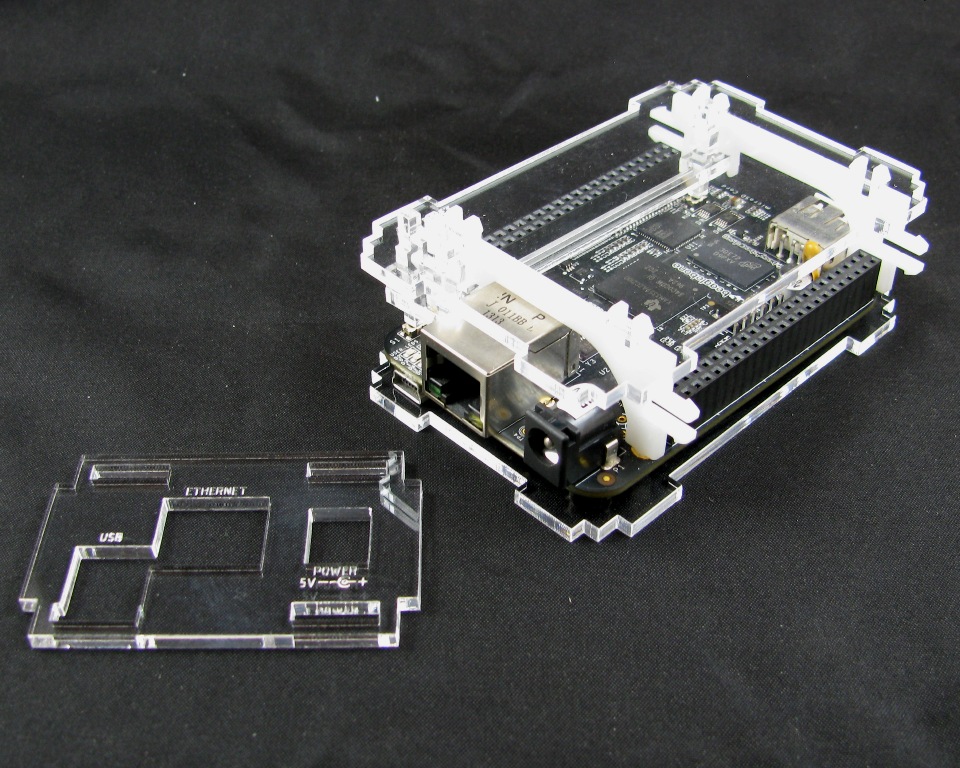
Line up the slots with the ports and the tabs on the top and bottom panels, then press into place.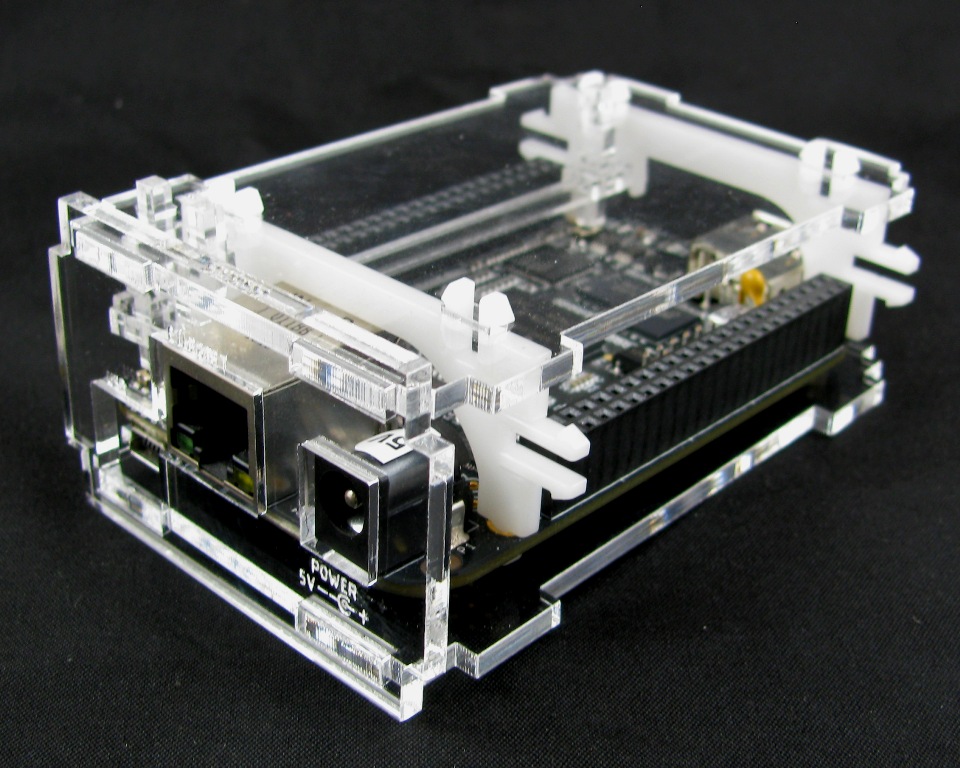
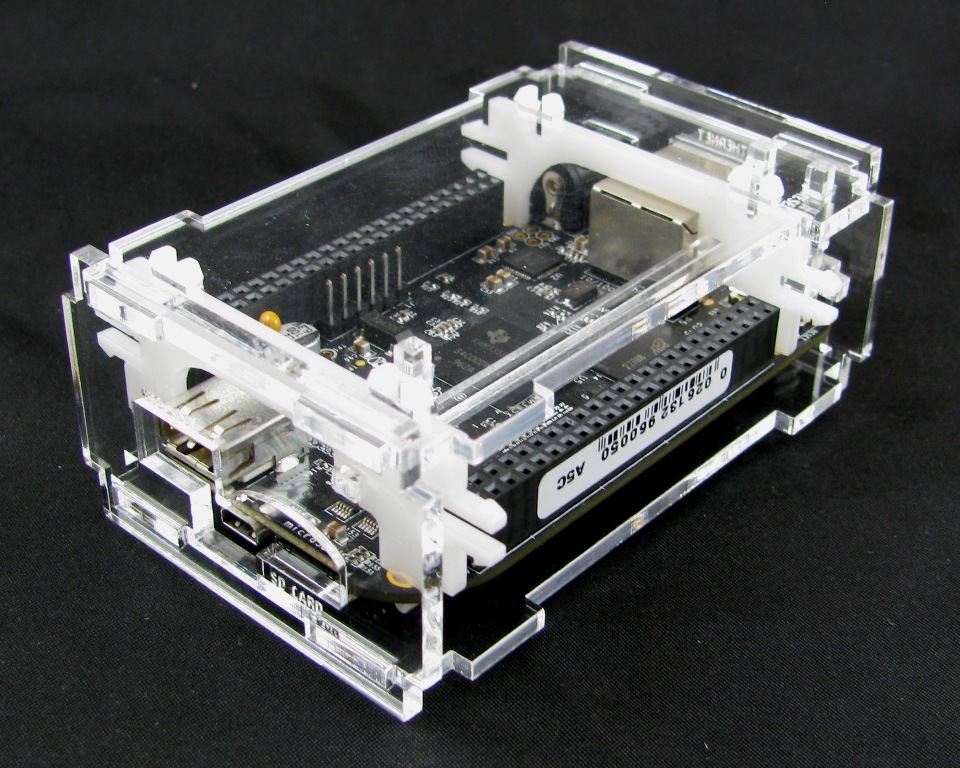
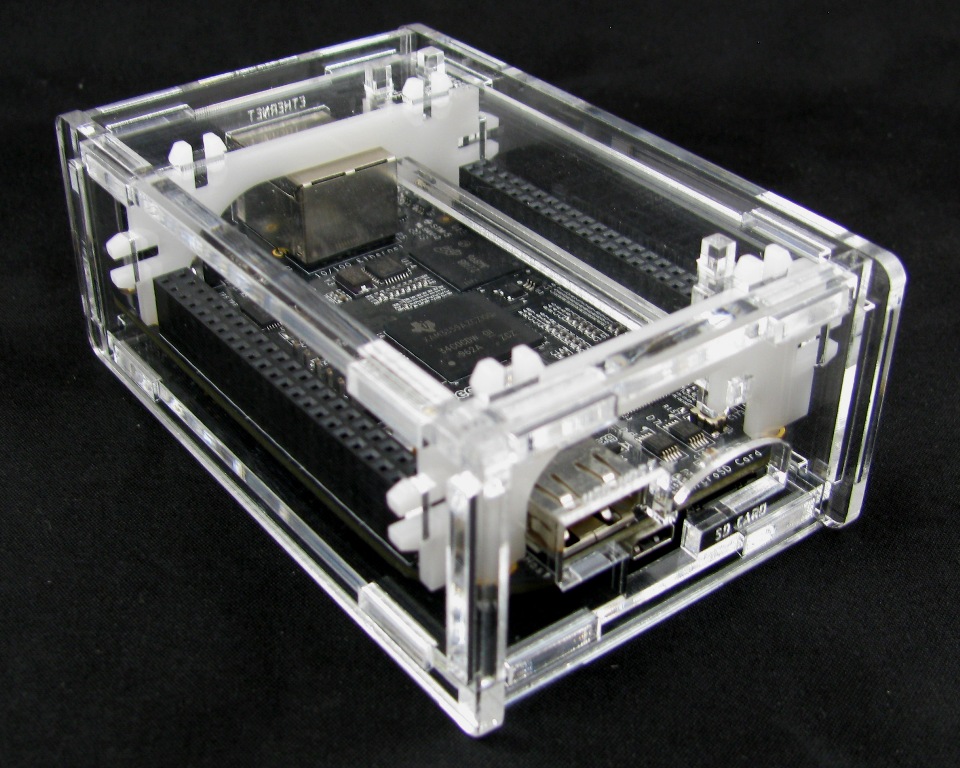
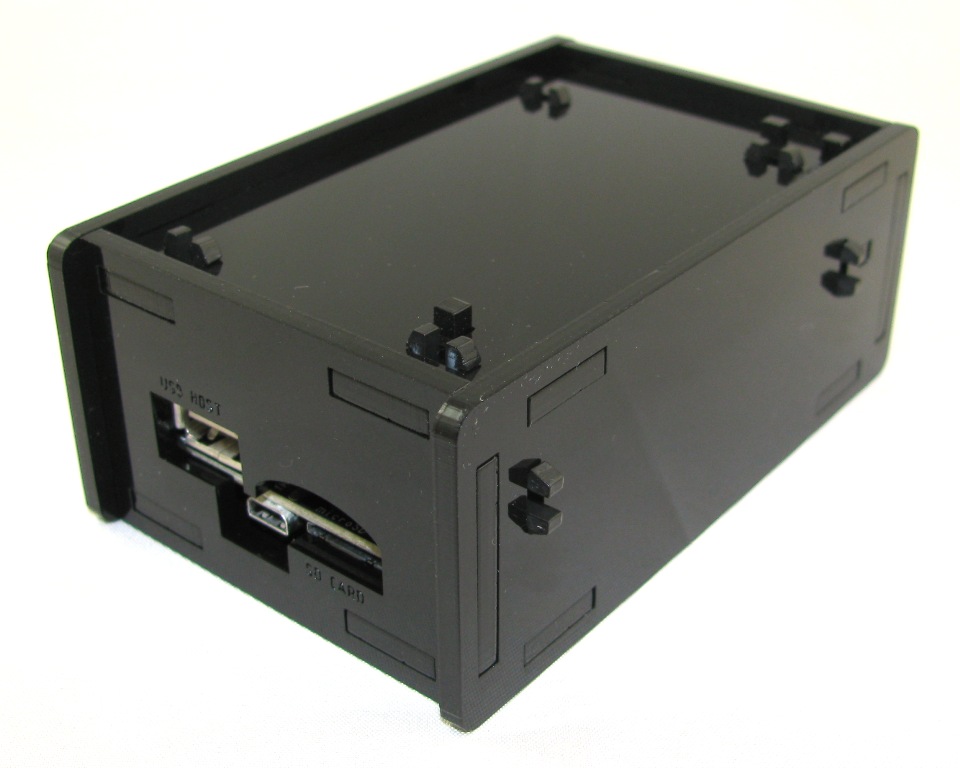
Step 7: Attach the SD card panel
Repeat the same process from step 6 with the SD Card panel.

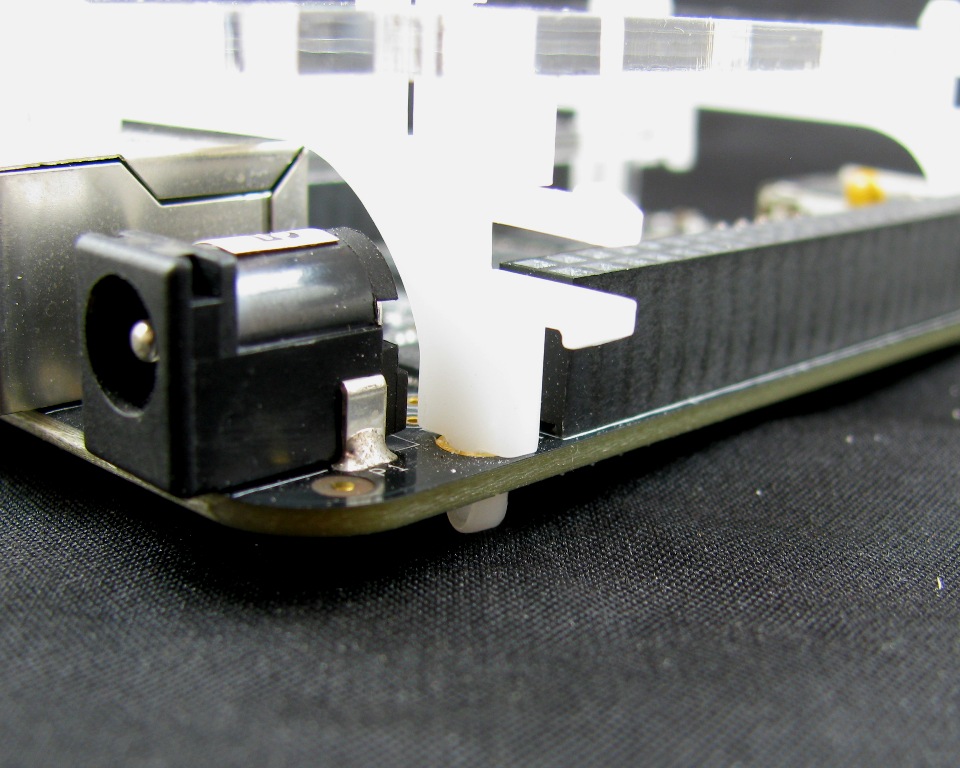
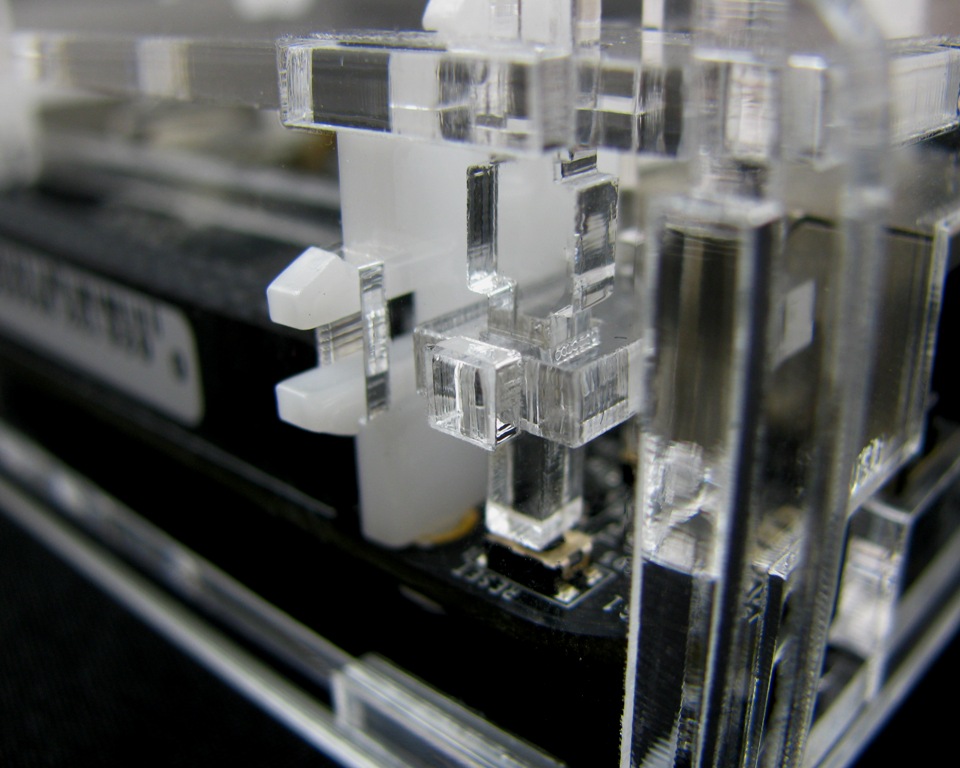
Step 8: Snap the Button rail support/side panel onto the side
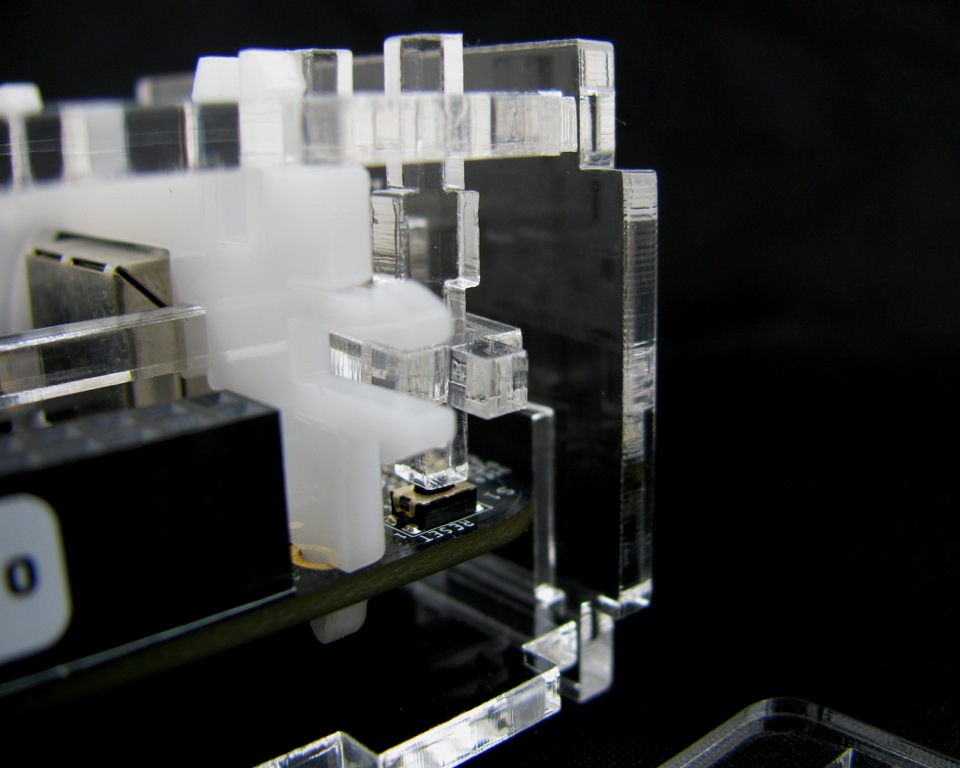

You might have to wiggle the button rail to get the peg to line up with the hole. This can be done with the rest or power button.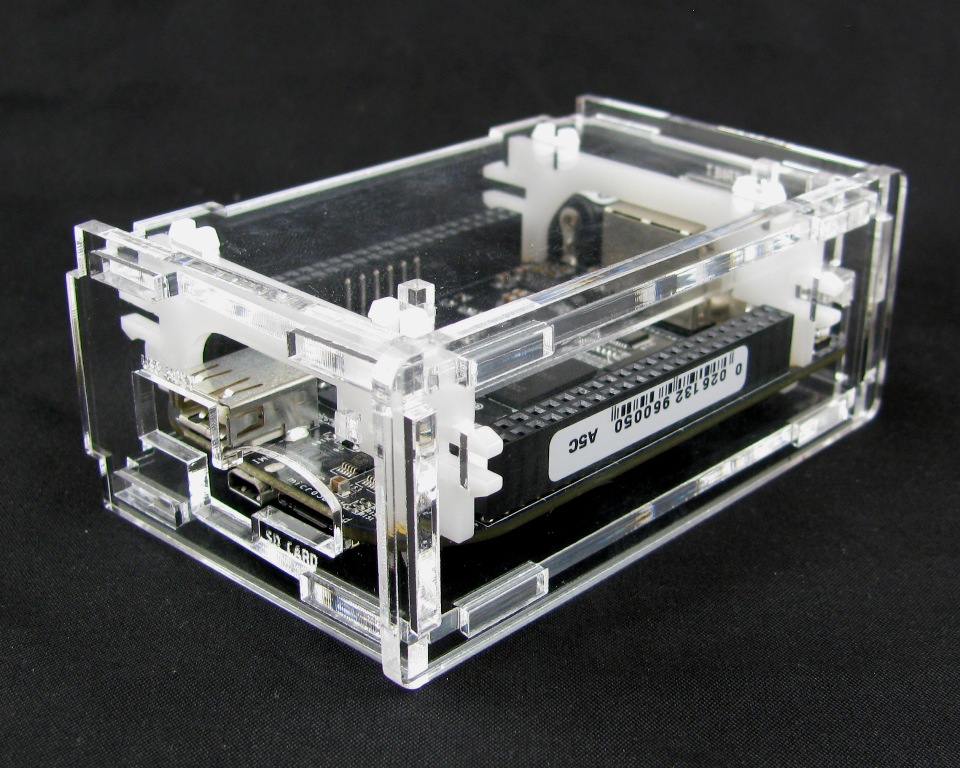
Step 9: Snap the remaining side panel into place
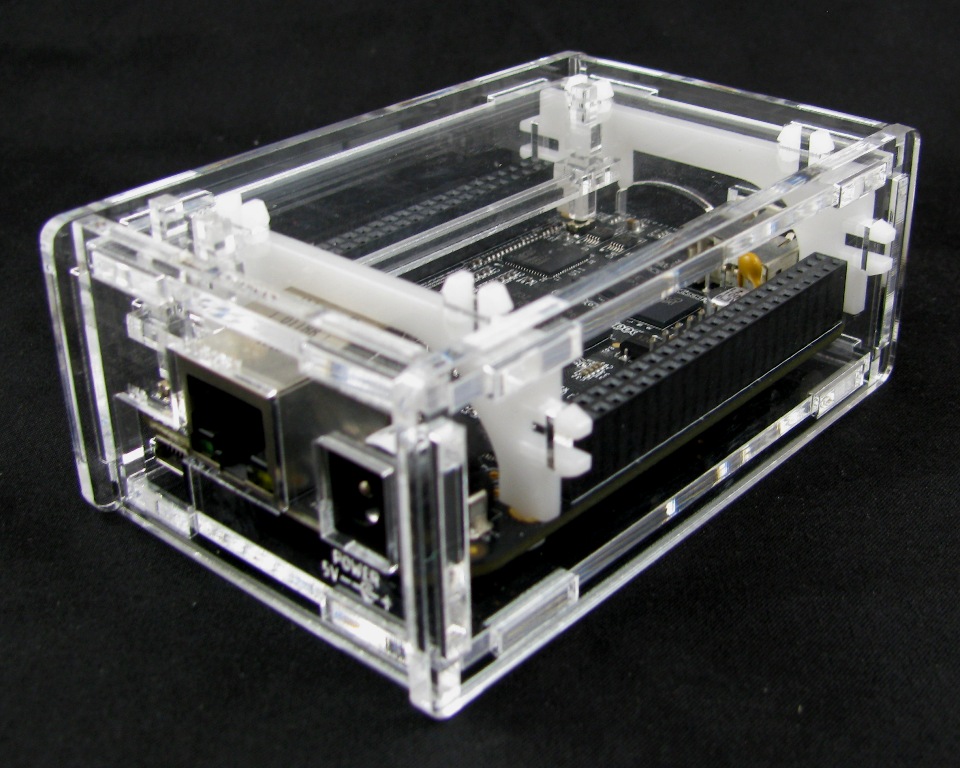
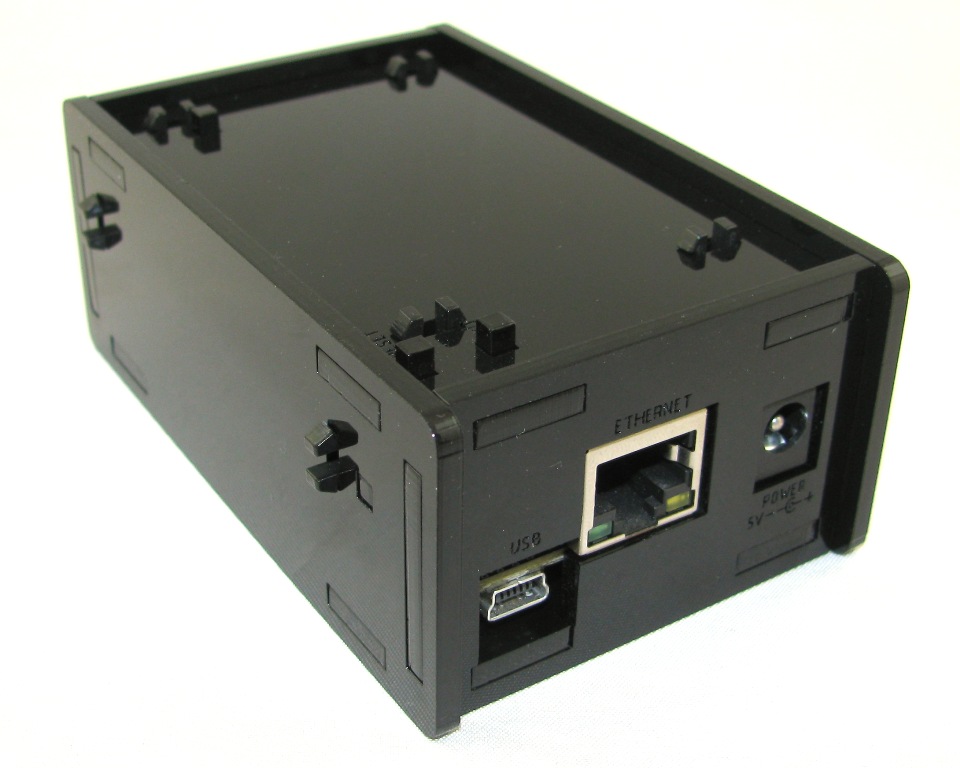
Your case should now look like this.


Want one of these cases for yourself? Grab one here:
Want the design files? Grab them from my Thingiverse page:

