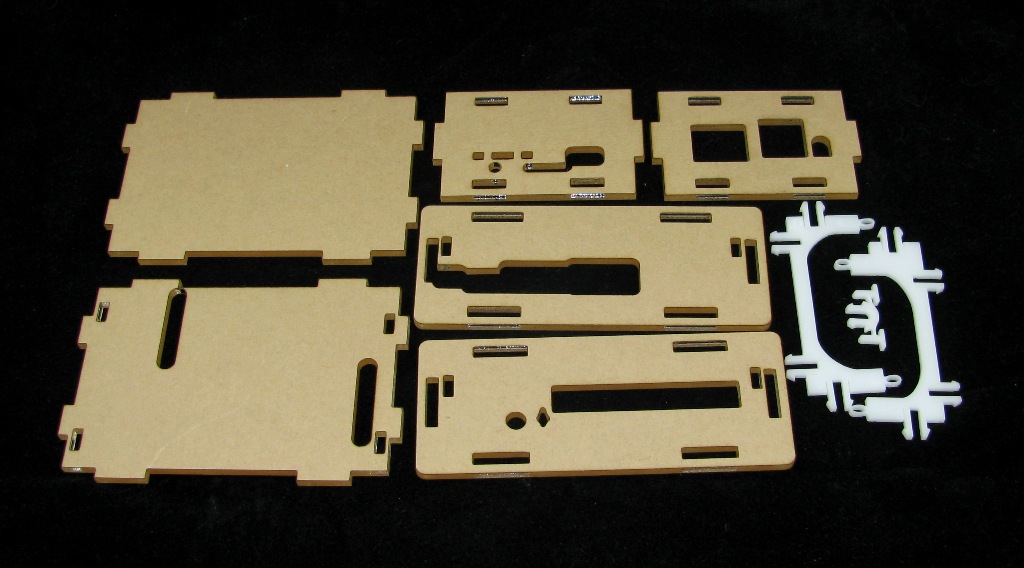
Banana Pi Pro
Step 1: Remove the Masking
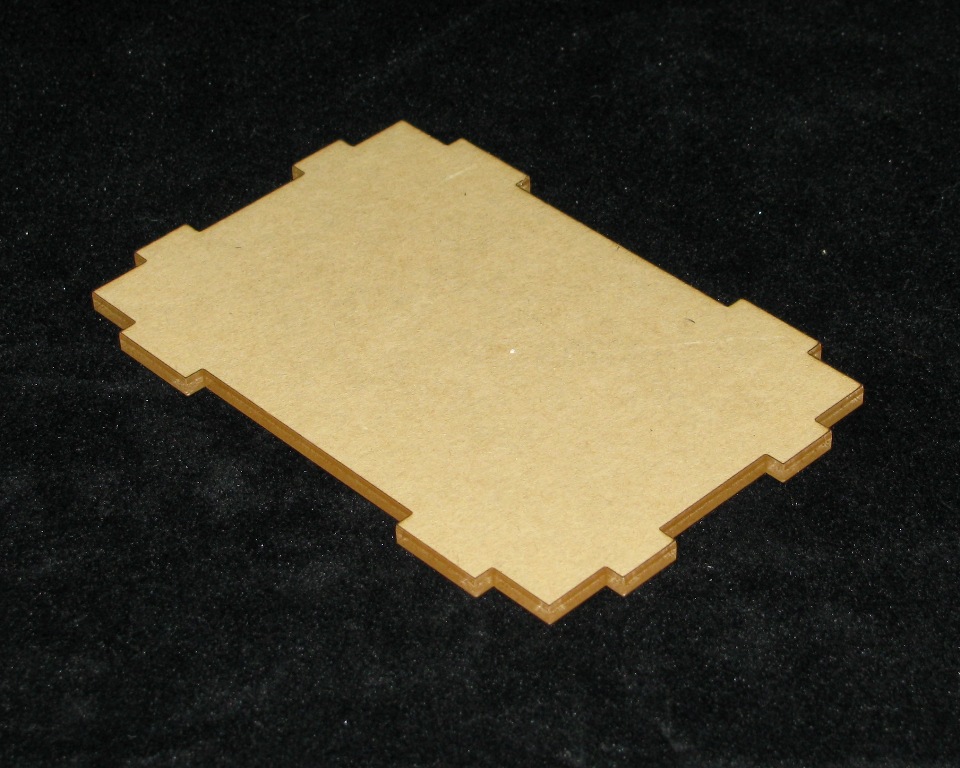
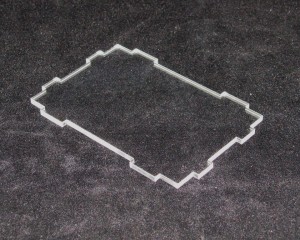
All of the acrylic components have a brown paper masking on them. You will need to remove it to make the parts fit together nicely. It is best to start at a corner.
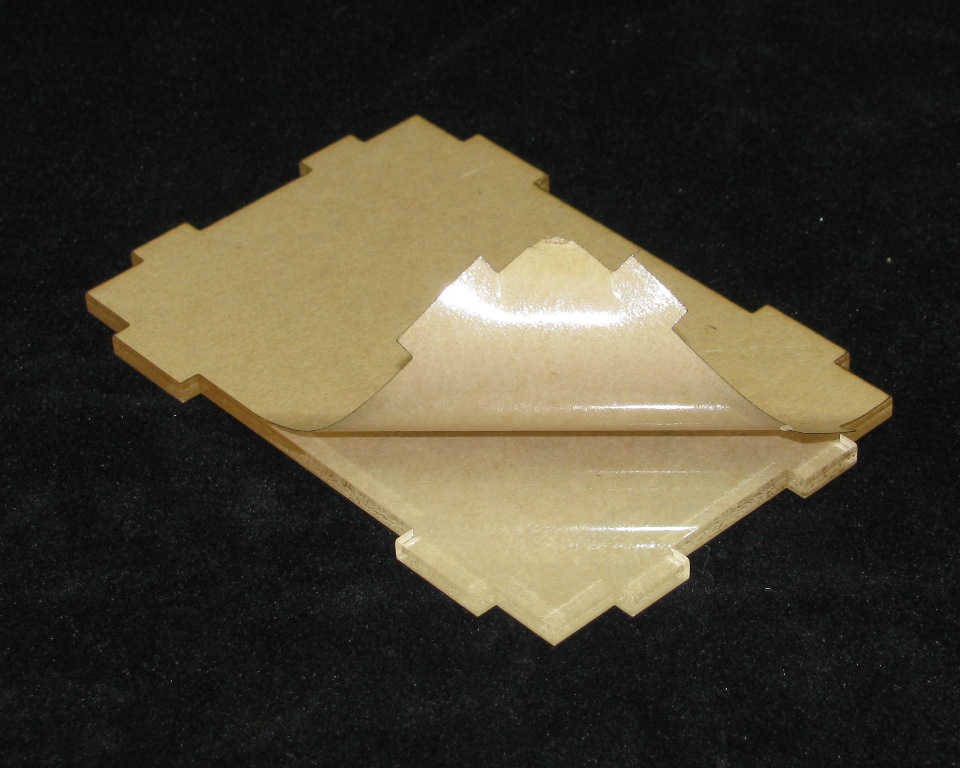
Make sure to remove the mask from both sides
Step 2: Attach the delrin clips to the PCB
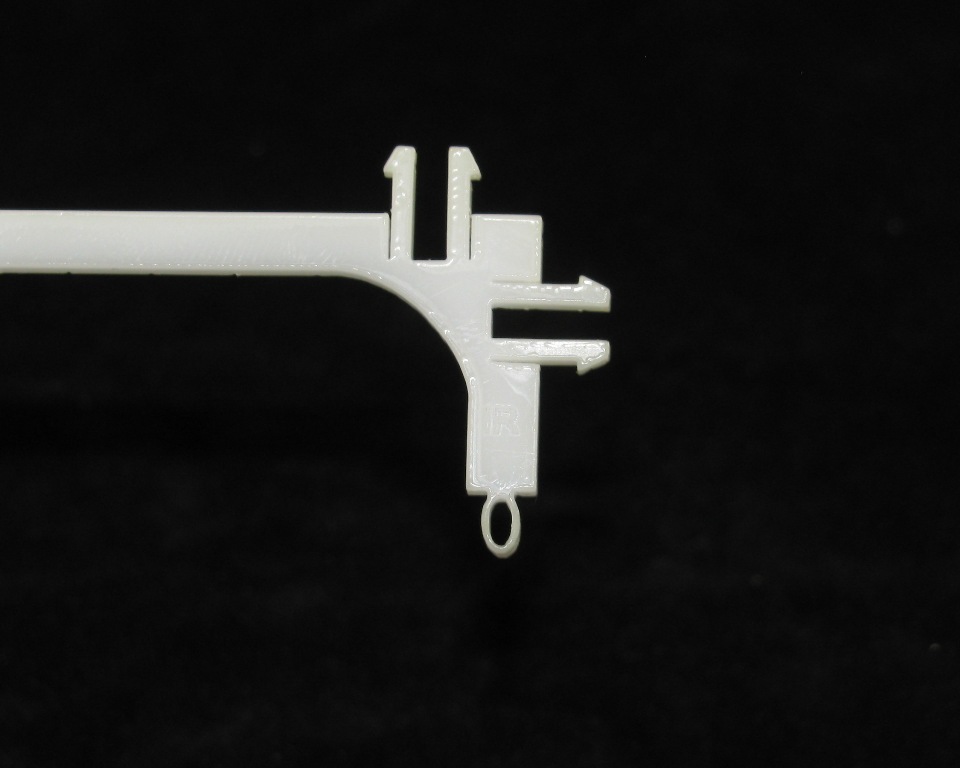
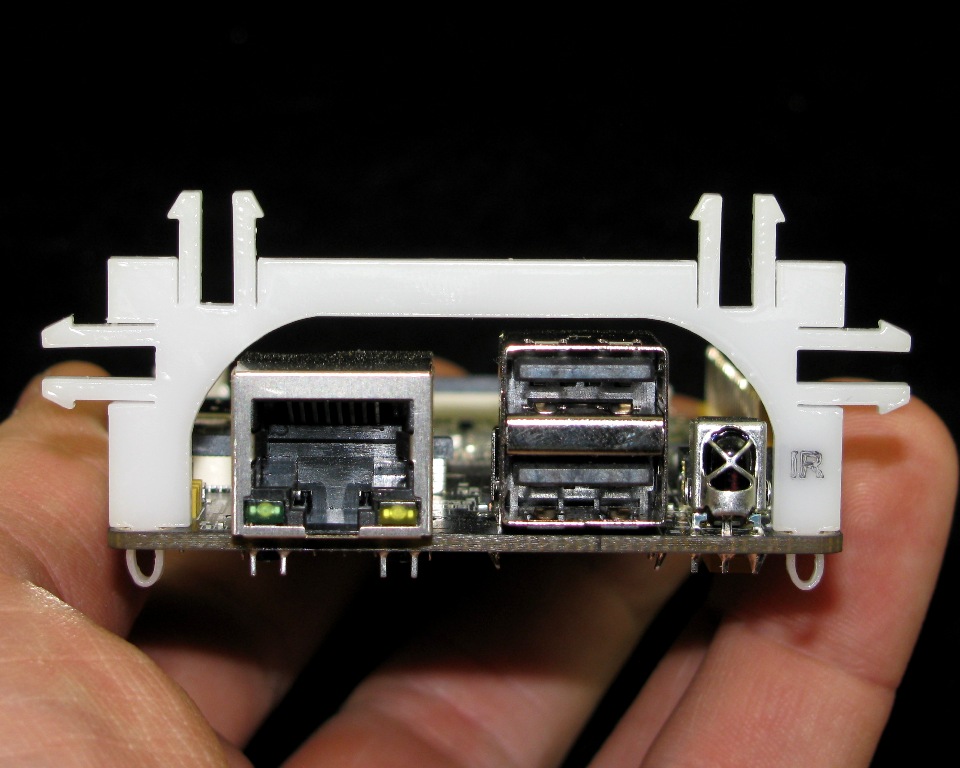
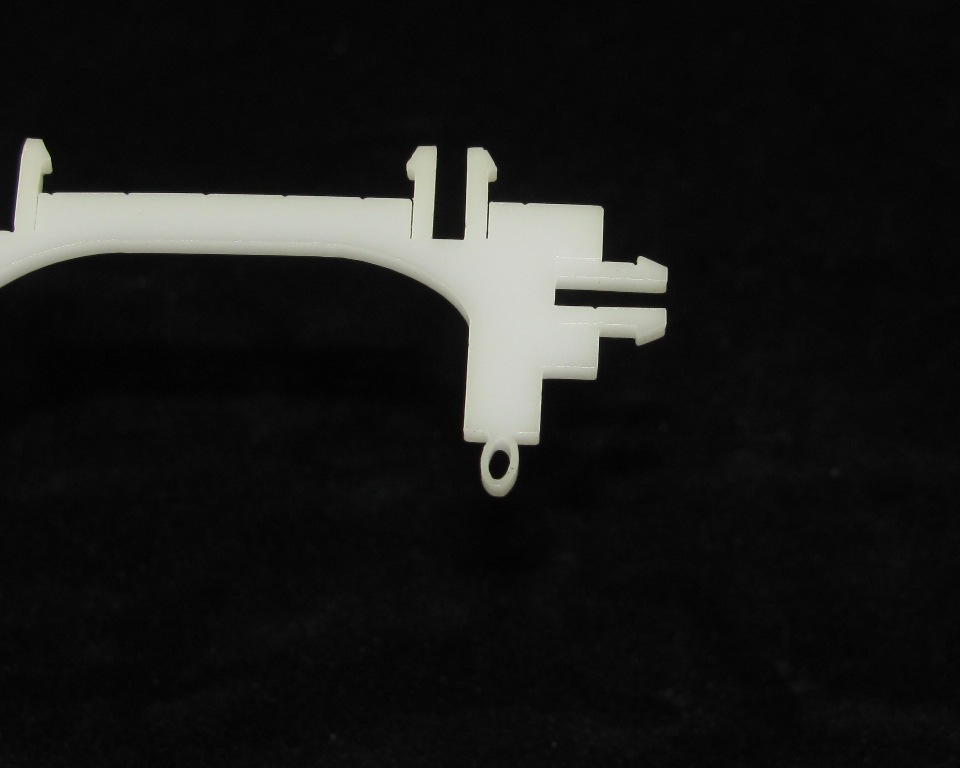
The clip with IR etched in it goes on the side with the infrared receiver and the loop clip with IR etched on it goes next to the IR sensor.
The Clip with a corner cut out goes over the SATA power connector

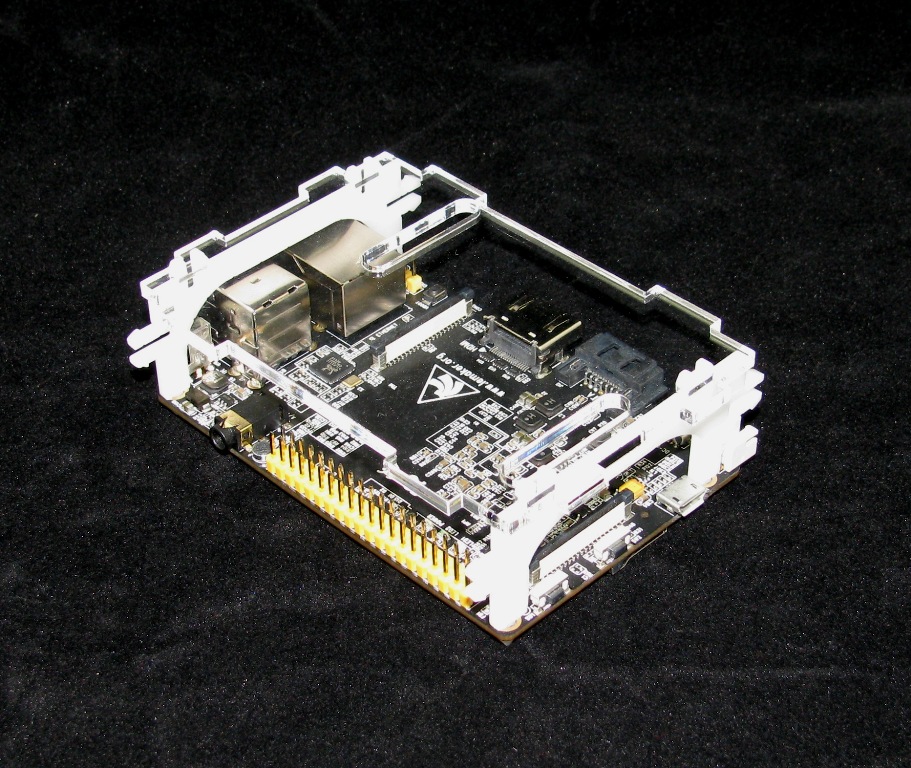
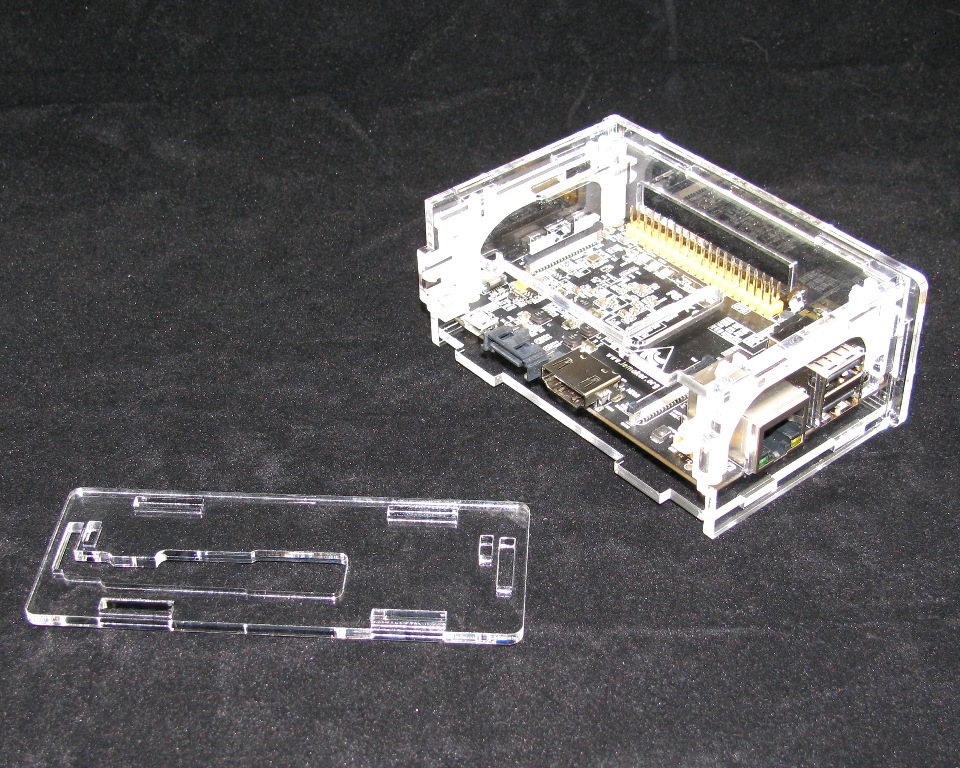
Step 3: Attach the top plate
Line up the ribbon cable slots in the top panel and push it down onto the clips.

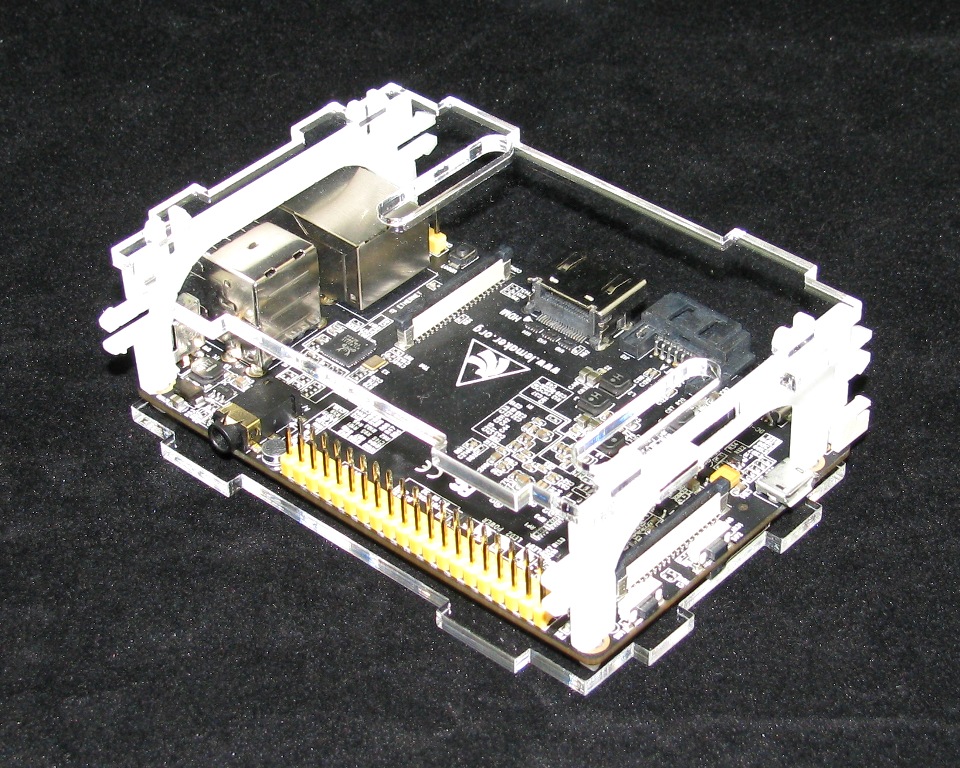
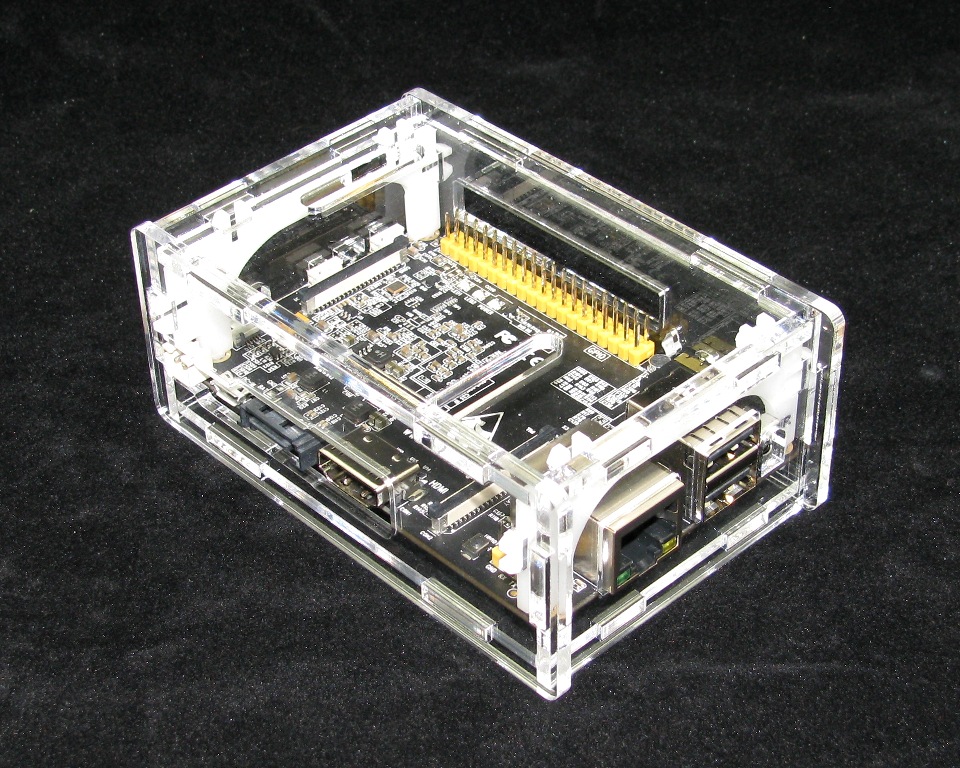
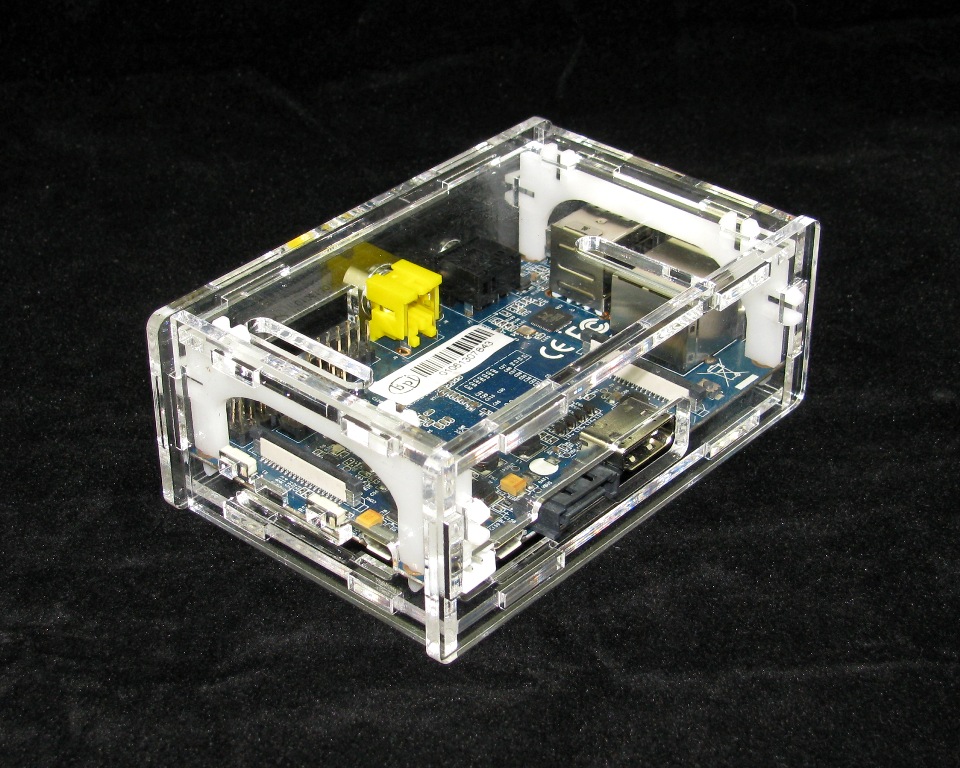
Step 4: Set the PCB on the bottom panel

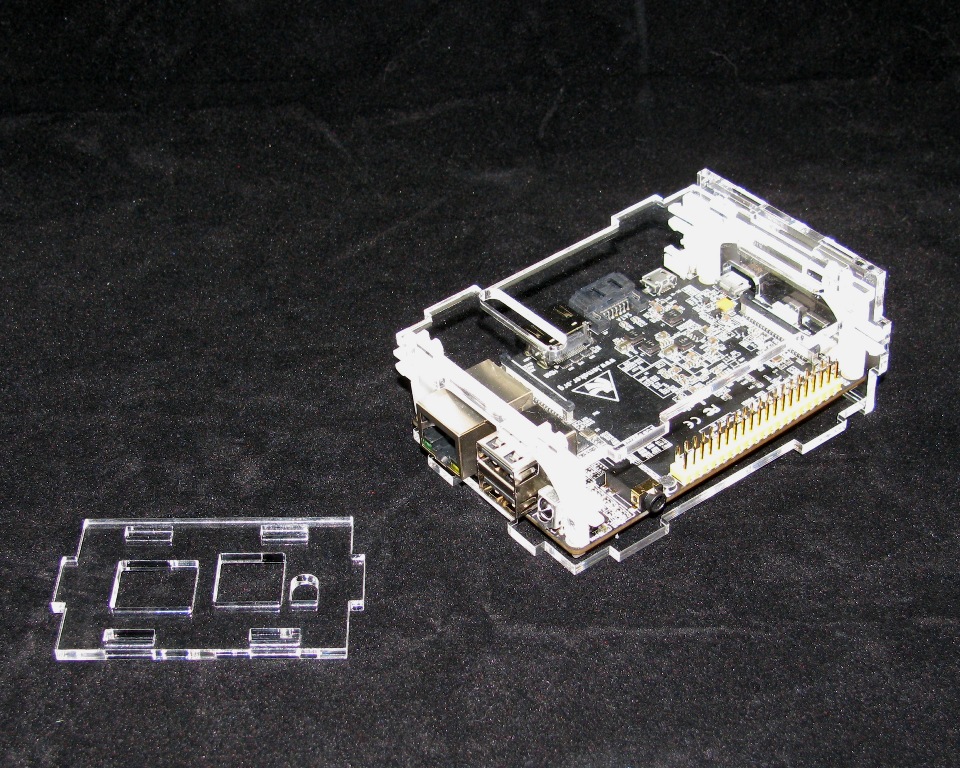
Step 5: Put the SD Card side in place
Step 6: Put the USB/Ethernet side in place

Step 7: Snap the I/O side in place

Step 8: Snap the Power/HDMI/SATA side into place
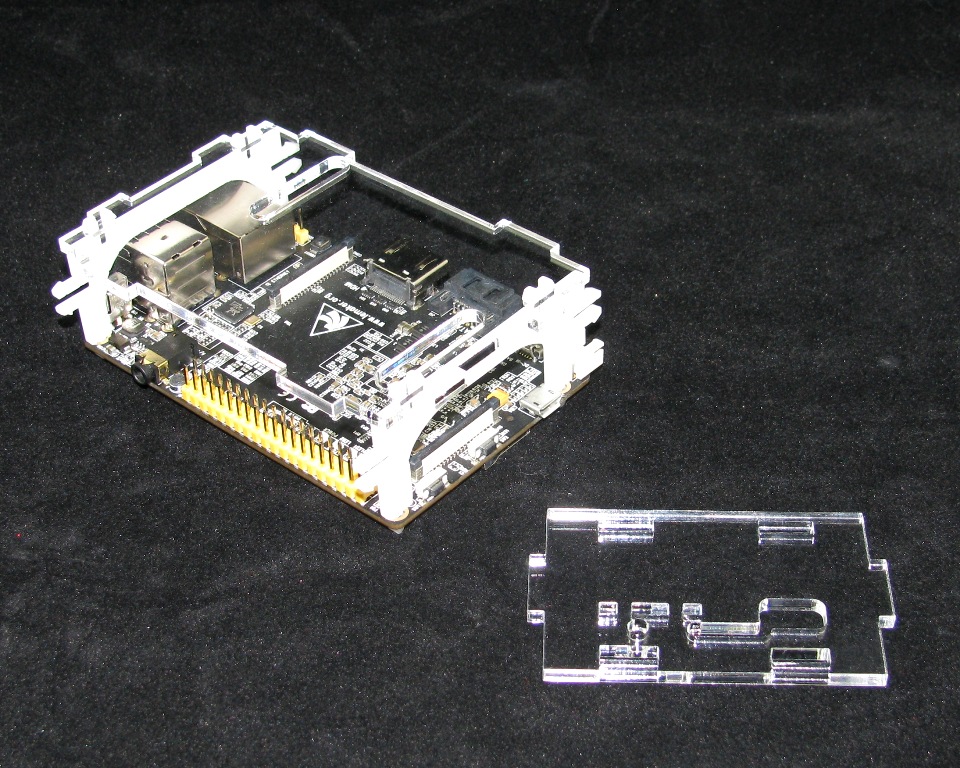
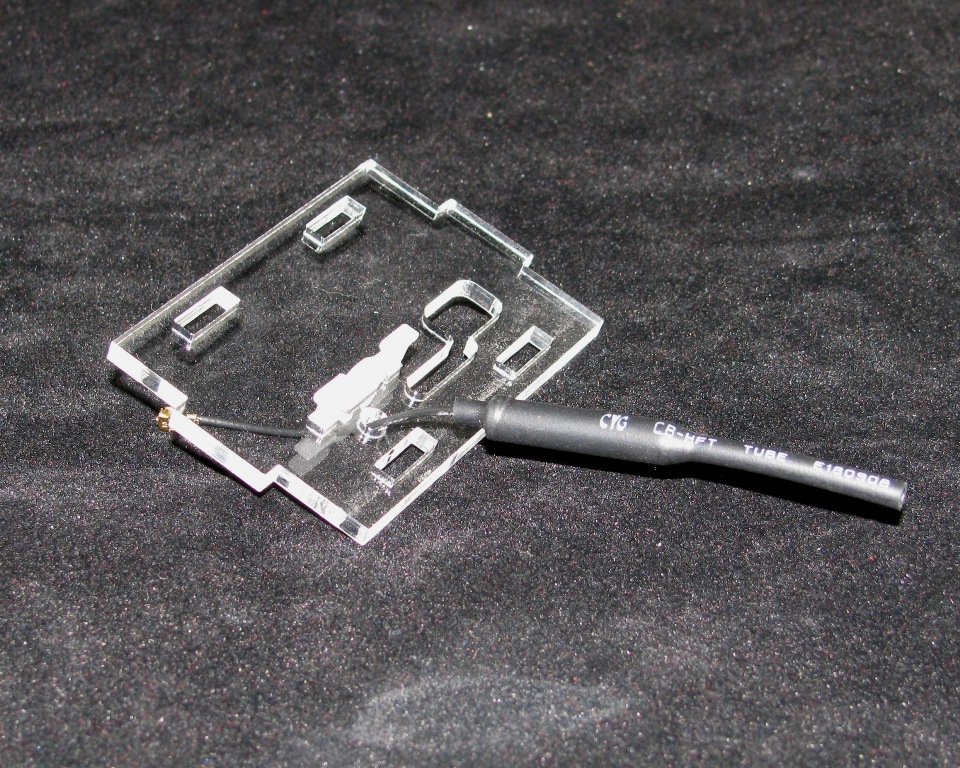
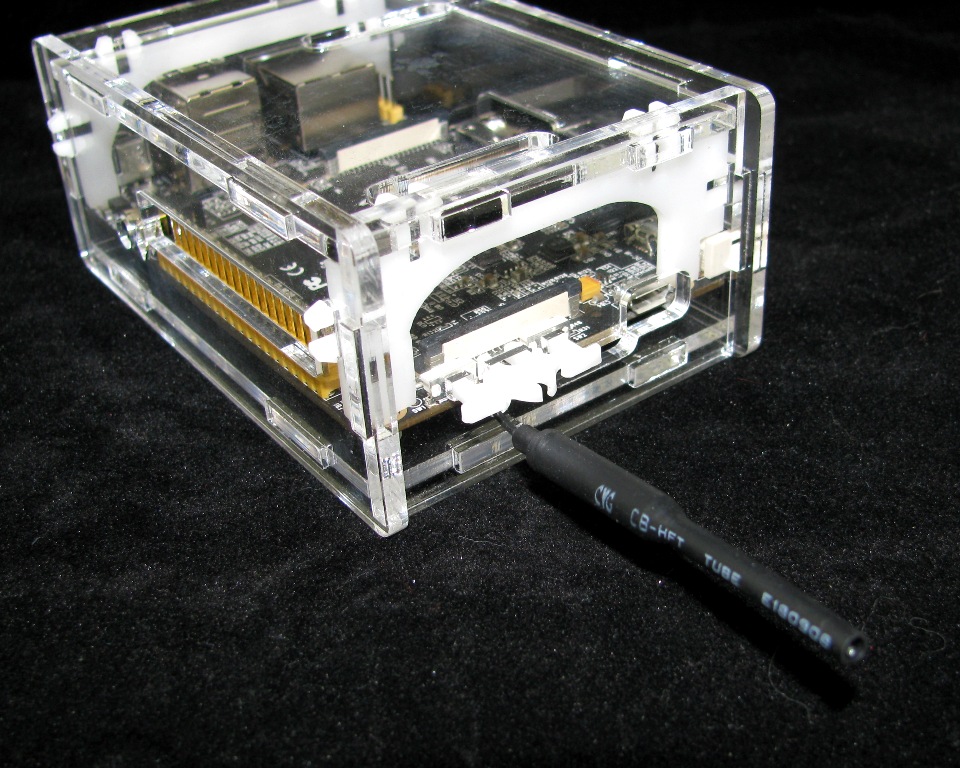
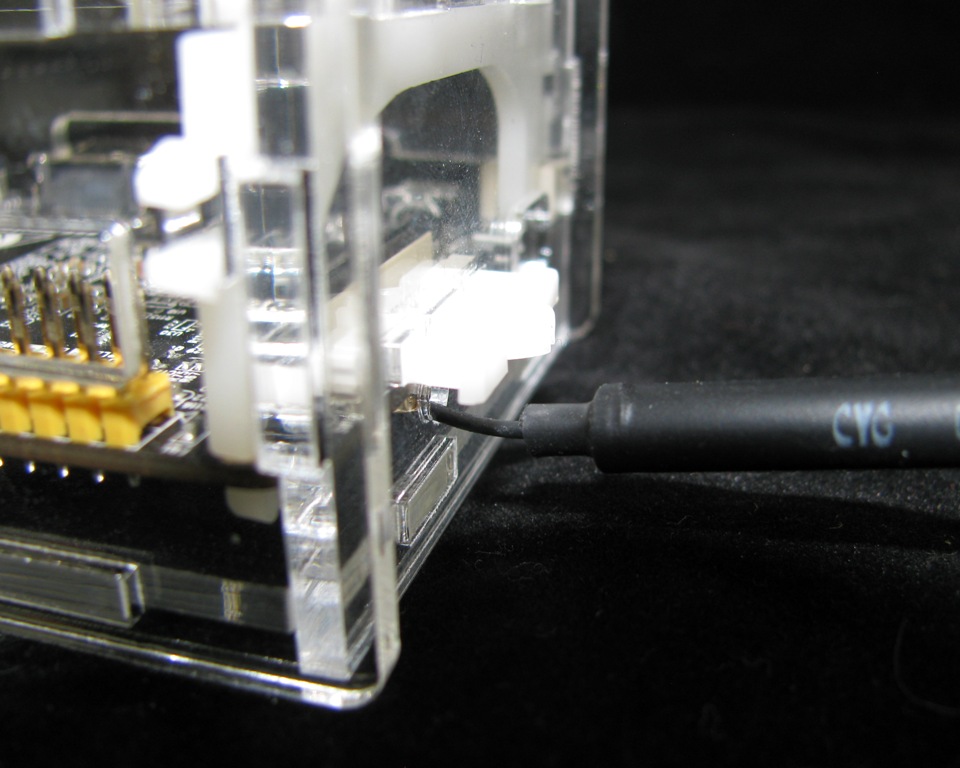
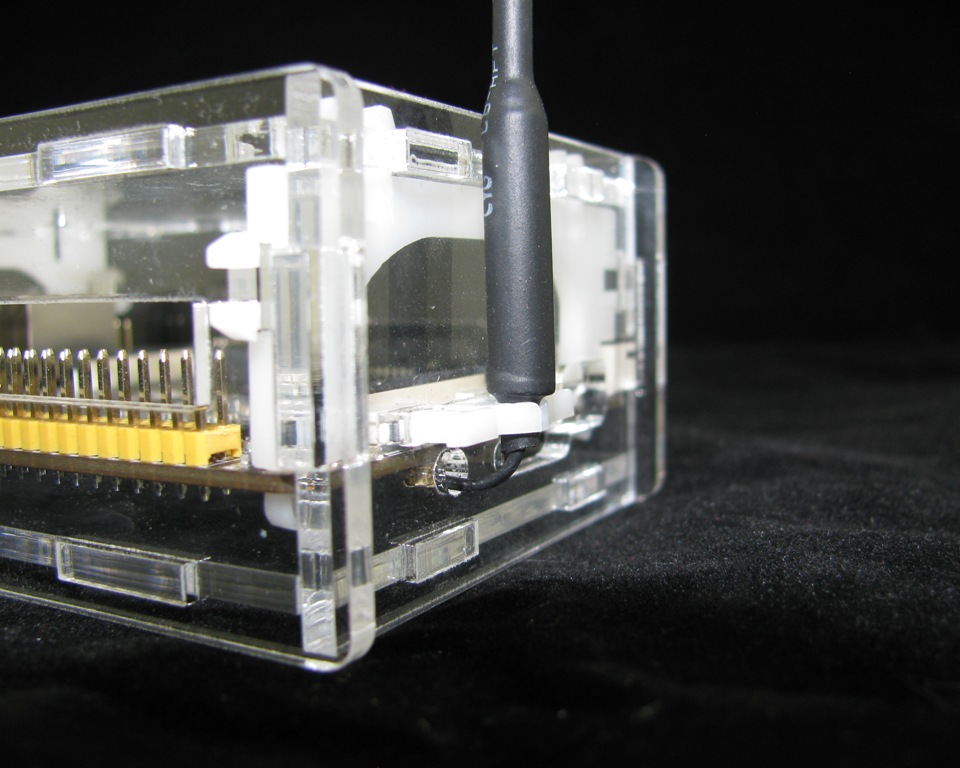
Step 9: Attach the button clip
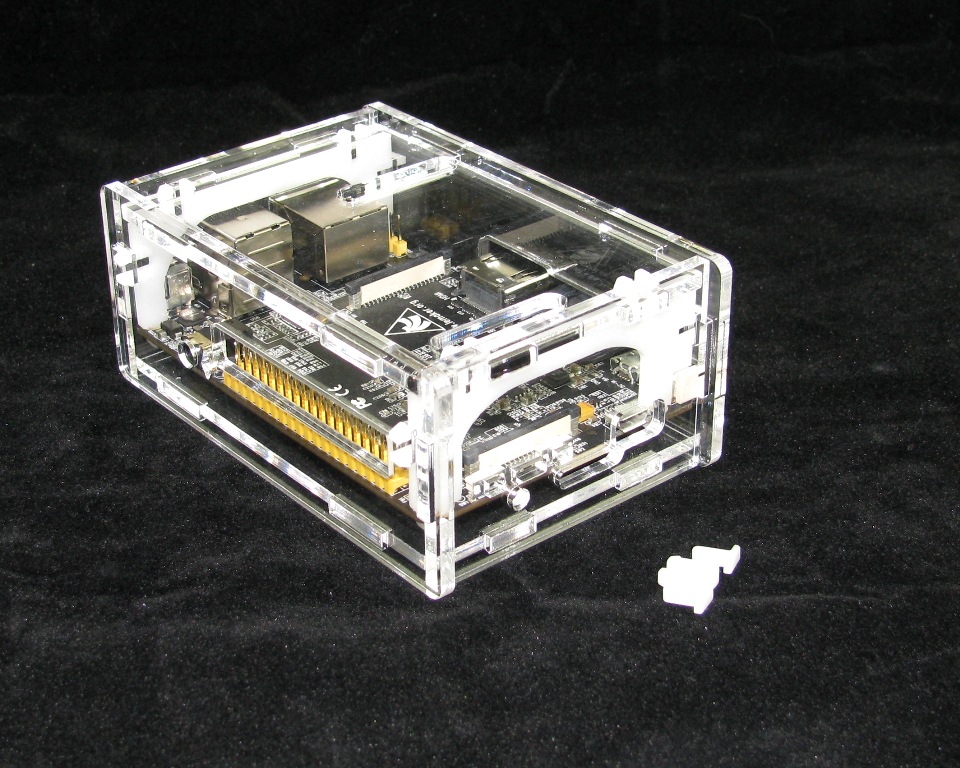

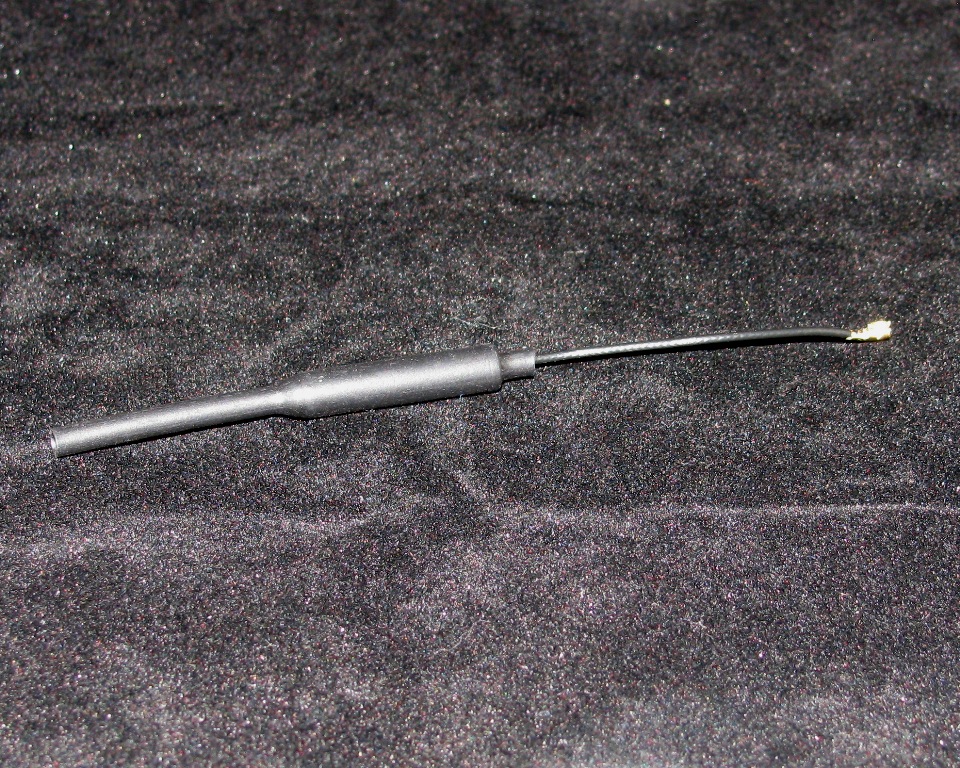
The WiFi antenna can either be kept internal to the case or passed through the hole located under the button clip and clipped into the antenna clip on the button clip.

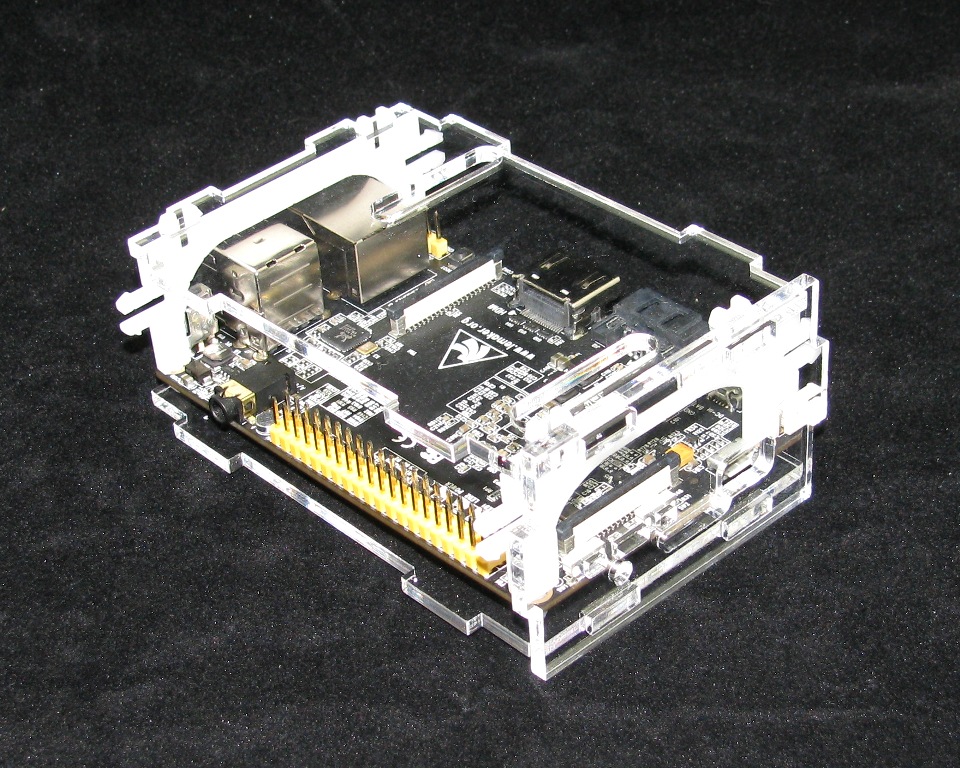
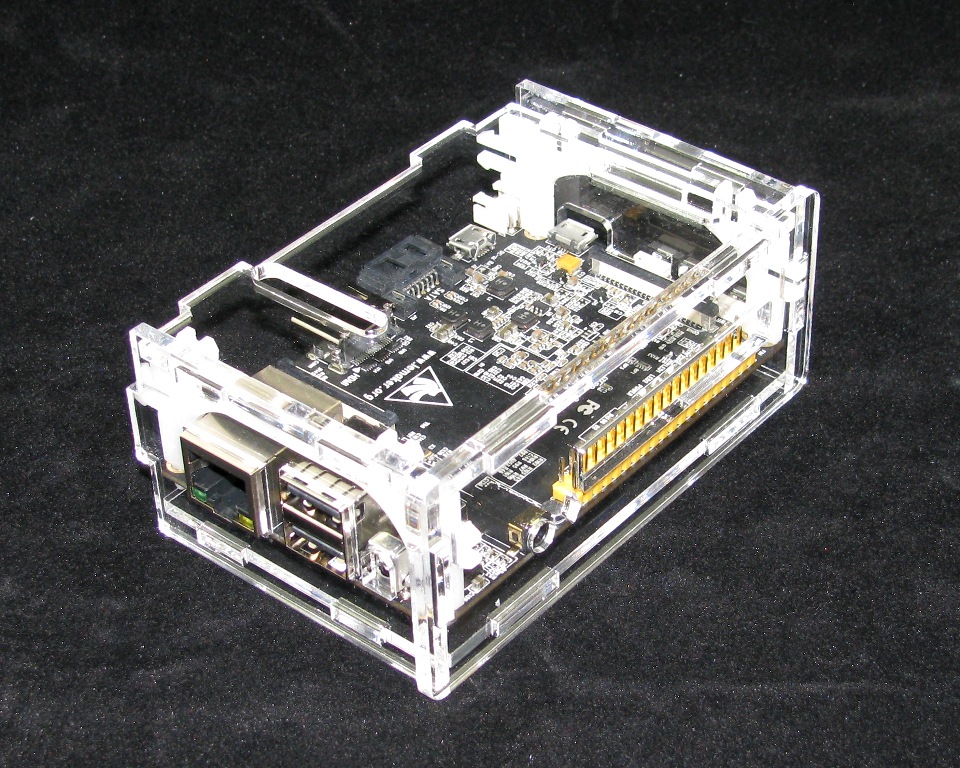
Congratulations! You are done.
Want one of these cases for yourself? Grab one here:
Want the design files? Grab them from my Thingiverse page:

