Archive for the ‘Making Stuff with Lasers’ Category

Using Delrin Clips for Mounting PCBs

Monday, July 30th, 2012

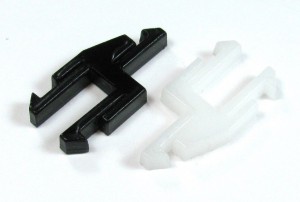
Board Clips

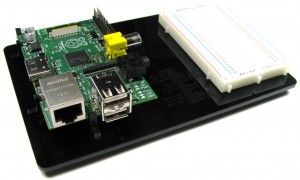
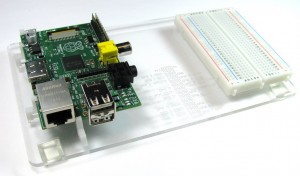
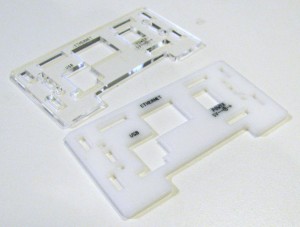
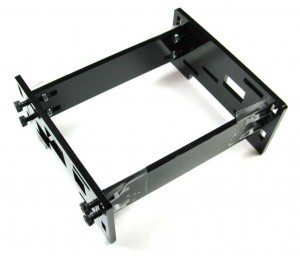
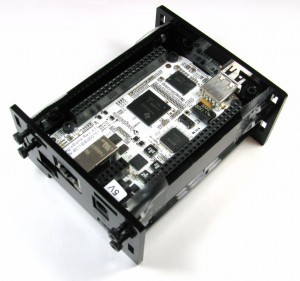
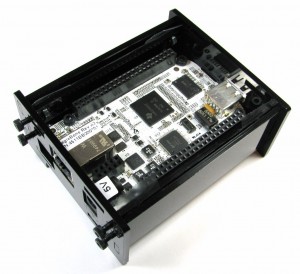
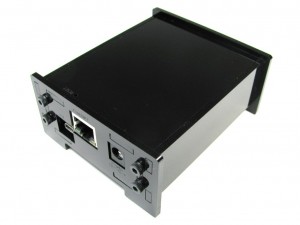
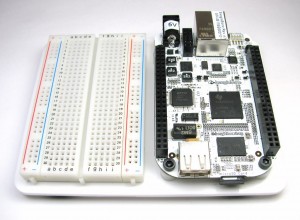
So one of the problems with the Raspberry Pi board is the lack of mounting options simply because it doesn't have any mounting holes. A few nice injection molded enclosures for the Pi and other boards out there use a simple clips to hold PCBs in place, eliminating the need for additional hardware. I figured there should be a good, easy to make solution out there for those of us that can't get injection molded parts on a whim so came up with some nice laser cut Delrin clips that can be used with typical laser cut mounts (see above pic). Here's a video of the clips in action on a prototype Raspberry Pi sled I'm working on:

As you can see, they're pretty easy to use with a properly designed mount plate. There's a couple advantages the clips have over the standard bolt, standoff, nut mounting method. First, you don't have to have all the additional hardware bits, just some Delrin stock. Second, they make assembly pretty easy with no juggling of bolts and standoffs on boards (if you've mounted a PCB before, you're probably had the moment you realize you didn't hold one of the bolts in place as you flip the board over to tighten everything down as miscellaneous hardware bits fly everywhere). Third, you can make the standoffs a specific height if you need to easily since you're not limited to the standard heights that are available.

You can grab the files for my Raspberry Pi sled reference design on my Thingiverse page if you want to try them out for yourself!

I've also got them in my store here!

Share

Highlighting Etching on Dark Laser Cut Parts

Sunday, July 8th, 2012

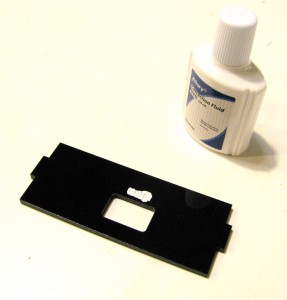
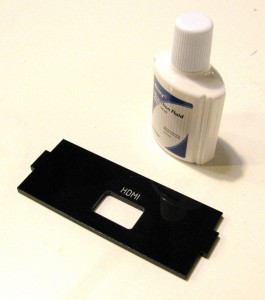
highlighted laser etchingWith a lot of people ordering Raspberry Pi enclosures from me, I decided to revisit trying to color etching on darker plastics. I found that cheap correction fluid works great! You'll want to make sure it's pretty thin so it wicks into the etching nicely. Add a nice thin layer over the etched areas of your parts and let it dry:

Adding color to dark laser etched parts

After letting it dry use a paper towel or a nice non-abrasive cloth and rub off the excess dried marking fluid to reveal the crisp text and graphics underneath:

Share

Adding Colored Etching to Laser Cut Parts

Saturday, May 12th, 2012

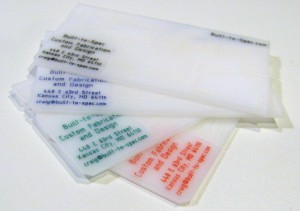
laser cut delrin cards with colored etching

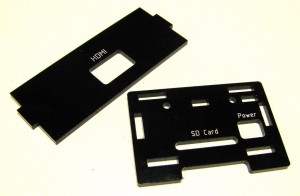
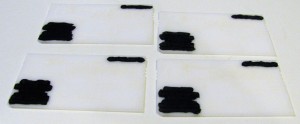
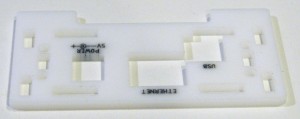
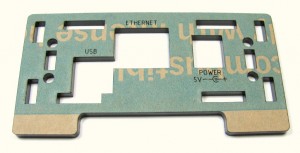
So while making the rubber band gun business cards, I stumbled upon a good method for inking laser etched text and graphics. Basically, after vector etching some graphics into a laser cut part you can blot a dry erase marker over your etching and let it wick into the lines put down by the laser:

Laser cut cards with dry erase marker blots

After letting the ink dry you can wipe the excess ink on the surface away to reveal your etched graphics and text.  This seems to work great with Delrin as well as acrylic (with a few caveats):

Laser cut acrylic parts with colored etching

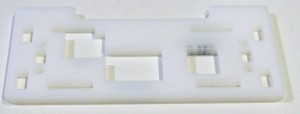
The white acrylic part showed a little crazing (cracking) when I applied the dry erase marker around the "Power" text, so I really let it soak in the ink so see what would happen:

Crazing on acrylic

Crazing on acrylic

This crazing only occurred on the "Power" text, leading me to believe that it was caused because of its proximity to the laser cut edge.  Annealing the acrylic after cutting could resolve this issue, but there's also the possibility that the white acrylic was extruded rather than cast which wouldn't help either. The clear acrylic was cast and it didn't show signs of additional crazing when exposed to the dry erase marker.

Obviously you can't do this with anything too porous that would absorb the dry erase ink outright, but it should work on a reasonable number of laserable materials. Additionally raster etching probably won't work too well with this method, but it might be wroth a try.

Share

Building a BeagleBone Enclosure

Saturday, January 7th, 2012

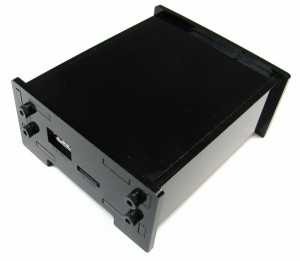
I got to play around with a borrowed BeagleBone board to get some kernel stuff working for a friend. While playing around with it I decided to throw together an enclosure kit and a sled for the thing as well.  The sled is pretty easy to figure out, but the enclosure takes a little more effort to put together, so I thought I'd do a quick write up outlining how to assemble it.

First off, peel the masking off all your laser cut parts.

laser cut front panel

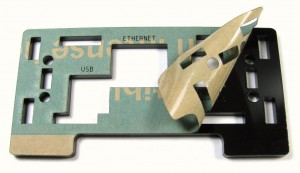
peeling protective film off of laser cut part

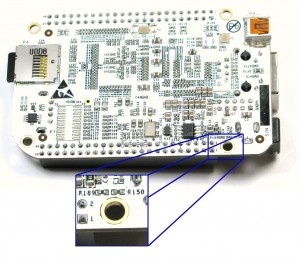
Next, you'll mount the BeagleBone to the bottom using 14mm M3 bolts, M3 nuts, and 1/4" OD 1/4" high nylon standoffs.  Make sure to mind the resistors on the back side of the board around the power connect (labeled R150 and R189).

zoomed image of R150 on BeagleBone

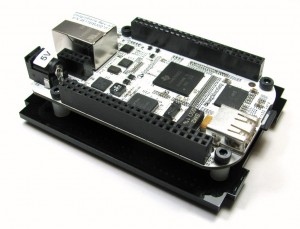
BeagleBone mounted

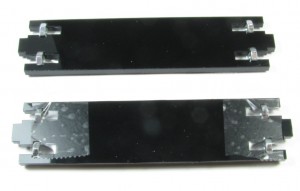
Next, you need to partially thread all the remaining M3x14 bolts into the T-slots of the spanning pieces and the end caps.  This is physically possible without assistance, but it's hard.  You'll want to save yourself some time by using some scotch tape and securing the nuts in place before inserting the bolts.

Nuts held in place with tape

Once this is done, you can slide in the bottom, sides, and top before finally tightening down the bolts.  Don't overtighten the blots, the enclosure is all acrylic and it will crack under extreme stress.

Bottom Installed

Sides Installed

Top Installed and Bolts Tightened

Other Side After Assembly

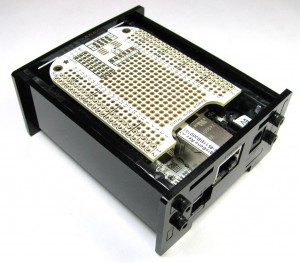
You can simply leave the top off if you want easy access to the expansion headers.  The Adafruit BeagleBone proto cape will even fit with the top off:

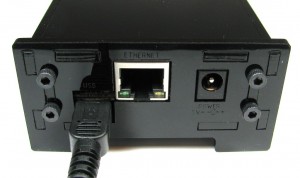
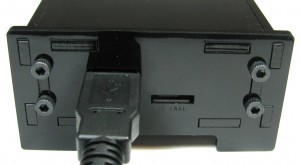
Here are some additional pictures of the enclosure with the USB host and peripheral interfaces plugged in (notice that you can see the status LEDs above the peripheral connection):

BeagleBone USB host connection through enclosure

Grab an enclosure kit including handy hex wrench from my store and you can grab all the design files and BOM from the Thingiverse entry.

BeagleBone SledYou can grab a sled kit there as well, if you feel like your BeagleBone would like a little more of an open air prototyping environment. You can find the design files for the sled, BOM, and instructions on its Thingiverse entry here.

Share

Laser Cutting Sandply

Sunday, September 25th, 2011

burnt sandply

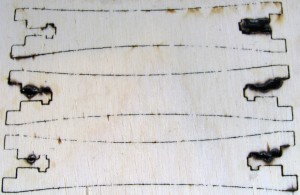
So I went to Home Depot several months ago to pick up some plywood for cutting on the laser decided to try out some sandply. It's cheaper than birch or oak, lighter, and seems to be less prone to warping, which is pretty important when laser cutting. Given that sandply is less dense than the bitch I had been cutting, I expected the laser to cut through it without issue. When I tried it out on the same settings I had been using for birch and I was not impressed.

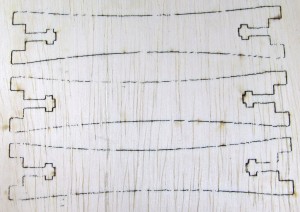
Above you can see that some parts continued to burn after the laser cut through the wood (air asset doesn't seem to have an effect on this charring) and below you can see that the laser just barely failed to go all the way trough several parts at the same laser settings used for birch. I haven't tried to see if I can elevate the issues I was seeing, but I'd say that sandply is probably not a go to material for laser cutting functional wood parts.

Sandply that's not cut all the way through

Share