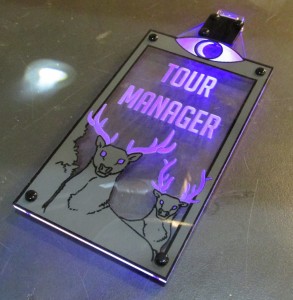
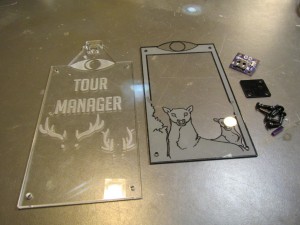
I had the honor of helping my friend make a badge for , the Welcome to Night Vale tour manager. She made the kick ass art for the badge and it was up to me to actually make it work. I've made a number of glow badges before but for this one I had to incorporate some multi-colored artwork, make it glow purple and have an on/off switch. All of which I had not tackled yet, but I like a challenge from time to time.
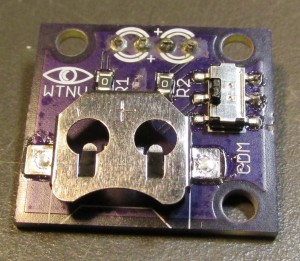
The switch was straight forward, but making it purple is a little more difficult. Purple LEDs are available, but they're actually UV, and they're not super bright. Using a red and a blue LED on the same power source isn"t possible like I've done with previous glow badges without current limiting resistors since the red LED has a much lower forward voltage. I overcame this limitation by adding a couple optional current limiting resistors to two independent LEDs on a custom PCB:
In the pics I have two zero ohm resistors in place. This is because this particular board was a test board that has two white LEDs on it. I tried two different strategies for getting a bright purple, two white LEDs with a filter, ane one red LED and one blue LED with different current limiting resistors to mix them appropriately. The red/blue combo turned out to be the winner (430 ohm resistor on the red LED, zero ohm on the blue). It was brighter than the two white LEDs with filter and more vibrant overall.
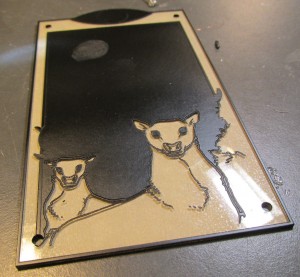
For the graphics, I etched the outlines of each color on to a sheet of 1/16" acrylic and used spray paint and selective masking to get the color fills I wanted. Here's a pic of the color plane after applying black and removing the masking for the gray areas before painting them in:
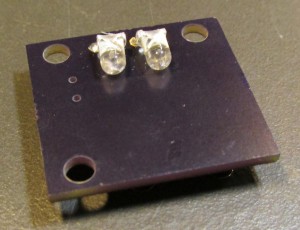
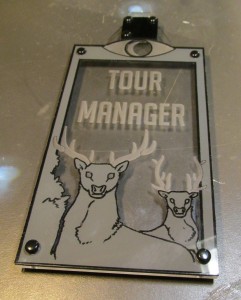
If I had more time I would have gotten the graphic layer printed rather than painted it on myself (I've used some local printers to do some awesome stuff with acrylic on UV cured inkjet printers). After the graphic layer, PCB, and laser etched glow layer where completed, I attached everything with expanding push rivets. Here's a pick of the white LED and filter setup:
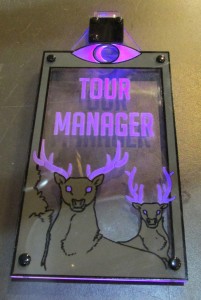
And here's another pic of the final red/blue badge in all it's glowy glory:
