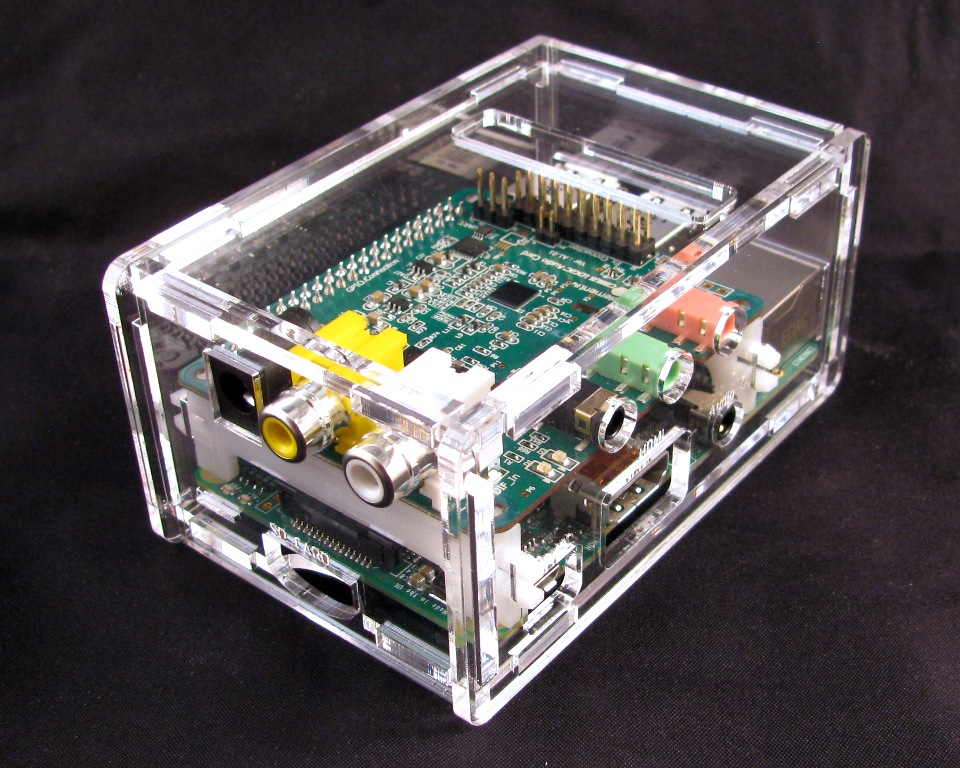
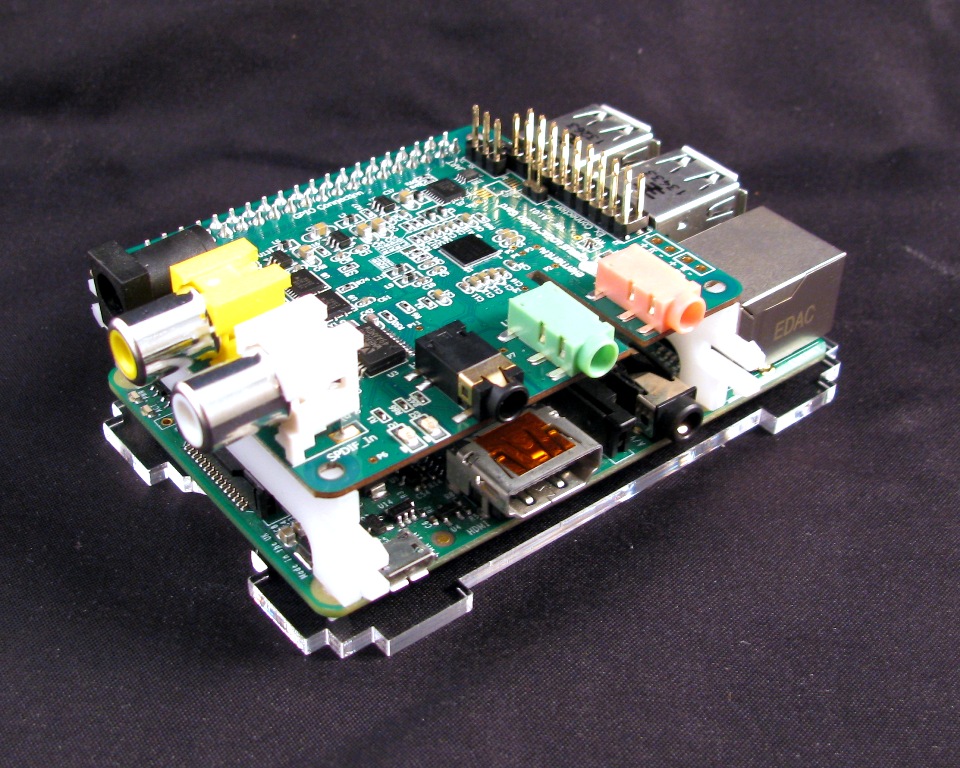
Raspberry Pi B+ Cirrus Logic Audio Card Case
*Raspberry Pi 3 compatible.
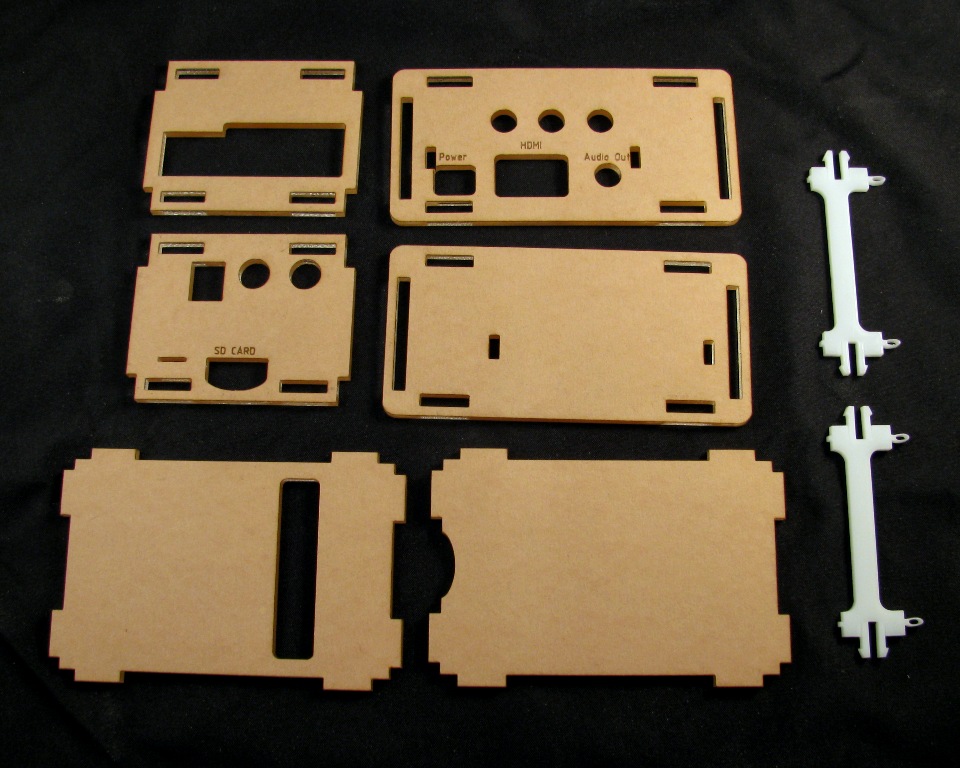
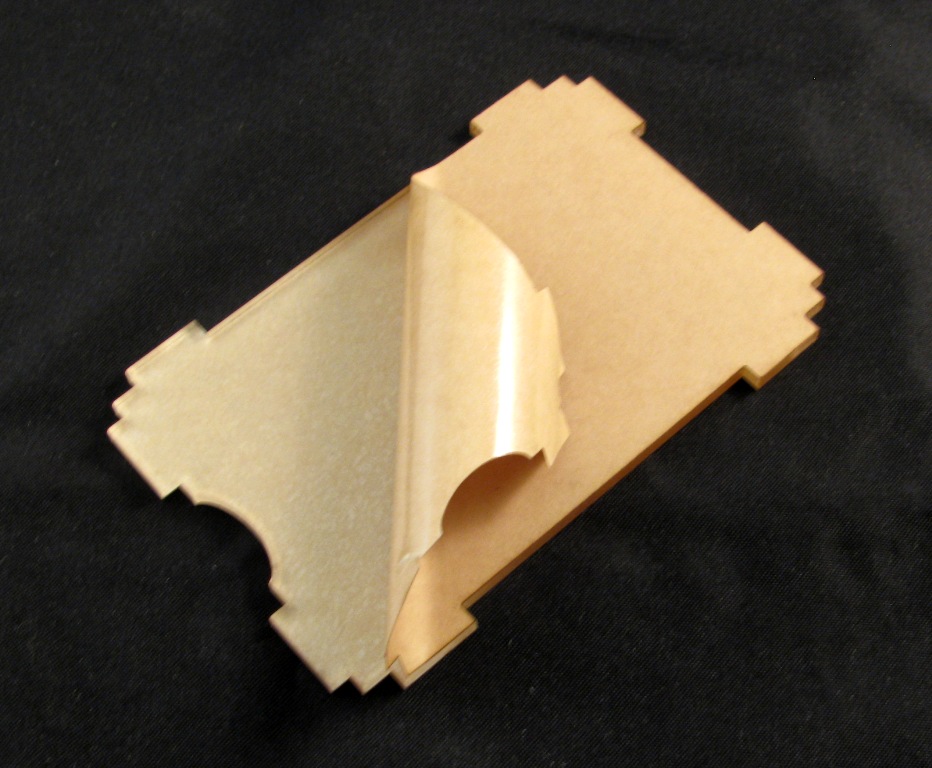
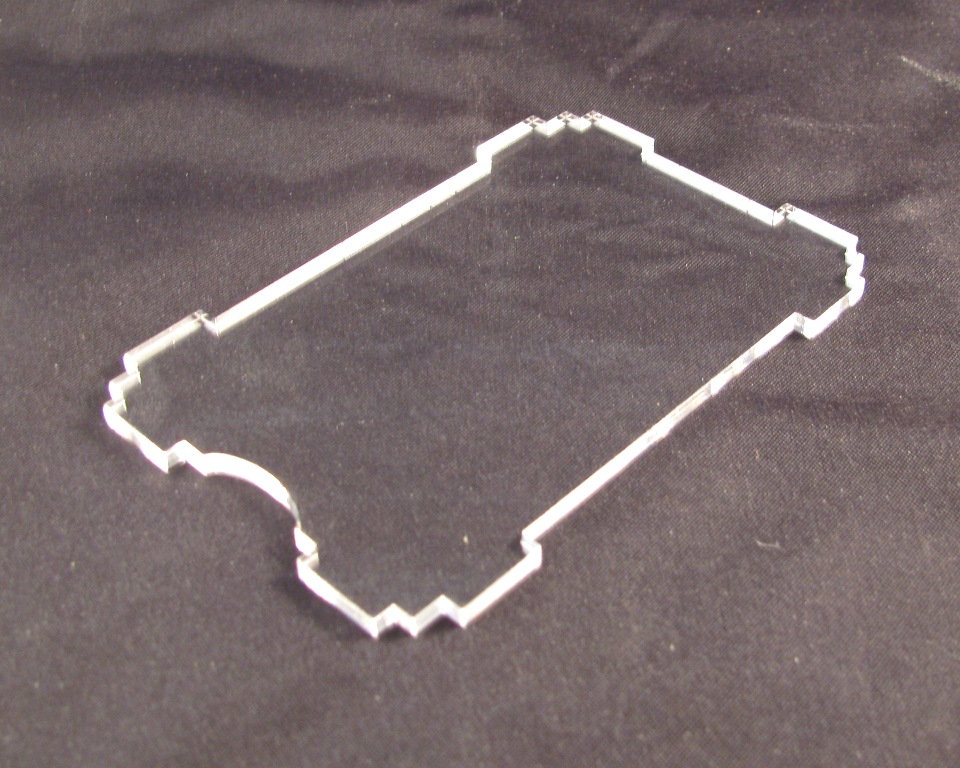
Step 1: Remove the masking
The laser cut acrylic pieces have a protective paper masking that needs to be removed before assembling the case.
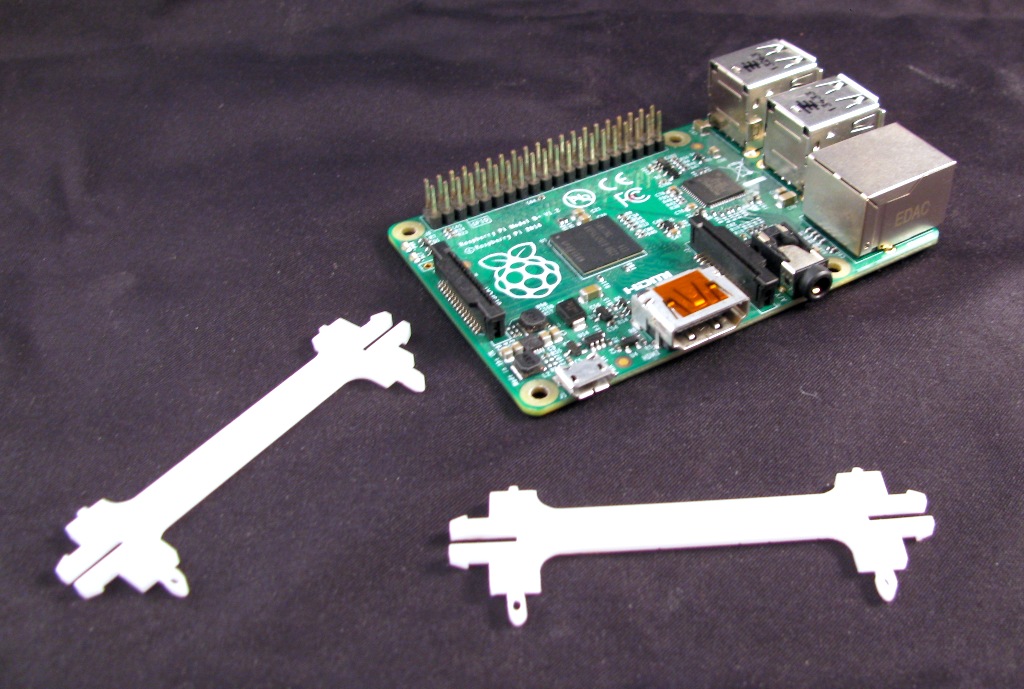
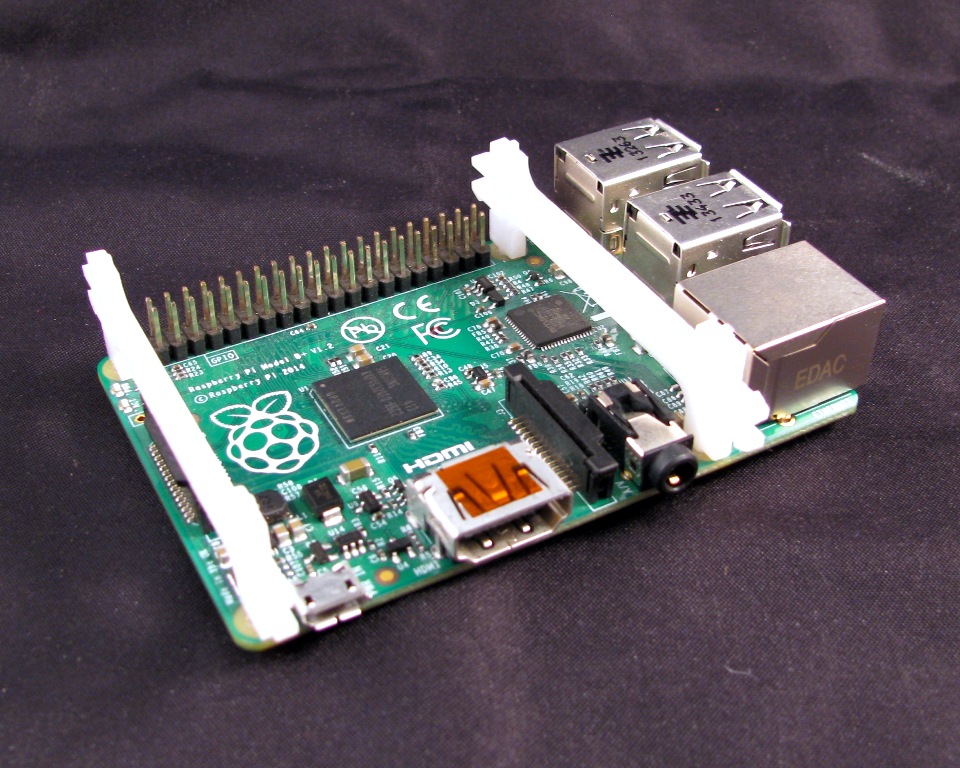
Step 2: Snap PCB clips onto the Raspberry Pi
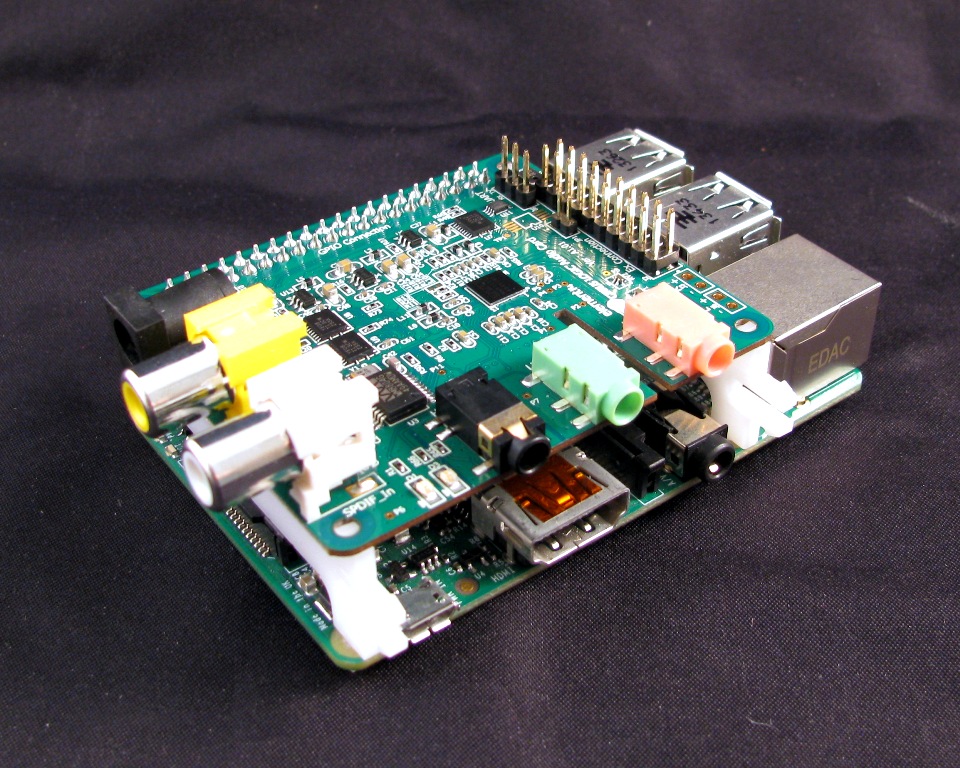
Step 3: Install the Cirrus Logic Audio Card
Make sure to press the Audio card down onto the nubs on top of the delrin PCB clips.
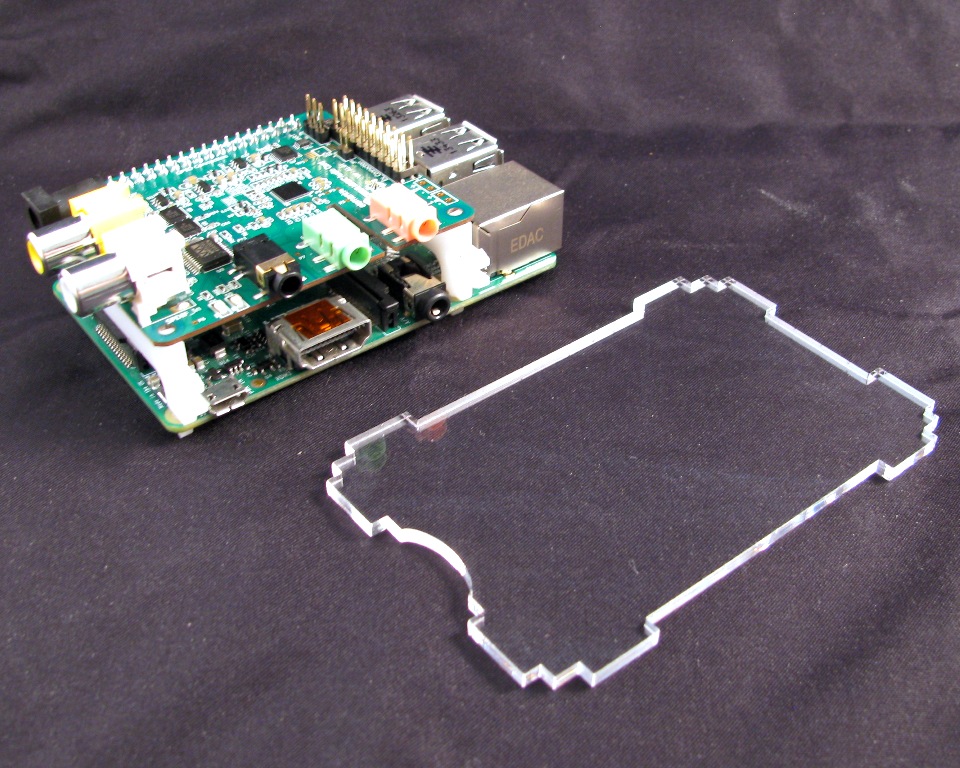
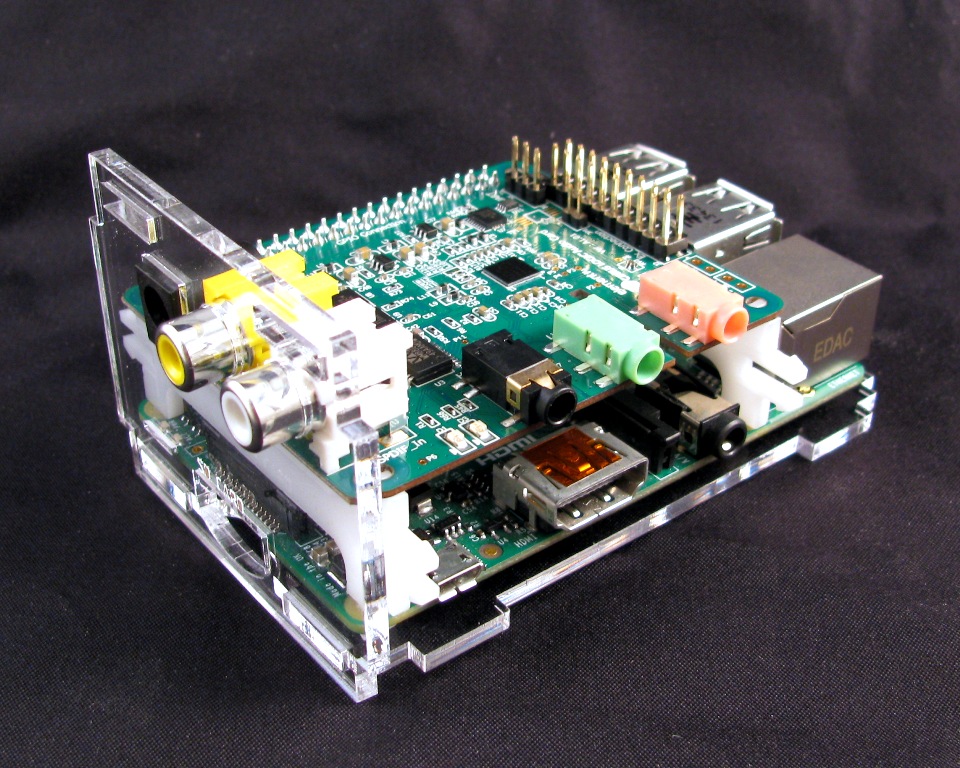
Step 4: Place the Raspberry Pi on the bottom panel
Make sure that the curved cutout is on the side with the MicroSD card slot
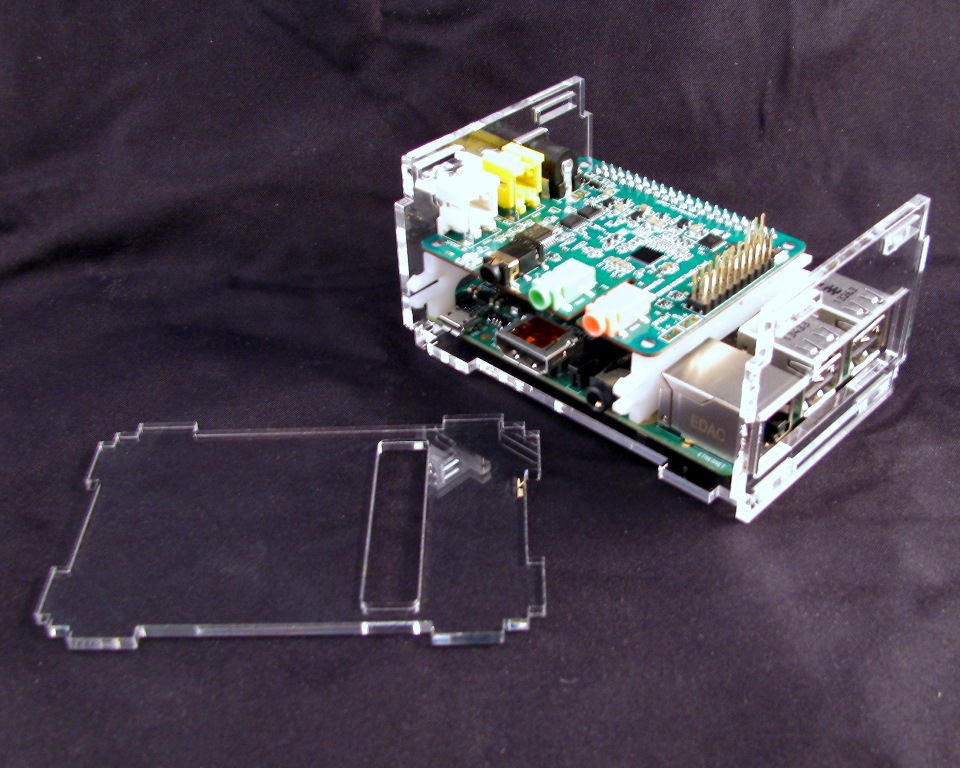
Step 5: Add the SD card side panel

Step 6: Add the Ethernet/USB side panel
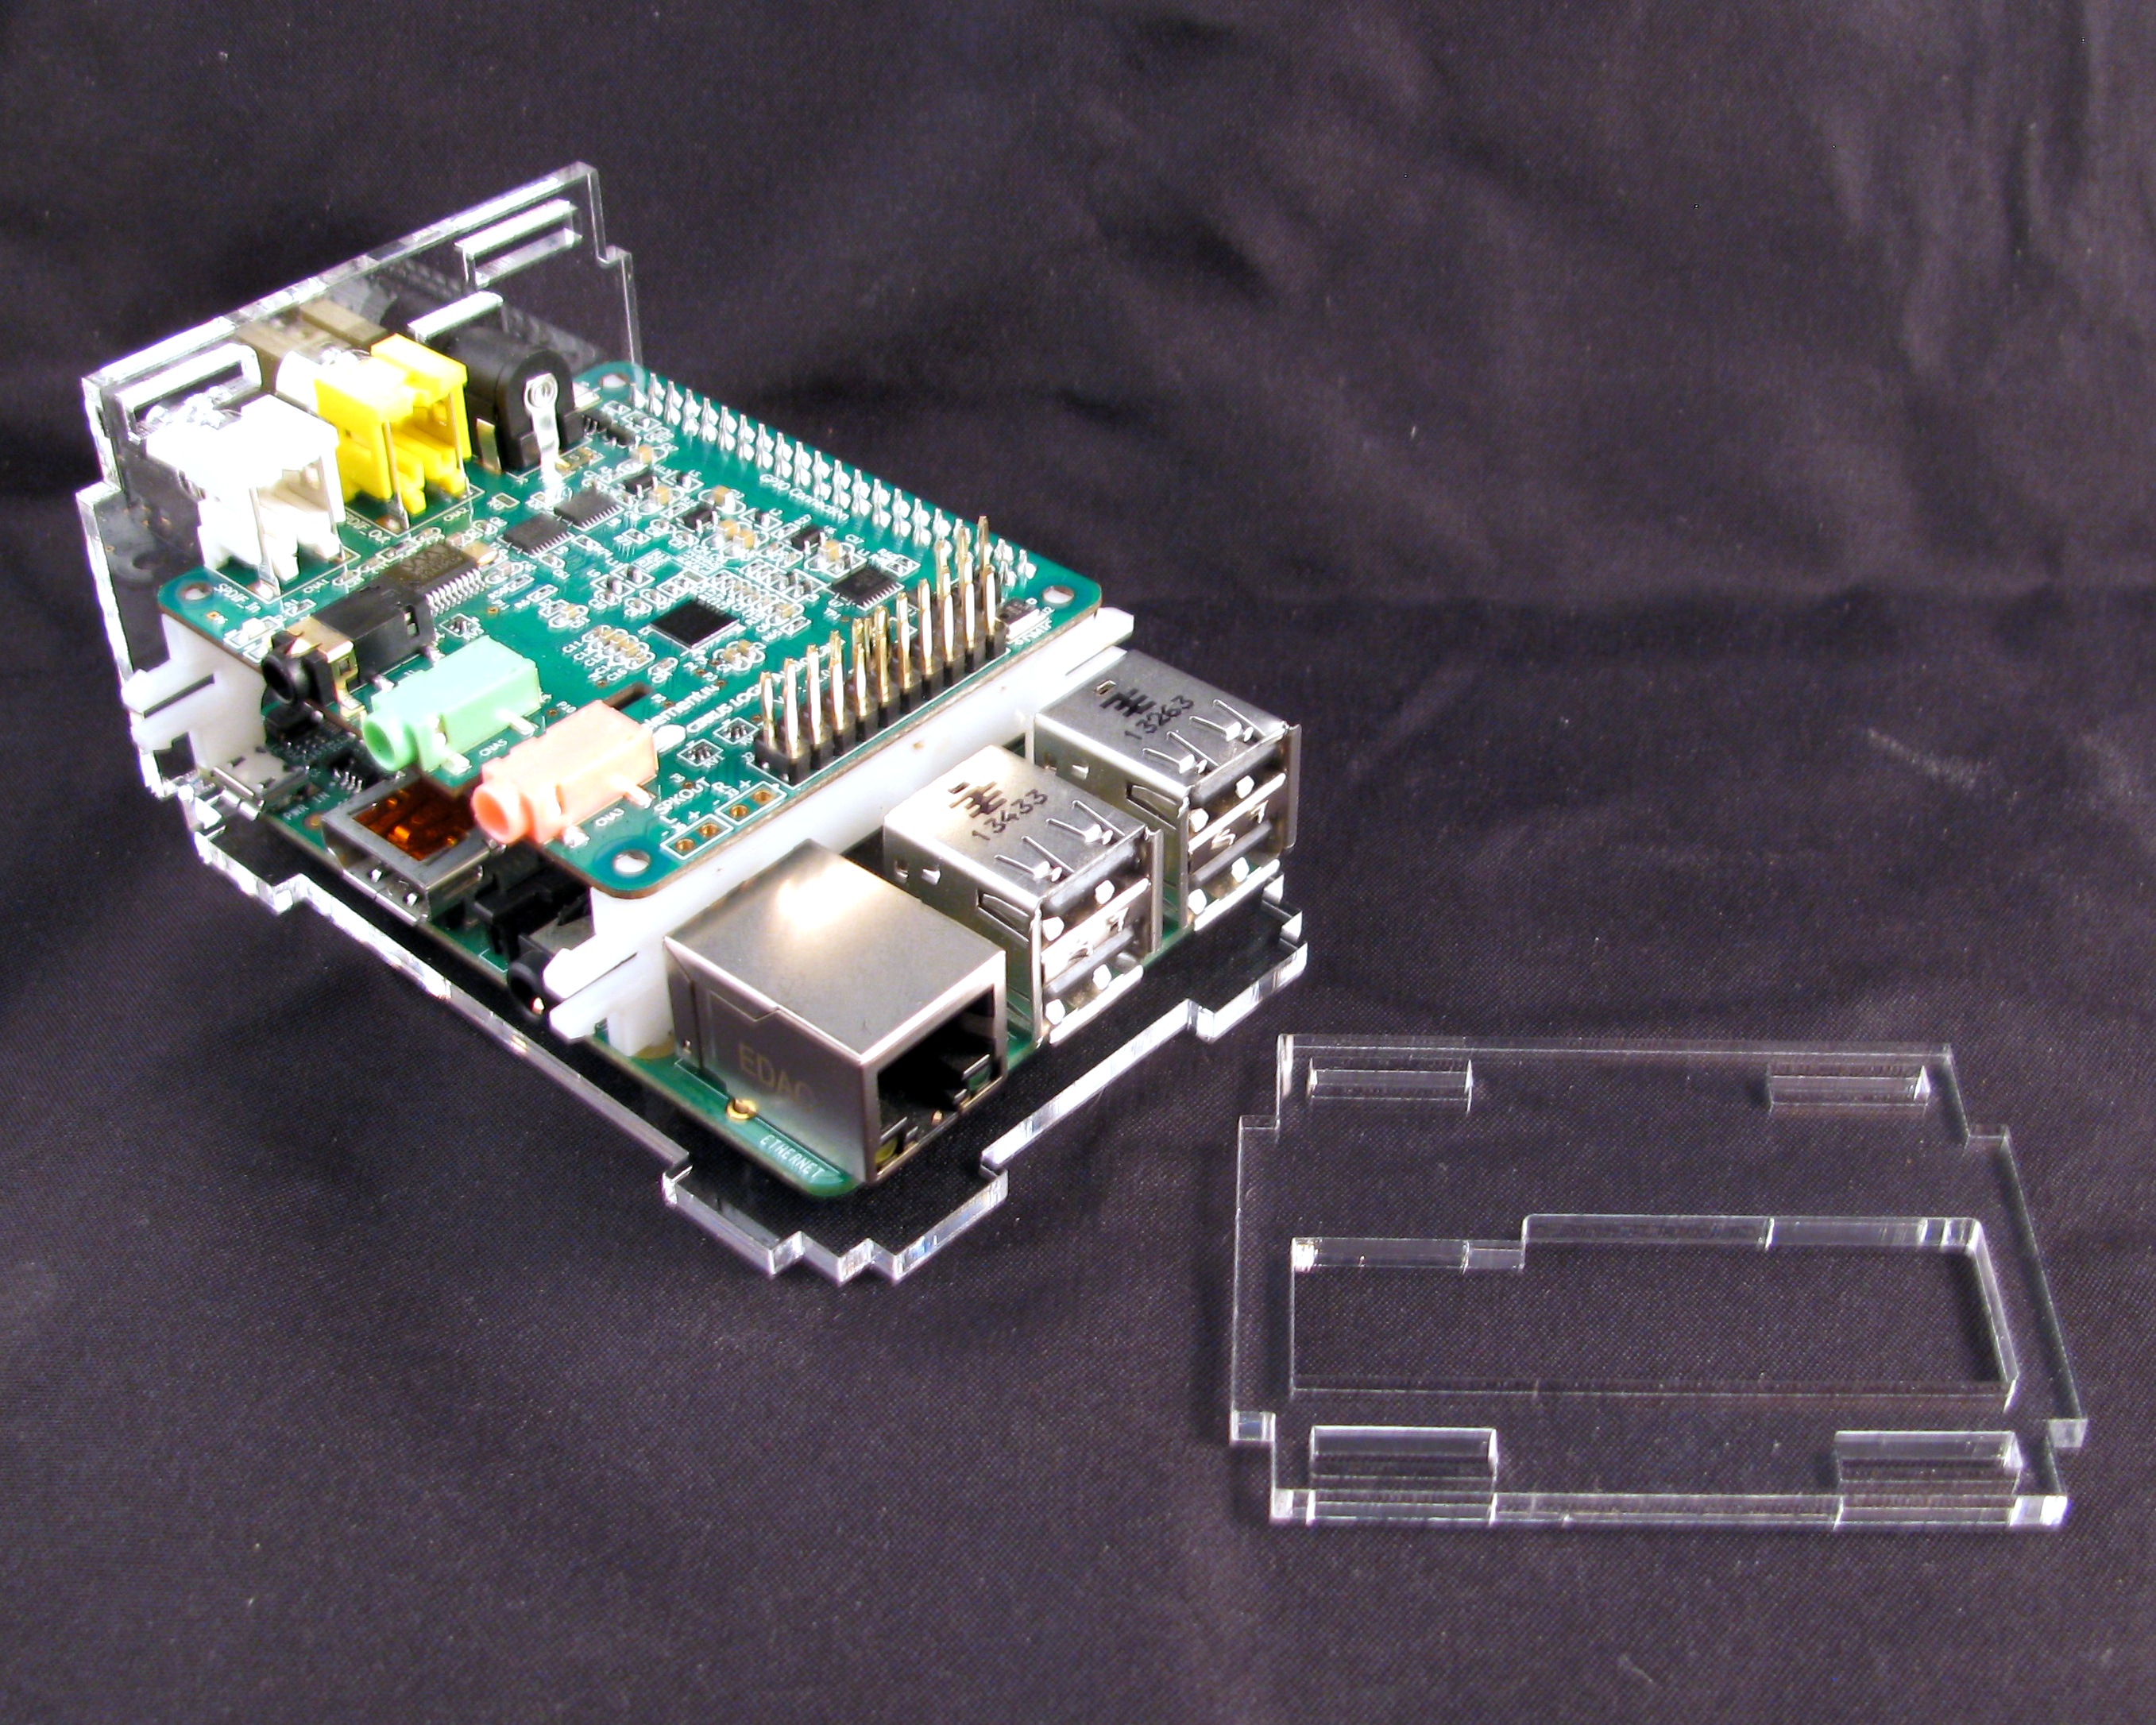
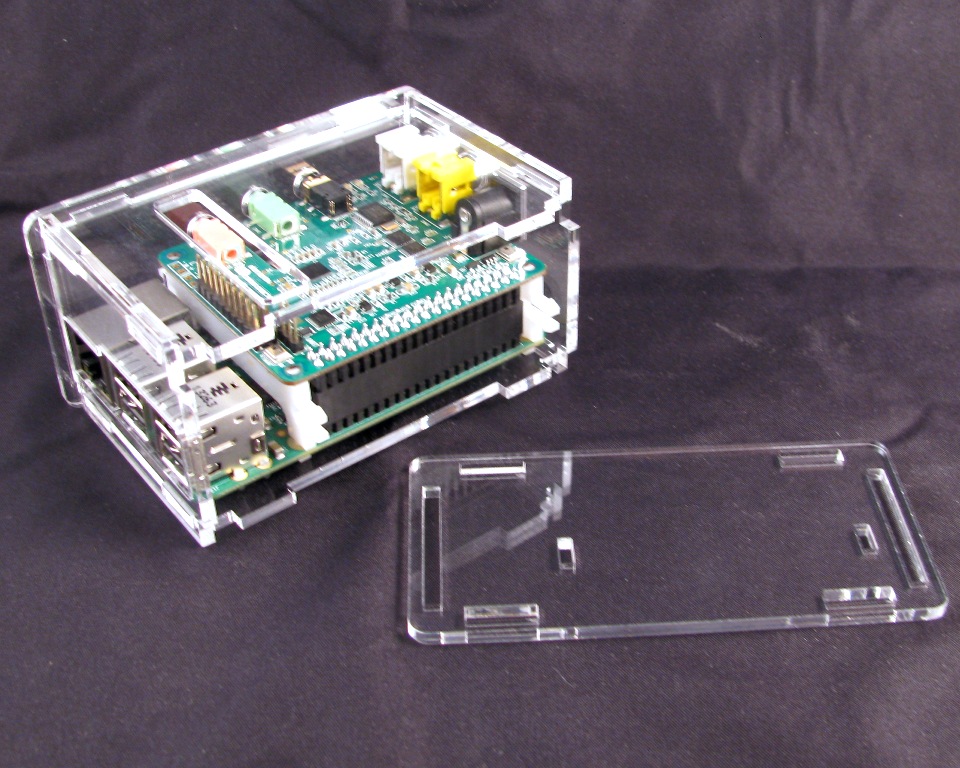
Step 7: Add the top panel
Make sure that the slot goes over the header pins on the audio card
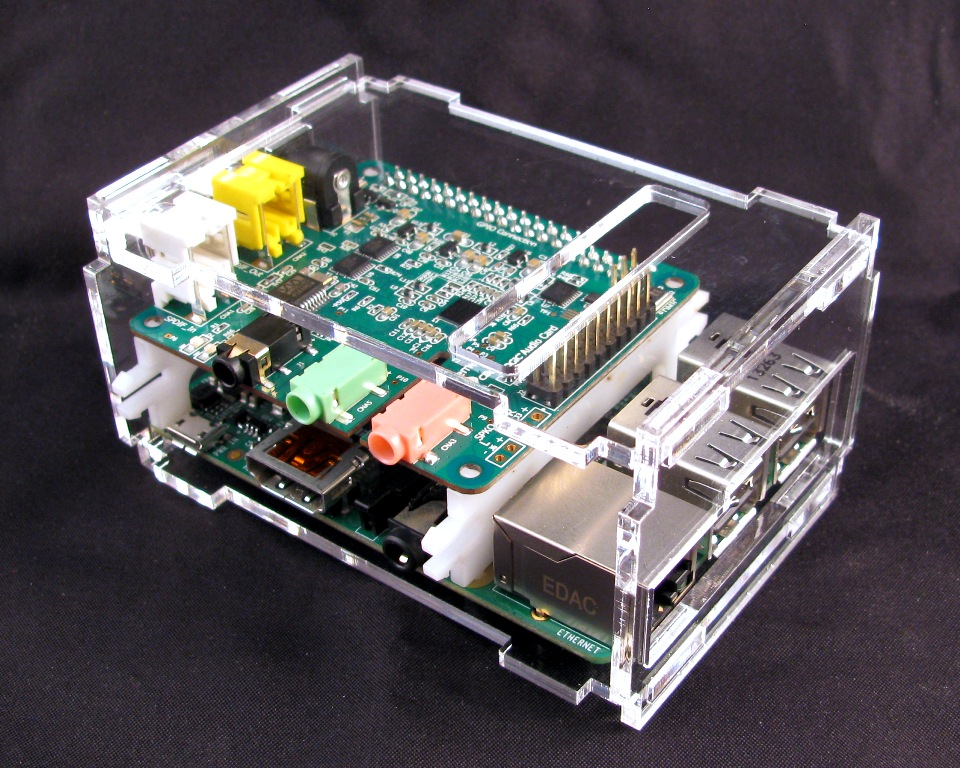
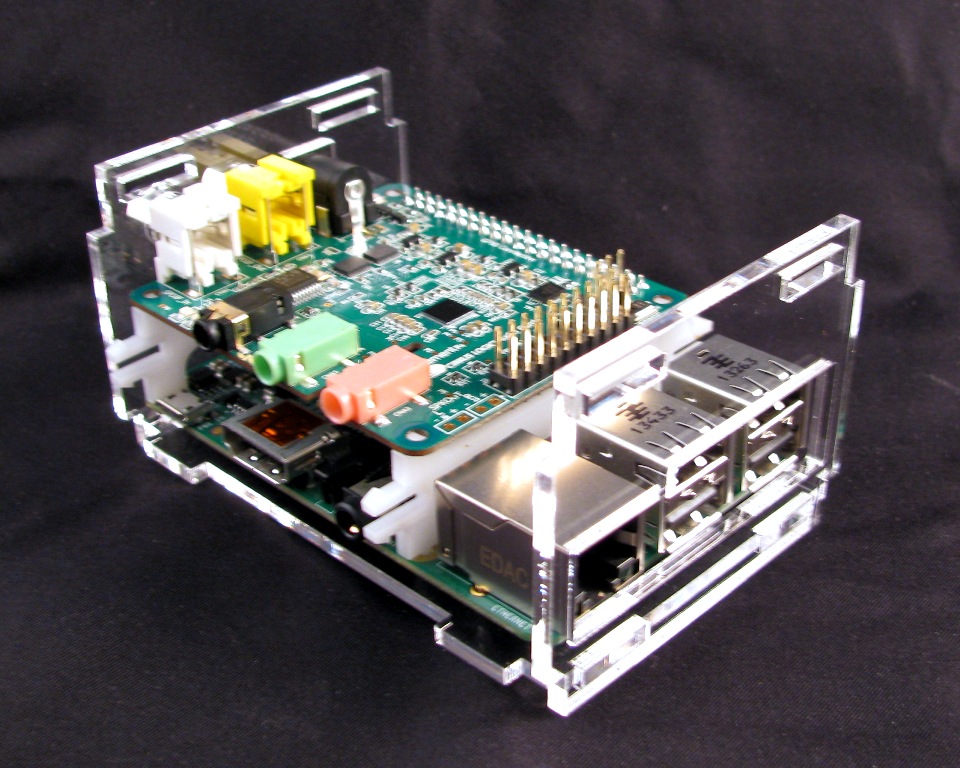
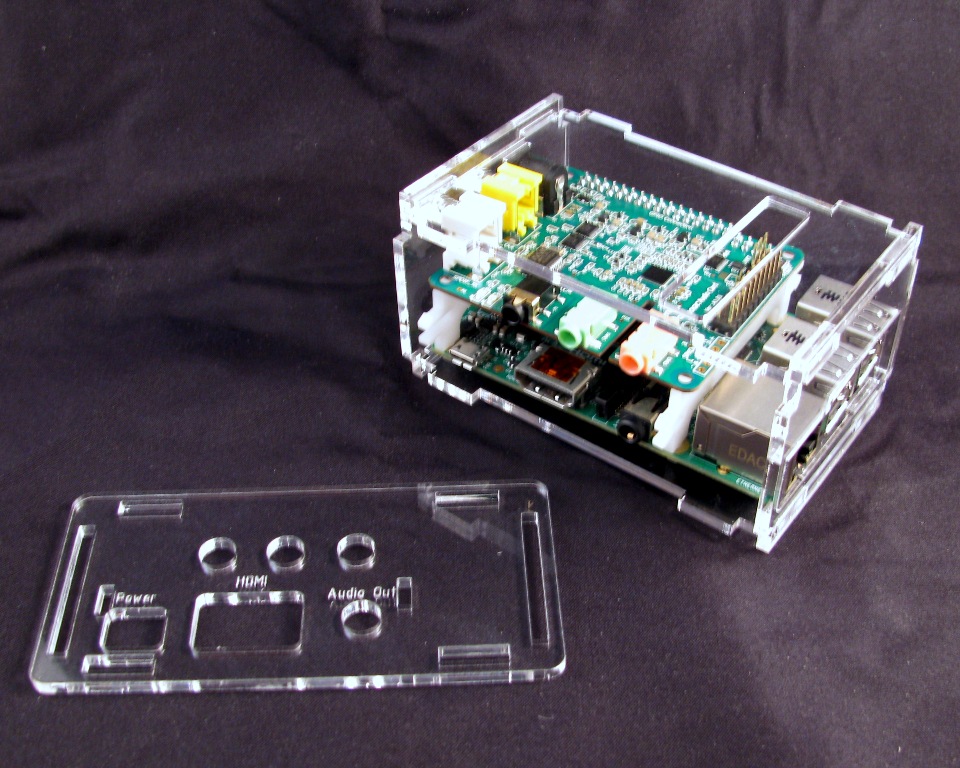
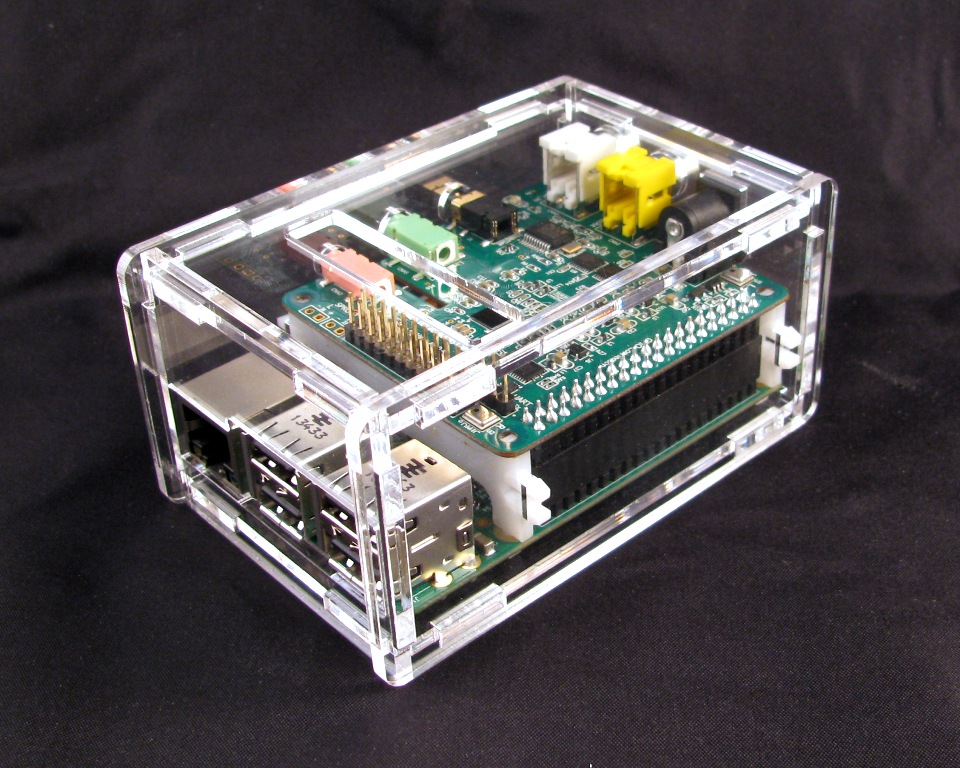
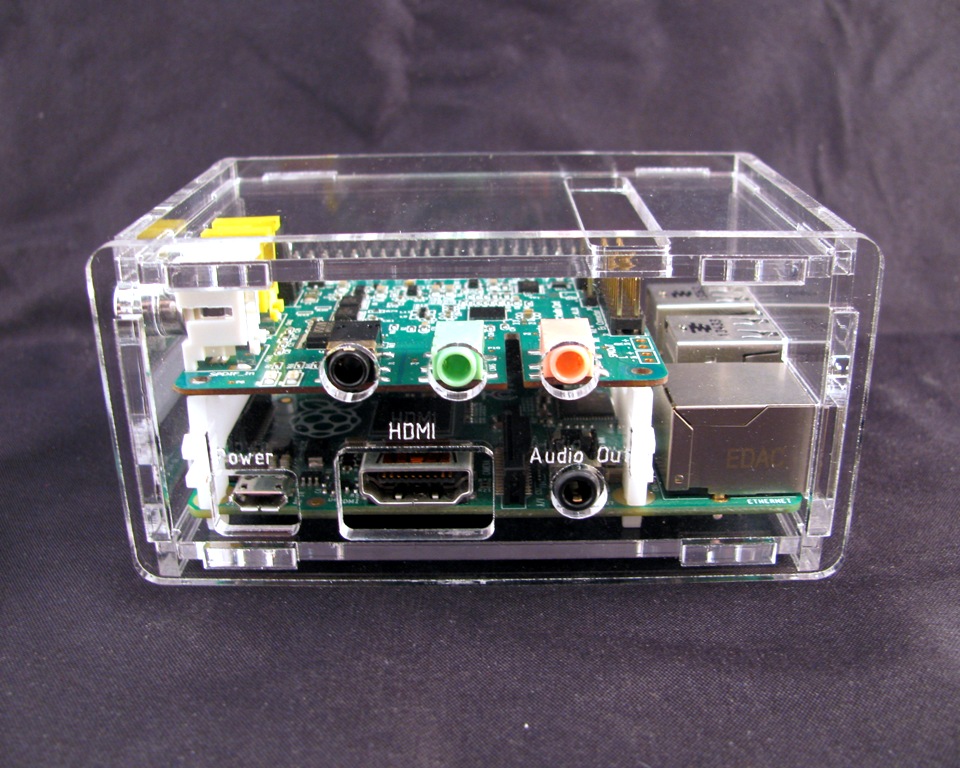
Step 8: Snap the Power/HDMI/Audio side in place
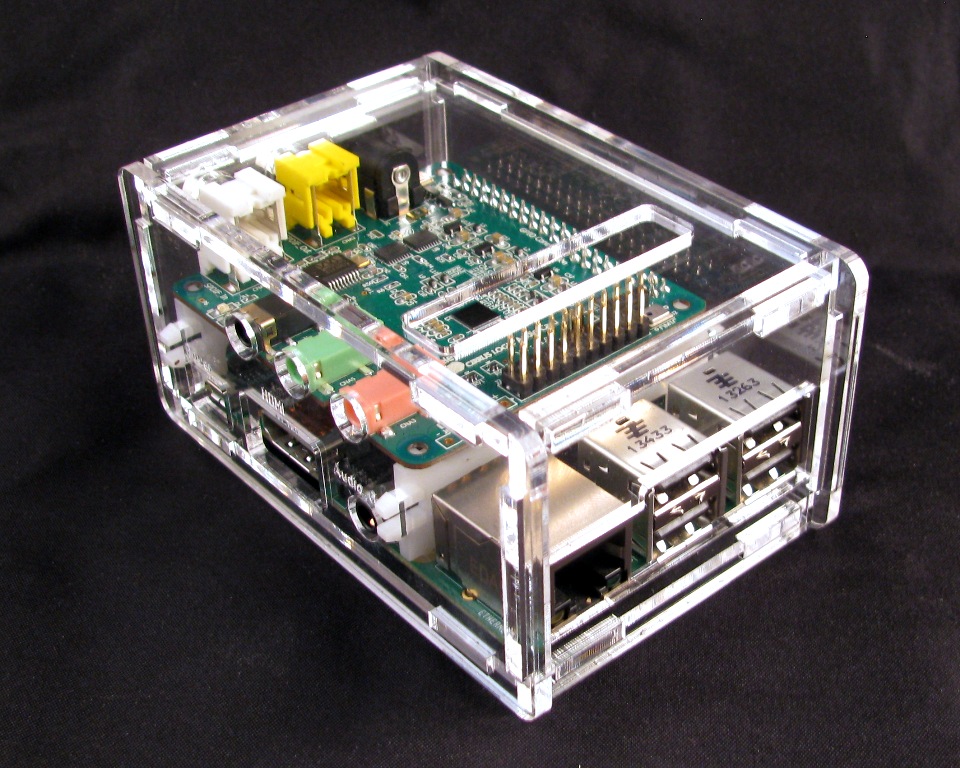
Step 9: Snap the remaining side in place
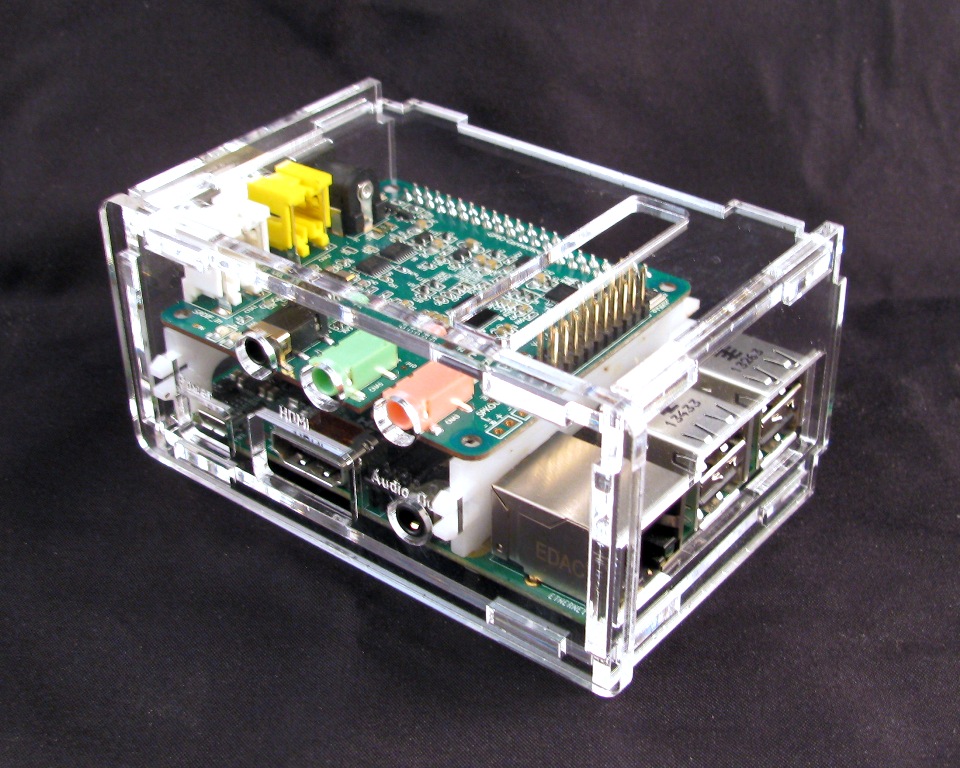
Congratulations! You have successfully given your Raspberry Pi B+ and Cirrus Logic Audio card a comfortable home.


Want one of these cases for yourself? Grab one here:
Want the design files? Grab them from my Thingiverse page:

