pcDuino3 Case Assembly

Step 1: Check/Prep the Parts
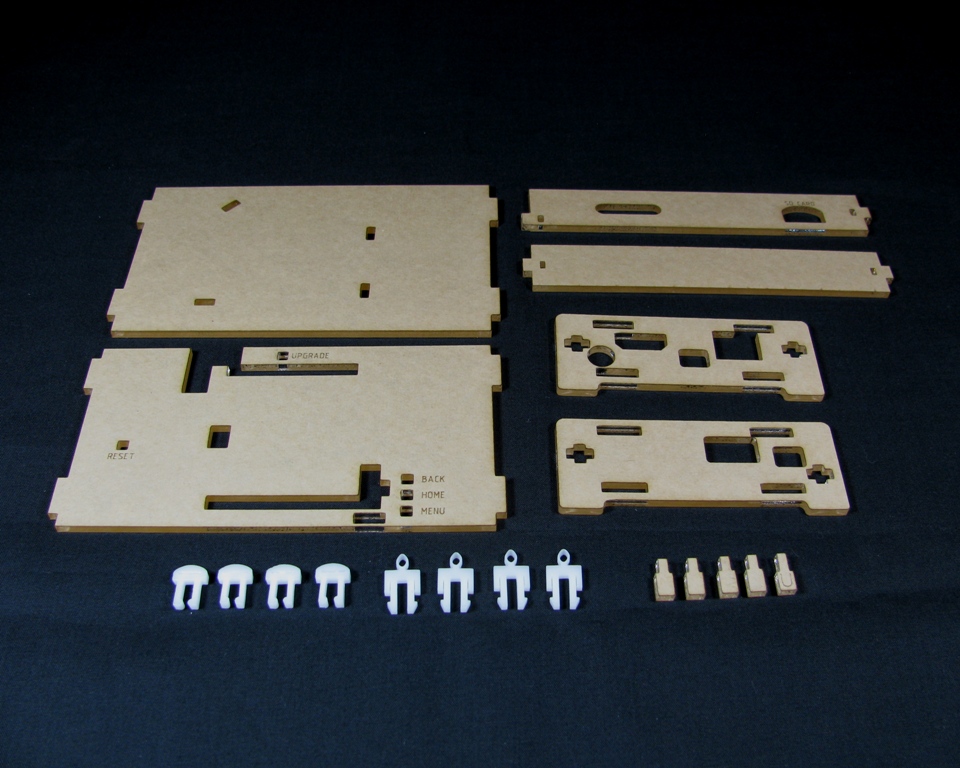
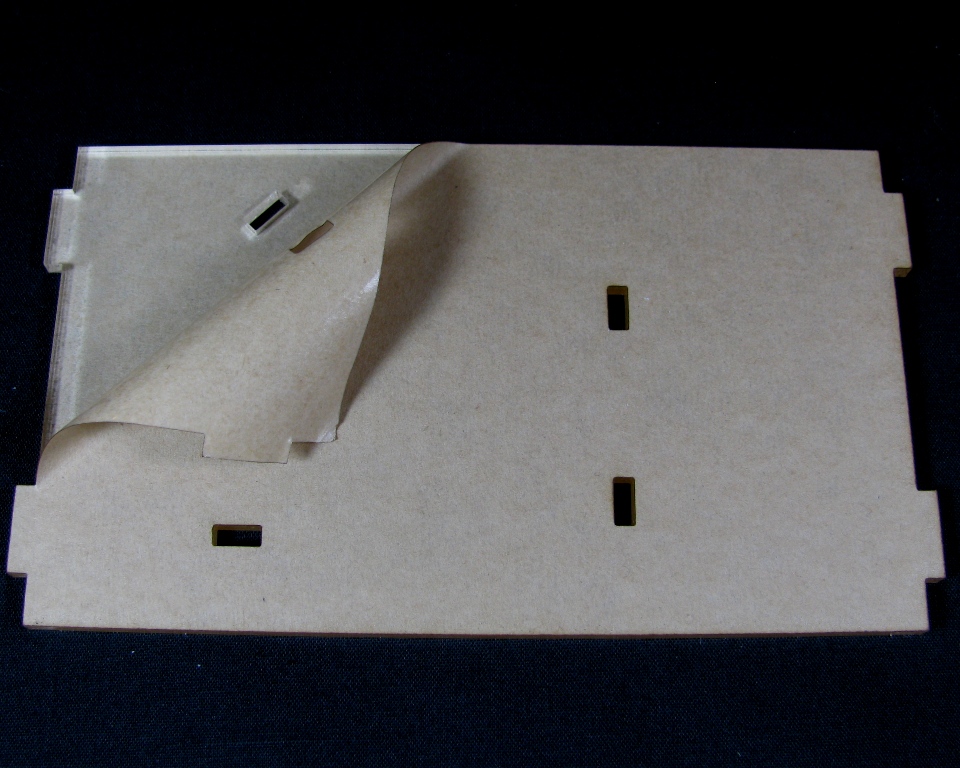
Make sure that you have all of the parts in the above image. Once you are sure that you have all of the parts, remove all of the masking.
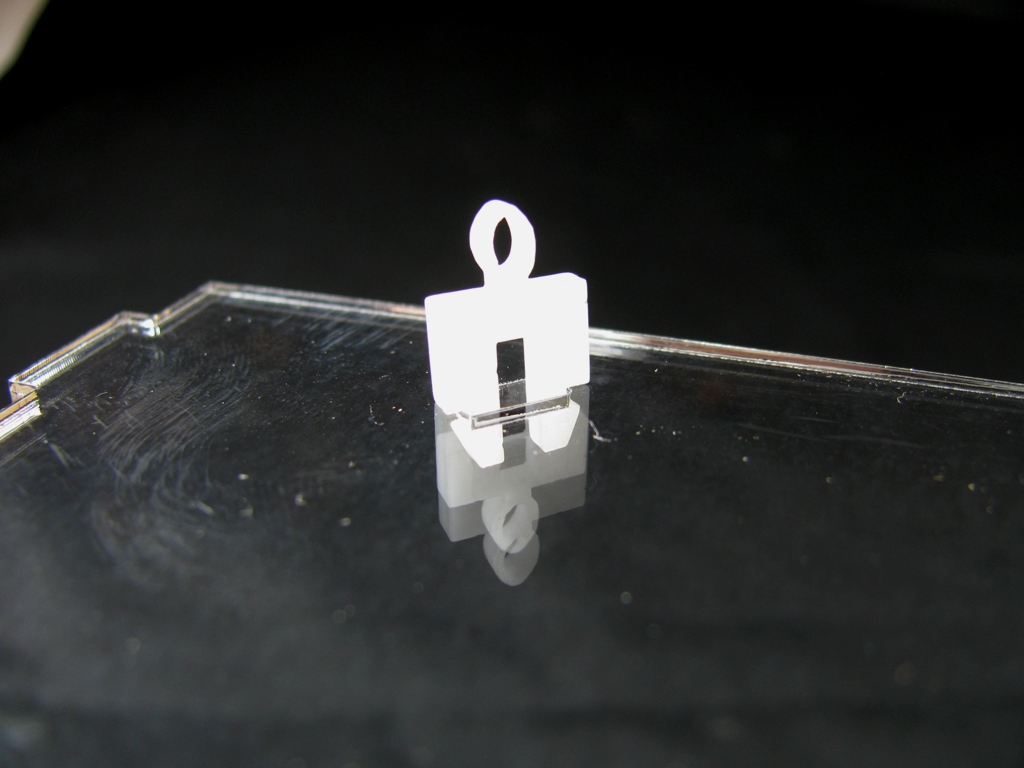
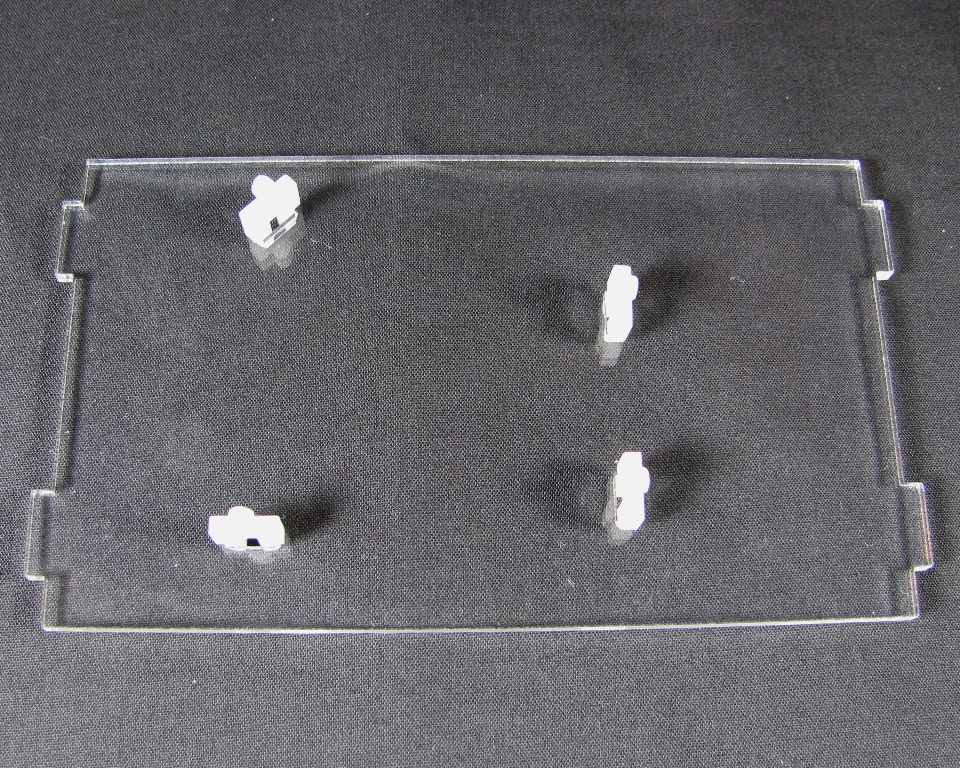
Step 2: Attach PCB mounting clips
With the angled clip slot in the upper left of the bottom plate, insert the PCB mounting clips into the slots.
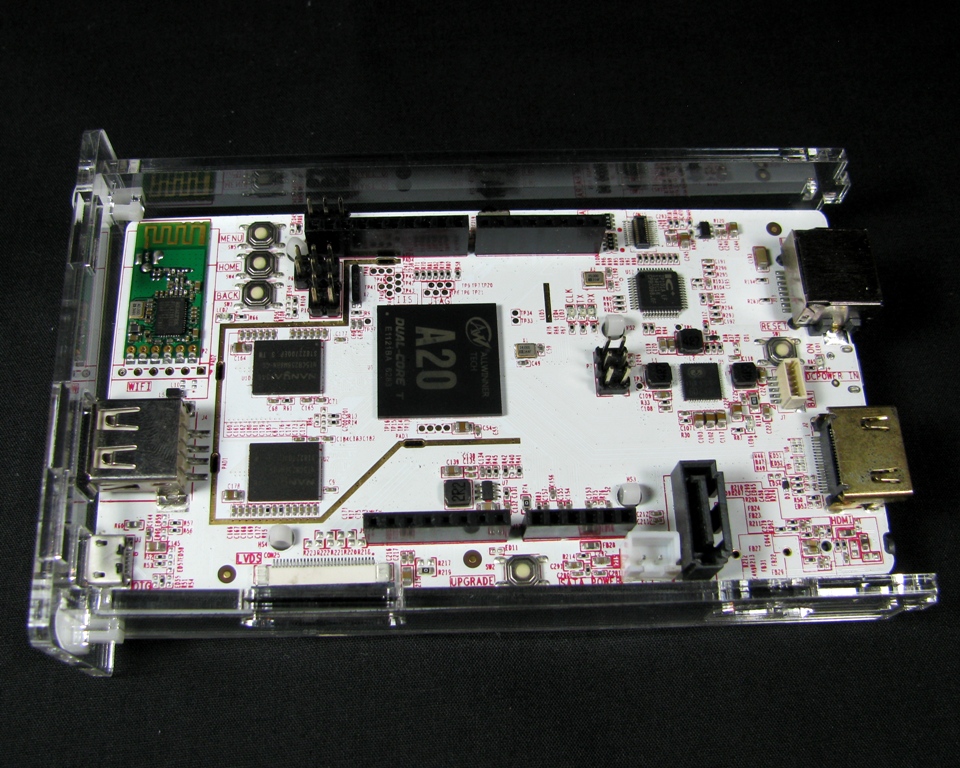
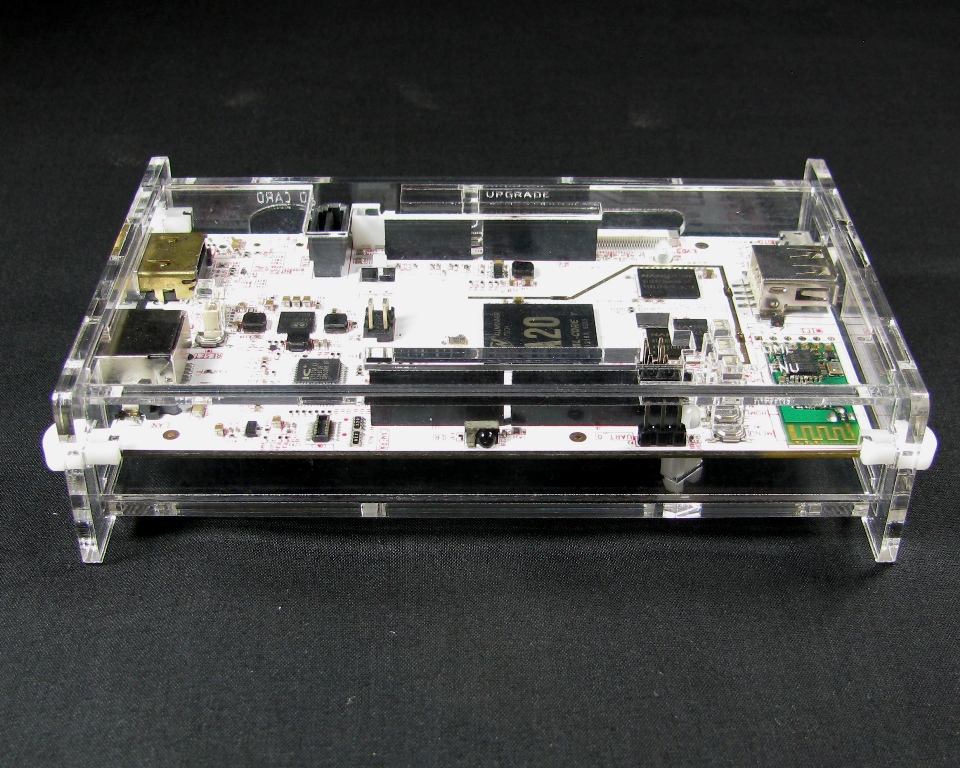
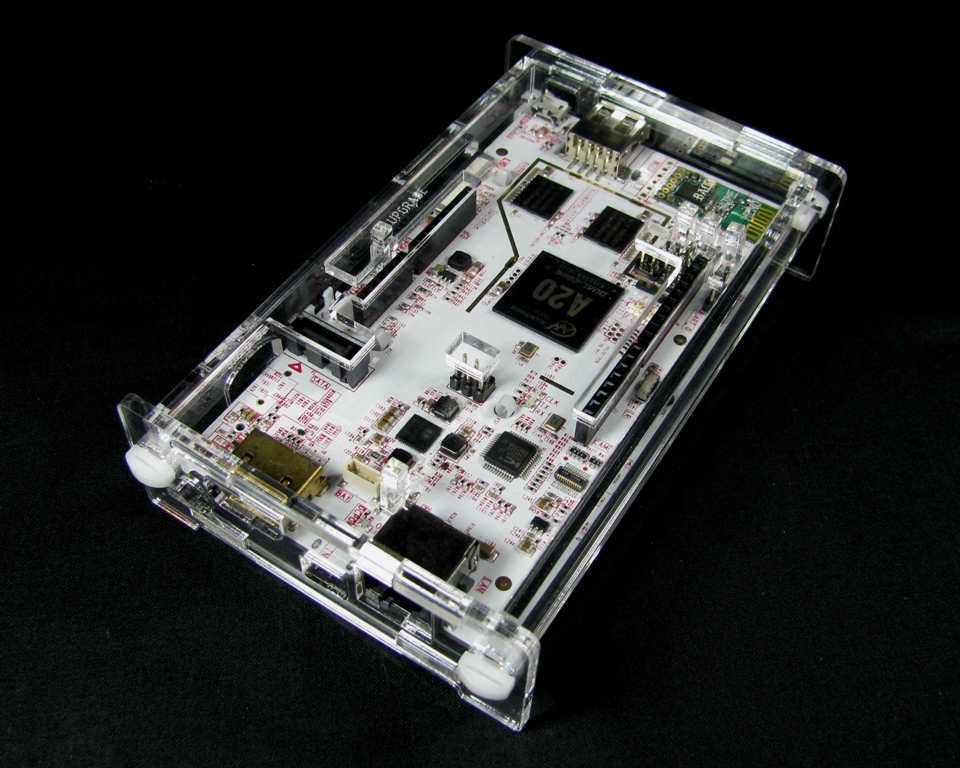
Step 4: Attach the PCB

Gently press the pcDuino down onto the PCB mounting clips until firmly seated.
Step 5: Attach the front and back panels to the USB side


Step 6: Put the pcDuino in place
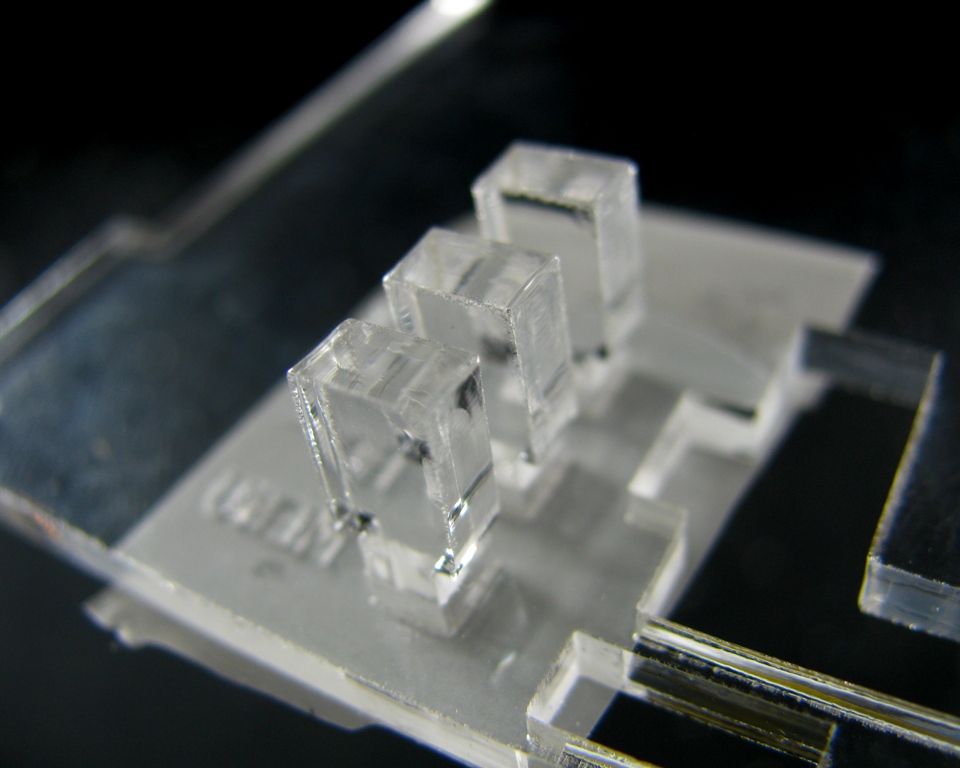
Step 7: Insert buttons
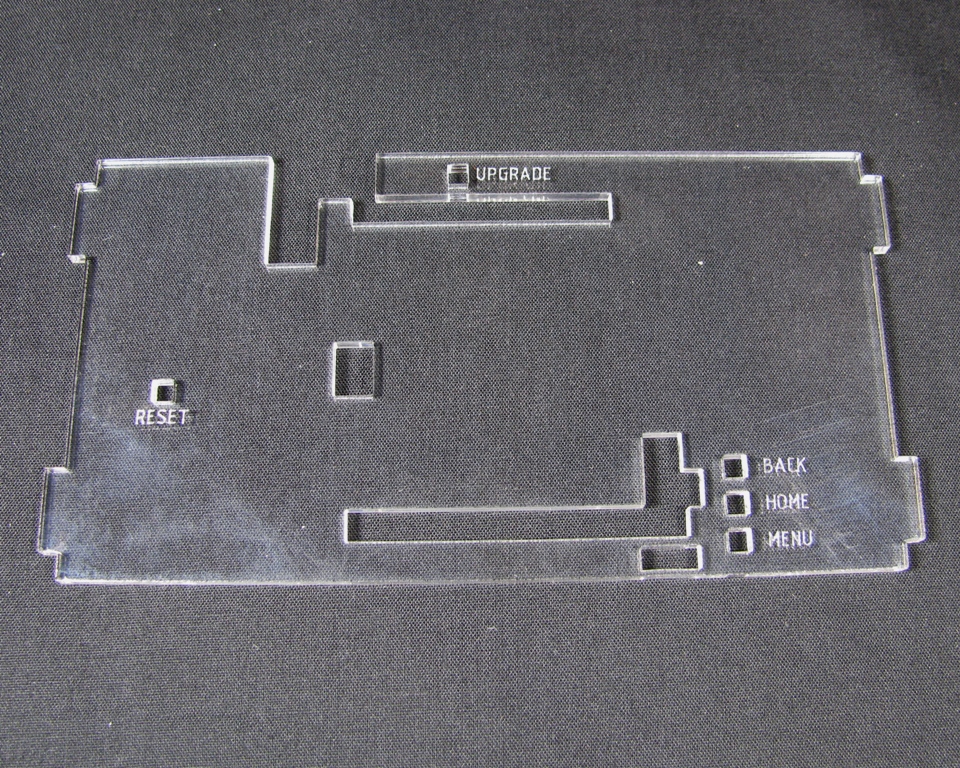
Take the top plate and position it as shown below.
 Take some tape and tape over the button holes as shown.

Now flip the top over

Look at the buttons and find the one with a 'U' etched onto it
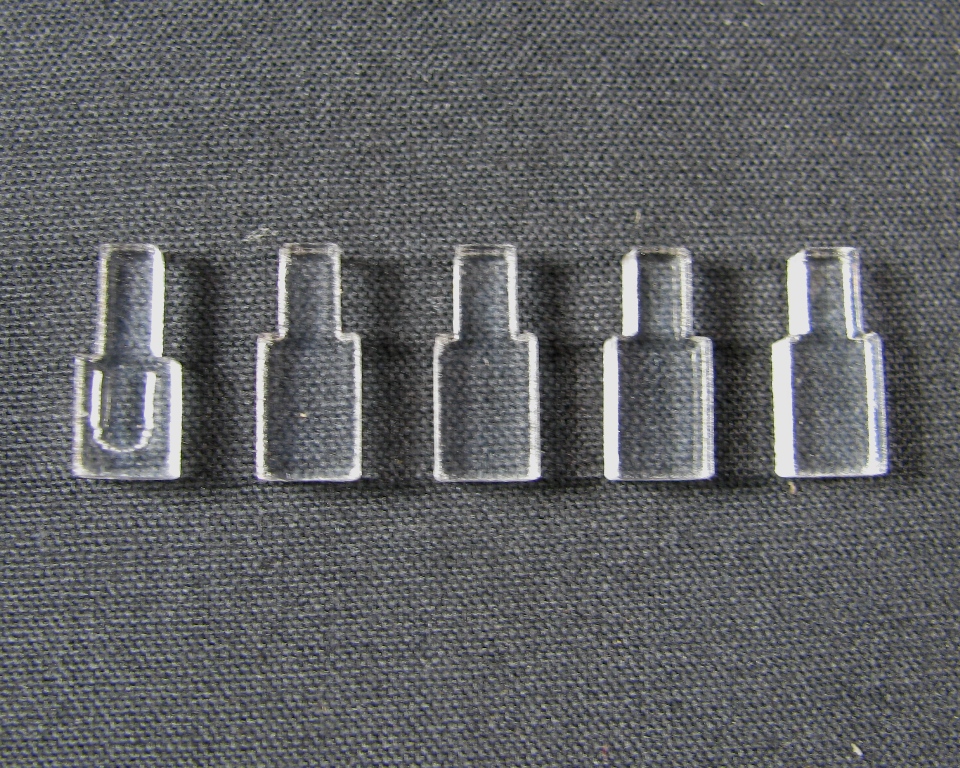
Take the one marked with a 'U' and place it upside down in the slot for the upgrade button(hence the 'U')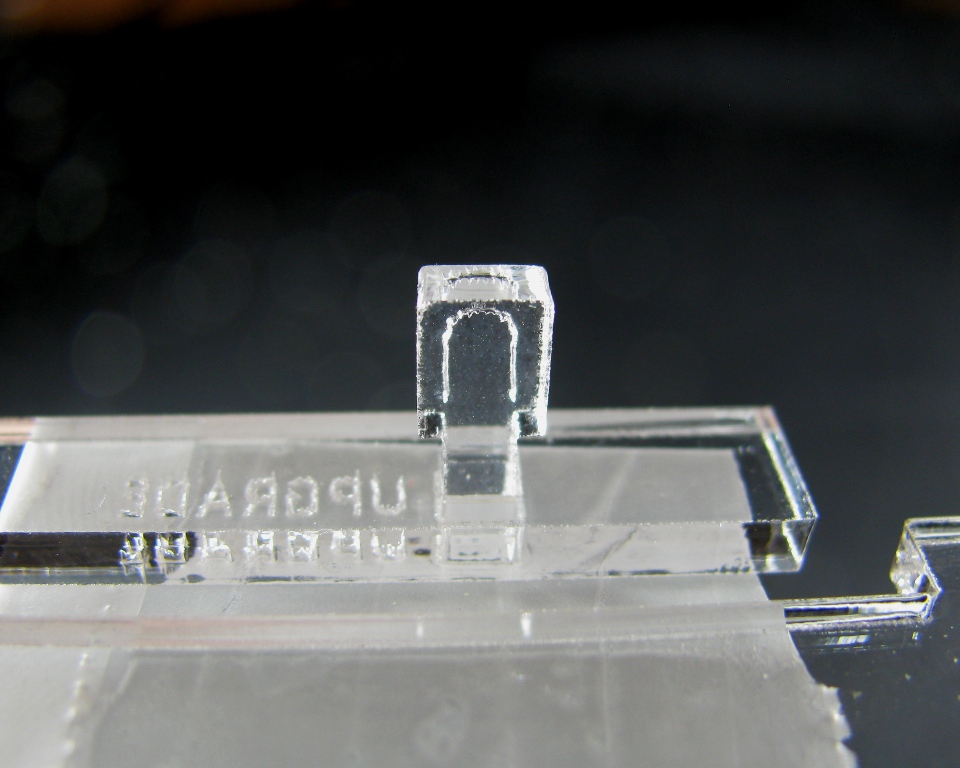
Now place the rest of the buttons into the other button slots
Step 8: Mount Top plate to rest of the Case
Take the top plate and carefully flip it over and slide it into place.

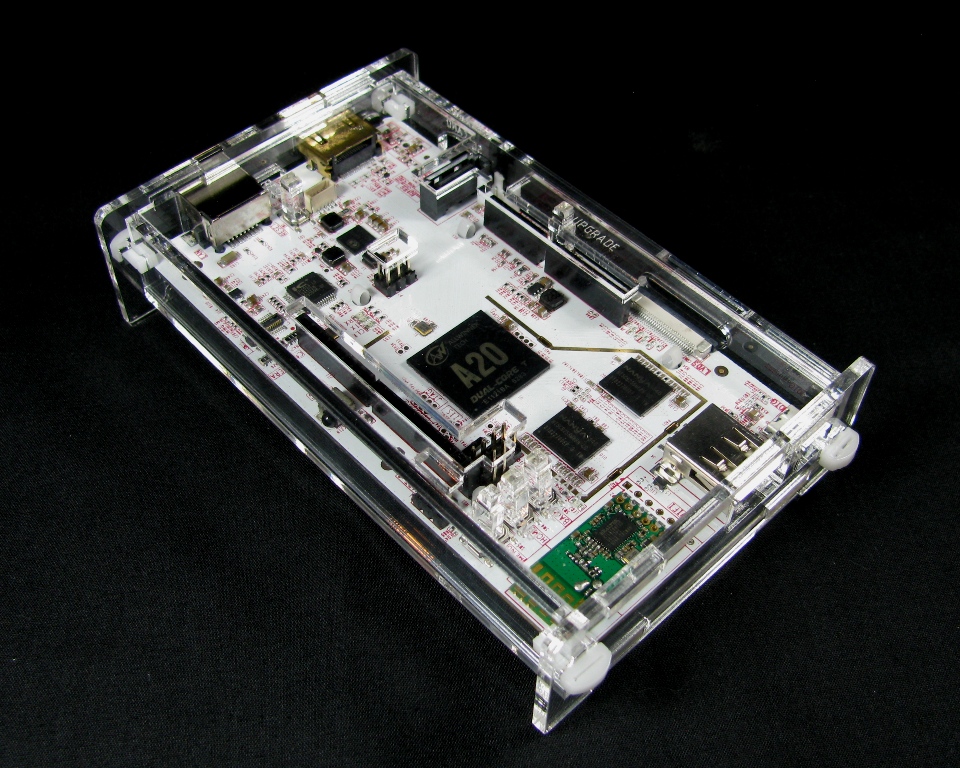
Step 9: Attach the HDMI/Ethernet side
Take the remaining side panel and carefully line up the tabs and insert the case clips

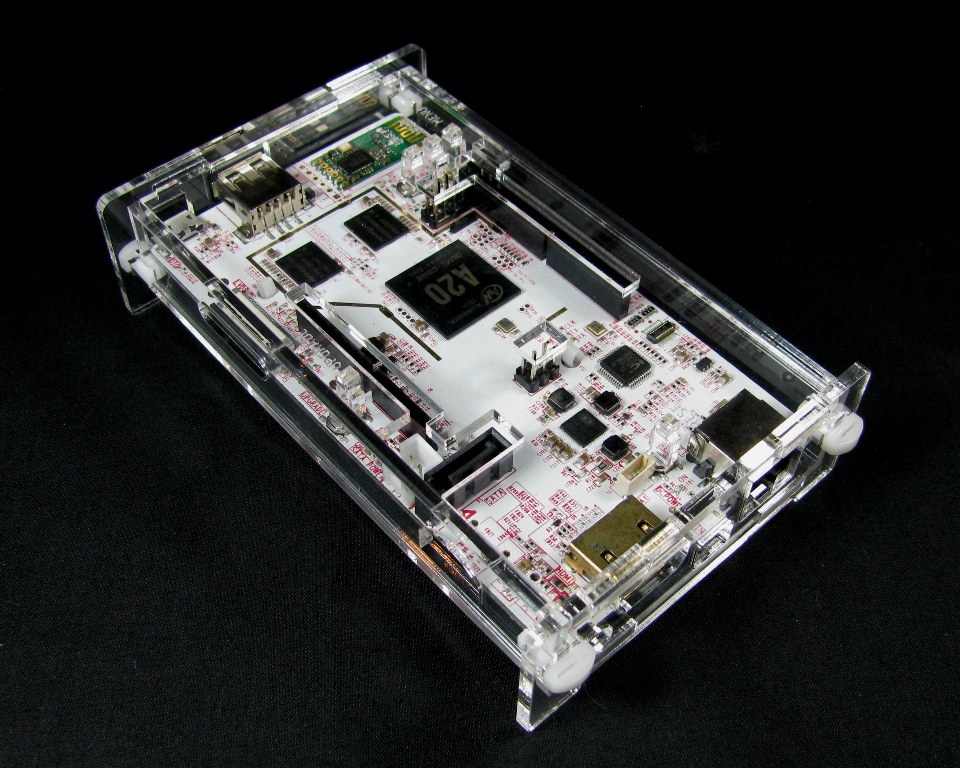
Step 10: ENJOY!
Enjoy your newly assembled pcDuino3 enclosure.


Want one of these cases for yourself? Grab one
Want the design files? Grab them from my

