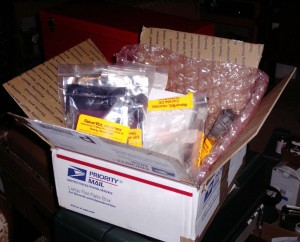
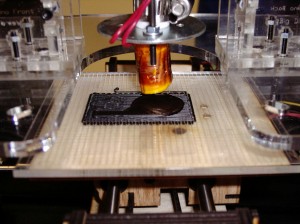
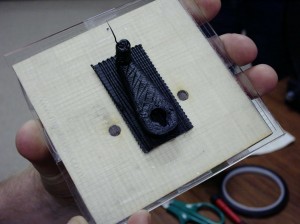
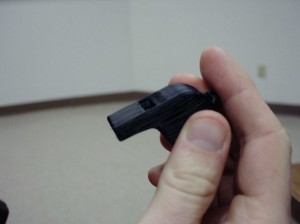
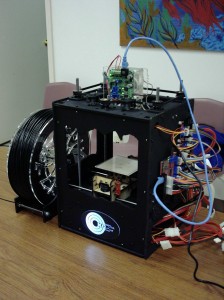
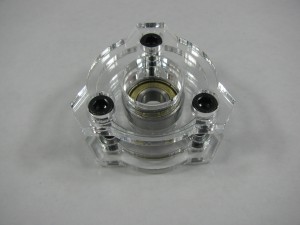
So I broke down and ordered a laserless MakerBot kit shortly after MakerBot Industries started offering them. I also ordered a few motor controllers for my upcoming CNC project and some nichrome wire and thermistors for some back up heater barrels. I still want to make a version that utilizes more printed parts and more readily available components. I have quite a few spare parts since I've been gearing up to build a MakerBot for a while, so I should have most of what I need to make a second bot utilizing the 'control' MakerBot to manufacture parts for the experimental one. I'd really like to see if I can get comparable performance out of 0.2" pitch timing belts and printed pulleys. Providing alternatives for the special order SDP-SI components and utilizing more printed parts means future MakerBots could cost less and supply wouldn't necessarily be tied to a specific supplier's stock of parts.
Posts Tagged ‘Makerbot’
MakeBot Update – Parts Arrive
Monday, October 19th, 2009MakerBot Update – Success!
Wednesday, October 7th, 2009MakerBot Update – Extrusion Fail!
Sunday, October 4th, 2009On Saturday the whirred to life, all three axes were moving freely, the extuder motor was up and running, and the heater was holding a steady temperature. The plastic started flowing on command and it appeared that we would be printing in no time. Then, approximately 1 minute and 18 seconds into extruder burn in, the plastic stopped flowing, and then panic set in...
Well maybe panic would be too strong a word, but it was a very disheartening sight. After some troubleshooting, it was determined that we'd simply have to take the extruder head apart to find the problem. After a soak in a bath of acetone overnight the head was disassembled to reveal a shaving of PTFE from the insulator in the ABS over the opening of the nozzle. Hopefully everything will fit back together after a good cleaning and we can get back to extruding again.
MakerBot Update – Versioning Woes
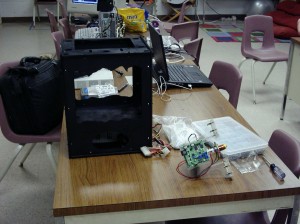
Monday, September 28th, 2009Our MakerBot parts came in at the space so we had a build day Sunday. We made some modifications to the case design to make a cave themed MakerBot, complete with stalactites and stalagmites and a place for a nice acrylic back-lit CCCKC logo. We got everything sanded and painted, assembled the extruder and case, etc. only to find out that in batch 5 the BOM of the MakerBot changed and now our X and Y axis components that I cut out weeks ago don't work with the current rods and bearings! The Thingiverse page for the MakerBot hasn't been updated, but if you look in the subversion repo under batch 5 you'll find DXFs of the newer design. From these files it seems they've moved away from the 1/8" plywood in favor of 1/4" for the X and Y axis components in this new design as well. I've cut out another set of parts out of 1/4" Birch plywood and we'll make another go at construction on Tuesday. Hopefully we'll be up and printing by the weekend!
MakerBot Update – One Awesome Spindle Holder
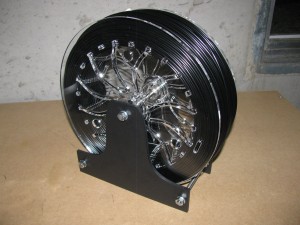
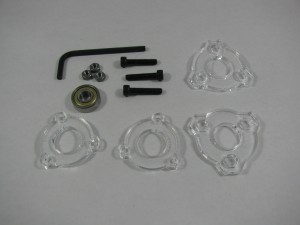
Friday, September 18th, 2009I saw this awesome MakerBot accessory over at and had to make one. This thing glides nice and smoothly and looks freak'n sweet. I also managed to find a place in town that I can get roller bearings from for cheap in the process, by the hundreds if needed! This spindle is headed down to the space for use with our (hopefully) soon to arrive MakerBot. I made a few minor changes to the design and will probably make a few more when I make one for my personal bot. One issue I encountered that I hadn't even noticed till I dropped this baby off at the space is the fact that the separation between the two outside plates had grown as I spooled the plastic onto the roll and many of the bridging pieces weren't making contact with the second plate. I'll have to try and address this problem as well as the fact that the filament likes to unravel when there's no tension on it in the next one. Here's some additional pics of the assembly of the bearing clamps if you want to make your own:
