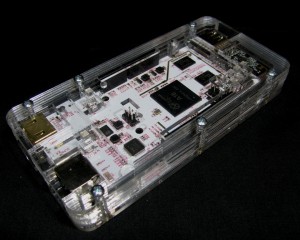
pcDuino v2
For this assembly, you will need a Phillips head screw driver.
Grab the design files here:
Grab a kit here:
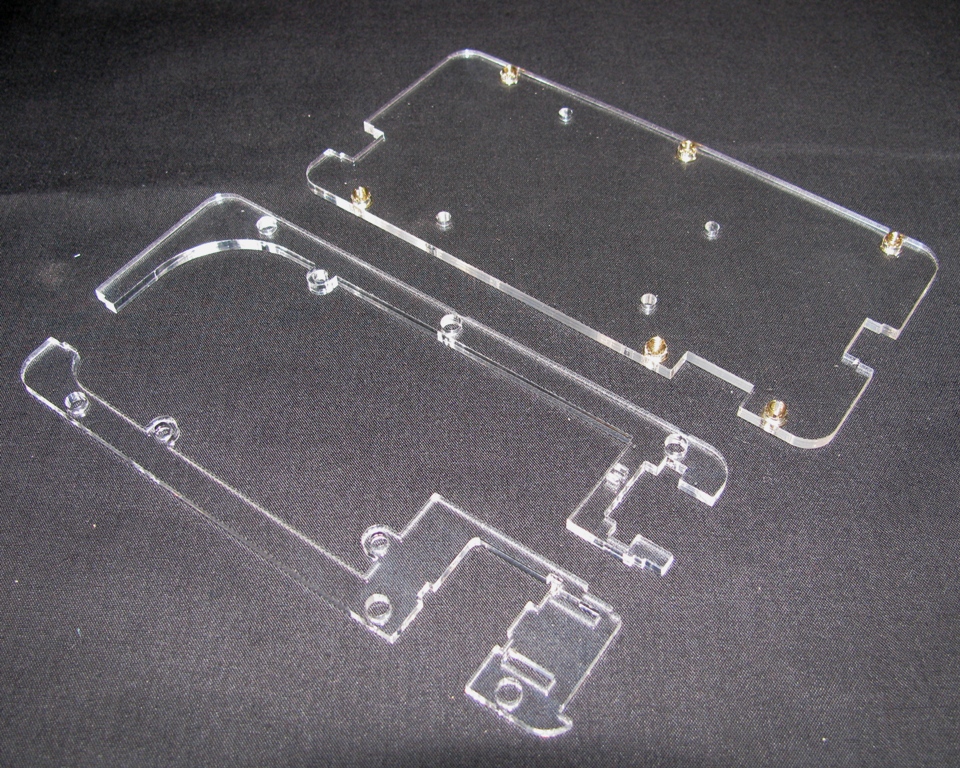
Step 1: Prep all of the parts
Remove the masking material from both sides of the acrylic
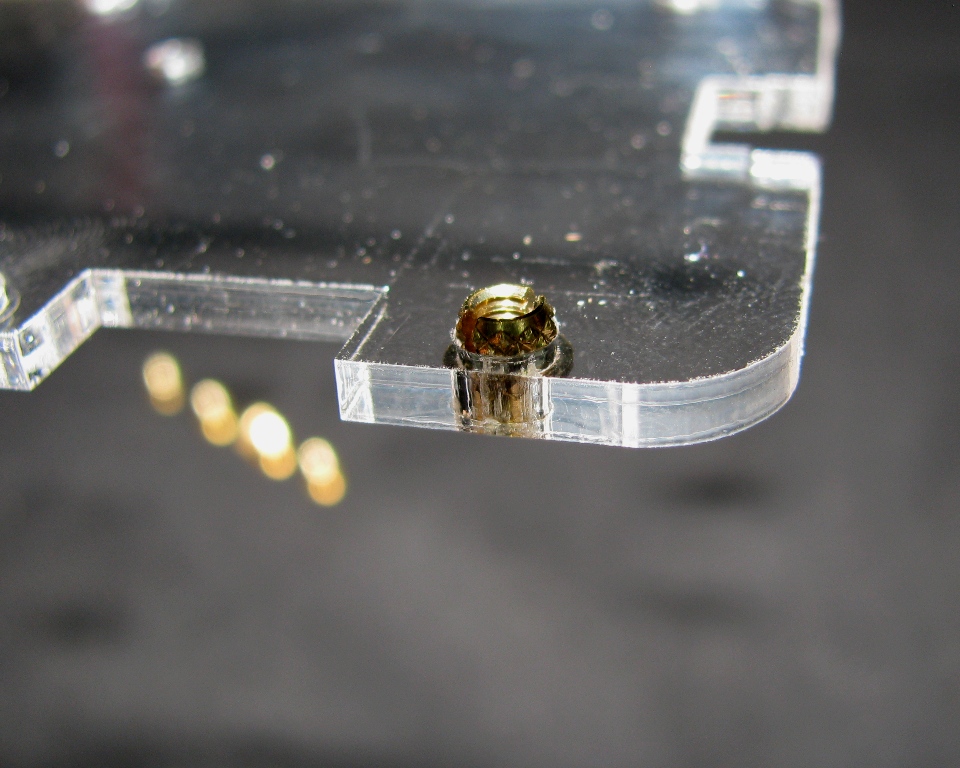
Step 2: Insert the brass inserts
Take the plate that looks like this and the 6 brass inserts:
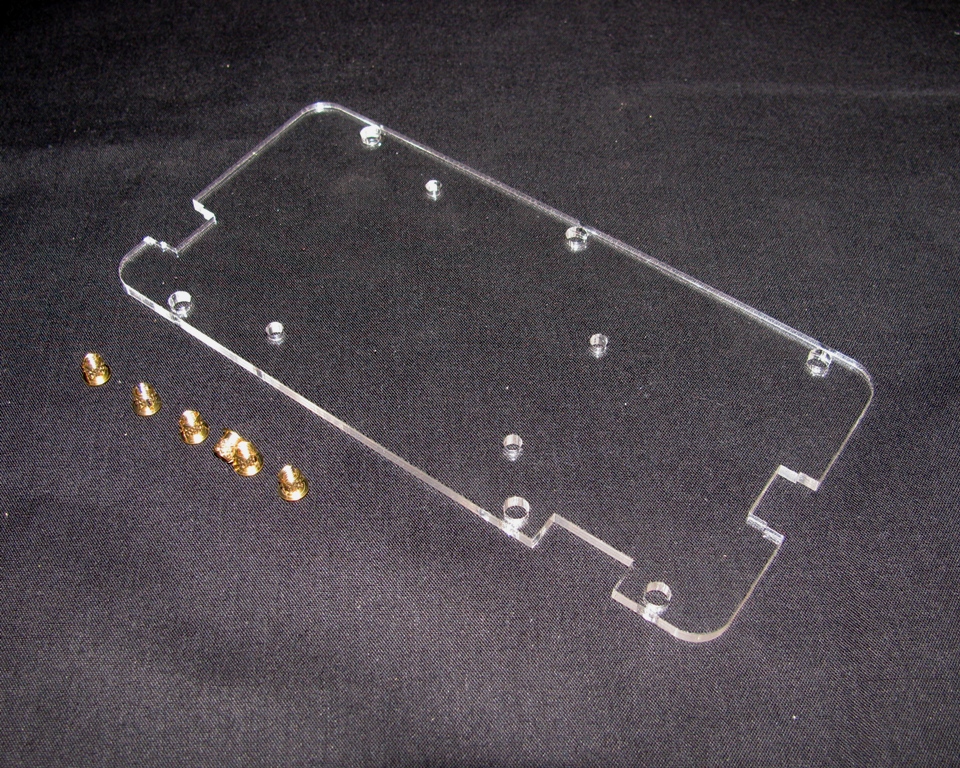
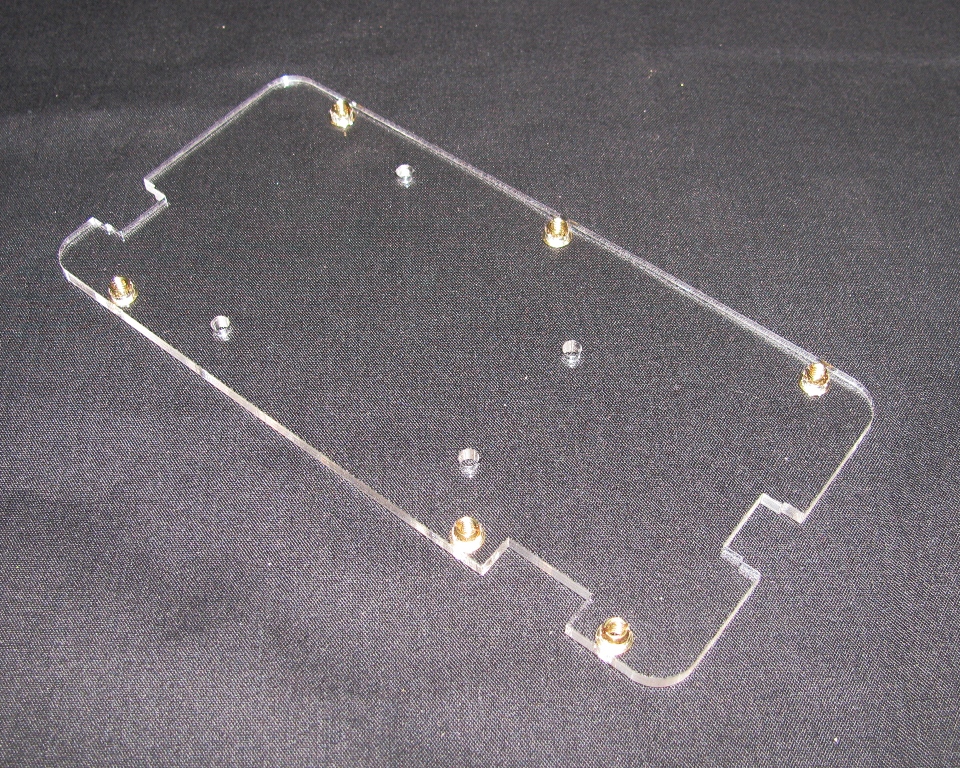
and push the brass inserts into the holes from the bottom as shown in the image below:
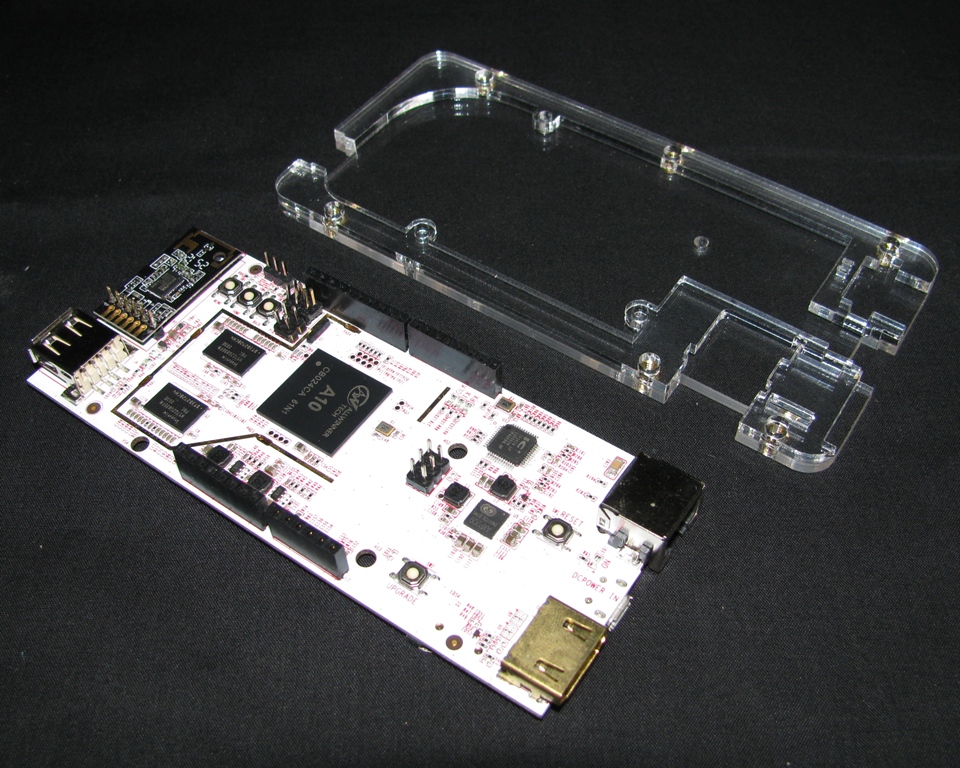
Step 3: Add the next layer.
Take the two half pieces and place them in the same orientation:
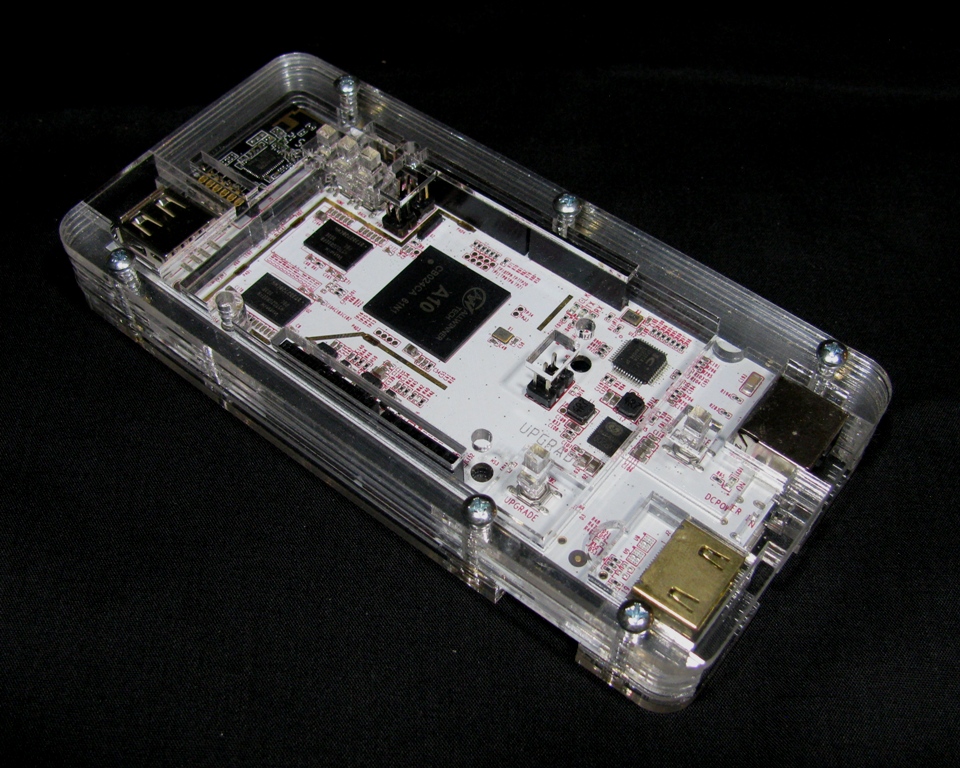
Step 4: Add the PCB
Take the pcDuino and place it in the same orientation:
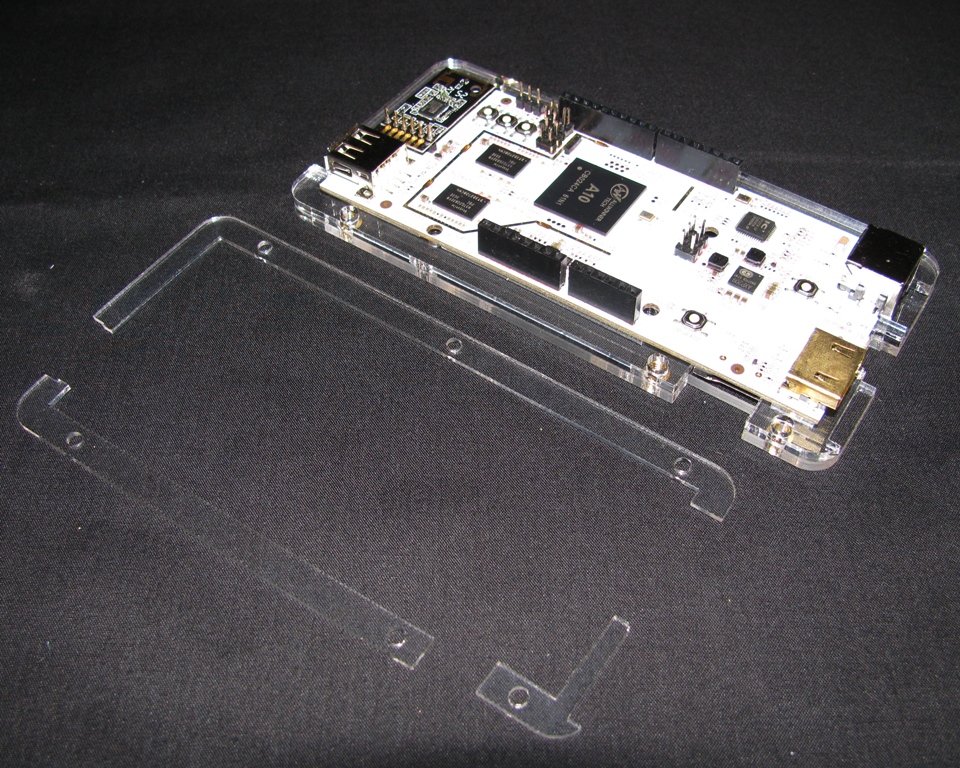
Step 5: Add PCB edge pieces
Take the thin acrylic pieces and place them around the edge of the PCB in the same orientation:
Step 6: Add the next layer (starting to get a little repetitive, ain't it?)
It looks like this:
 and place it in the same orientation.
Step 7: Add the next piece
It looks like this: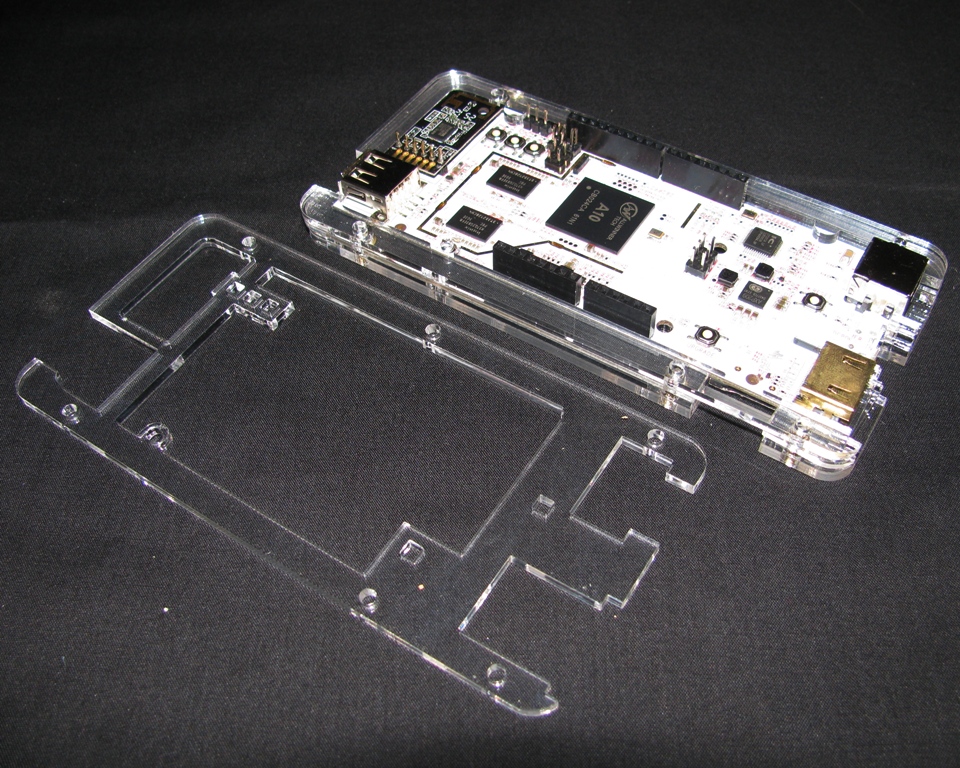
and place it in the same orientation.
Step 8: Add the buttons
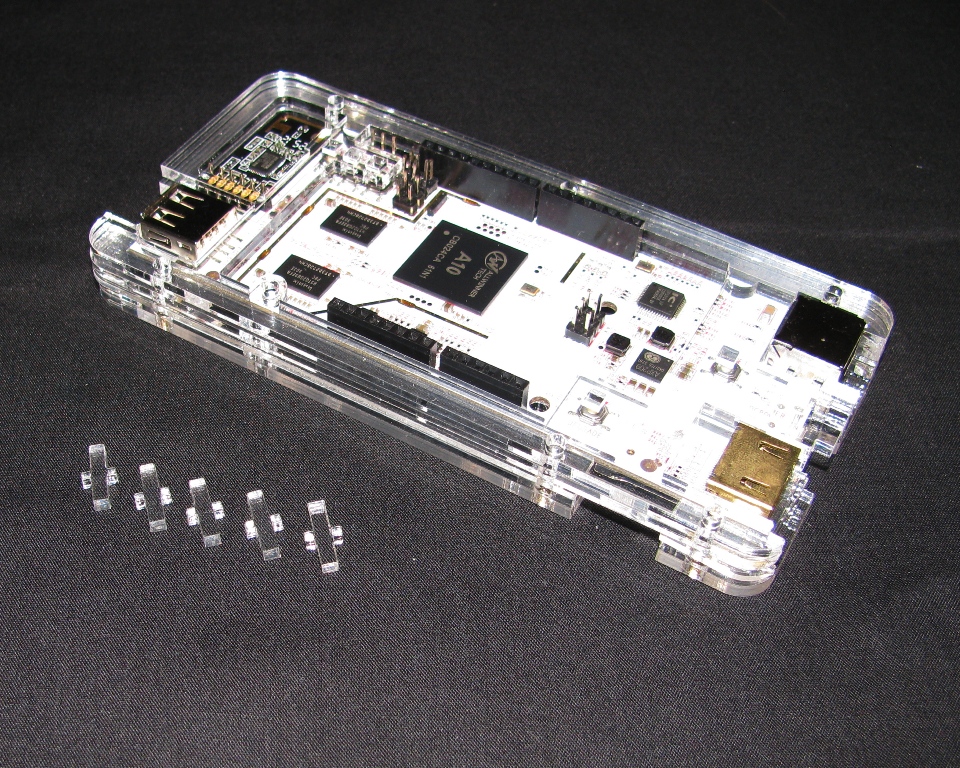 They go in the holes.
Step 9: Add the next layer
It looks like this: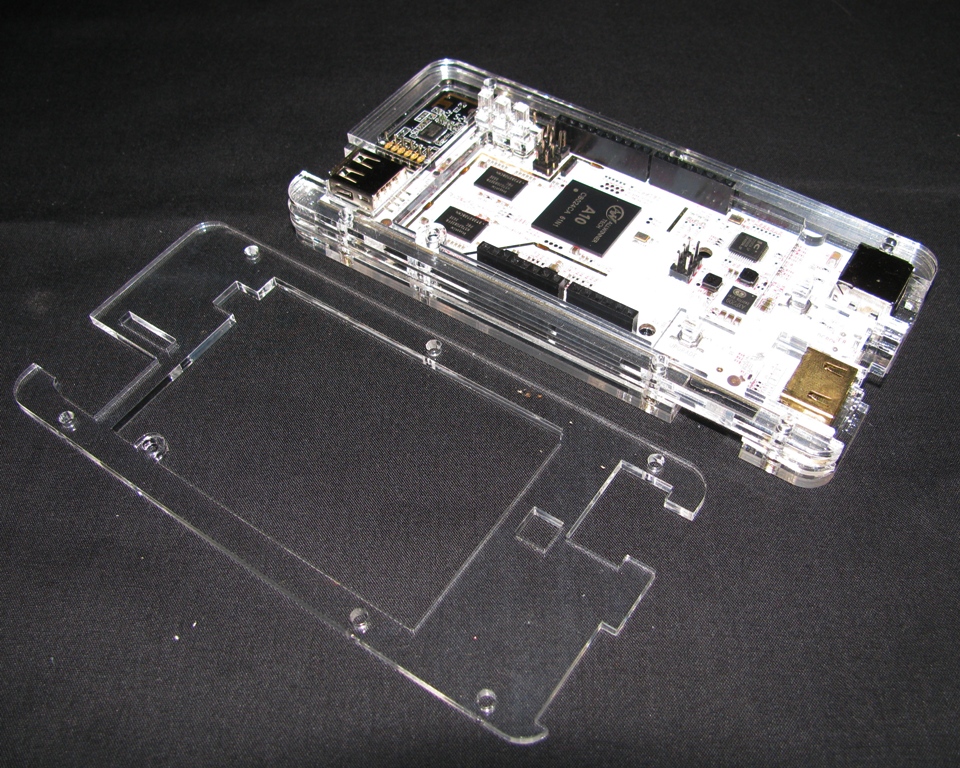
and, you guessed it, place it on in the same orientation.
Step 10: Add the last and final layer

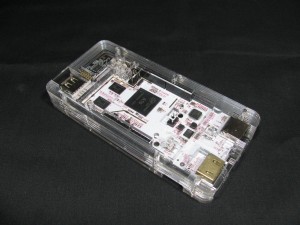
Step 11: Put in the screws
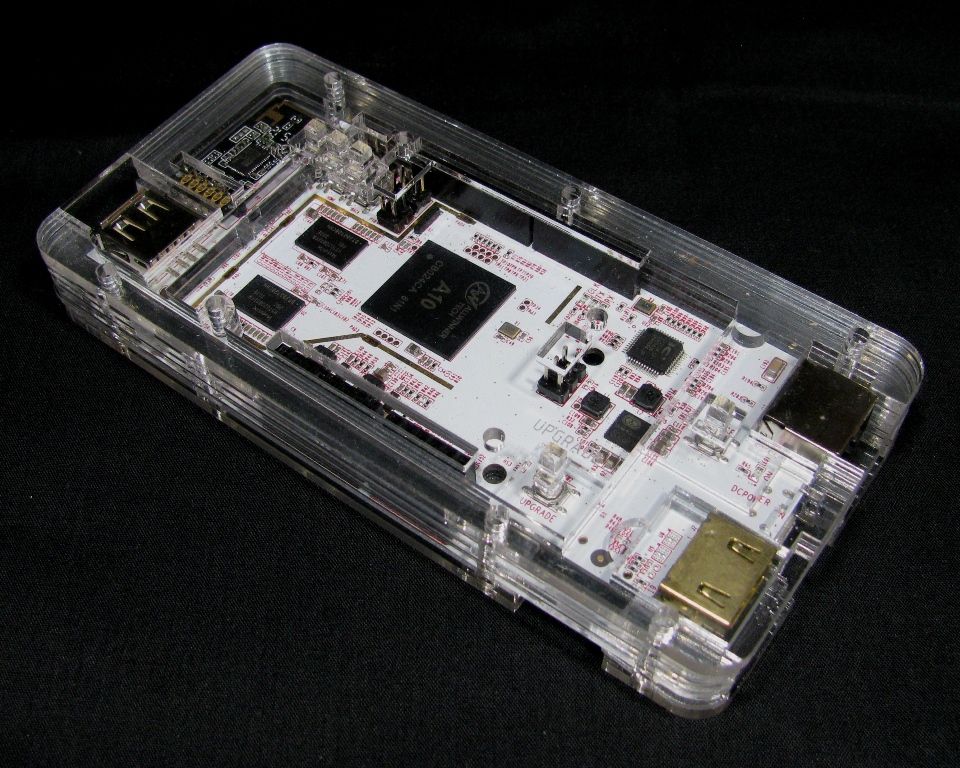 and you're DONE!