pcDuino Enclosure Assembly Instructions
For this assembly, you will need a Phillips head screw driver.
Grab the design files here:
Grab a kit here:
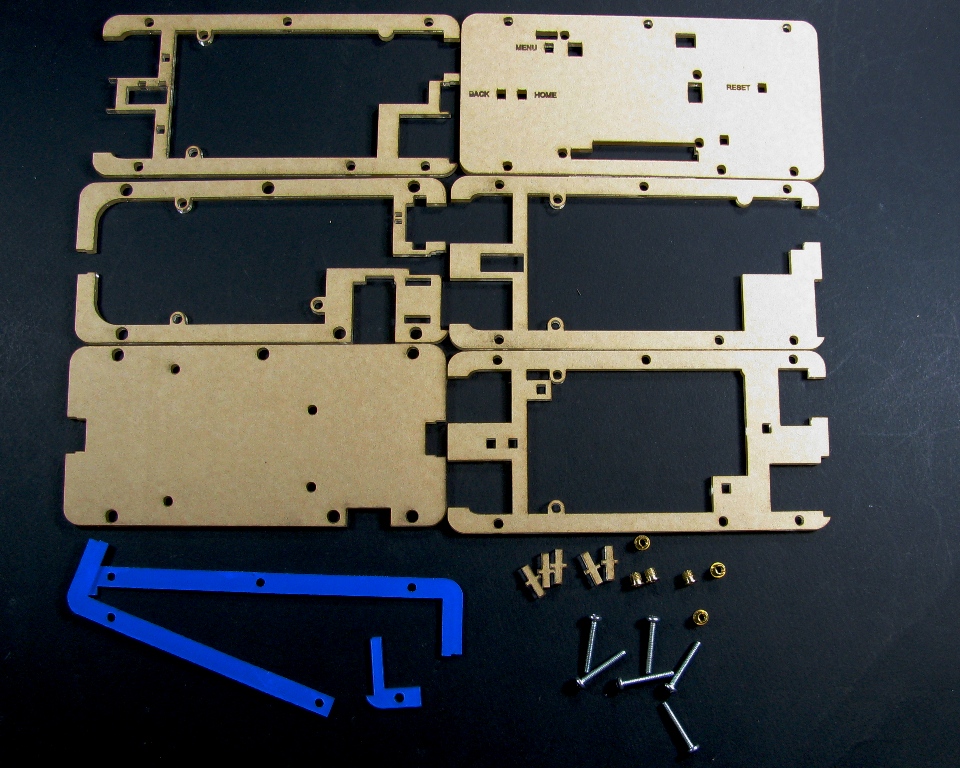
Step 1: Check and prep all of the parts
Lay out the pieces as shown in the photo and check that you have all of the parts.
After you have made sure that you have all of the parts, remove the masking material from both sides of the acrylic:
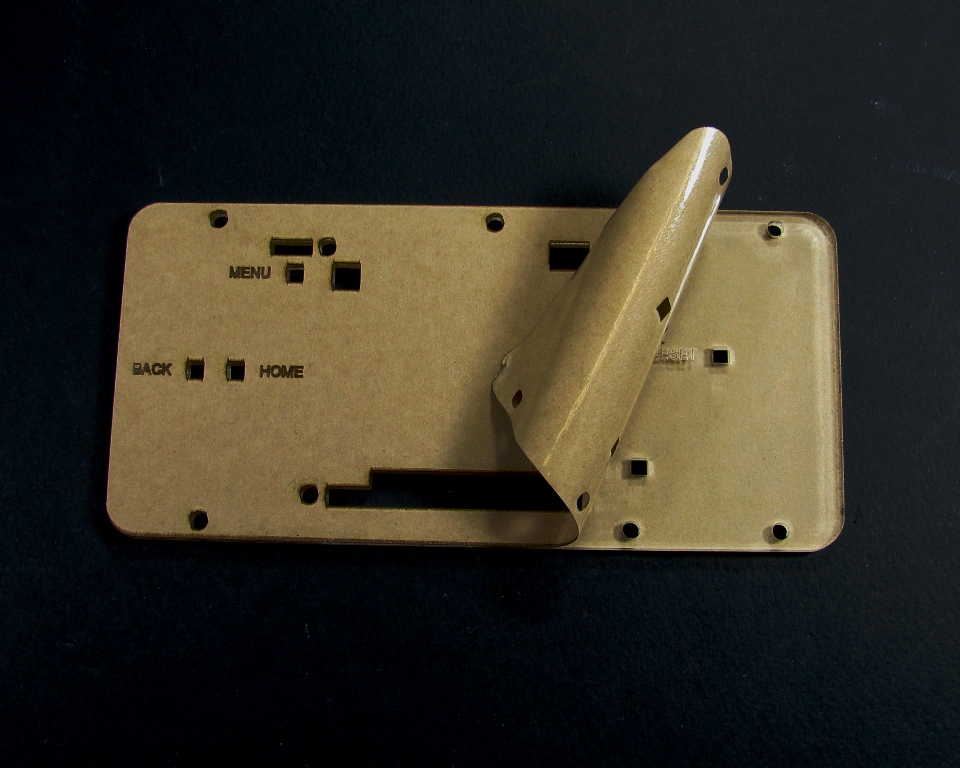
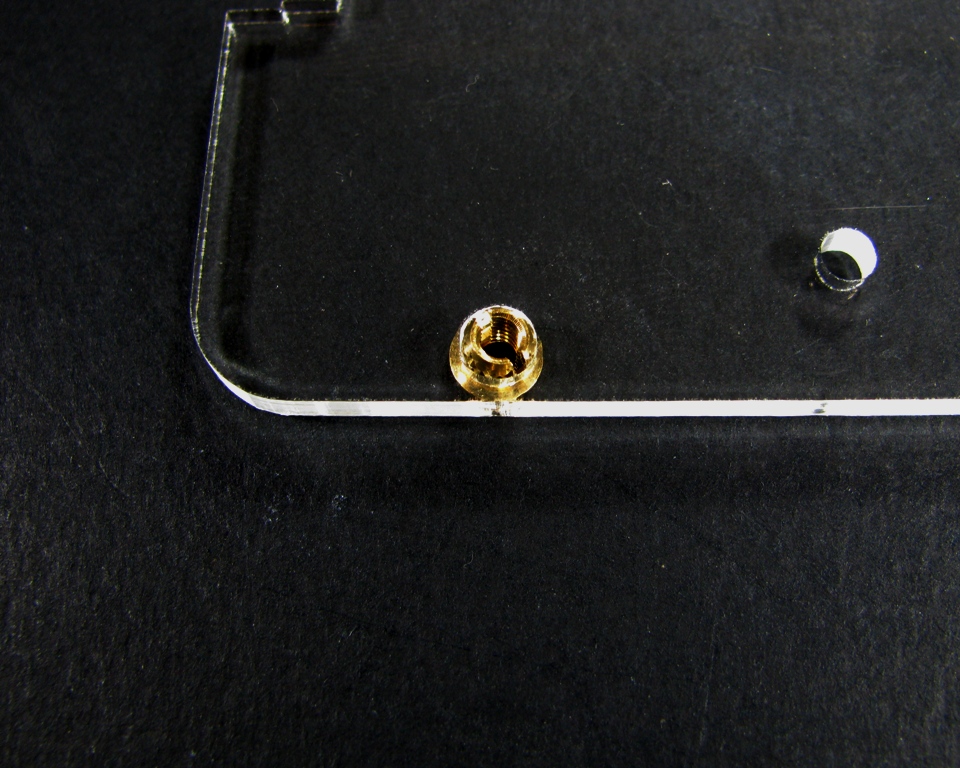
Step 2: Insert the brass inserts
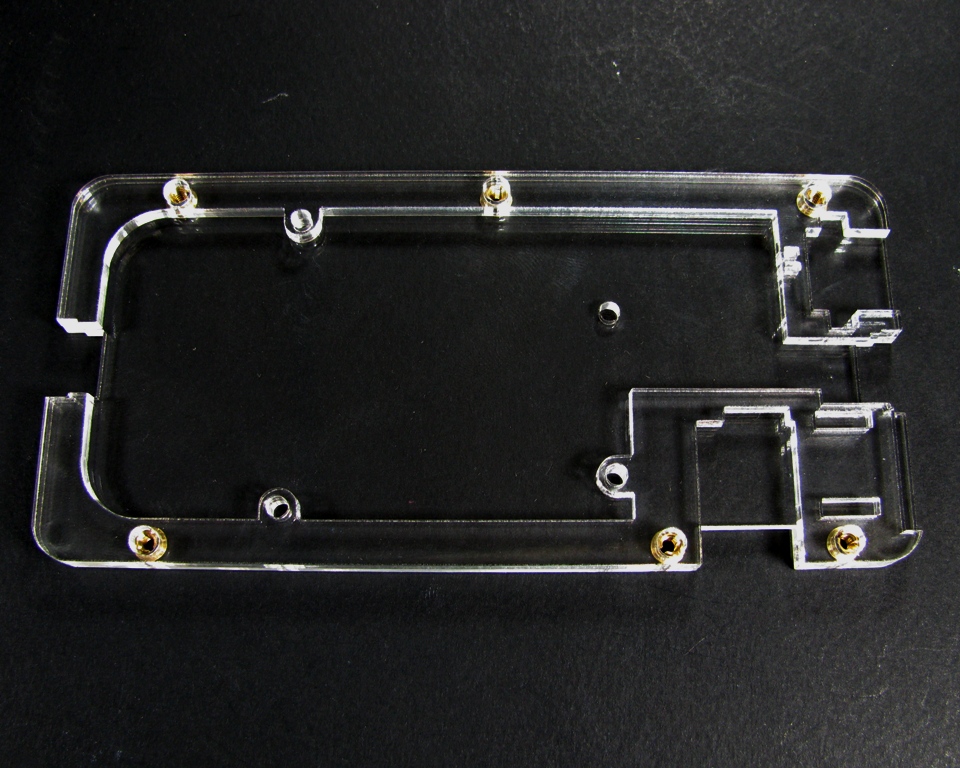
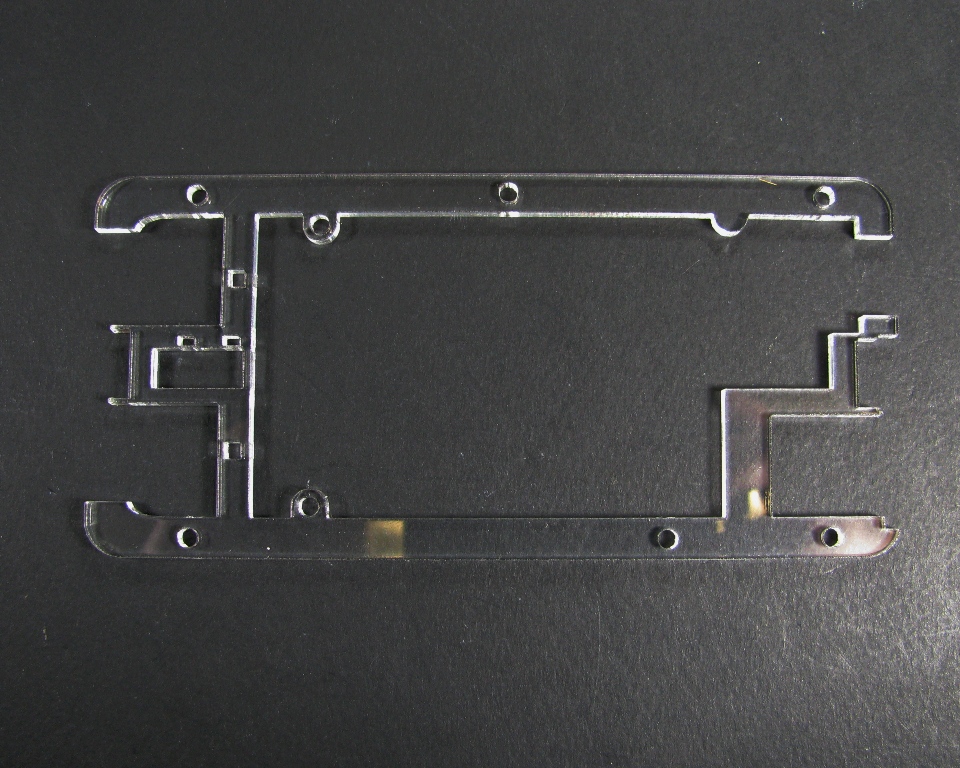
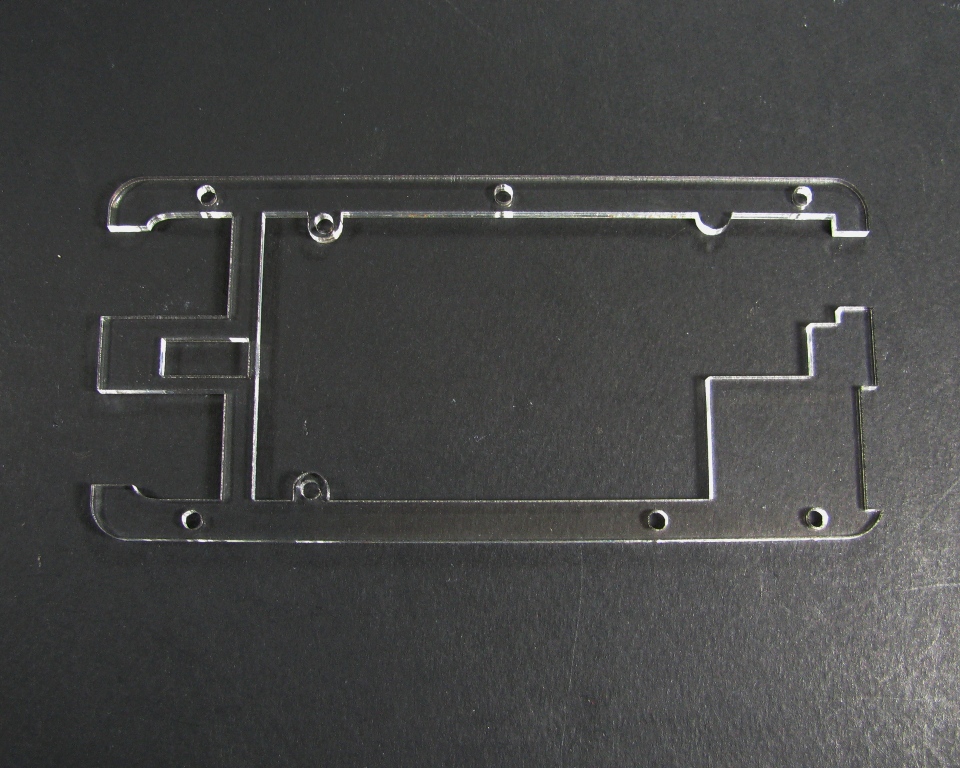
Take the plate that looks like this:
and push the brass inserts into the holes from the bottom as shown in the image below:
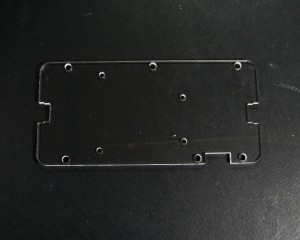
Step 3: Add the next layer.
Take the two half pieces and place them as shown:
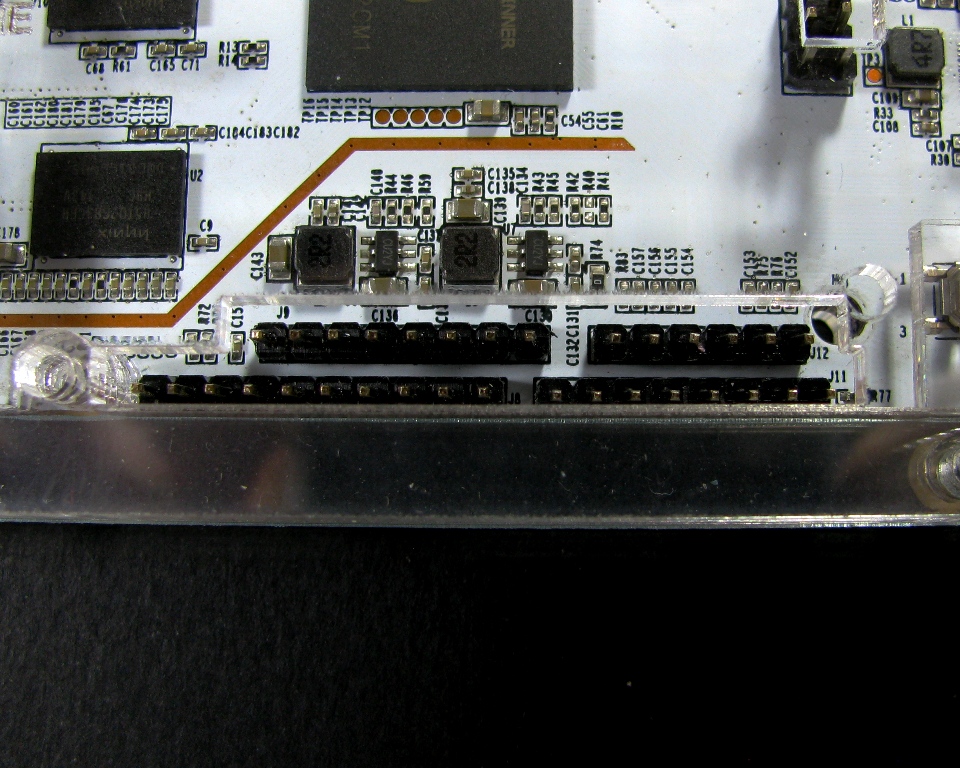
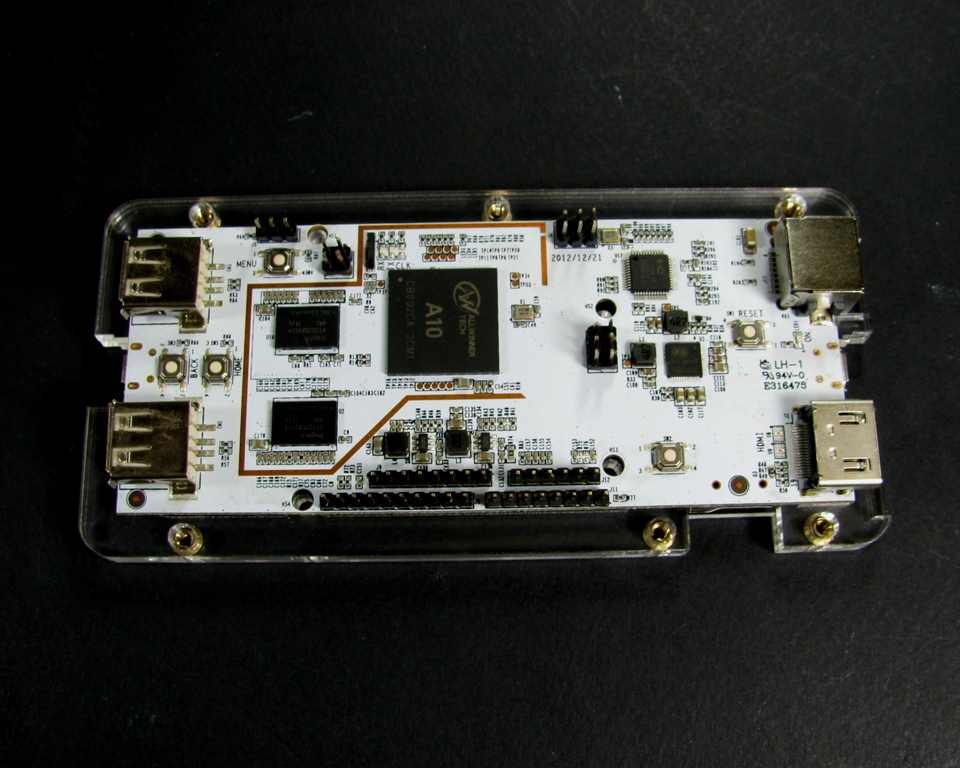
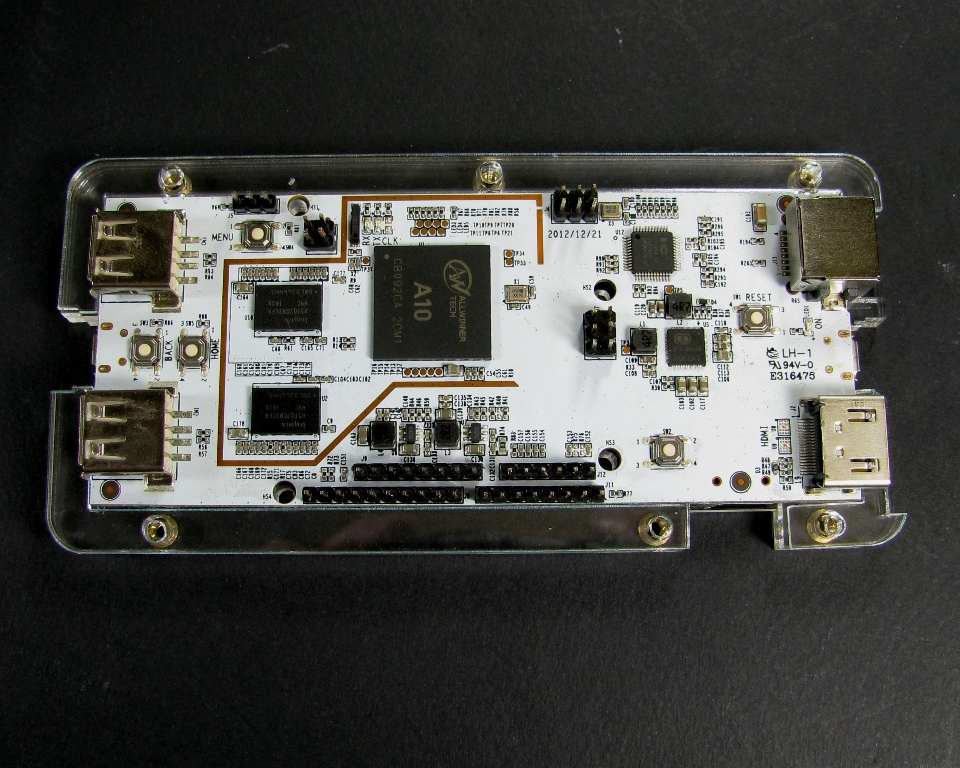
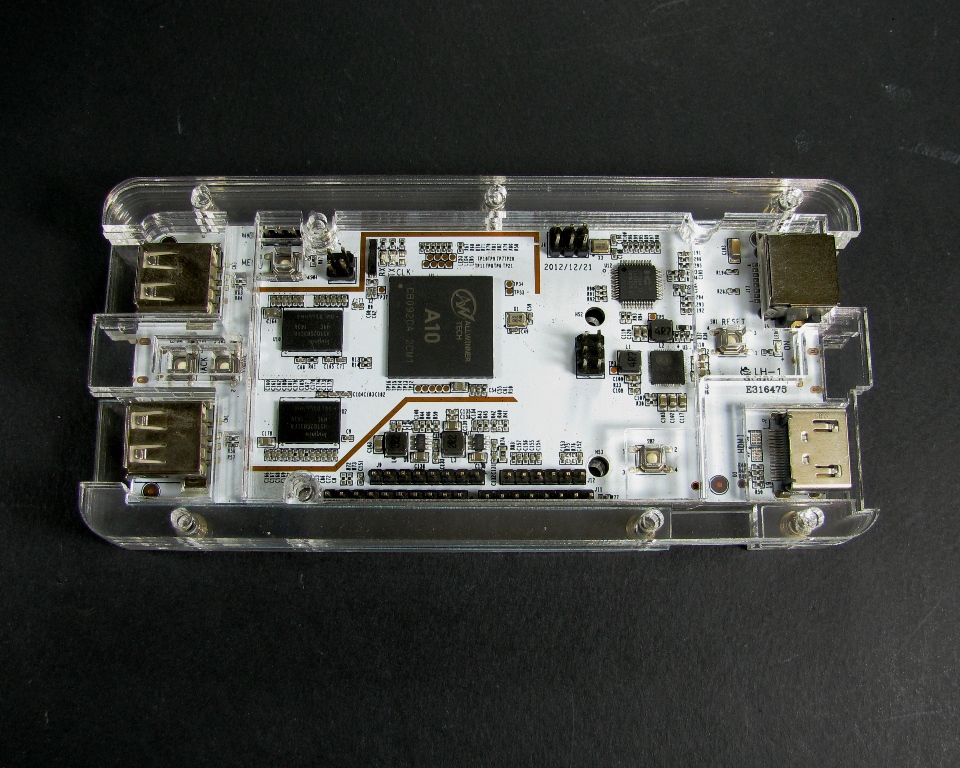
Step 4: Add the PCB
Take the pcDuino and place it as shown:
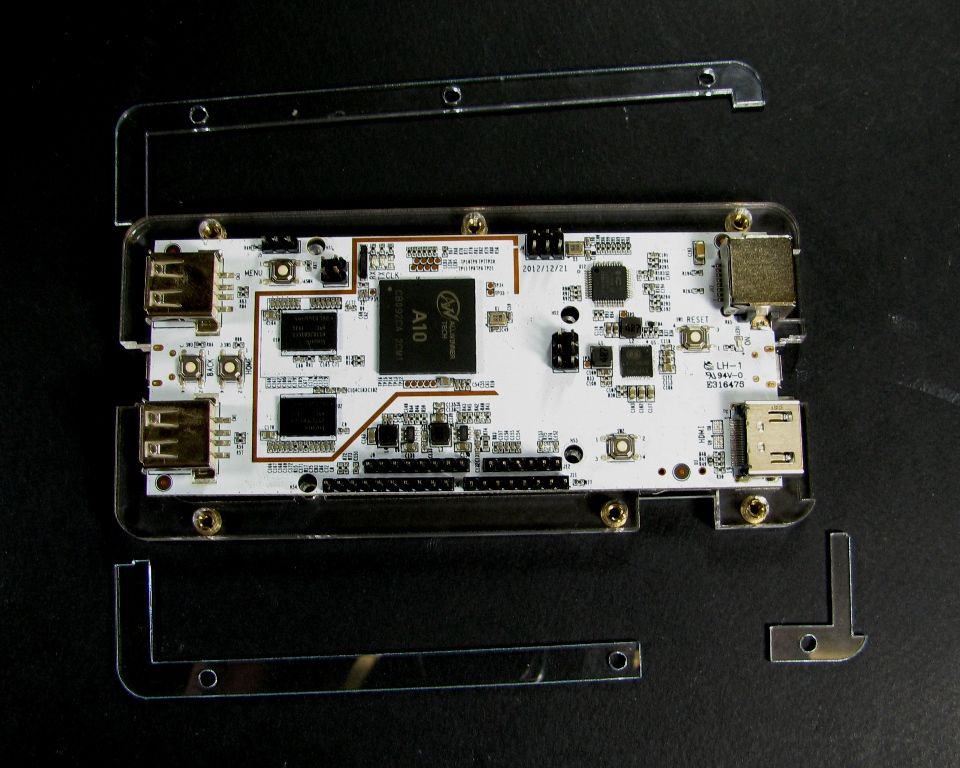
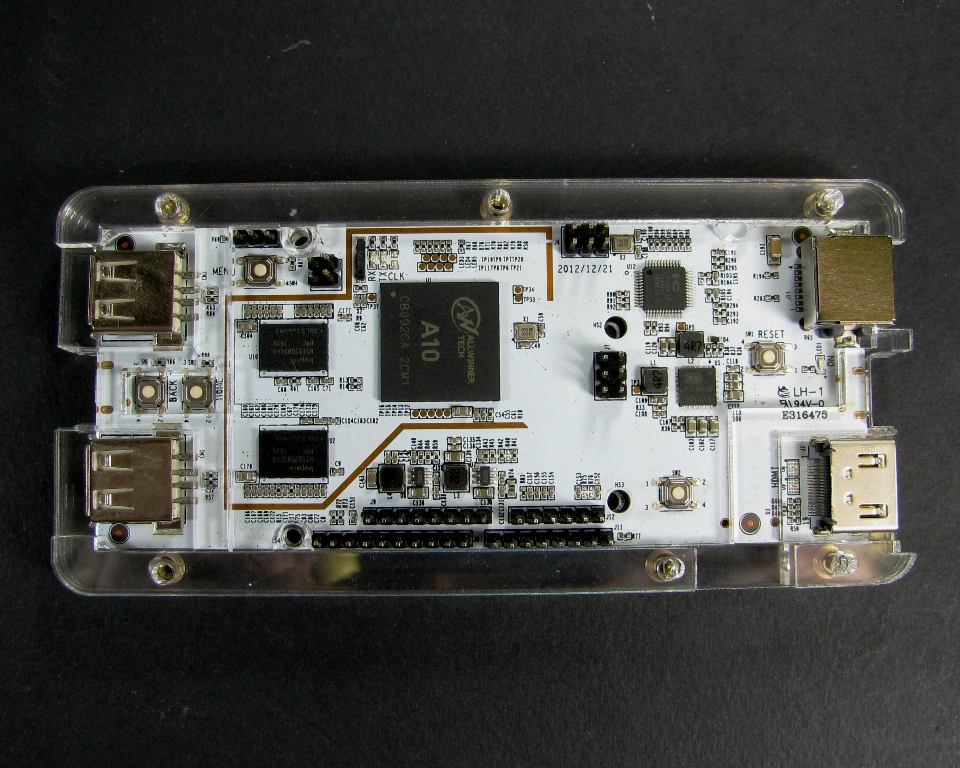
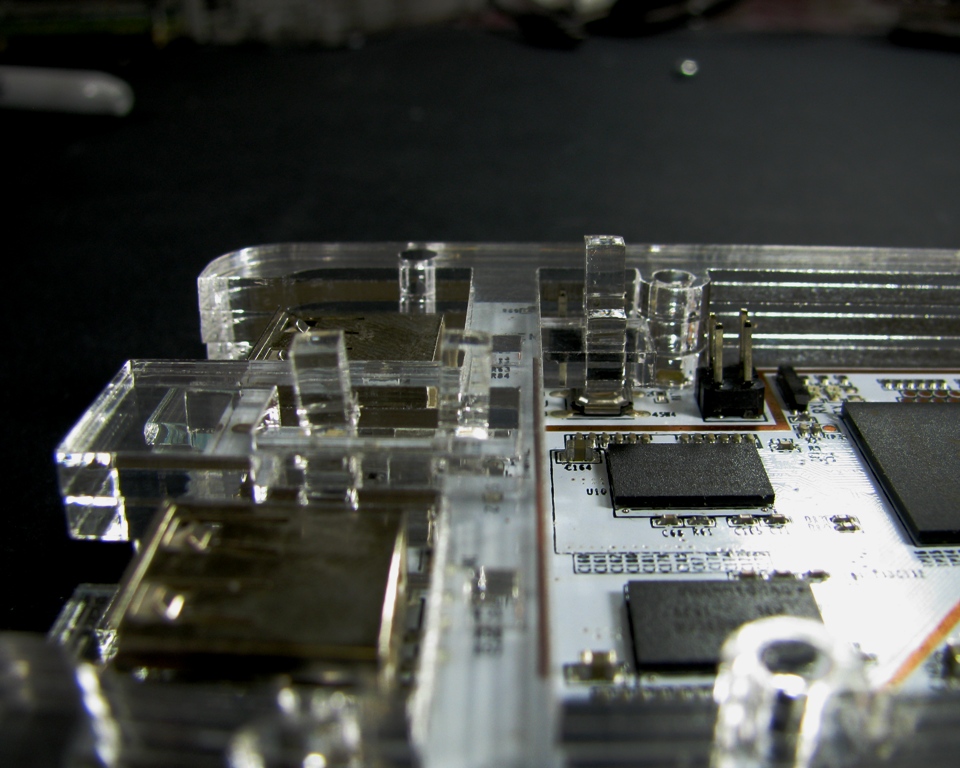
Step 5: Add PCB edge pieces
Take the thin acrylic pieces and place them around the edge of the PCB as shown below:
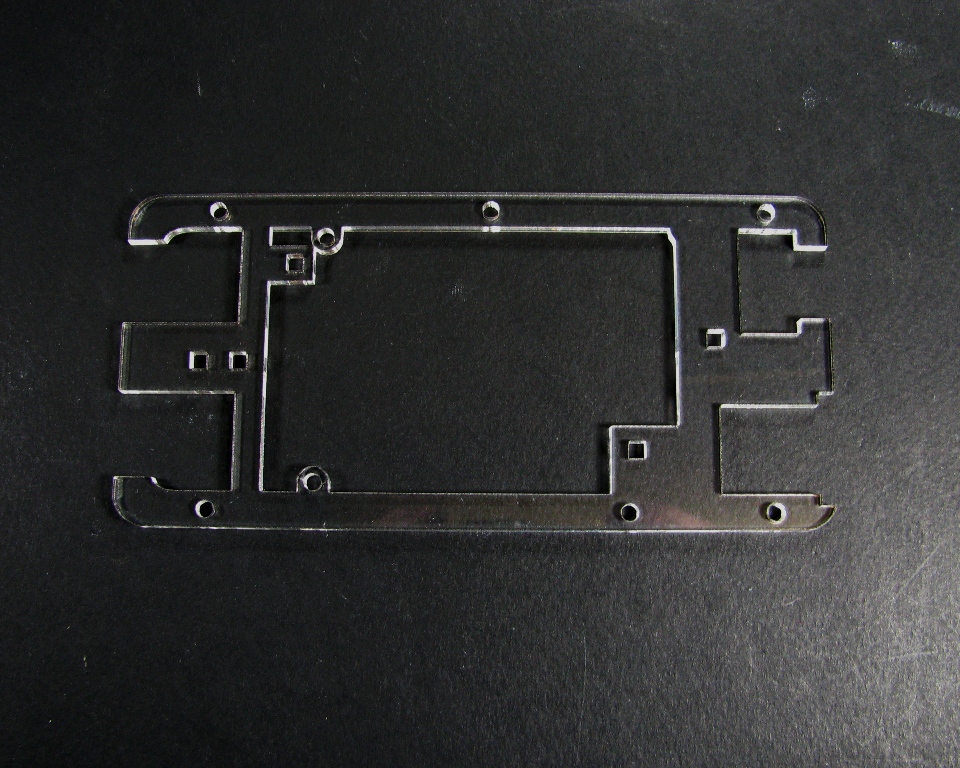
Step 6: Add the next layer (starting to get a little repetitive, ain't it?)
It looks like this:
It goes on like this:
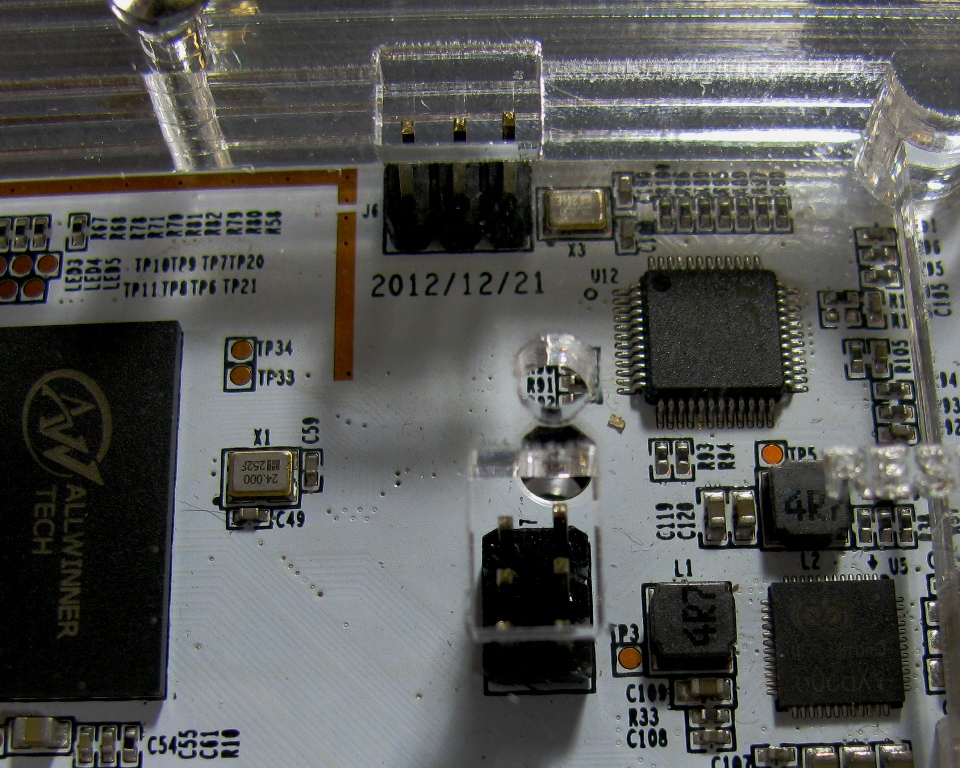
Step 7: Add the next piece
It looks like this:
Step 8: Add the next layer and the buttons
It looks like this:
Goes on like this:
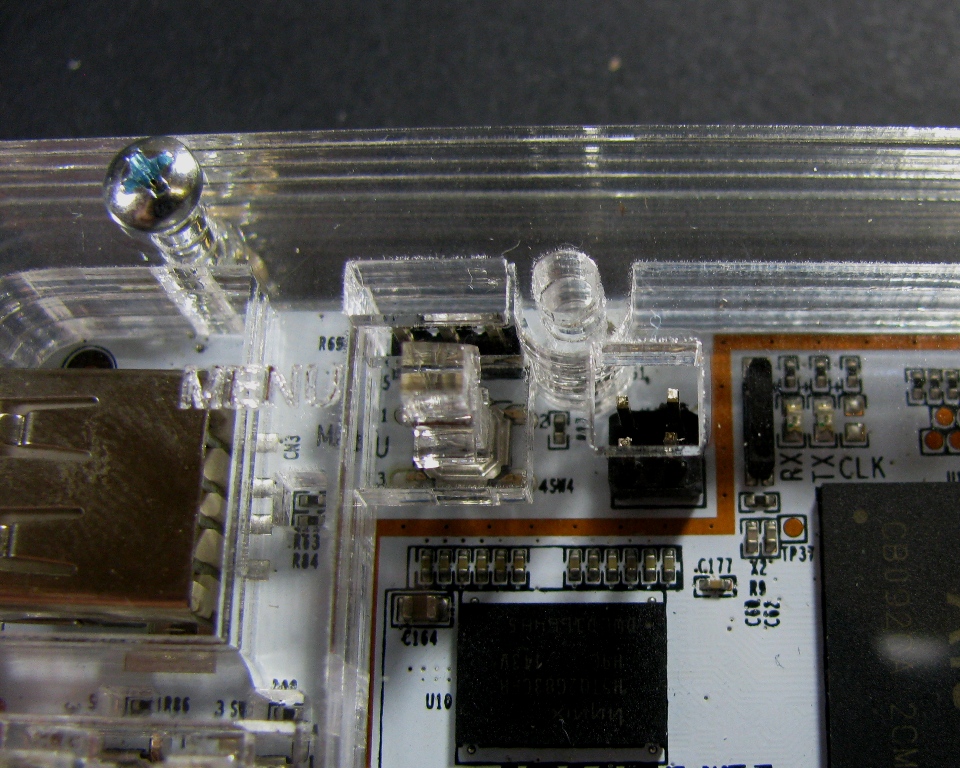
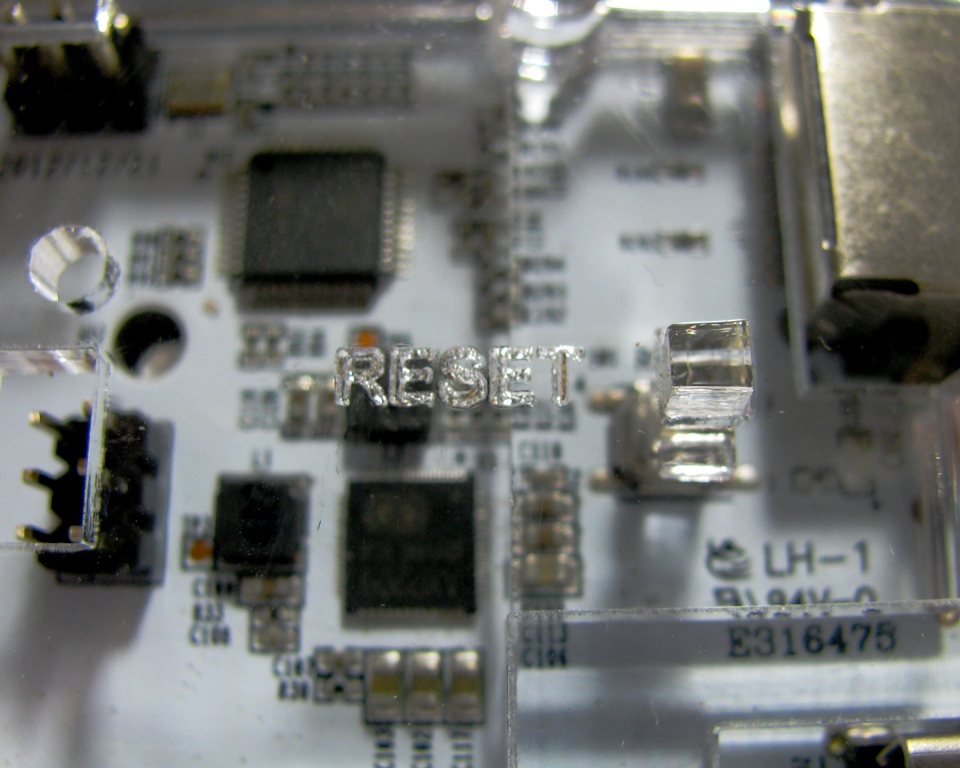
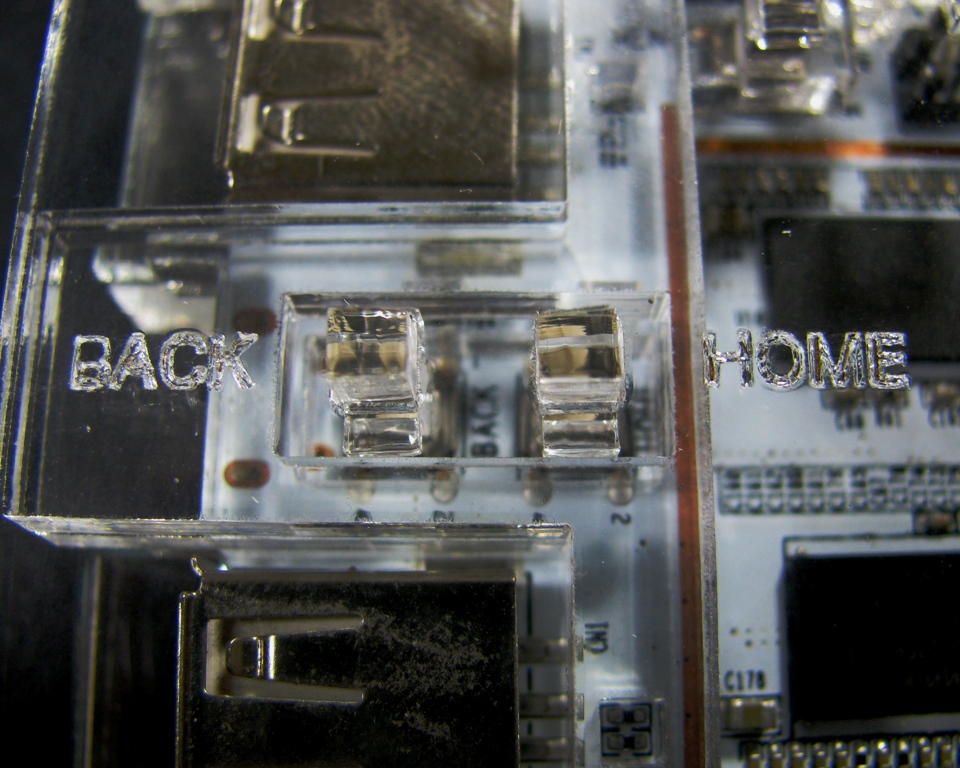
And the buttons (these things):
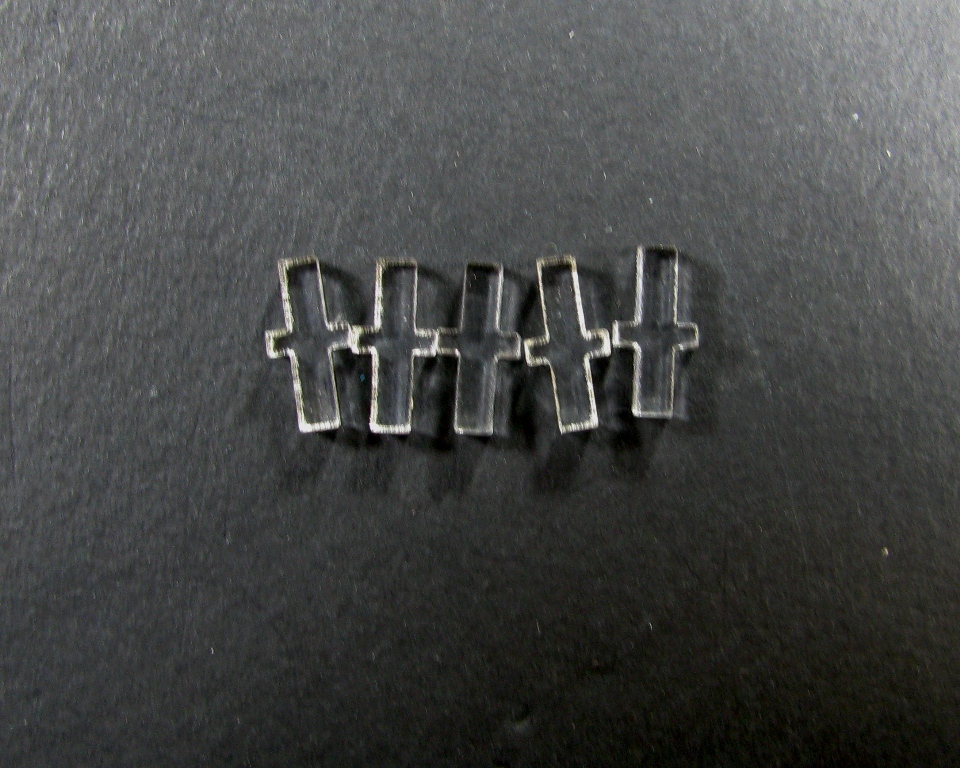
go in the holes like this:
Step 9: Add the top and final piece
It looks like this, and should be the only piece you have left:

*If you DO have any other pieces left, you done goofed*
Place this last and final piece on top of the stack and gently wiggle it around to get all of the little square buttons into all of the square button holes:
At this point, use a finger to press down on the middle of the case and then press each button to make sure that you can feel all of the buttons click. If any of the buttons do not click, remove the top and flip the button over. Replace the top of the case and check again. Once all of the buttons work properly, proceed to the next step.
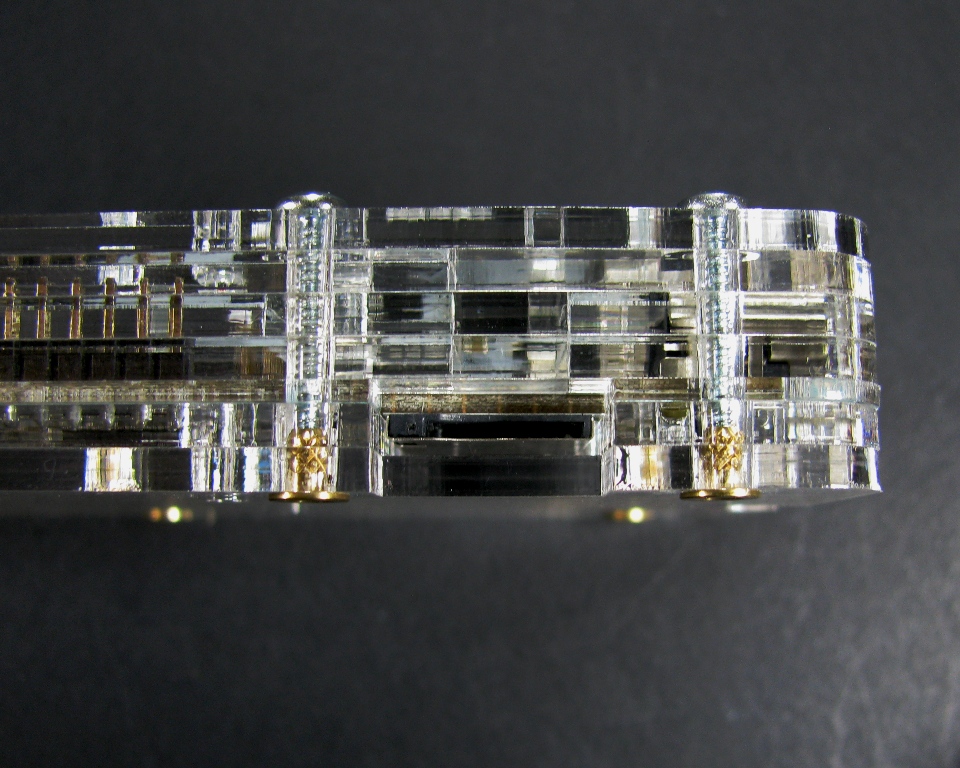
Step X: Screw the case together
Take the 6(six) Number 4 screws and insert them into the screw holes and with the Phillips head screw driver, tighten them down:

Be sure not to screw it too hard, or the brass inserts might pop, or the acrylic crack.
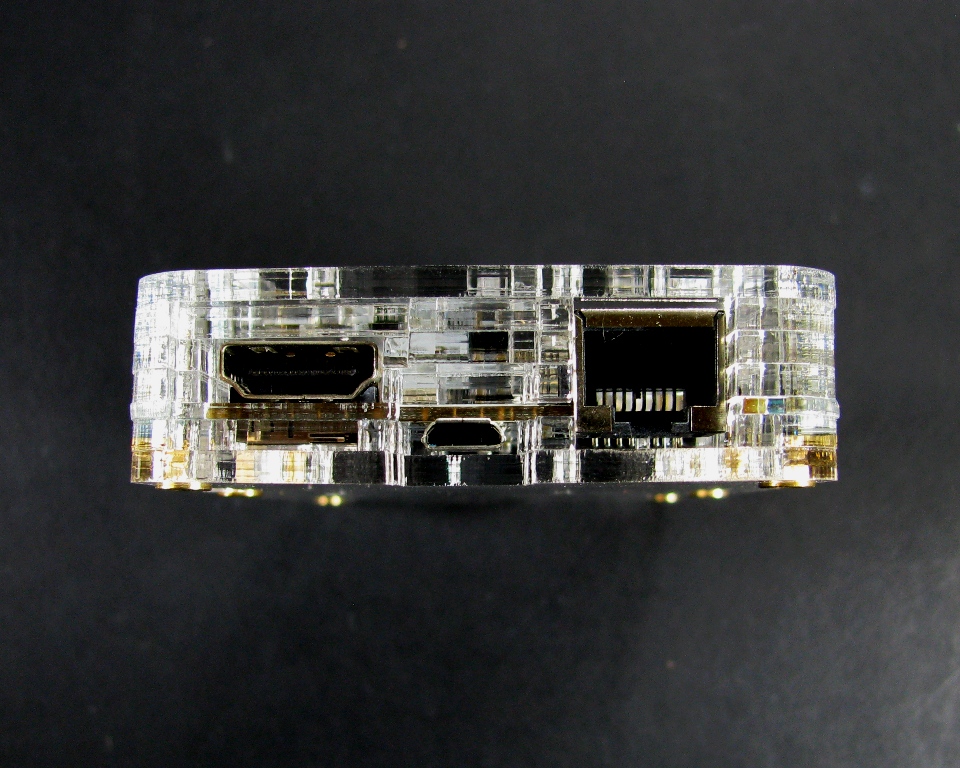
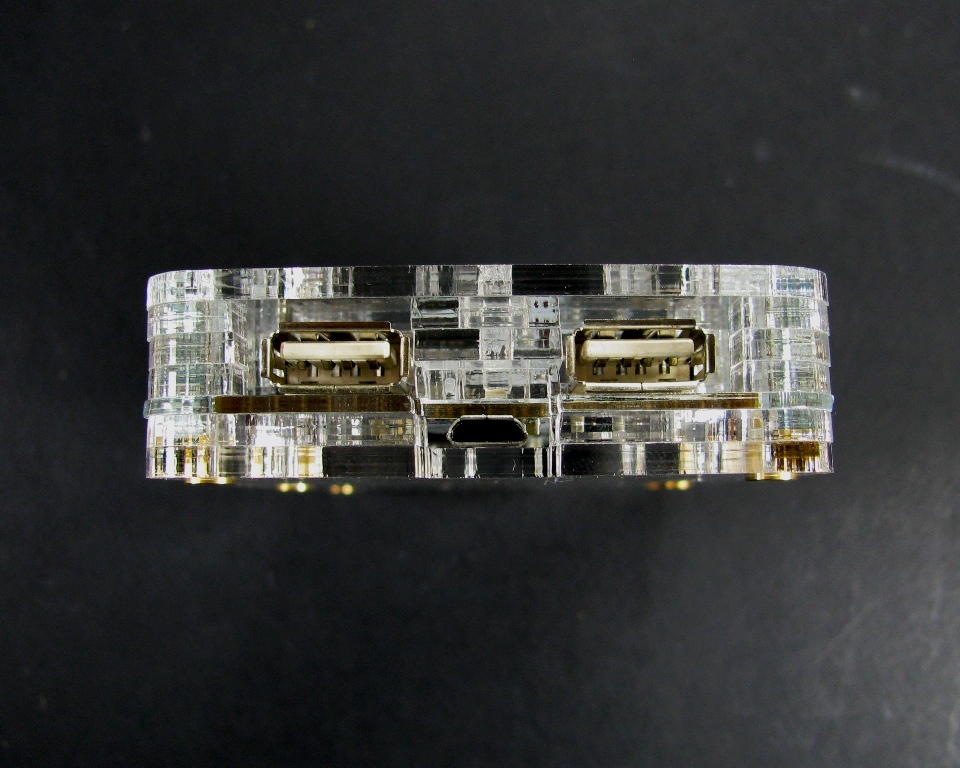
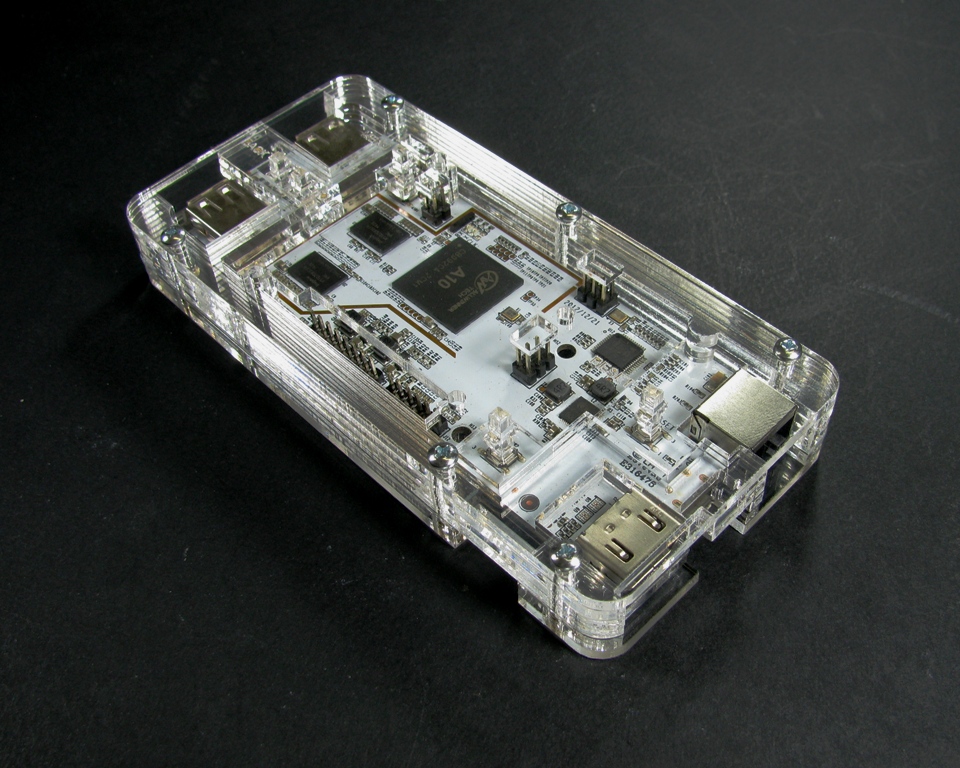
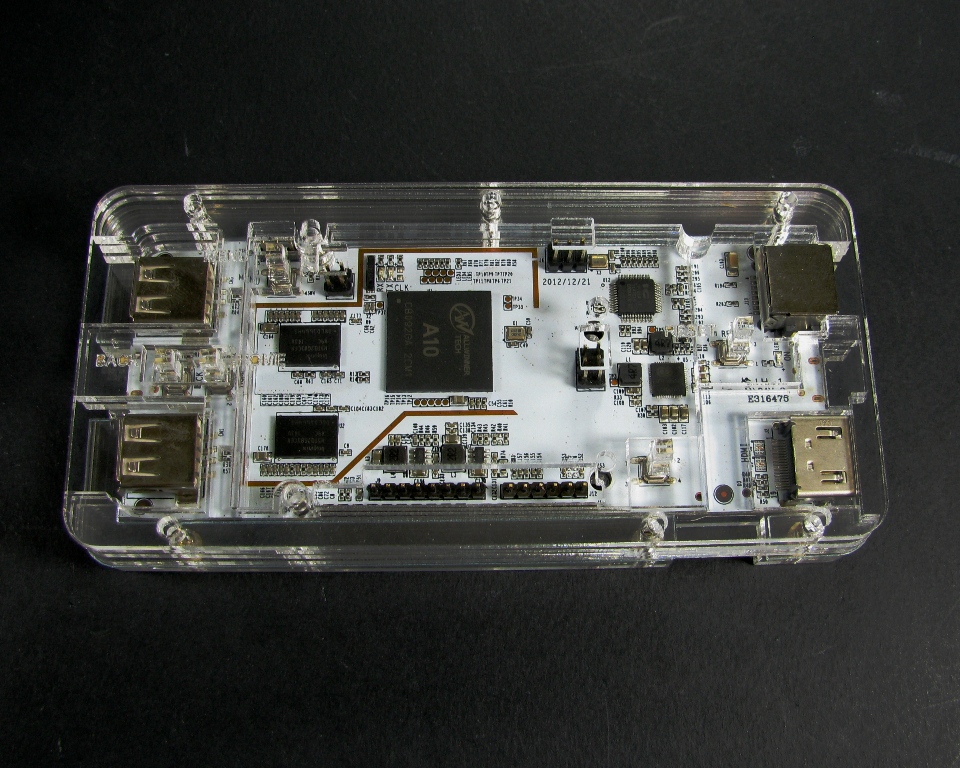
Step final Step: ENJOY!
You have now successfully assembled your pcDuino enclosure. It should look like this: