Upon close inspection of the board layout, I suspect that we should be able to modify the case design for the original pcDuino and have a functional case available within the next week or so.
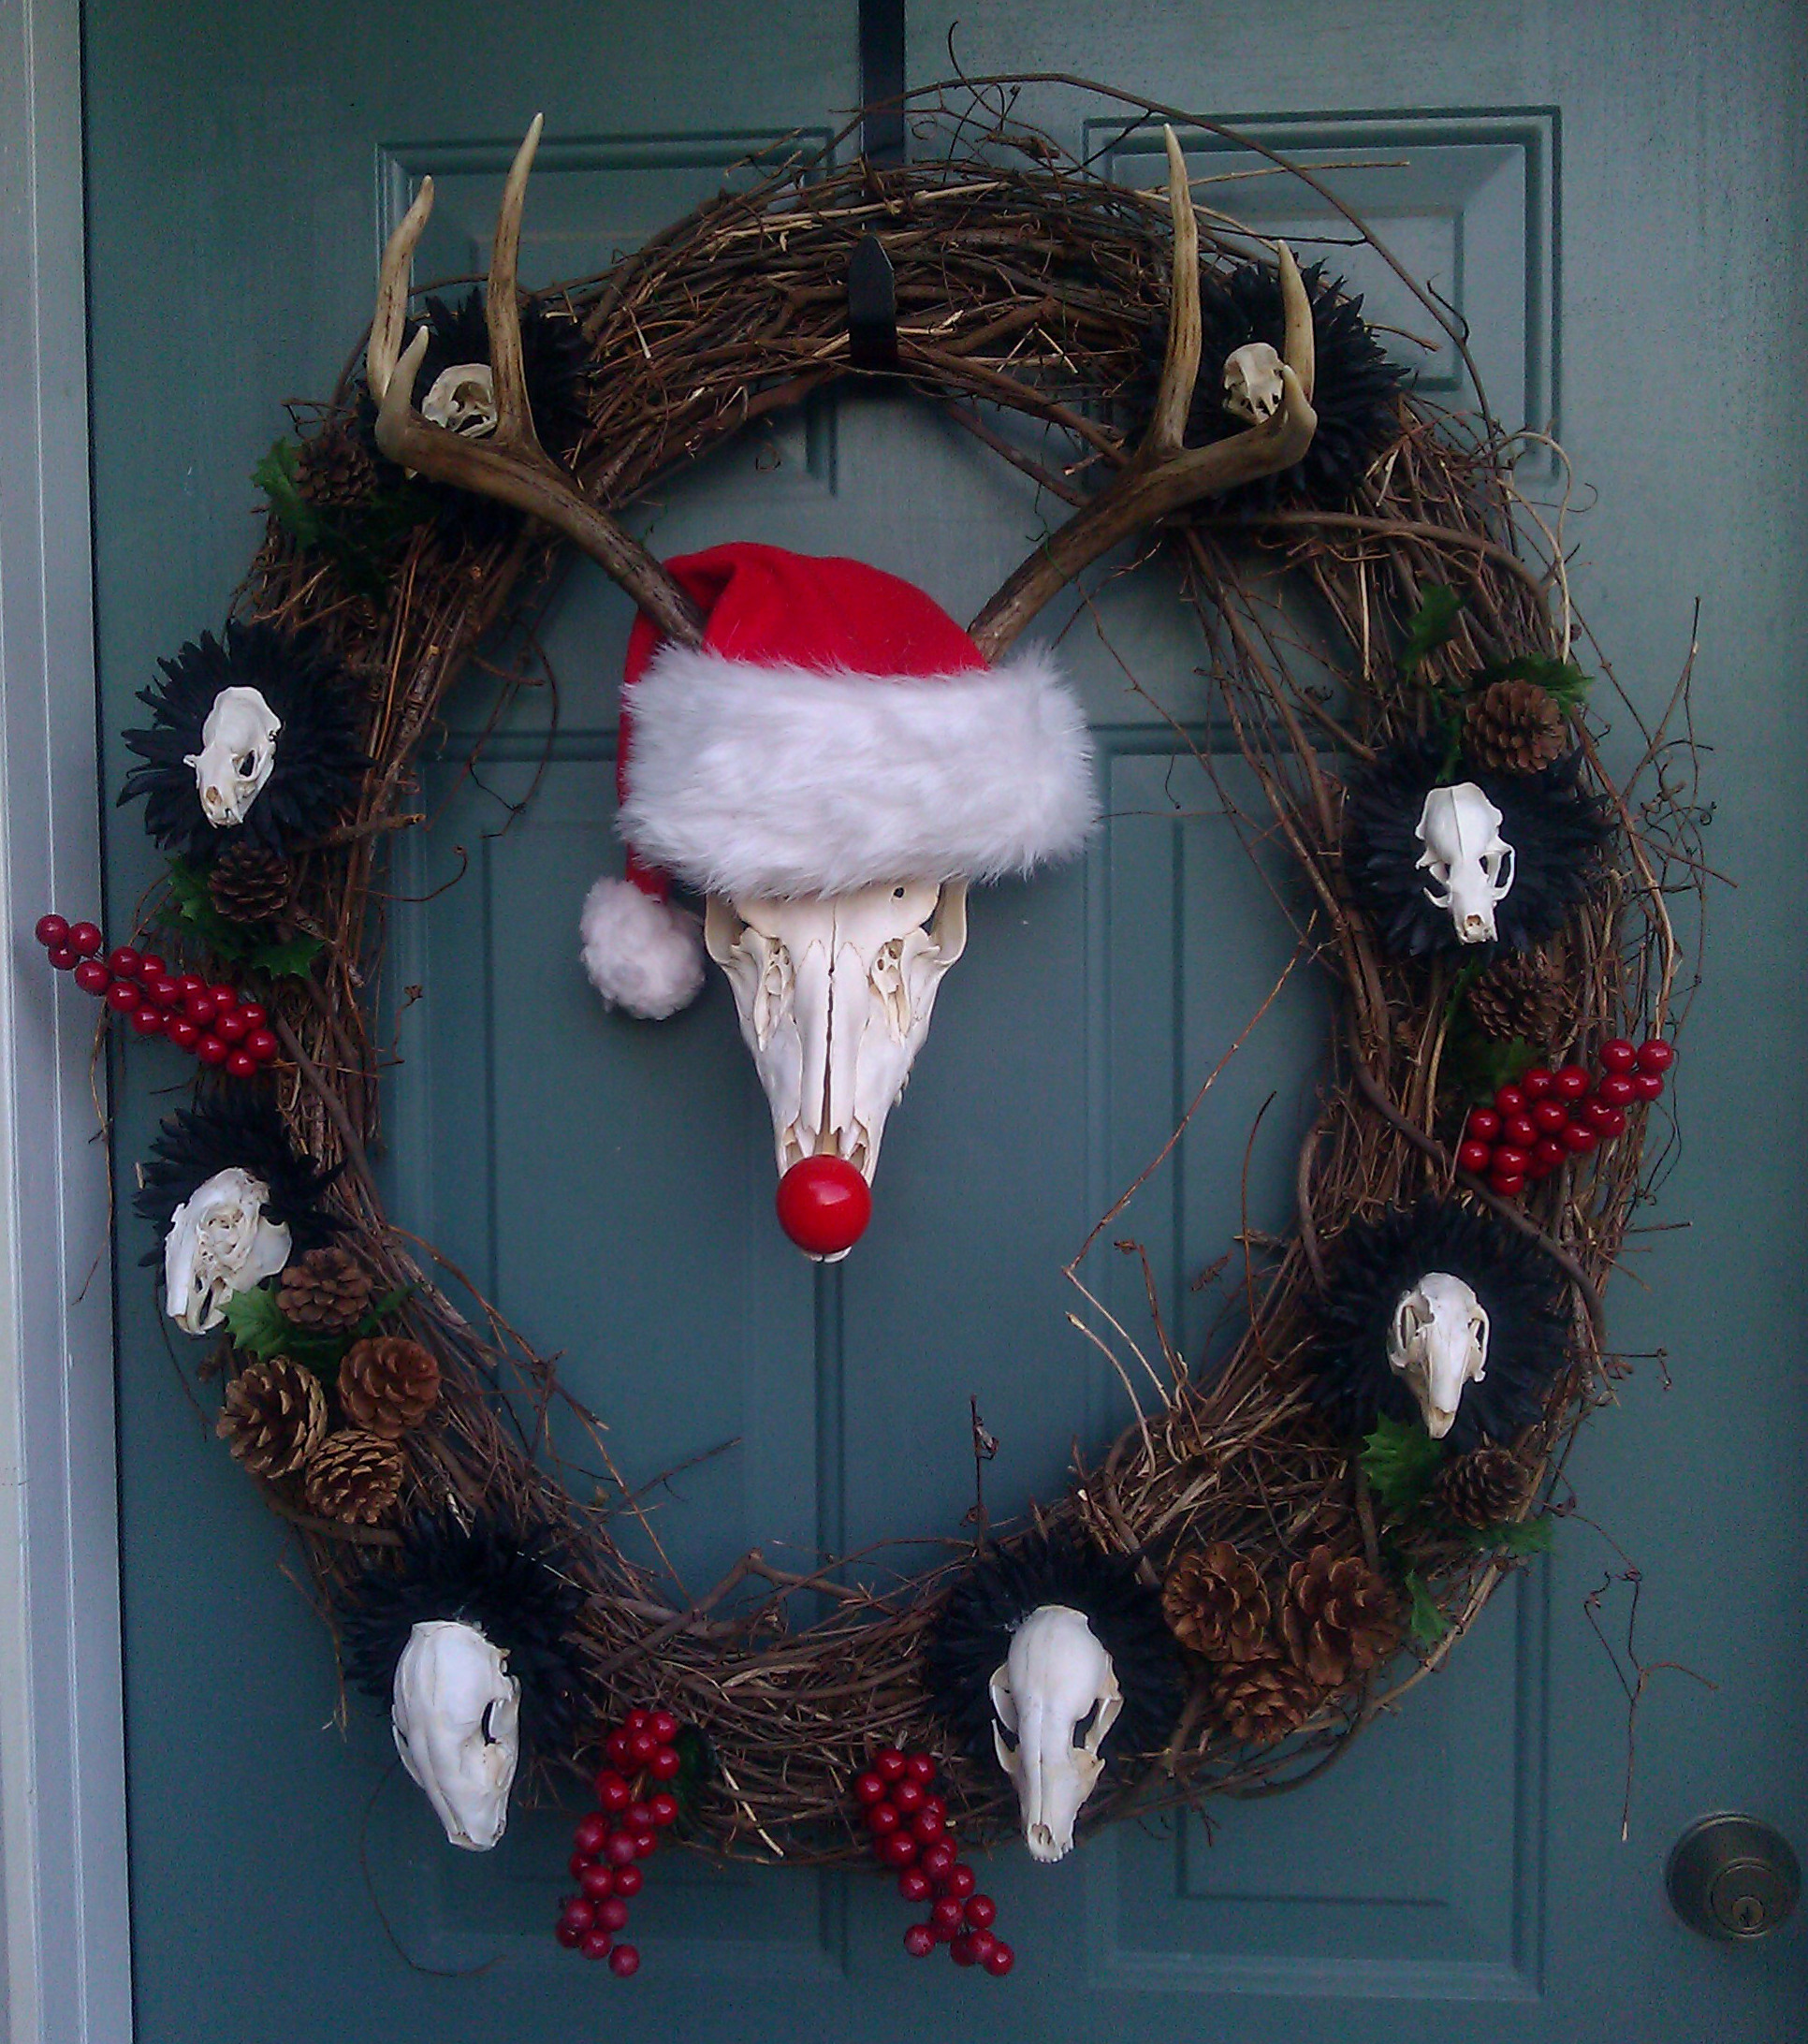
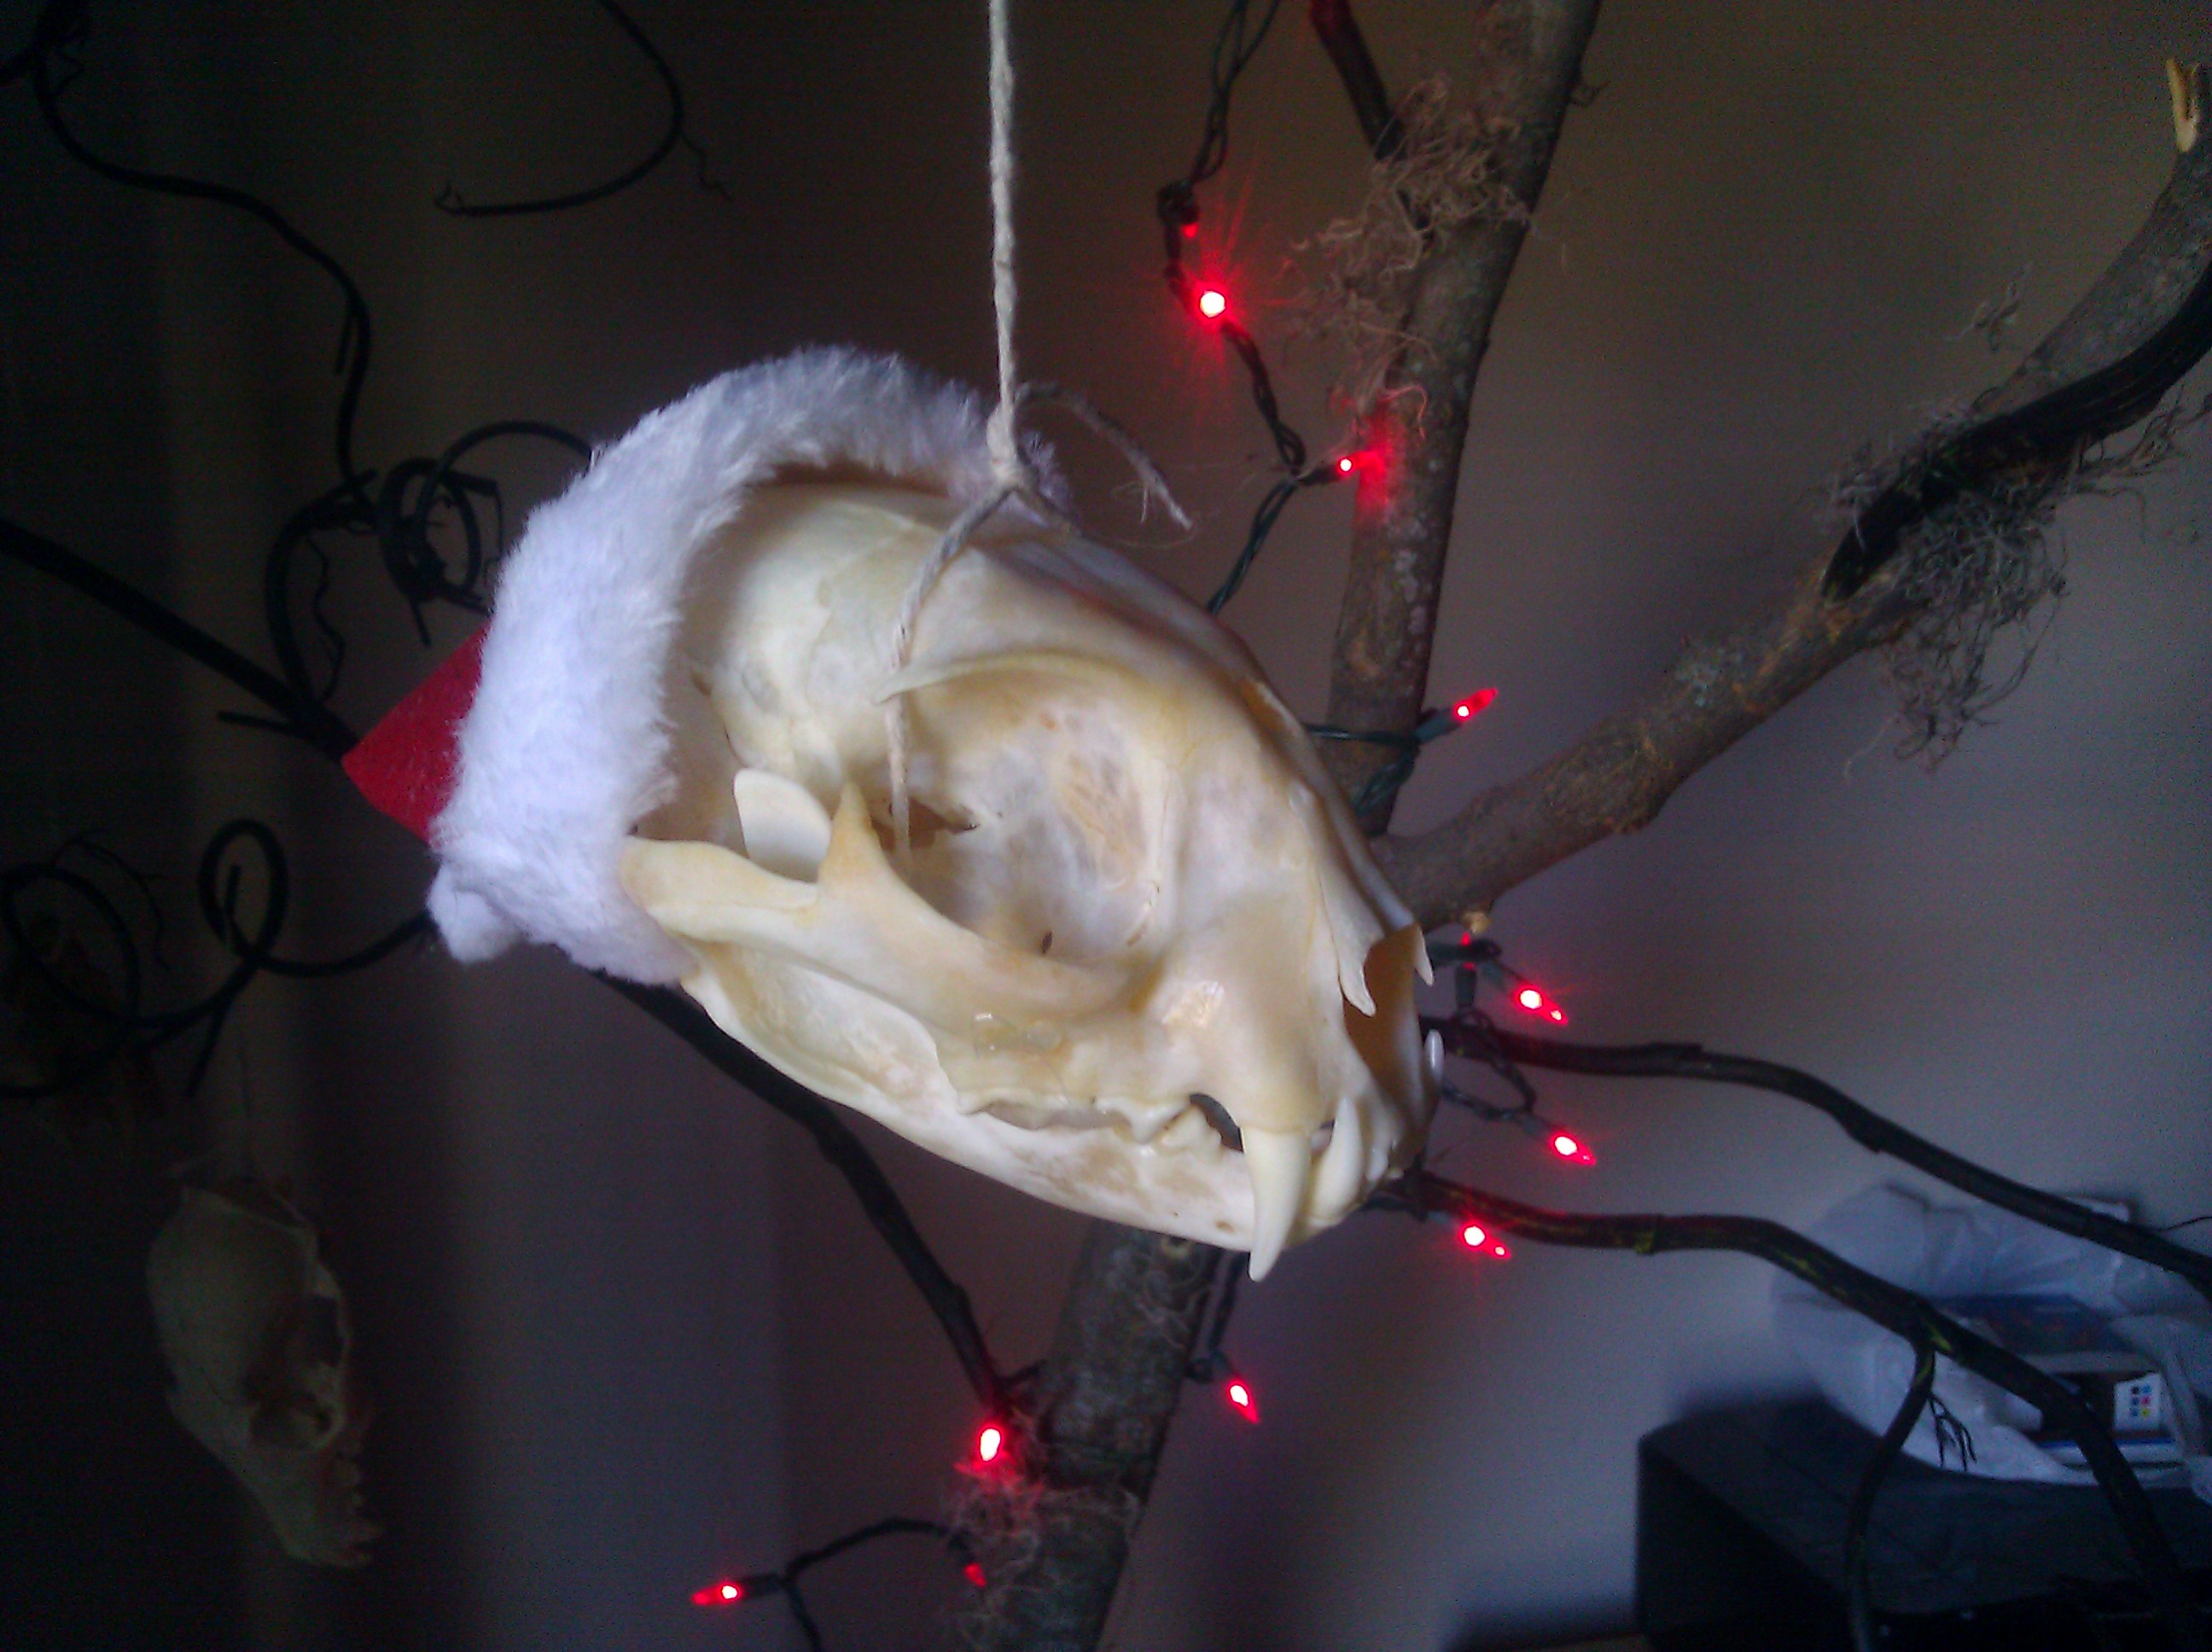
So after the Halloween season I left the tree and wreath up a bit longer than expected so they both spontaneously became a little Christmas-y. Just added some red lights, a little holly and pine cones, candy canes, and some festive hats and they were ready to spread some Christmas cheer! Or terror, or existential dread, or something else. The feeling they elicit is different from person to person and is often a little hard to nail down. Anyways, happy holidays!
Aside from the daily grind of cutting and packing enclosure kits, I like to work on some other creative projects. Here are a few of the things that I am currently working on (with circuit design and programming help from Craig).
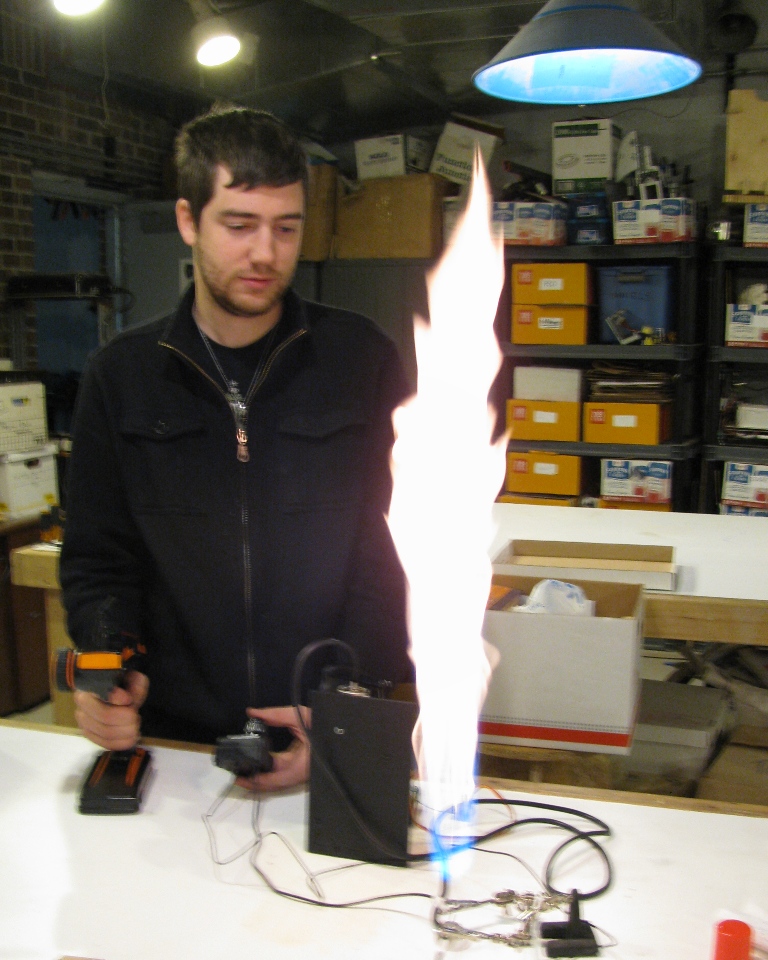
Fire Glove
This little project is for a local performance troupe that is planning on doing a show focused on fire. It was fun to take out the Unimat Machine Lathe to make the nozzle.
The unit will have some different modes, indicated by LEDs around the nozzle. One of the modes will be for a small flame about the size of a regular lighter or a little bigger to allow for the lighting of cigarettes and fire breathing.
The final form of the Flame Glove unit will be a small pack worn on the waist with the silicon hose going up the back and down the arm to a leather glove with the nozzle riveted to the palm. The amount of gas being let out will be controlled by a flex sensor in one of the fingers of the glove.
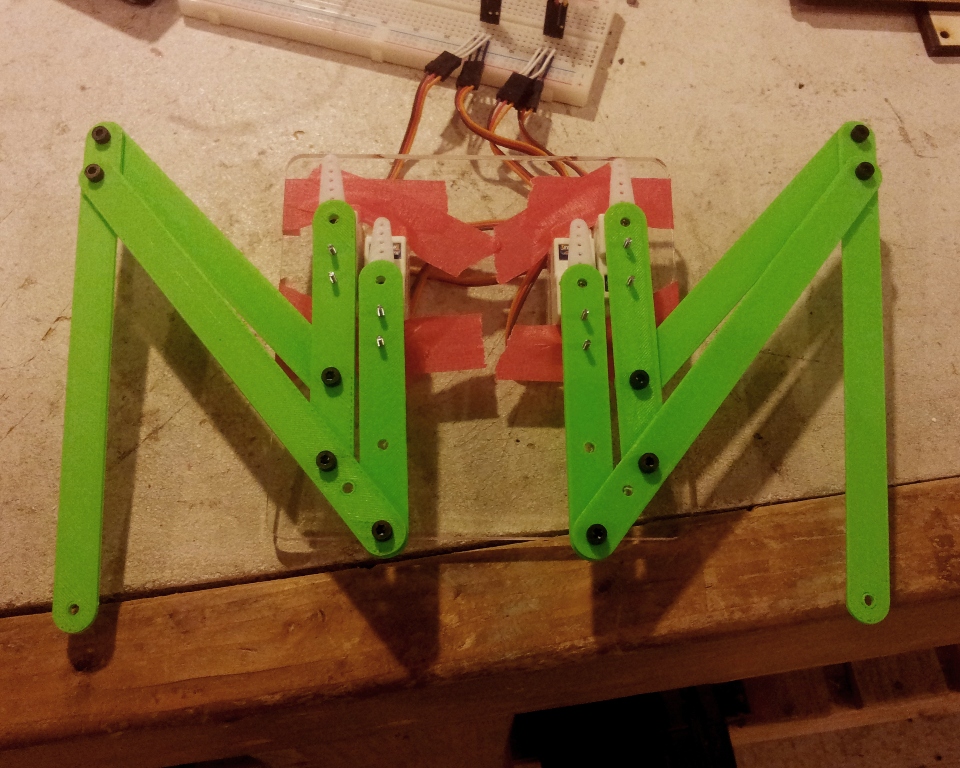
Articulated Wings
This is a project I've been wanting to do for a while. The same guy that is in charge of the performance troupe is doing some art for a pop up restaurant and one of the things he is doing is making an "angel like" costume and we thought it would be awesome to make some articulated wings for it.
This is a half scale model of the wing structure that I printed on our Oni 3D printer that we are beta testing for a local guy Tom, who designed it. Here is a link to his website:
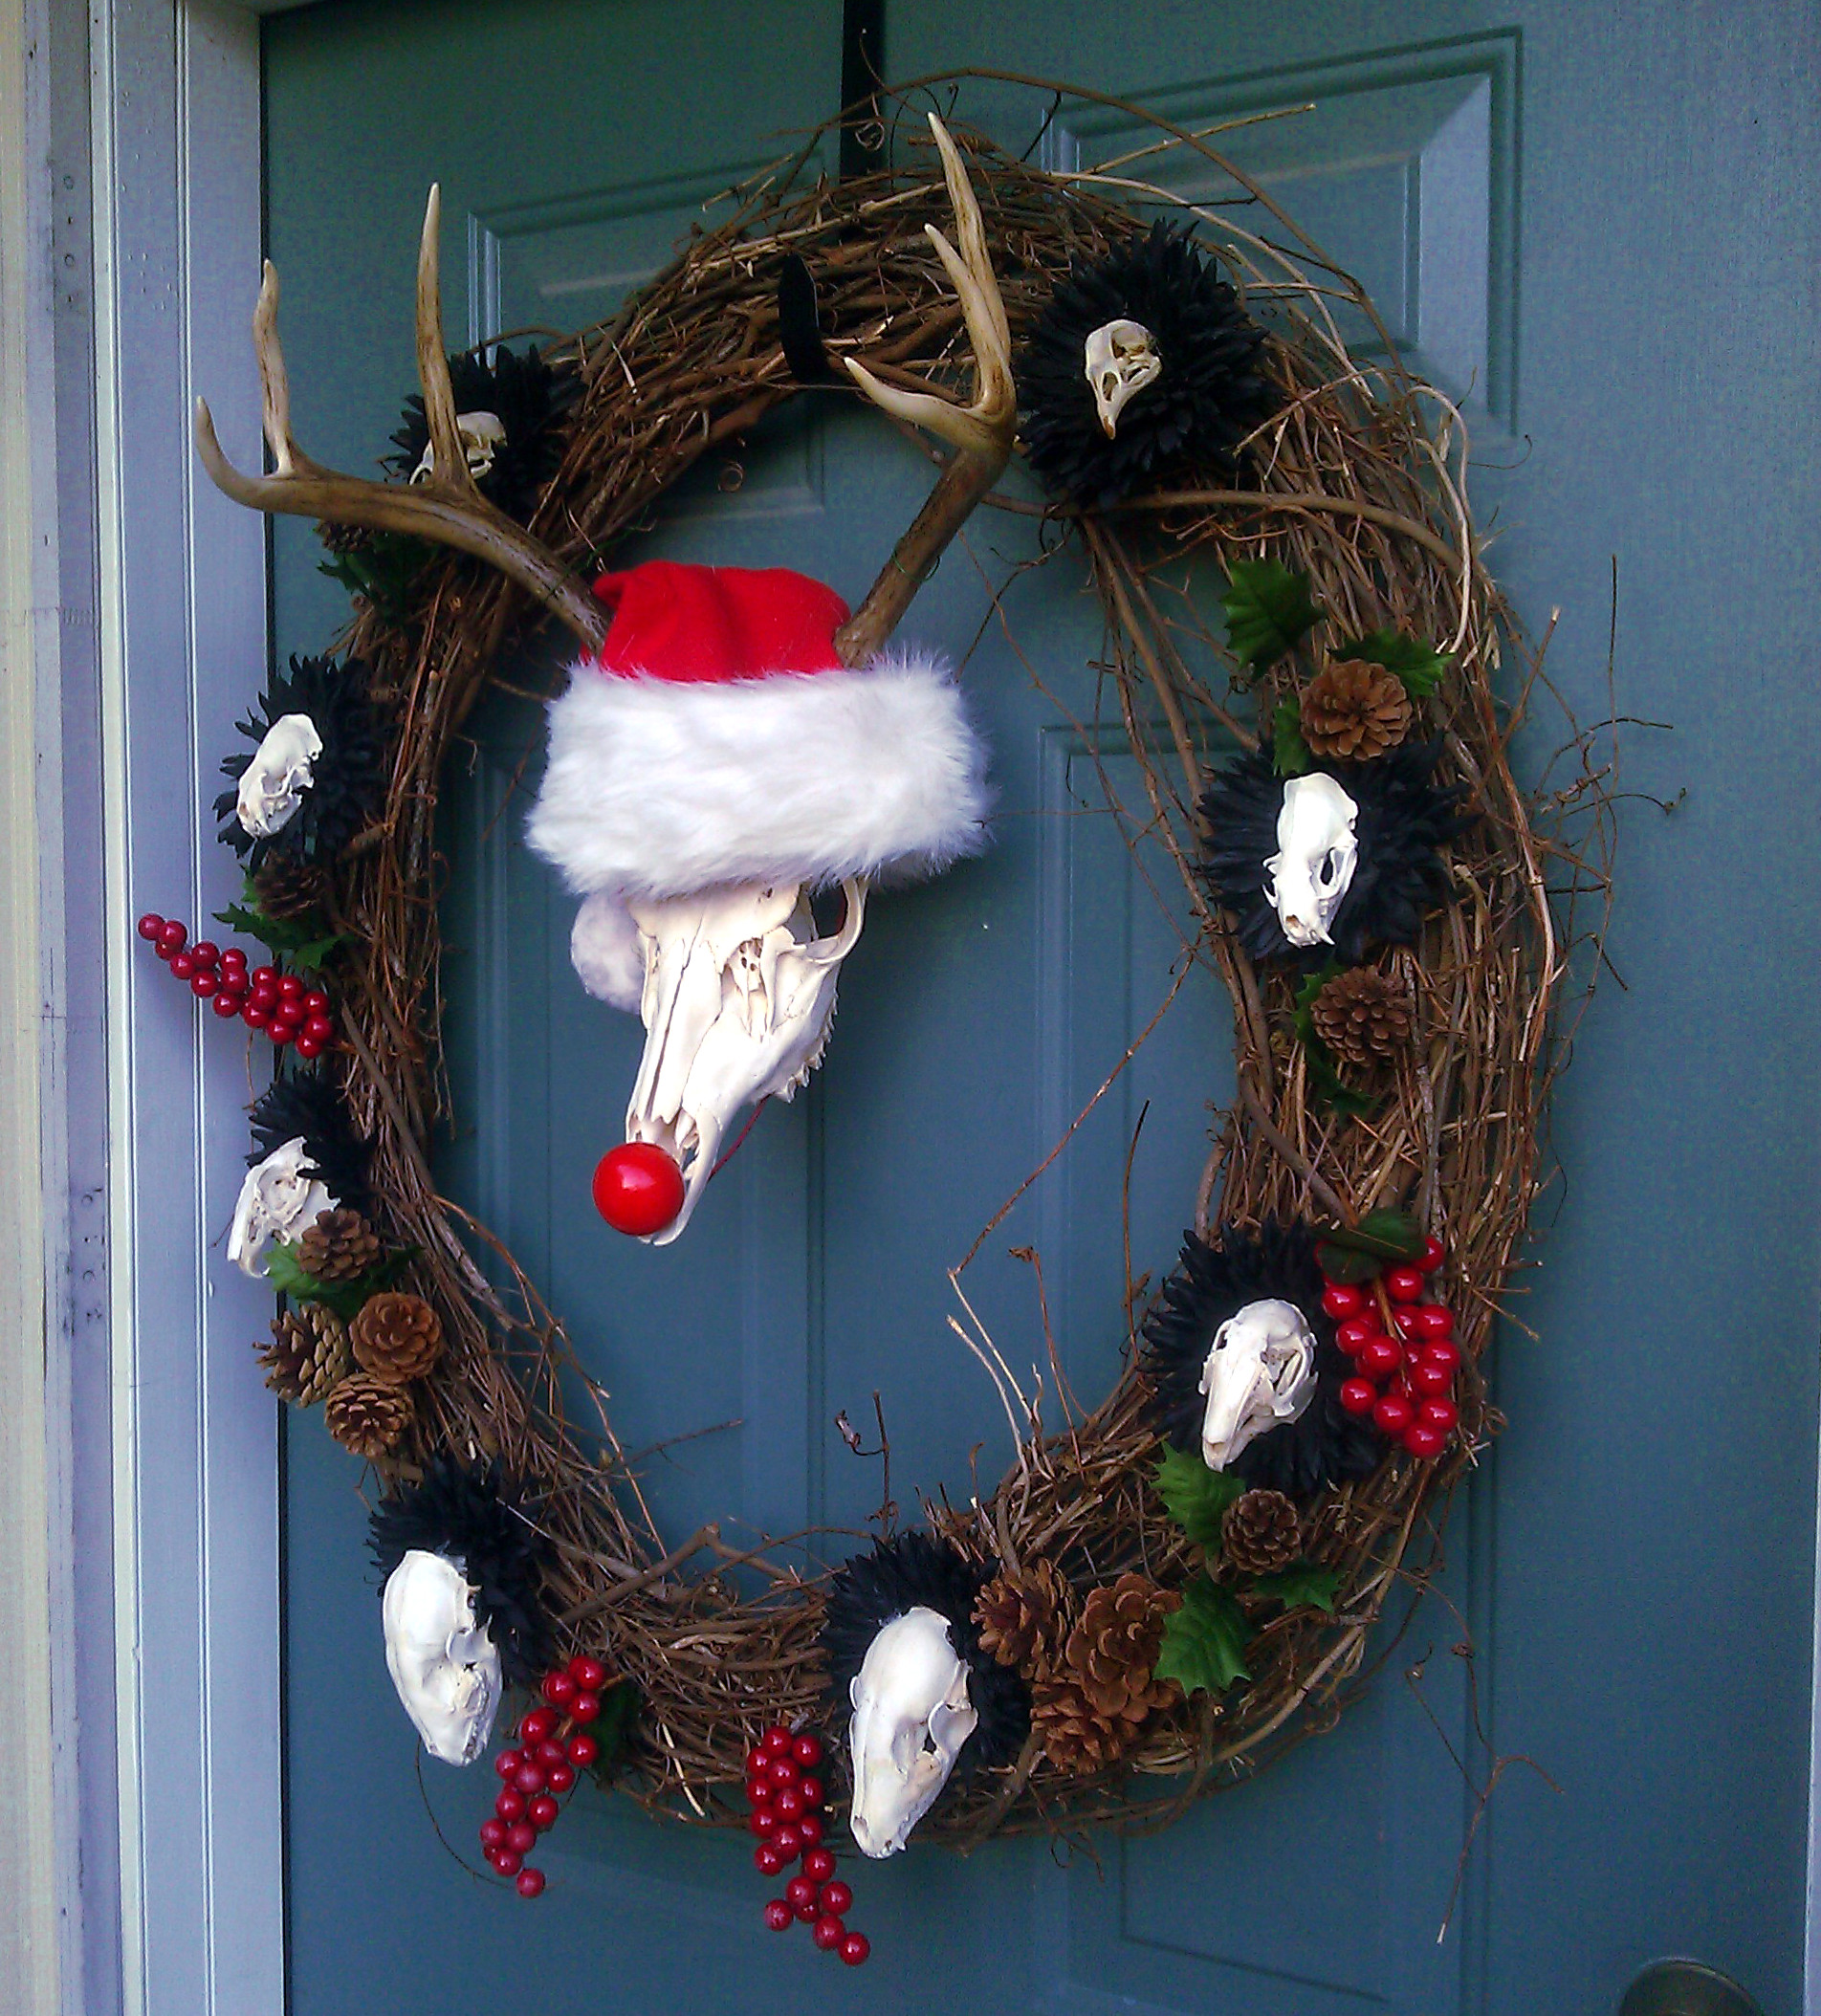
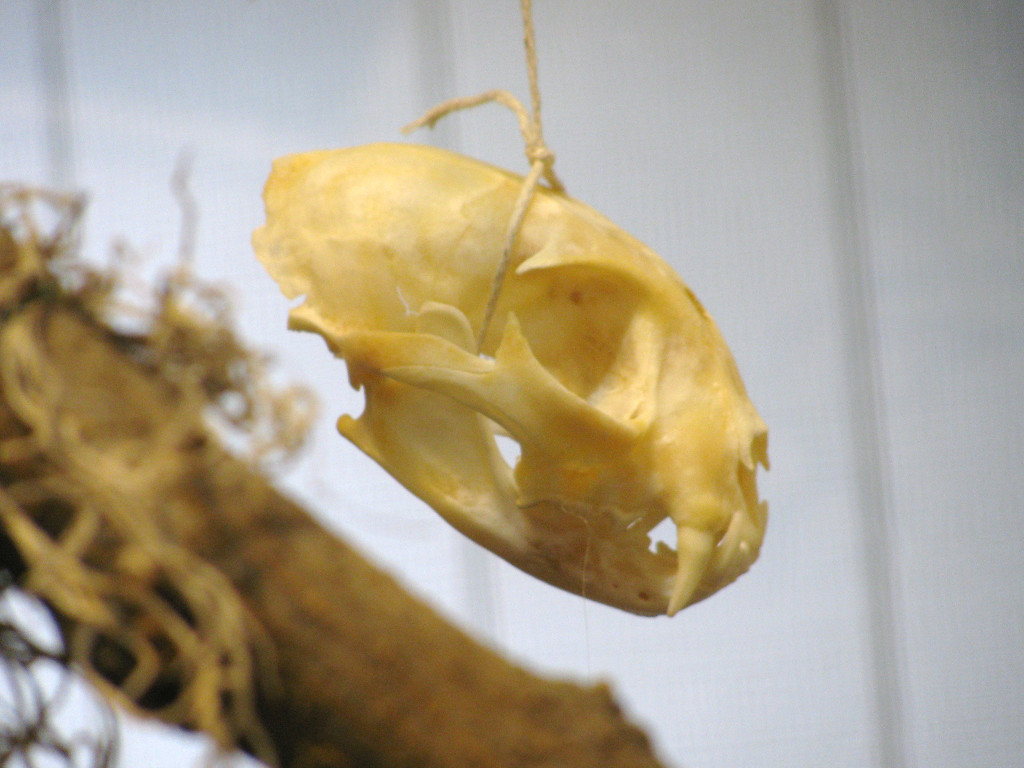
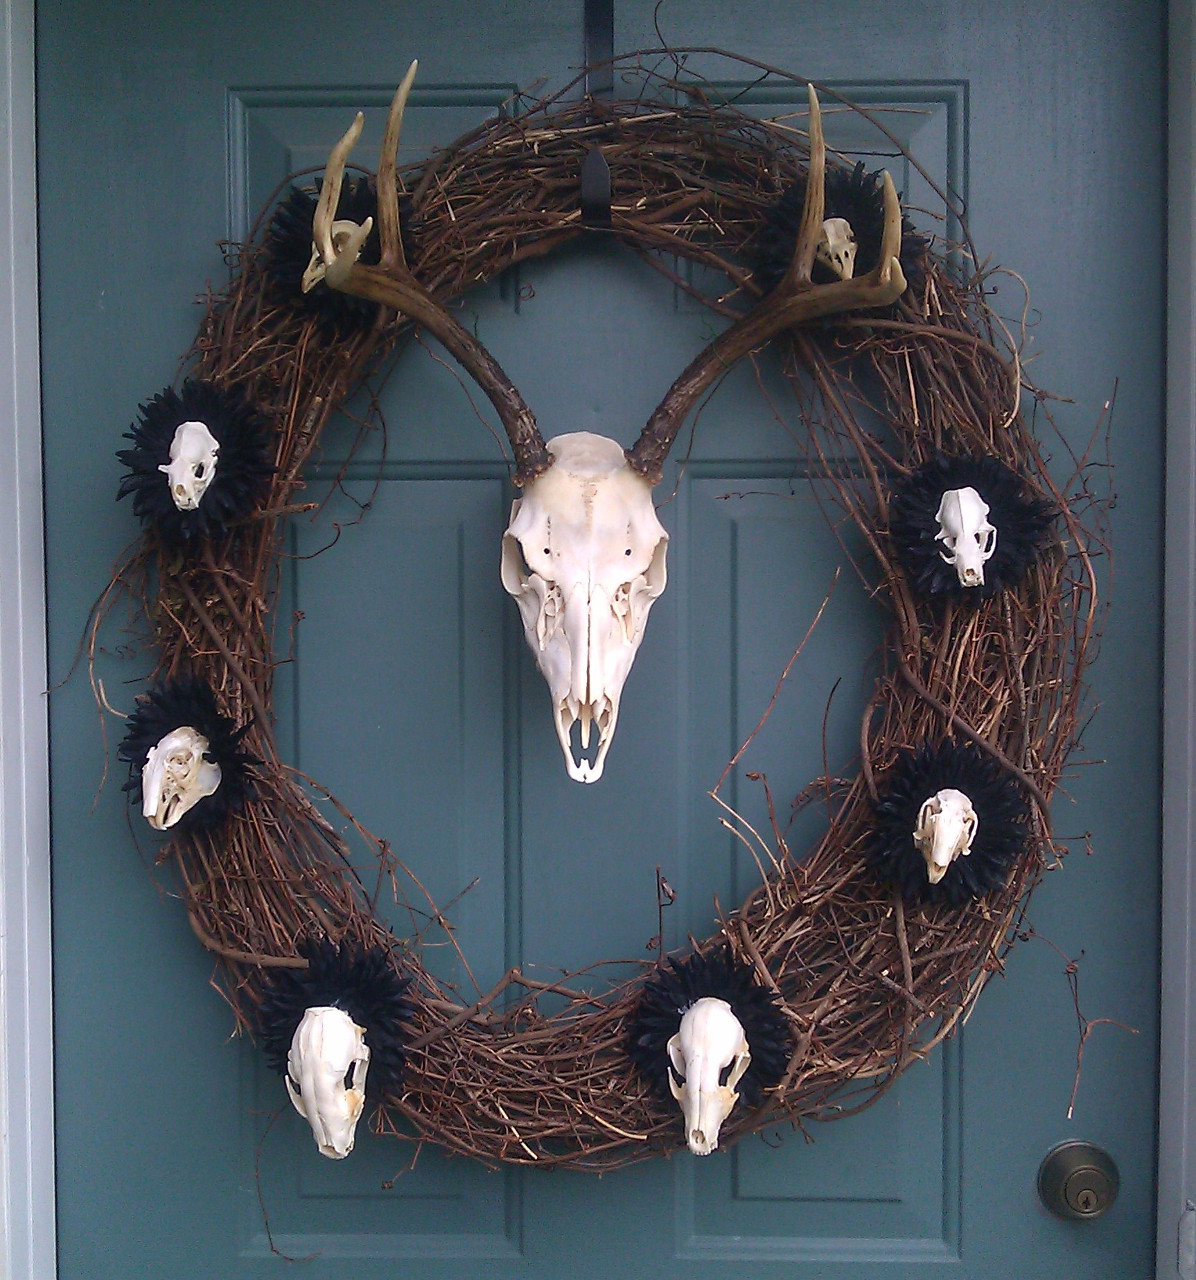
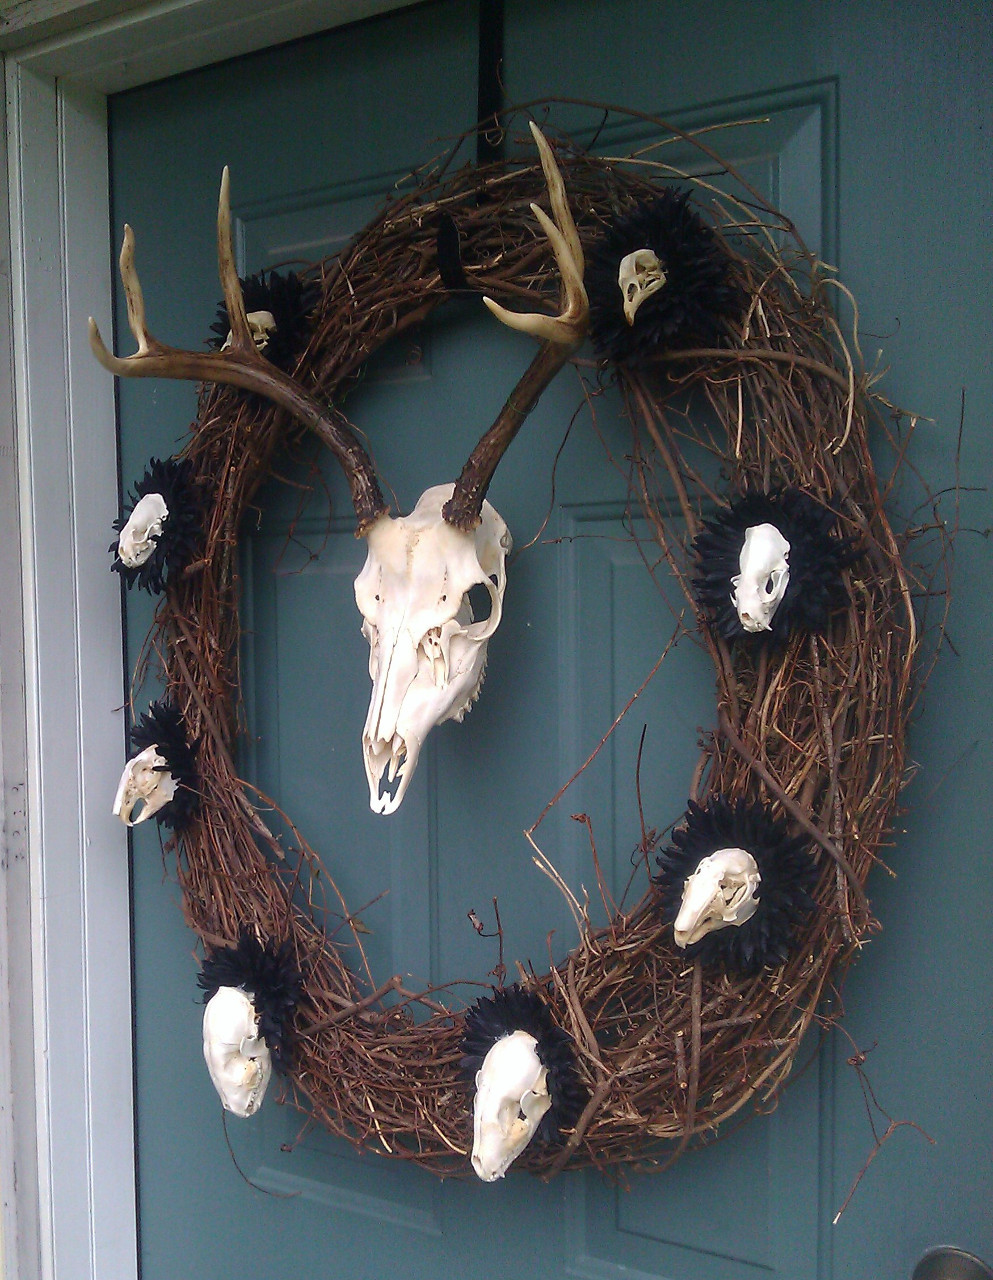
In this special Halloween update I'm sharing some of the stuff I made for the occasion. I had a bit of a skull theme going this year. It started when picked up a number of cheap skulls from some trappers at the KC renfaire and I using them for a couple projects for Halloween. First off the Halloween wreath:
It's basically just a grapevine wreath, a few artificial flowers, and a few small skulls held together with wire and hot glue. The jaws of many of the skulls were free moving so I hot glued most of the jaws in place at their base to keep them together. It might need some additional garnish (I'm thinking snakes... yeah snakes), but it looks fairly creepy so far. I really like the deer skull centerpiece.
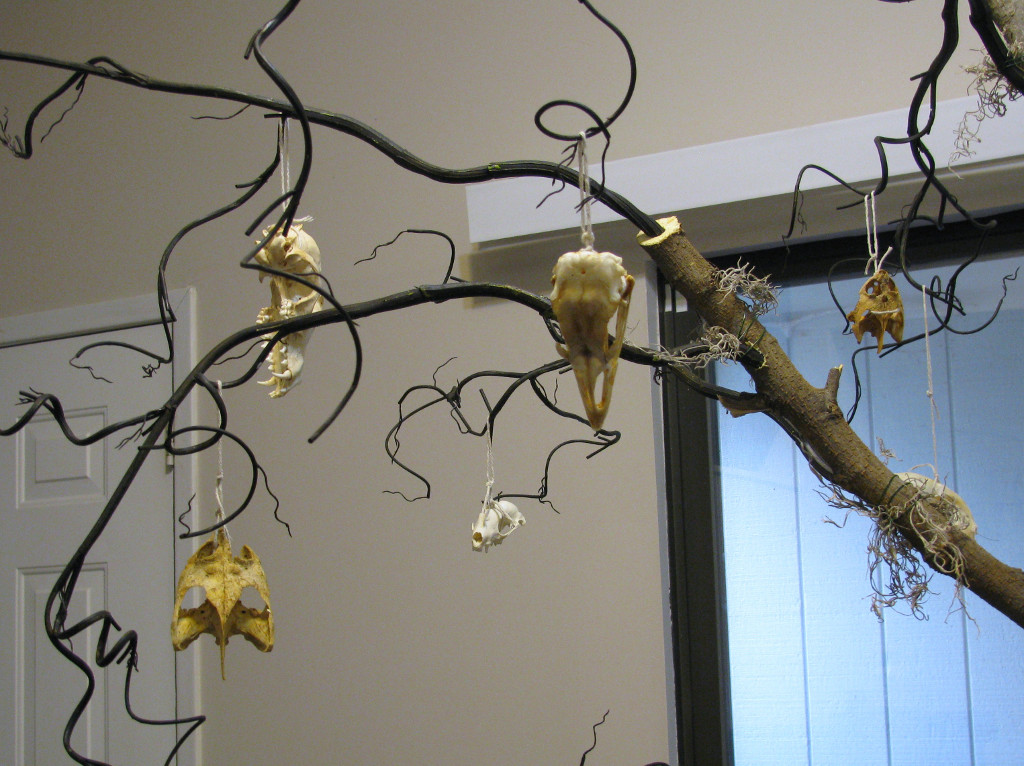
Next we have my attempt at a new tradition in addition to the Halloween wreath, the Halloween tree:
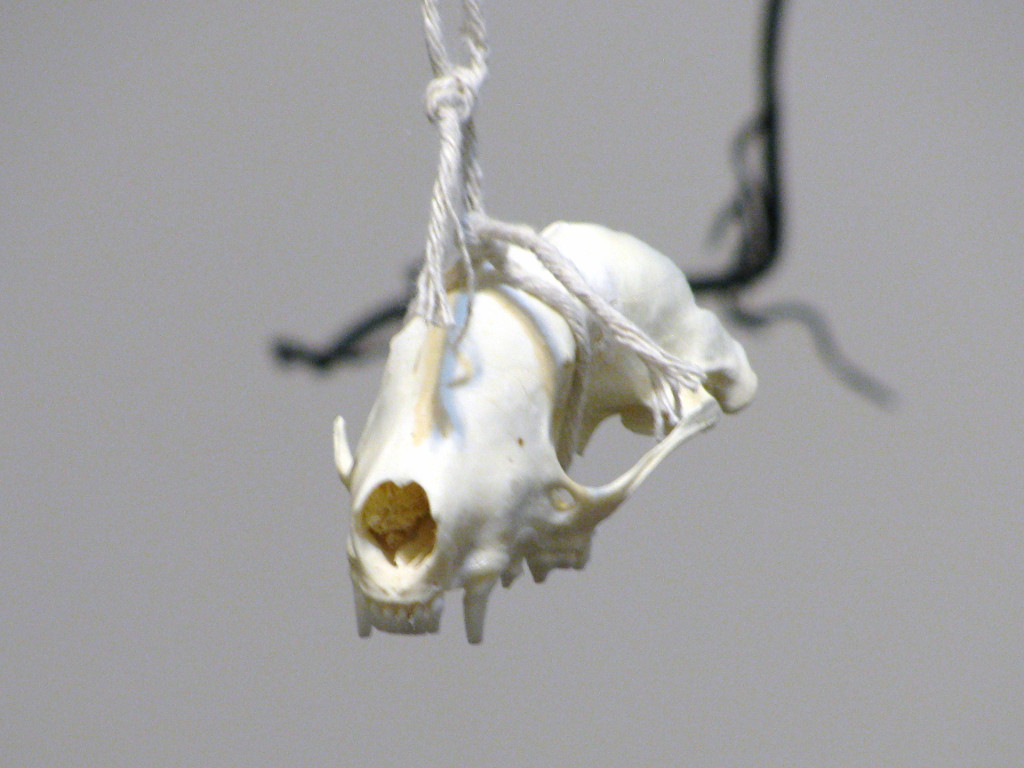
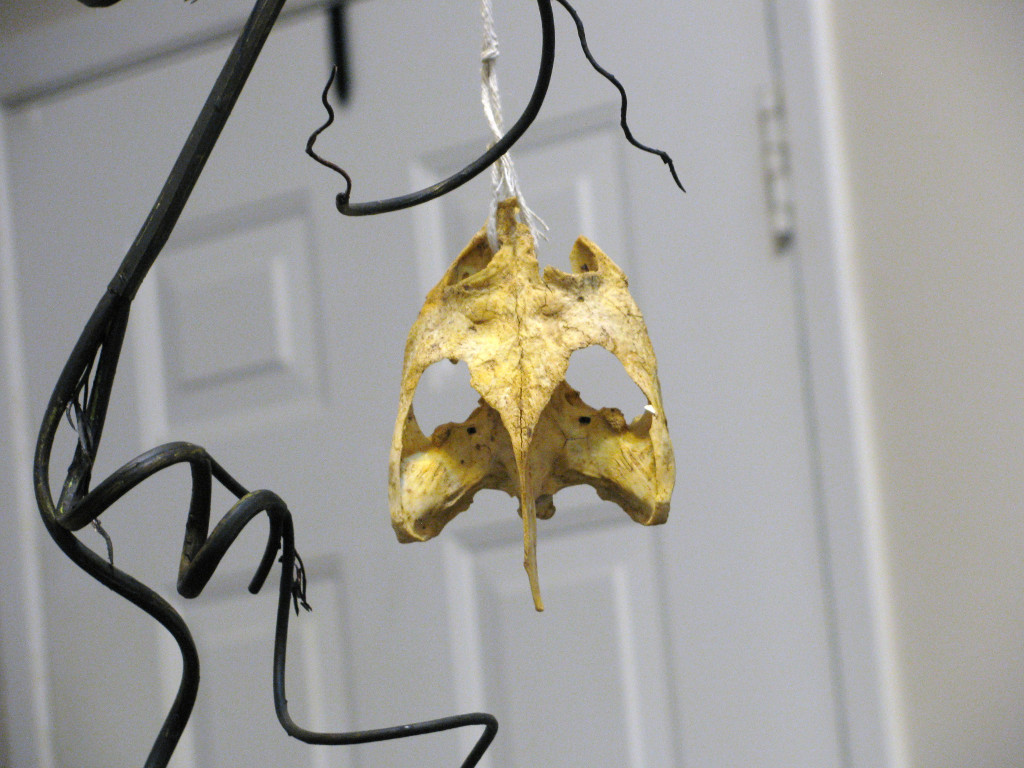
It's basically just a fallen limb with holes drilled in it and pose-able black stems from Hobby Lobby stuck in and the bases of those stems reinforced with floral wire with a little moss thrown in. It's all stuffed in a small metal barrel we had around the space. Of course after it was assembled and posed I threw some more skulls on it for decorations:
I like the asymmetry of the whole thing. The twisted and gnarled limbs really give it some character. Hopefully I can find a place to stow the thing over the next year so I can make some nice creepy ornaments for it when I pull it out again.
Lastly, since there was already casting stuff being used in the Hammerspace monster maker classes and I needed a welding mask, I threw this together:
On the right is a failed cast, from which I learned that Alumilite, at least in reasonable volume, is not good of slush casting as it sets up almost instantaneously. The base design was done by my friend :
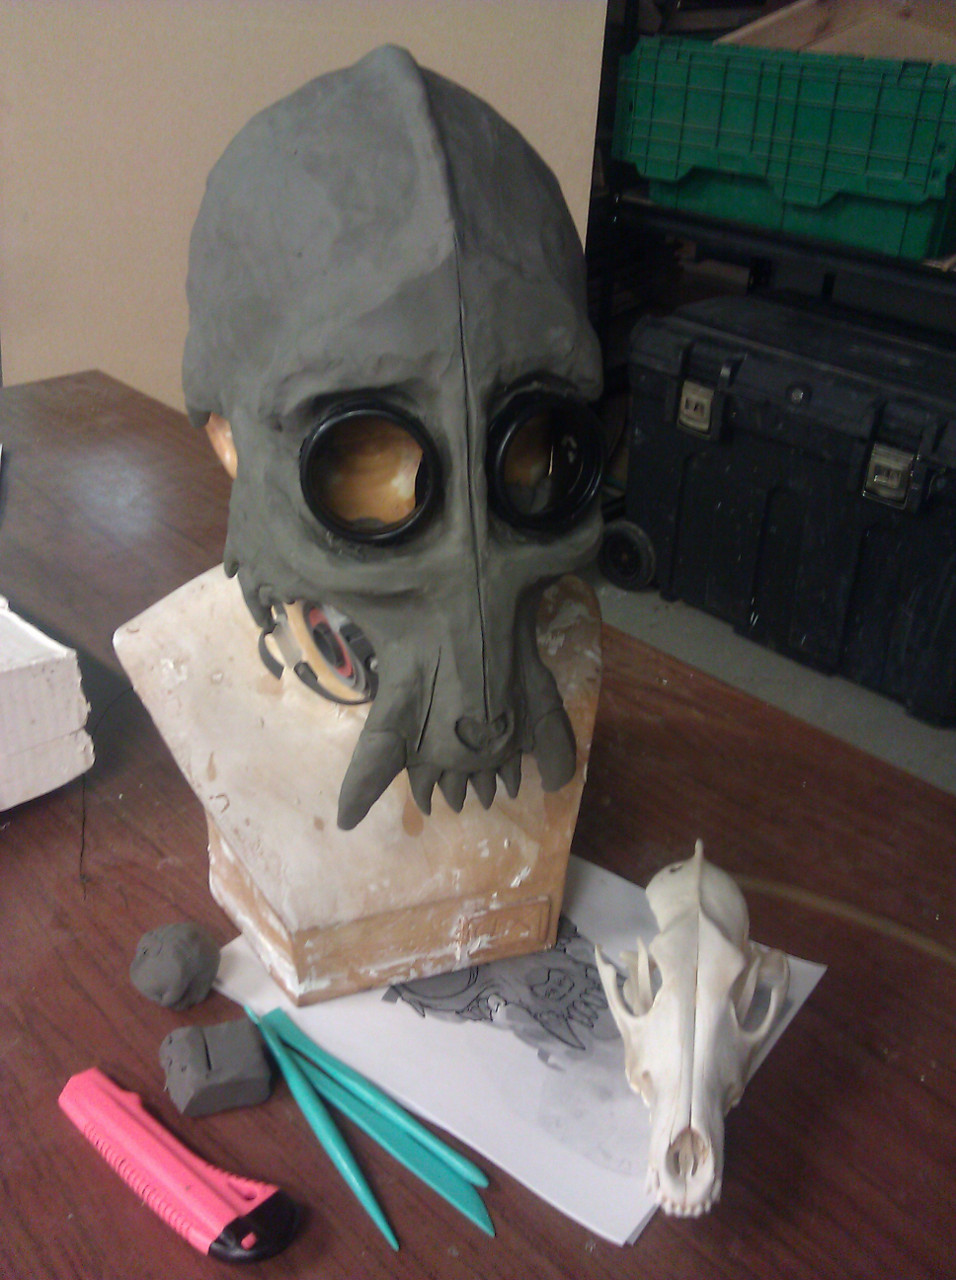
From there I blended the design a bit with a coyote skull. Here's a pick of the sculpt in progress:
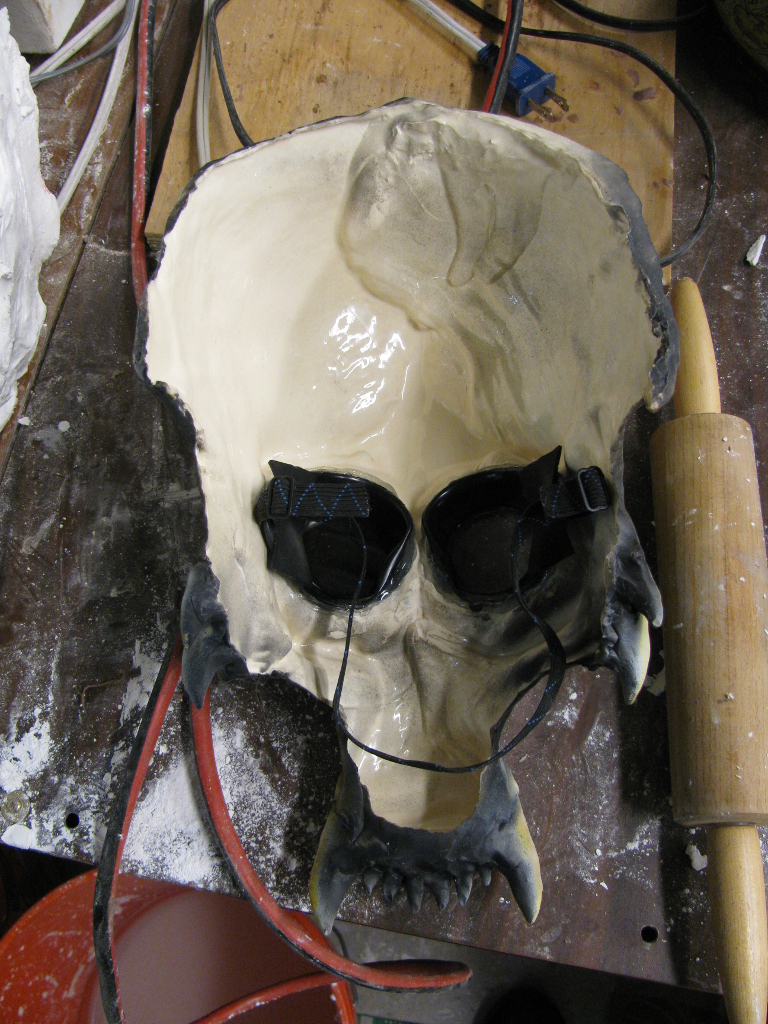
It's meant to incorporate a pair of welding goggles and have space for a respirator so I can wear it while watching the plasma cutter work. Here's the latex mold with plaster jacket after the clay's been removed and a couple pours have been done (thanks to Dave at for helping me make the mold and do the pour):
I originally had the goggles in the sculpt but I messed the threads up on the first pour so I cut them out on the second pour and glued an extra set I had in place:
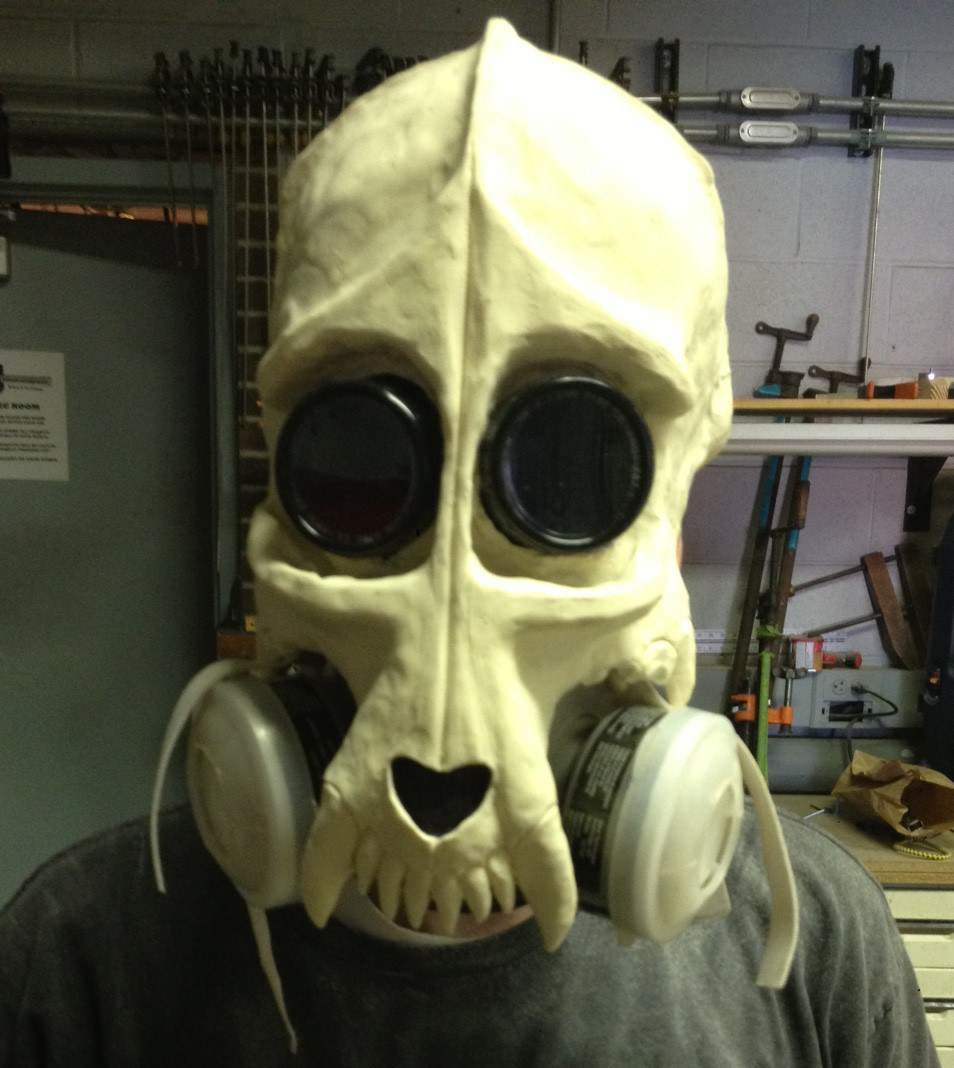
Here's a pick of the test fit (cast in Smooth-Cast 320) before painting:
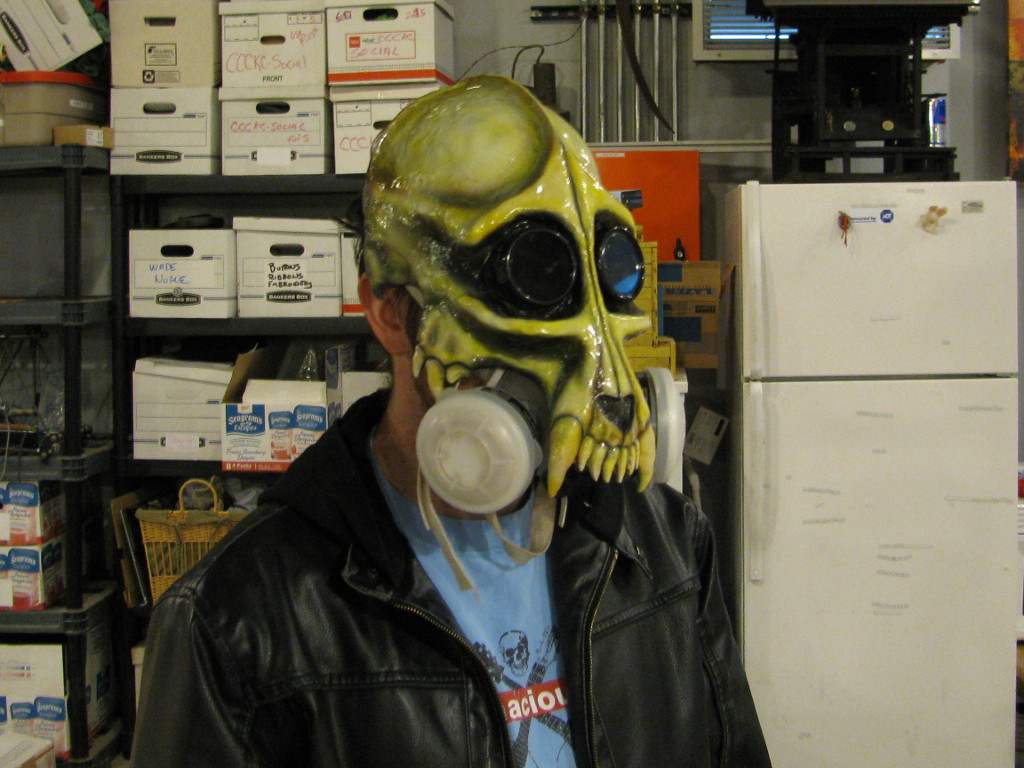
Here's some pics with the respirator in place after Brandon Mohn airbrushed it up:
I threw this on together in a couple days so there's a few things that need to be fixed so I'll probably get another pull off the current mold and keep it around for when I actually want to fix it up. The goggle components actually threaded into place with the first pour so I'm optimistic about incorporating goggles into future sculpts. For now I'll probably just add a second elastic band a bit higher up from the goggles to help keep it from sliding down my face when not using a respirator, but other than that it's pretty usable in it's current condition.
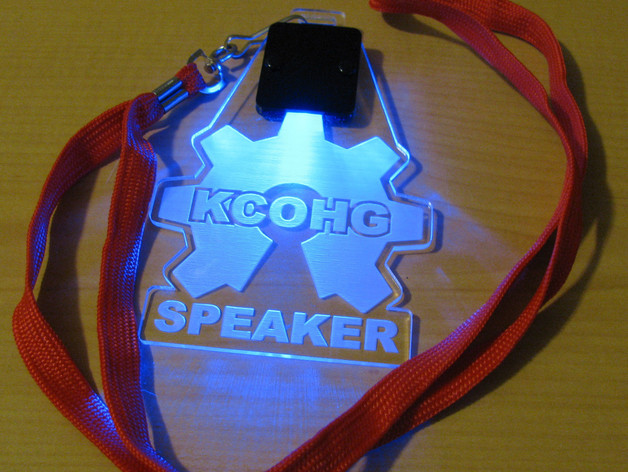
Two weeks ago I had the privileged to speak at the inaugural Kansas City Open Hardware Group () Conference. The event was set up and hosted by CCCKC () and the Kauffman Foundation (). I made up some glow badges for the event (seen above) and, in the spirit of the event, released them under CC over at our . Head over there to get the design files as well as the details of the components and assembly!
Also if you want to check out my hastily prepared talk check out the video below. I actually start up at about 18:00: