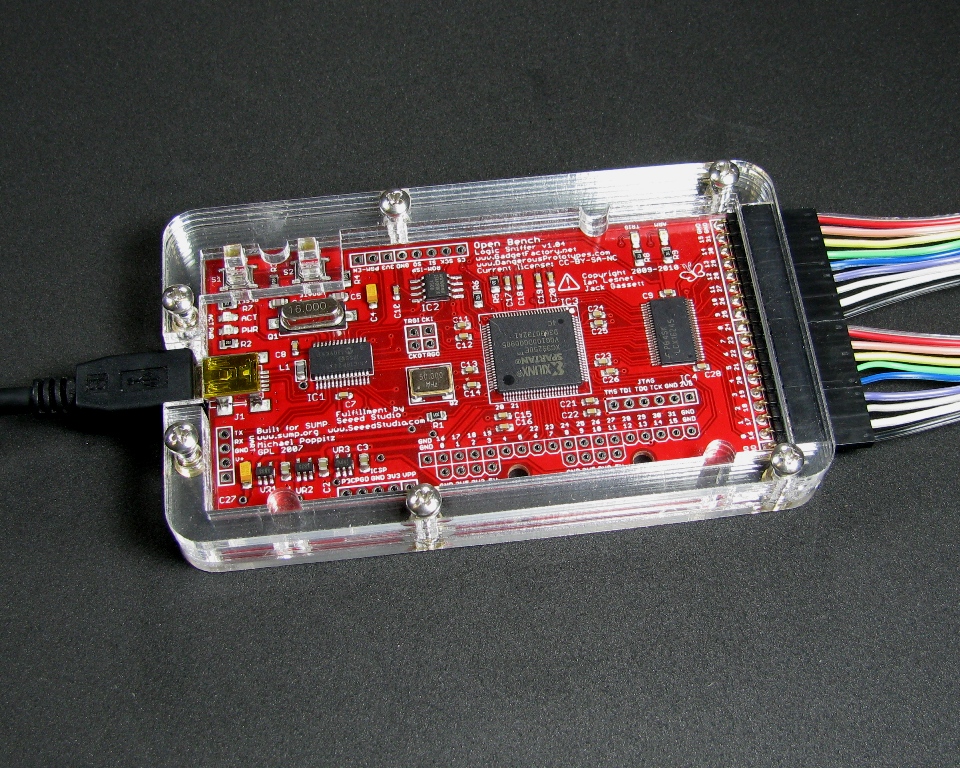
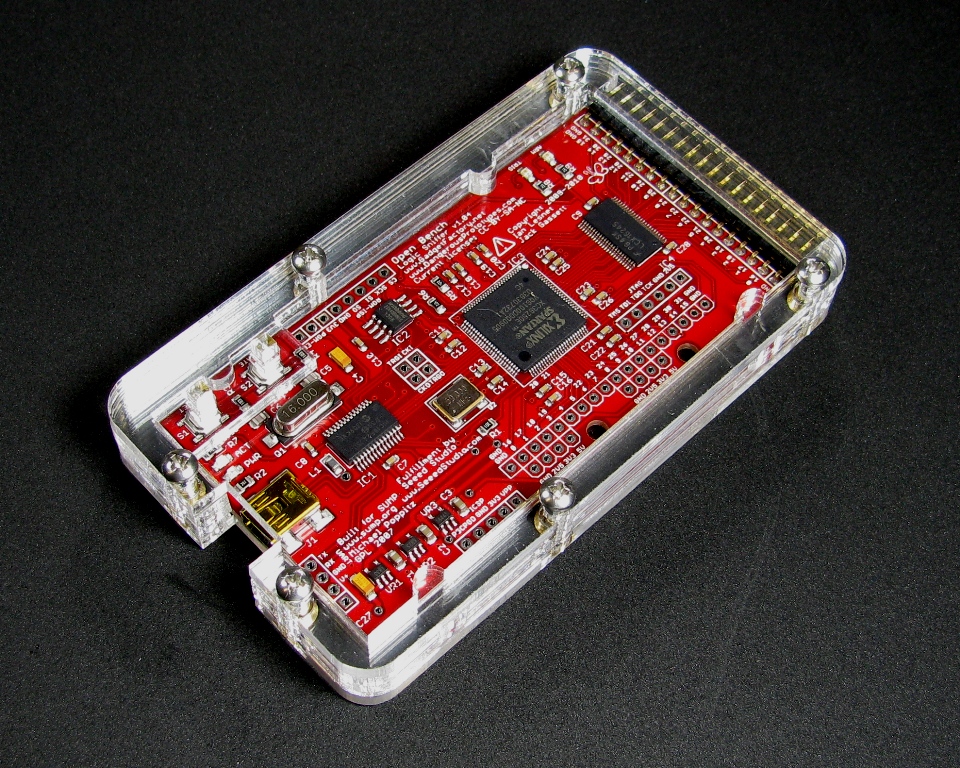
Open Bench Logic Sniffer Enclosure
 Grab the design files here:
Grab a kit here:
Step 1: Remove the Masking

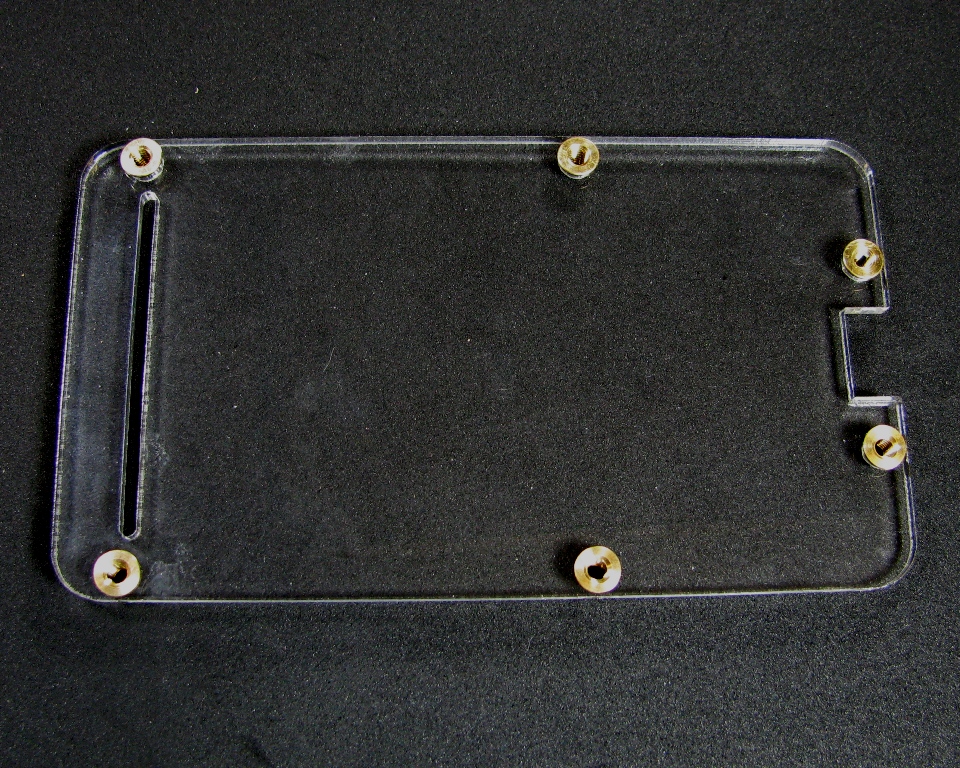
Step 2: Insert brass fittings
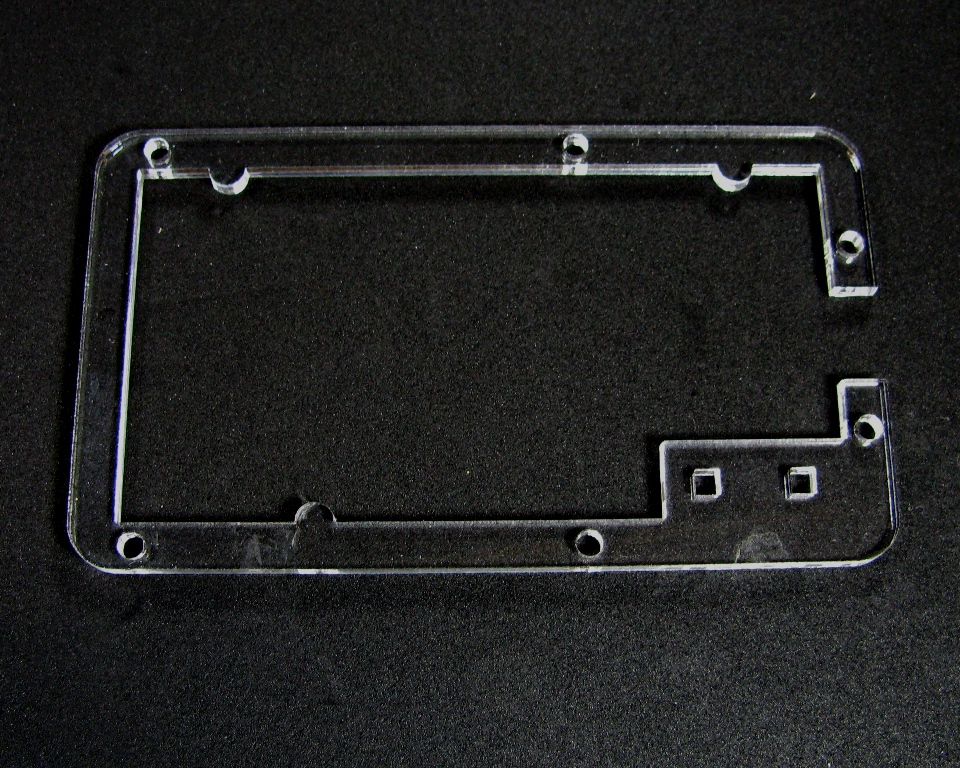
Take the bottom plate and push the brass fittings into the holes:
Then flip it over.
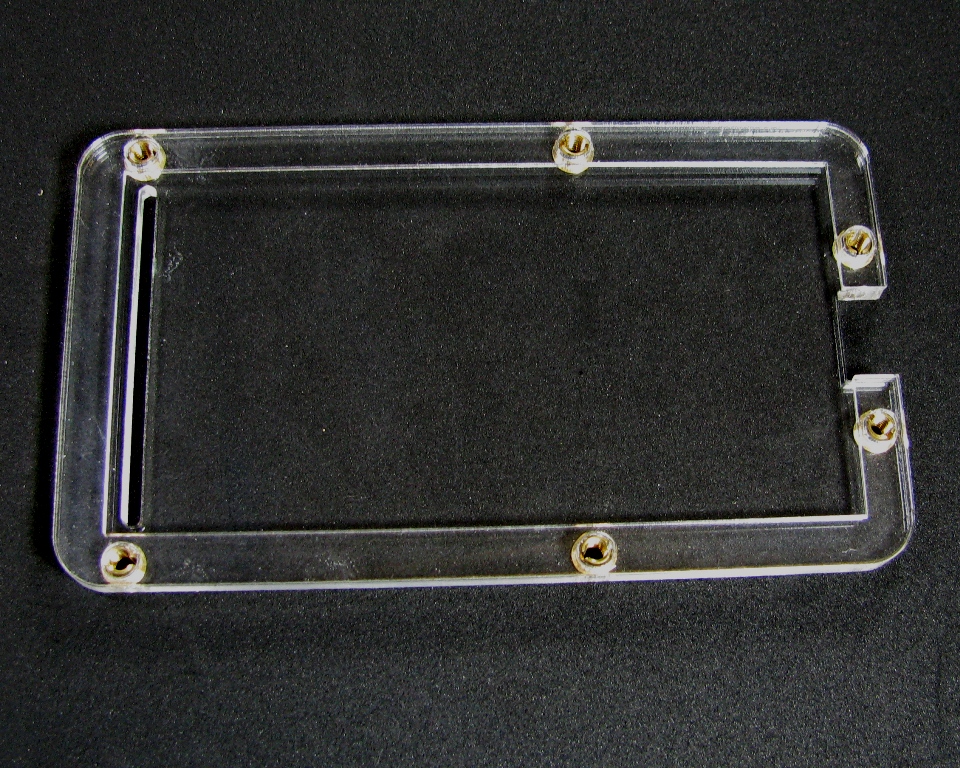
Step 3: Add the Second Layer
Take the thin layer and set it on as shown:
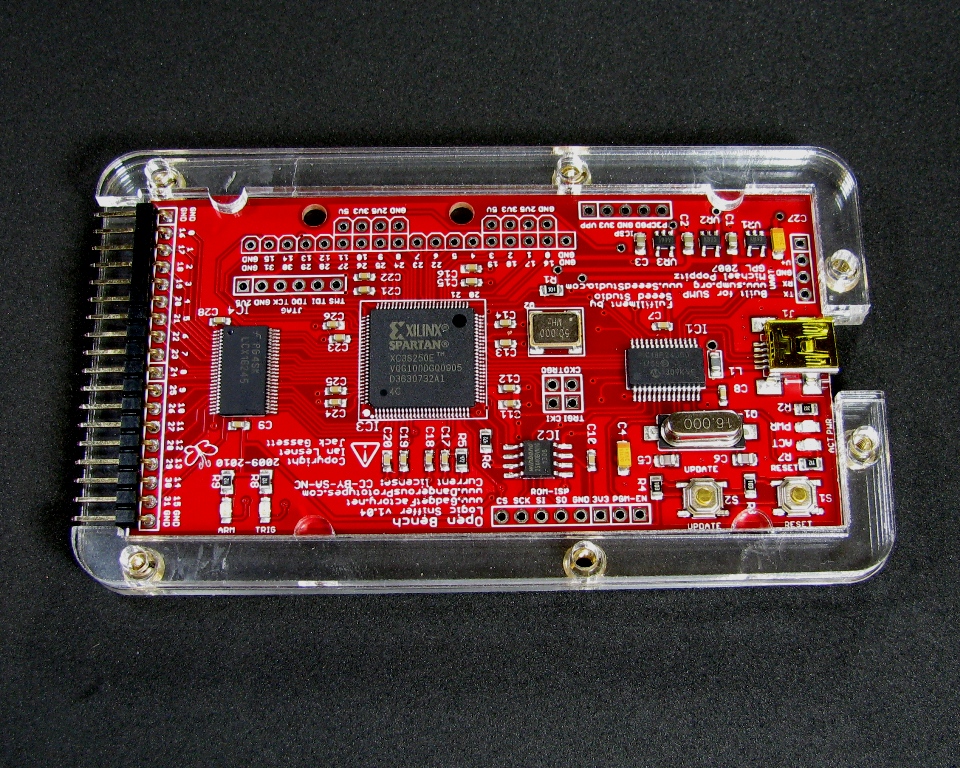
Step 4: Place the PCB in the Enclosure
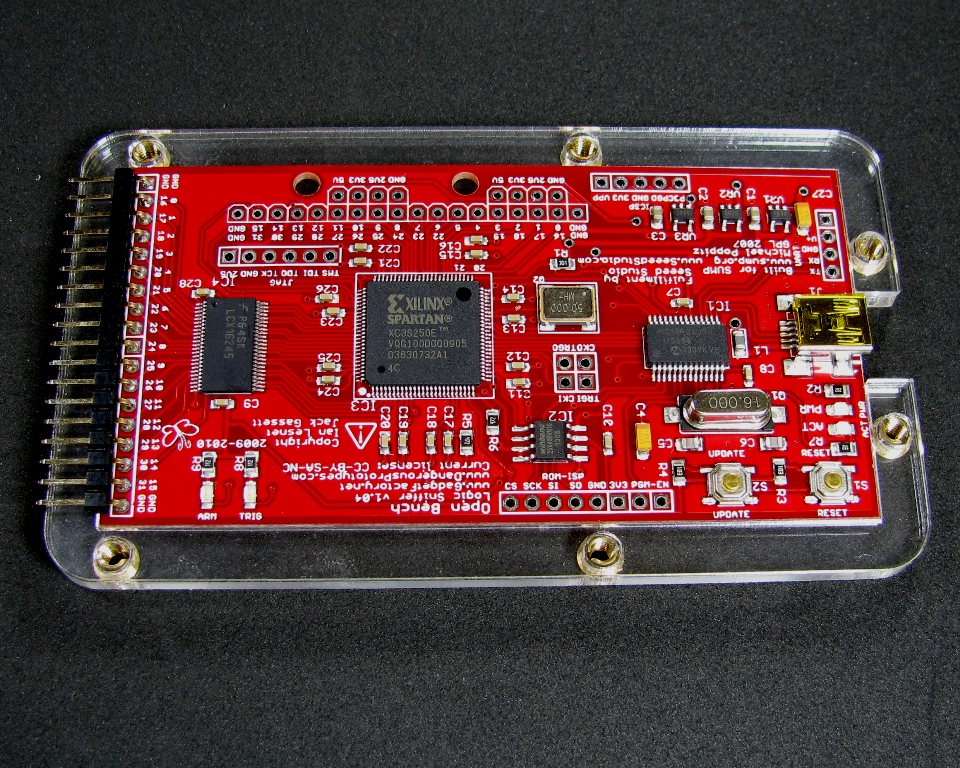
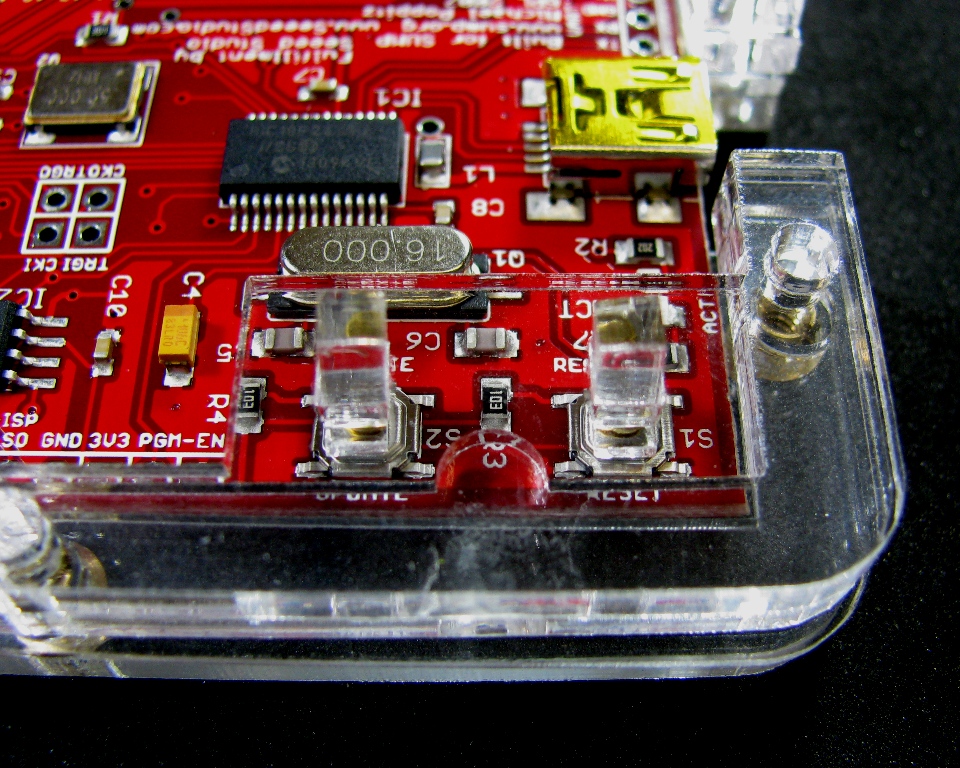
The PCB should fit nicely in place.
Step 5: Add the next Layer
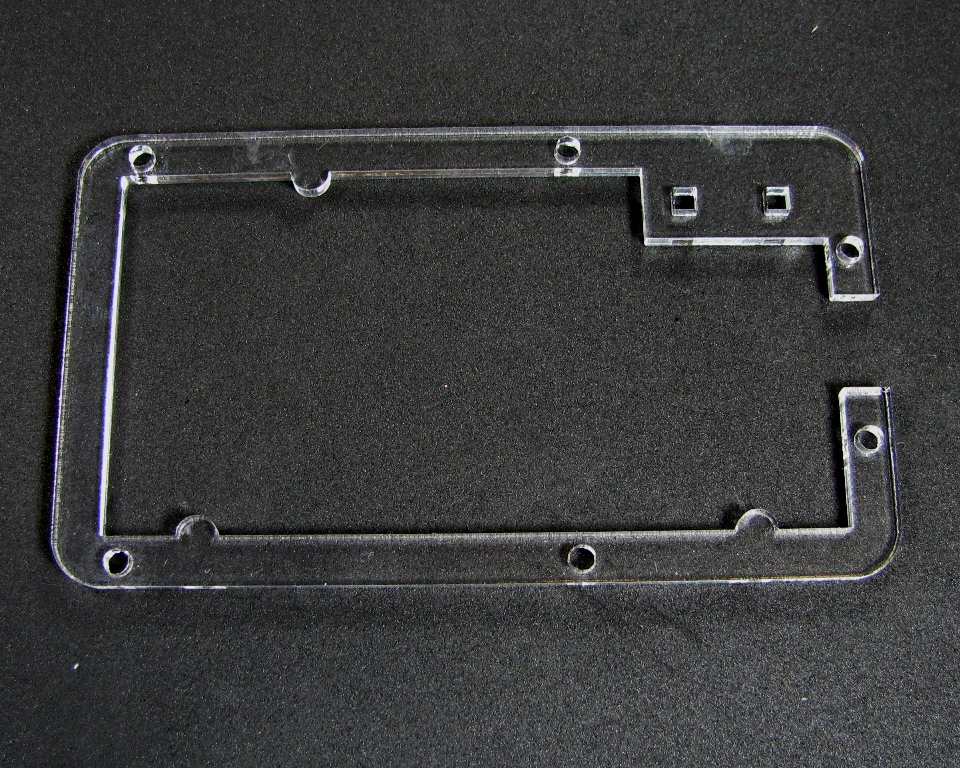
Take these two pieces:
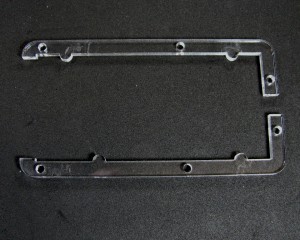
And place them on the enclosure as shown:
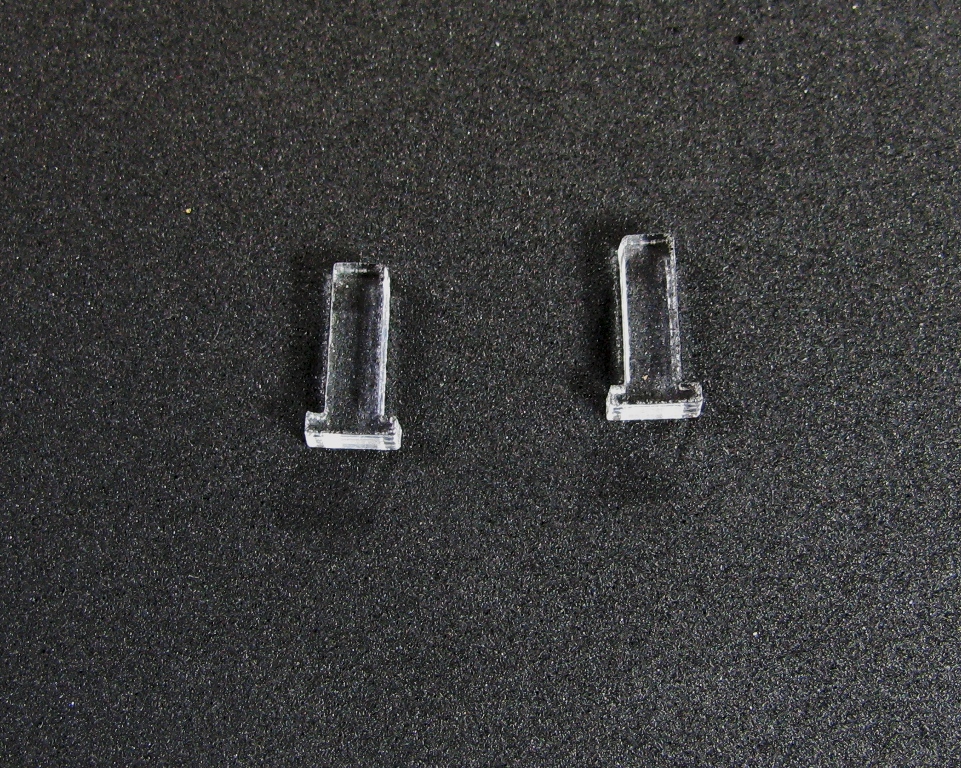
Step 6: Insert the Buttons into the Button guides
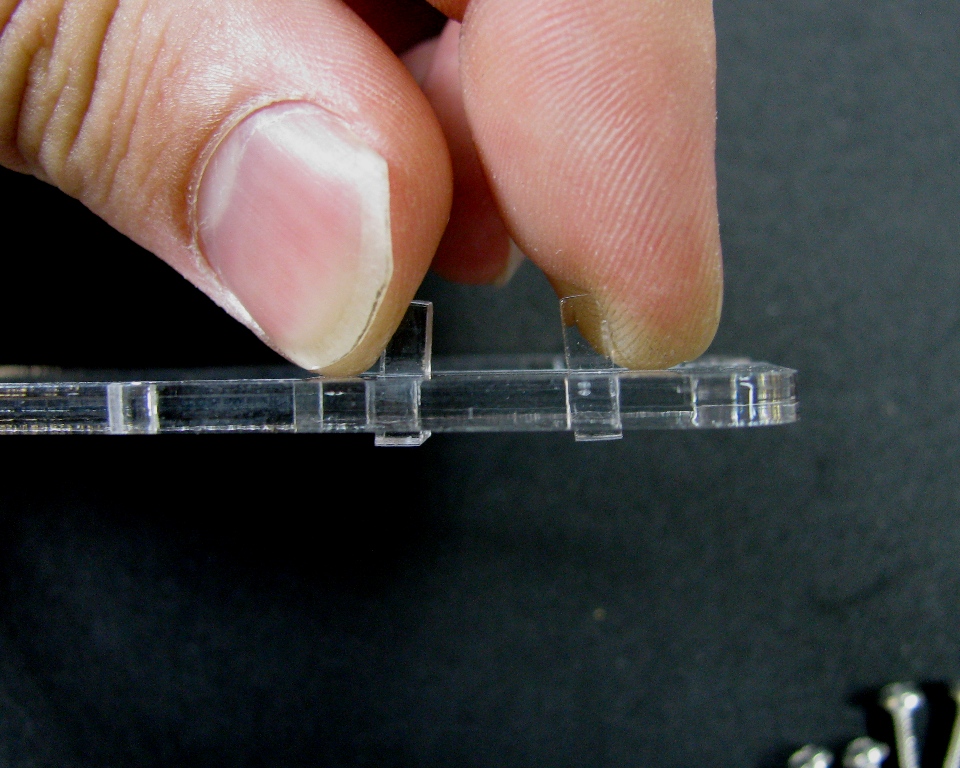
Take the buttons that look like this:
And the layer that looks like this:
and flip it horizontally to look like this:
Then insert the buttons like this:

Step 7: Add the Button guide Layer
Flip the button guide layer over, using your thumb to prevent the buttons from falling out. Then use your thumb and index finger to pick up the layer by the buttons as shown:
Then place it onto the enclosure:

Step 8: Add the Top Layer
Grab the last layer remaining (there should only be one left) and place it on top and insert the screws.
Be sure not to tighten the screws too much or you run the risk of cracking the acrylic or popping the brass fitting.
Enjoy your enclosed Logic Sniffer!