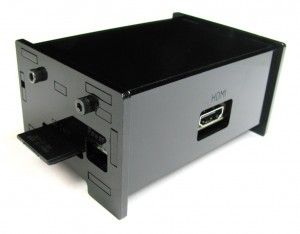
Raspberry Pi Enclosure Assembly Instructions
Assembling your Raspberry Pi enclosure is relatively straight forward if you've ever built any t-slot based laser cut stuff before, but here's a full guide with lots of pictures to help you assemble the whole thing that'll have you housing your Raspberry Pi in no time.
Step 1: Prep the Parts
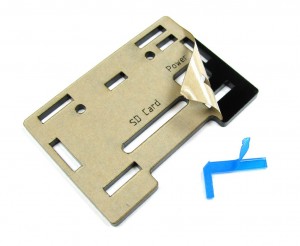
The laser cut acrylic parts of the kit have a protective mask that keeps the parts from getting scratched up or marred during cutting. You'll need to peel this mask off all the parts before assembly.
Step 2: Insert the Nuts
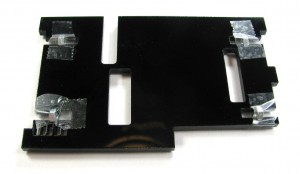
Tape the 4 M3 nuts in place on the spanning piece with some scotch or masking tape. This step is optional, but can really make your life easier later on. Make sure not to cover up the light pipe holes (the 5 small, tightly spaced holes) in the process.
Step 3: Insert the Bolts and Install the Light Pipes
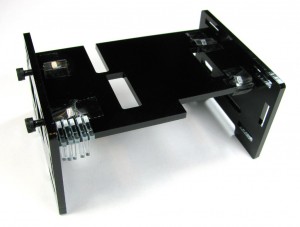
Now comes the time to bolt on the power/SD side and the USB/Ethernet side to the spanning piece. Don't tighten the bolts all the way in just yet, we'll need some wiggle room to install the rest of the parts. Pay attention to the tabs on the spanning piece and make sure they line up with the two sides with the labeled sides facing out.
Slide the light pipe pieces in at this time as well as shown above.
Step 4: Install the Composite Out/Audio Out Side
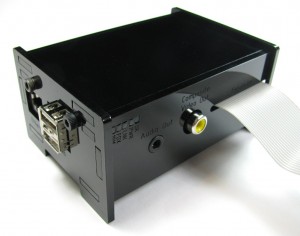
Now it's time to install the composite video out/audio out side. Carefully line up the the light pipe parts with the holes and slide the side on. Again, don't tighten the bolts down just yet. If you plan on using a ribbon cable extension (like ) to access the expansion port externally, now is the time to get it slid through the expansion slot.
Step 5: Install the Raspberry Pi Board
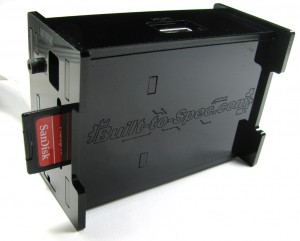
Now carefully insert the Raspberry Pi main board without the SD card in place. It should stay in place from this point on without much effort, but you might want to insert the SD card after getting the board in the enclosure to help keep in in place anyways. Again, if you want to install a ribbon cable to access the GPIO port, make sure to have it in place and installed before continuing on.
Step 6: Install the HDMI Side
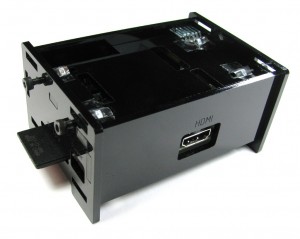 Now slide the HDMI side into place.
Step 7: Install the Bottom
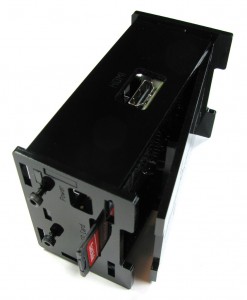
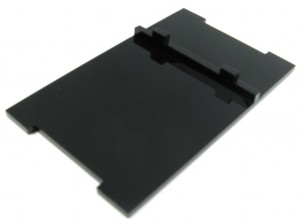
Next, place the PCB standoff part and insert it into the bottom piece. Slide it into place with the PCB standoff towards the SD card side.
Step 8: Install Top
Install the top just as you did the bottom piece, tighten the bolts down, and you're done!
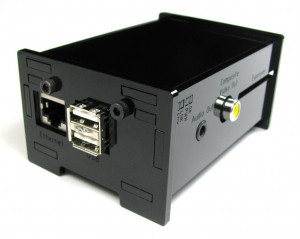
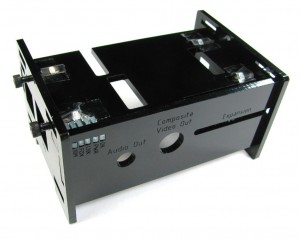
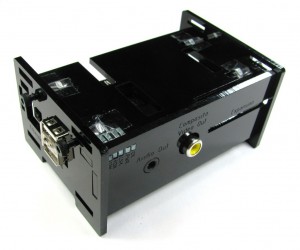
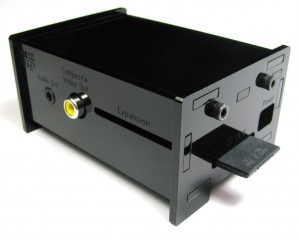
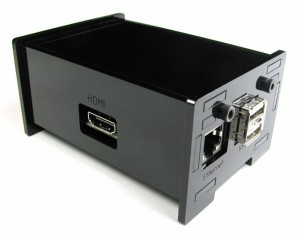
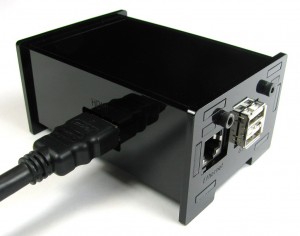
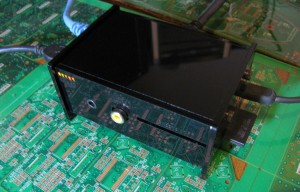
Your enclosure should now look something like this:
Black acrylic kits are available , and a limited number of translucent purple acrylic kits are available . Oh, and you can grab the design files on if you need them!
