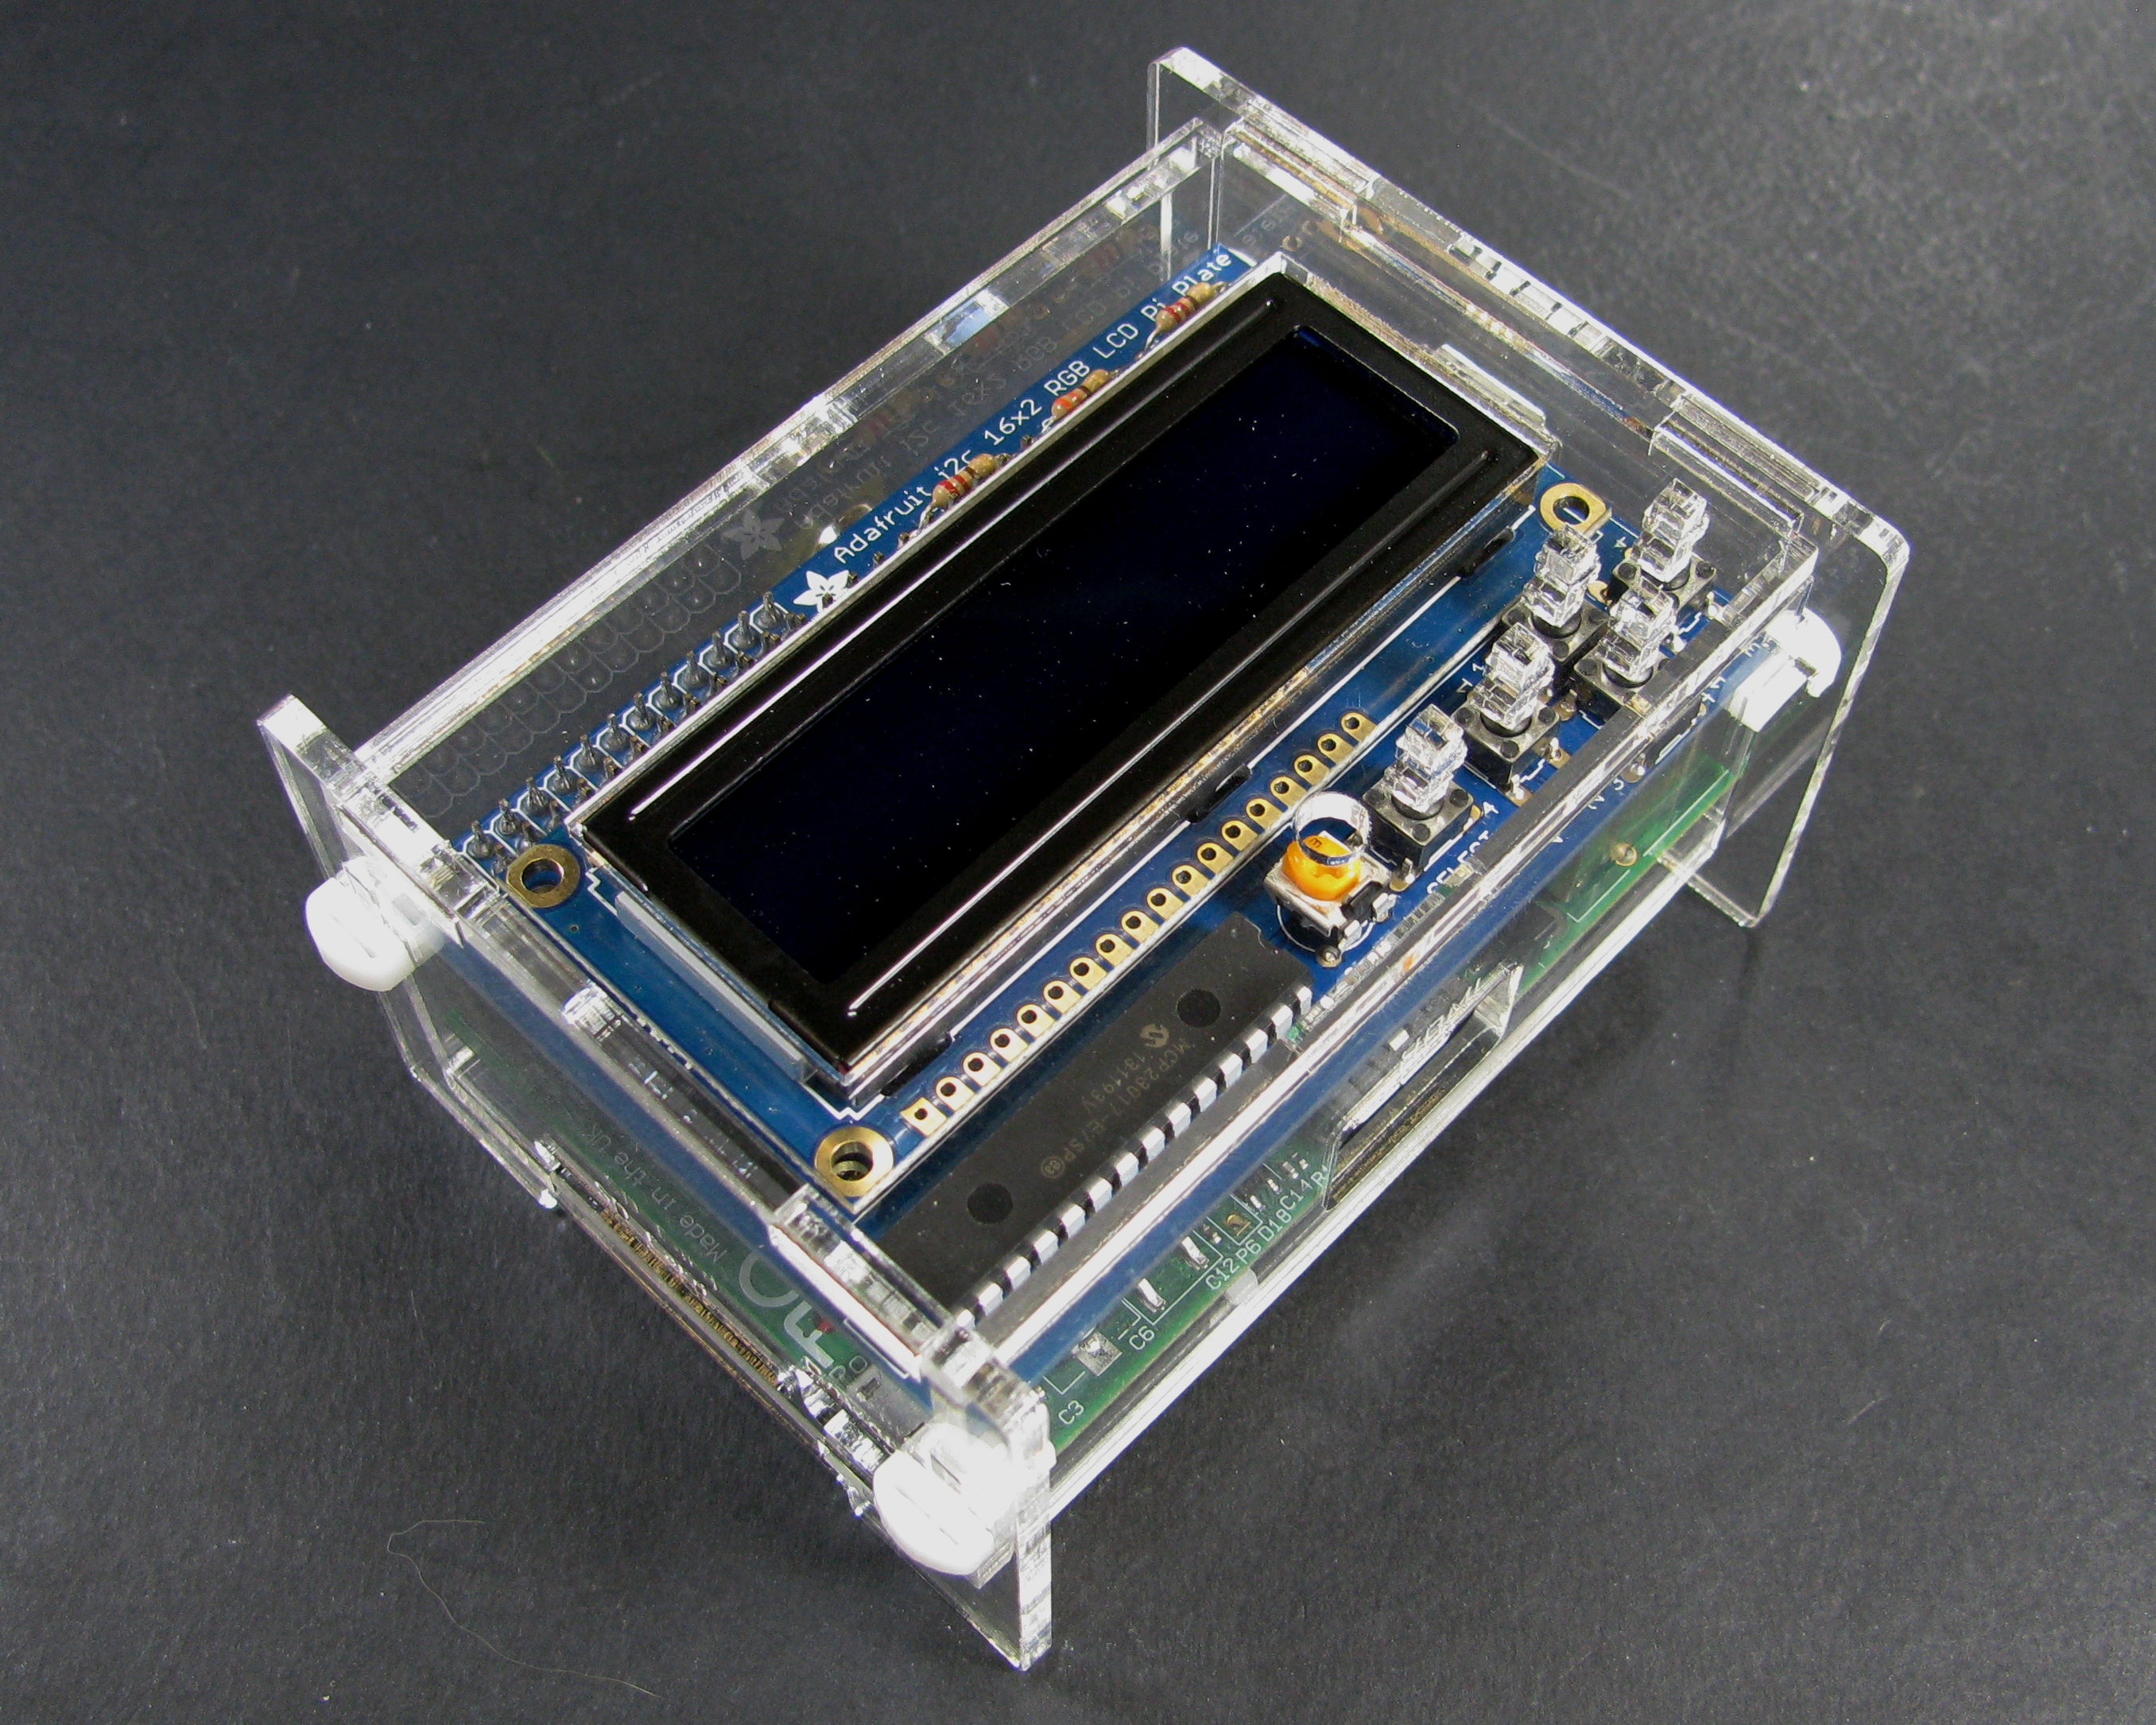
Raspberry Pi and Adafruit LCD + Keypad Pi Plate Enclosure
Grab the design files here:
Grab a kit here:
Grab the Adafruit LCD + keypad kit here:
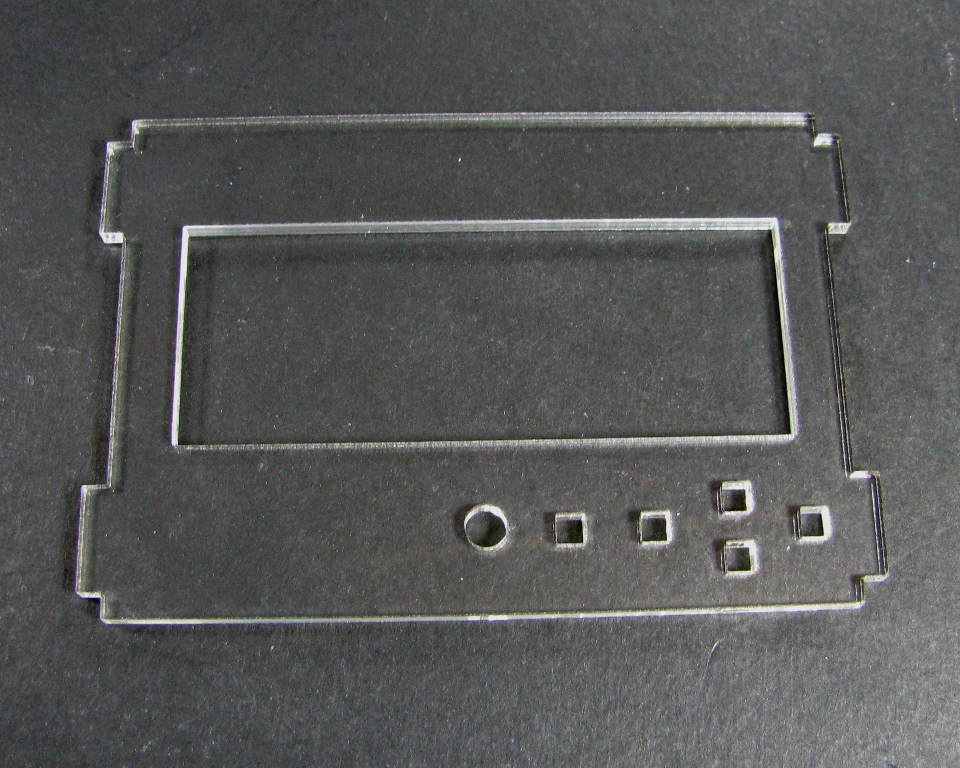
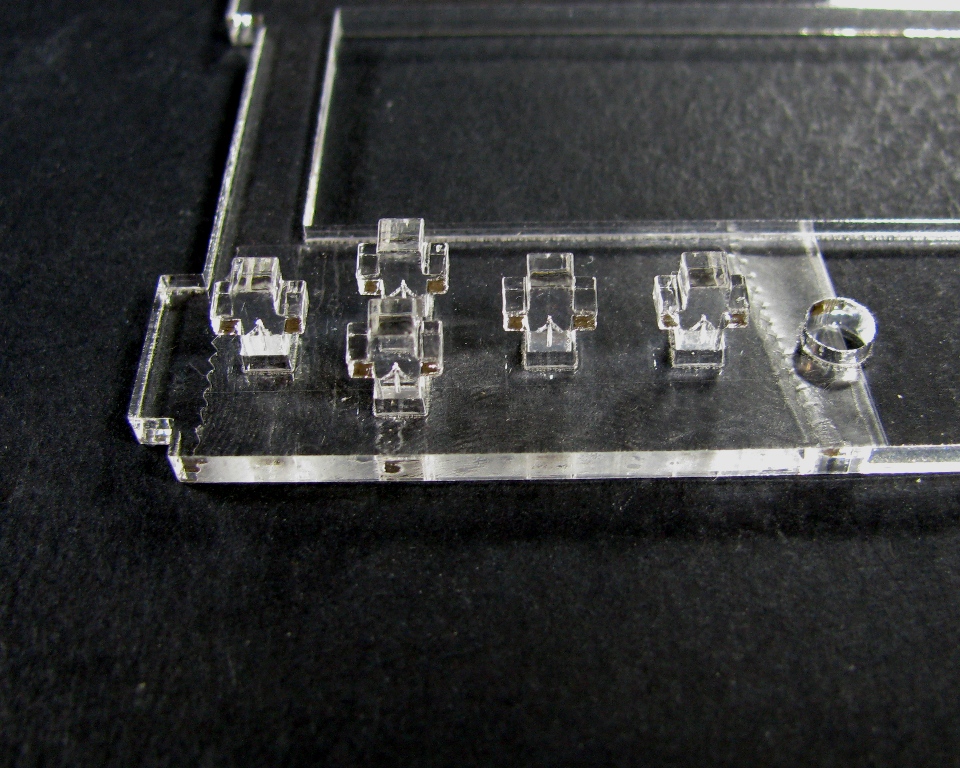
These are the parts for this case
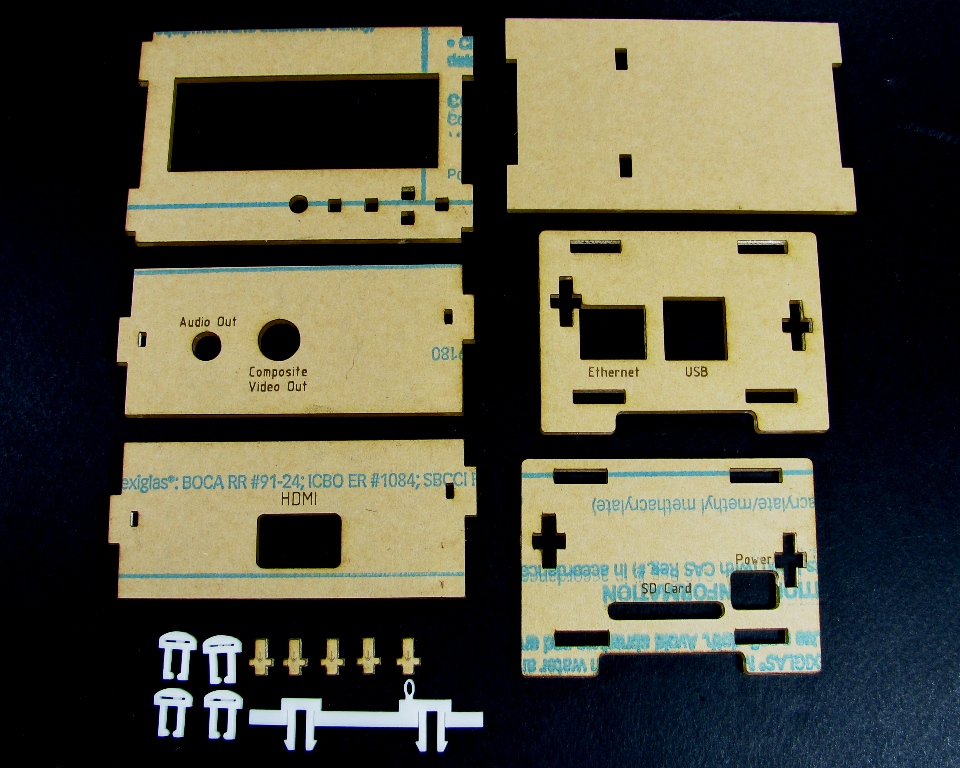
Step 1: Remove the masking
Peel the masking material from both sides of the parts.
Step 2: Begin assembly
Take the Audio/Composite Video out side and attach it to the SD/Power side as shown below. Because of the spacing of the expansion headers it is really important that you do this before assembling the rest of the case!
Step 3: Mount PCB
Take the Bottom plate and set it in front of you as shown:
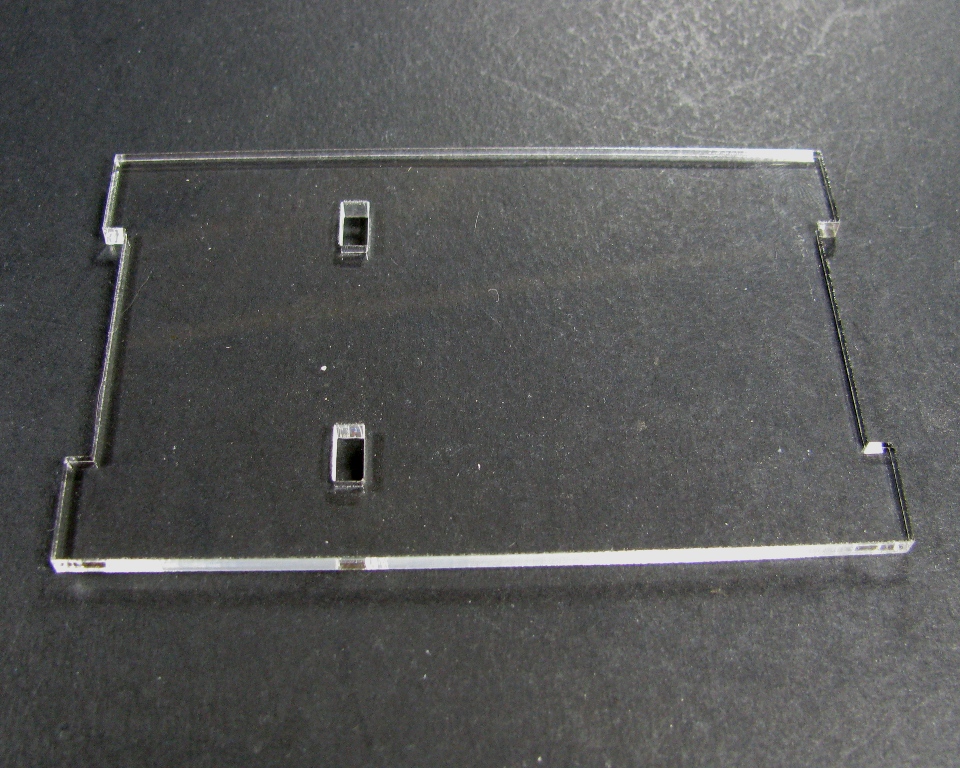
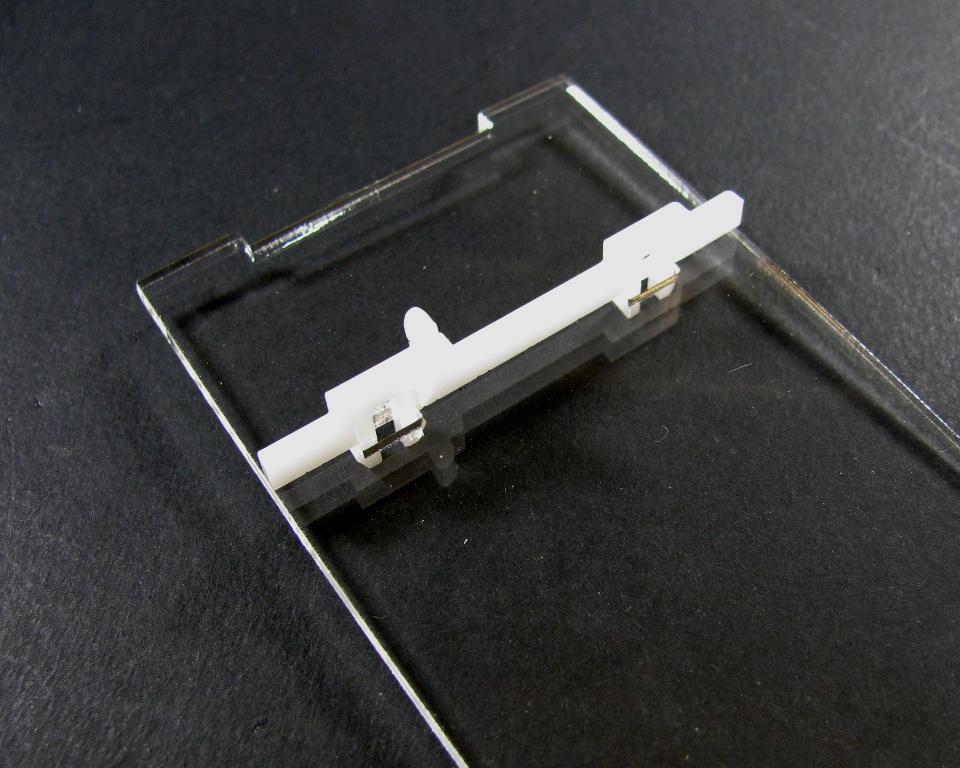
Snap the PCB mounting clip into the slots as shown:
Note that a few very early model B boards did not have mounting holes on the boards. If you have one of these early boards, you'll need to clip off the loop (it's fairly easy to do with a pair of flush cutters) before continuing.
Now snap the PCB onto the PCB mounting clip:
Step 4: Put the two assemblies together
Take the bottom plate with the PCB on it and add it to the two sides already put together as shown below:
Step 5: Prepare the Top plate
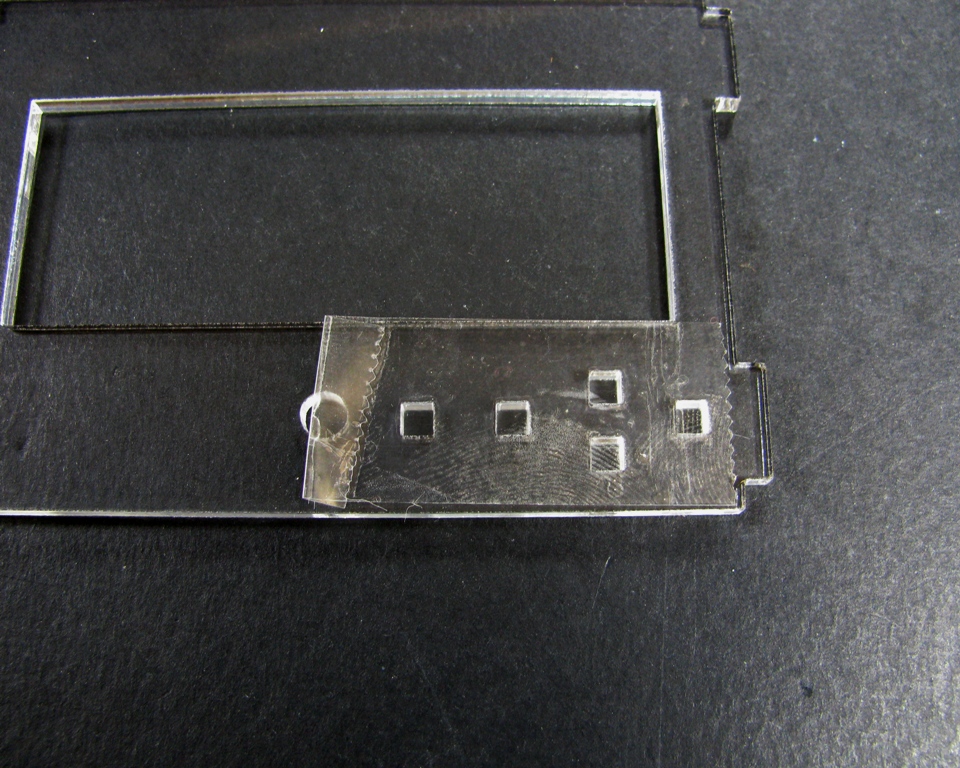
Take the top plate and place it in front of you as shown:
Take a piece of tape and place it over the button holes as shown:
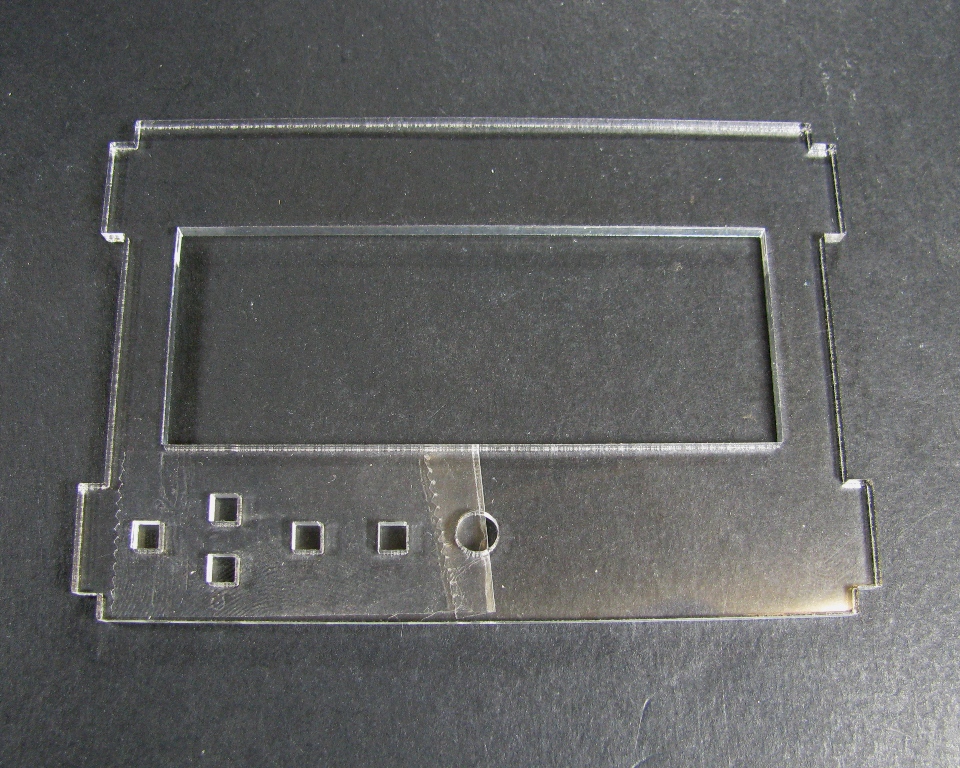
Now flip it over horizontally:
Look at the buttons and notice the arrow in the middle:
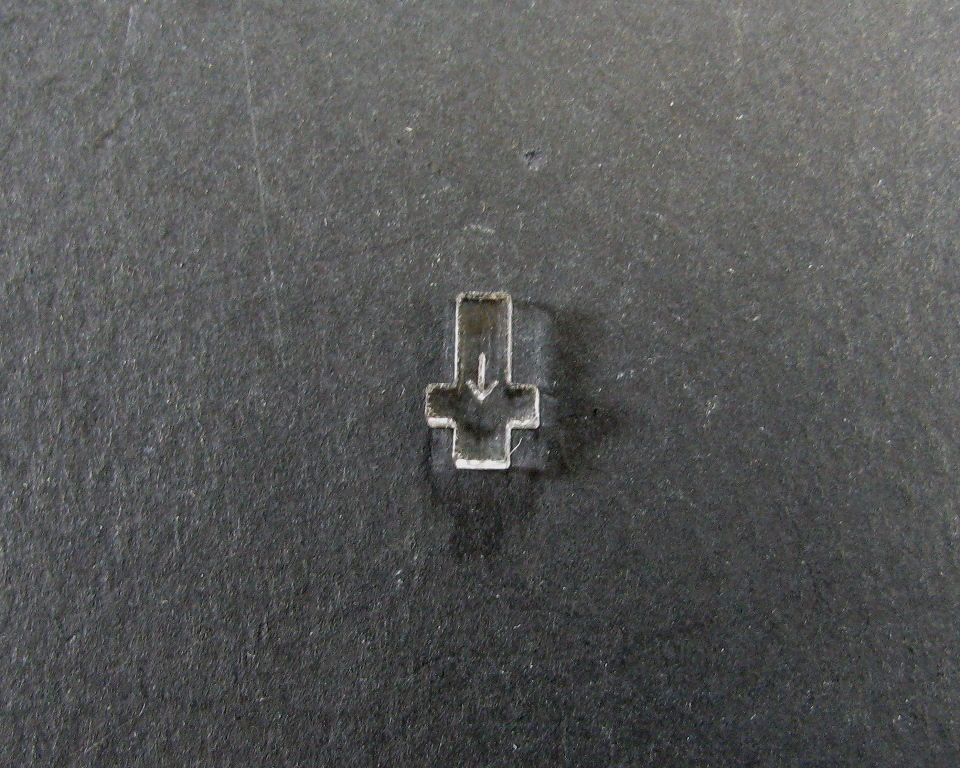
Place the buttons in the holes with the arrows pointing up. Be sure that they are stuck to the tape:
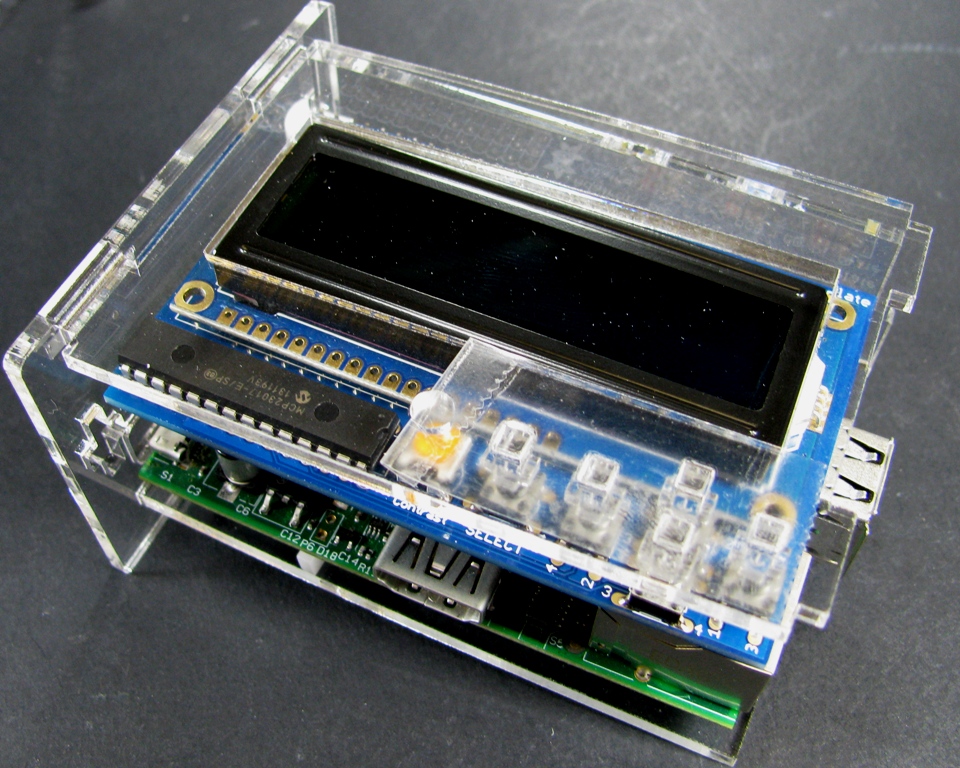
Step 6: Add the Top Plate
Carefully work the tabs into the SD/Power side and around the LCD screen:
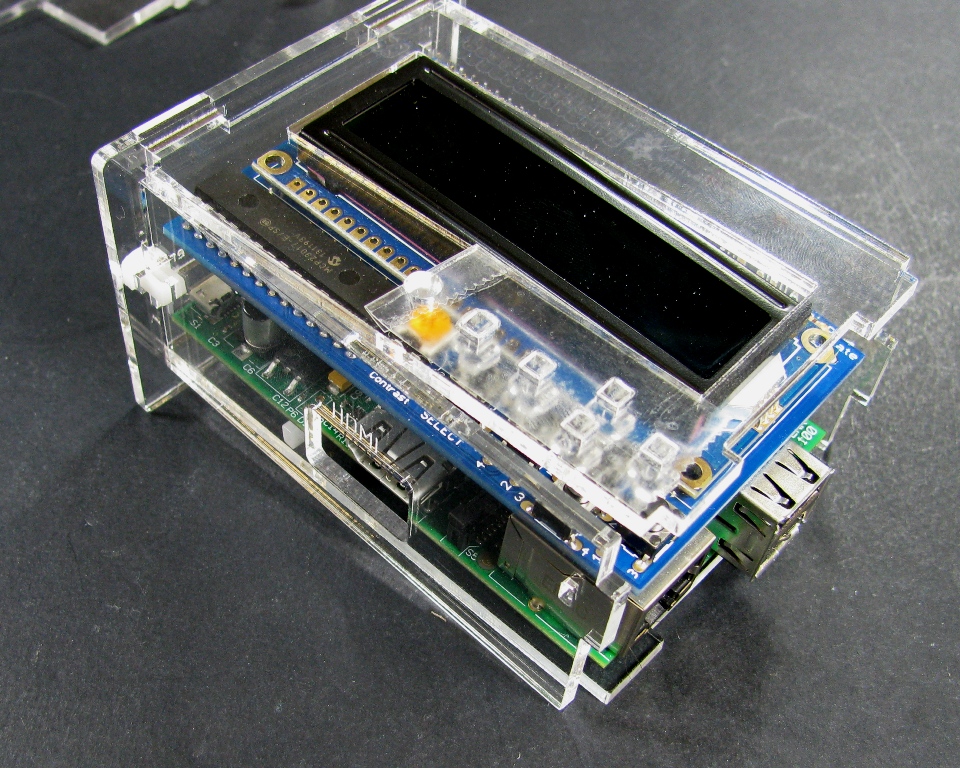
Step 7: Attach HDMI side
Take the HDMI side and attach it with a case clip:
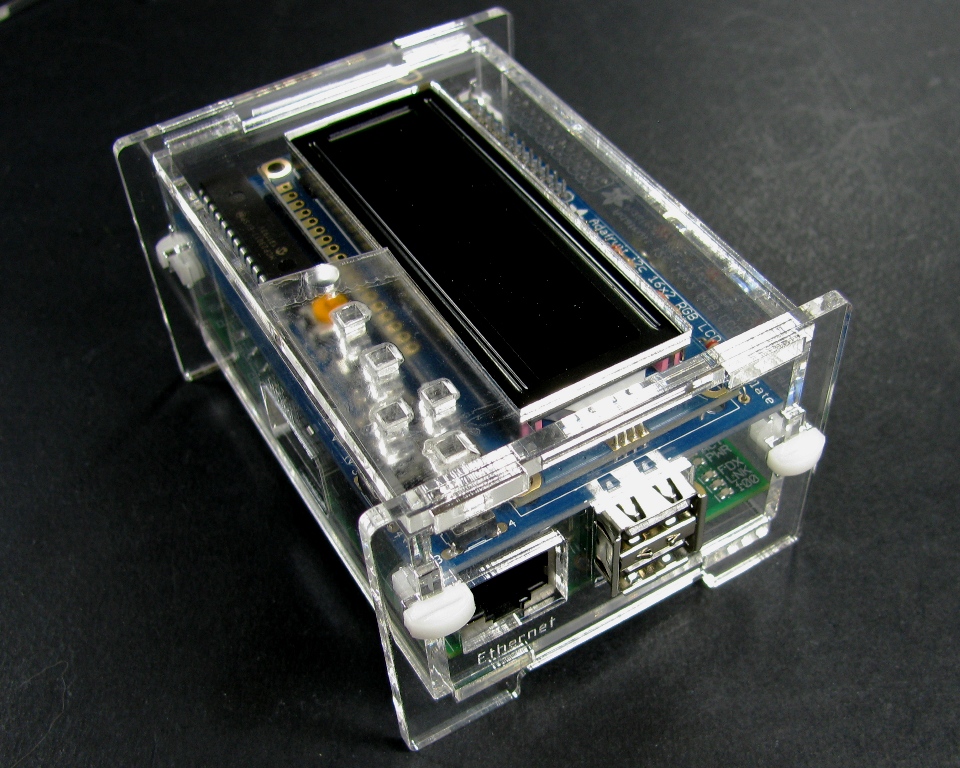
Step 8: Attach Ethernet/USB side
Hold onto the case by using the HDMI and Audio sides to sandwich the top and bottom plates and work the tabs into the slots on the Ethernet/USB side. Put clips in place:
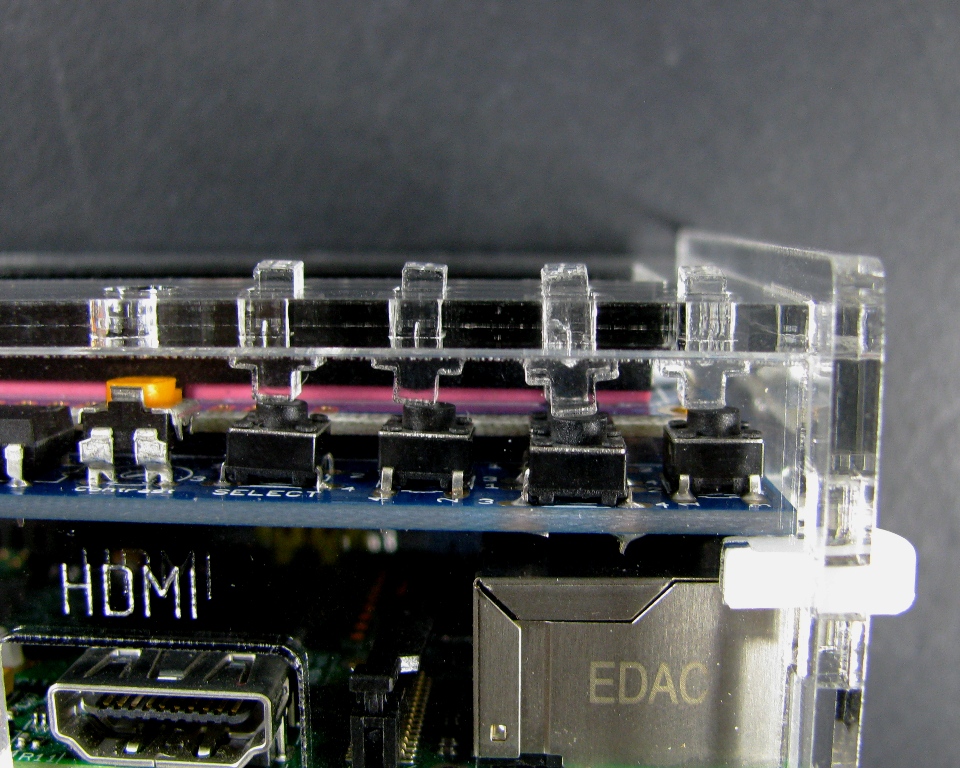
Step 9: Remove tape
Peel the tape off of the buttons
Step 10: ENJOY!
Enjoy using your Raspberry PI with the Adafruit LCD + keypad kit!
You should make it clear that the Raspberry PI with the Adafruit LCD + keypad kit is designed for the 512m/new Raspberry PI. The original PI does not have the thru holes that are needed in step #3. What am I to do now that I only have original PIs without the holes?
Sorry, this little piece of info is in the instructions for the clear kit that the LCD + keypad kit was based off of:
“Note that a few very early model B boards did not have mounting holes on the boards. If you have one of these early boards, you’ll need to clip off the loop (it’s fairly easy to do with a pair of flush cutters) before continuing.”
I’ll add it now.
“A few” is a bit misleading, though… I have one of the unlucky early boards, as well.
I have one of the early Pis as well. I cut the little piece off the stand-off and its works great. No problem at all. Thanks for a great case love it! Looks like I can fit a LiPo under the Pi too! Can you say “Headless Pi”.
Thanks, folks. I’ve been looking for one of these for a long time. It all fit together perfectly and looks great. Good work.
Very cool stuff, exactly what I have been looking for. Just wondering the overall dimensions on this when assembled. Want to ensure the entire case fits in desired location.
It’s about 3.8″x2.9″ by 2.1″ tall.
Also, any option for a cutout that will allow for an extra tall header, allowing room for a cobbler attached on top?
Great design. Do you sell wooden cases like this?
We generally don’t stock wood unless it’s for a special order. It’s cheaper than plastic and cuts faster but the part yield can be a little annoying and warping and inconsistencies can cause rejects as well. We may change that policy in the near future since a couple people have been requesting more wood stuff.
WOW Came quick, ordered the Clear case. EPIC made. Fits like a glove. Easy to assemble. 5 Star rating from me. Even ideal for the Ada Fruit Low Profile SD to Micro SD card adapter. Still be able to swap Micro SD cards on the Fly. TOP!!!!!
This was exactly what i was looking for! It fits perfect and will recommend to others who are looking for this too.Awesome!!
Hello!
I want to buy a kit for me, I live in Brazil and I want to pay by Paypal, is this possible? How much including shipping to Brazil? If possible, please send me your Paypal account.
Regards,
Waldomiro
Thanks!!!
The black enclousure is the thing that all the users of my Gavon chess system was asking for and I was looking for.
Perhaps some one could design one enclousure for Raspberry Pi with Adafruit LCD that could attach thi mini external speaker
Keep on this line
Josu
Thanks!!!
The black enclousure is the thing that all the users of my Gavon chess system was asking for and I was looking for.
Perhaps some one could design one enclousure for Raspberry Pi with Adafruit LCD that could attach a mini external speaker like this
Keep on this line
Josu
Excellent fit and finish. Would be nice to have light pipes over the board’s LEDs (at least the power and activity) so as to be sure the shutdown is complete before pulling power. Thanks for the excellent work!