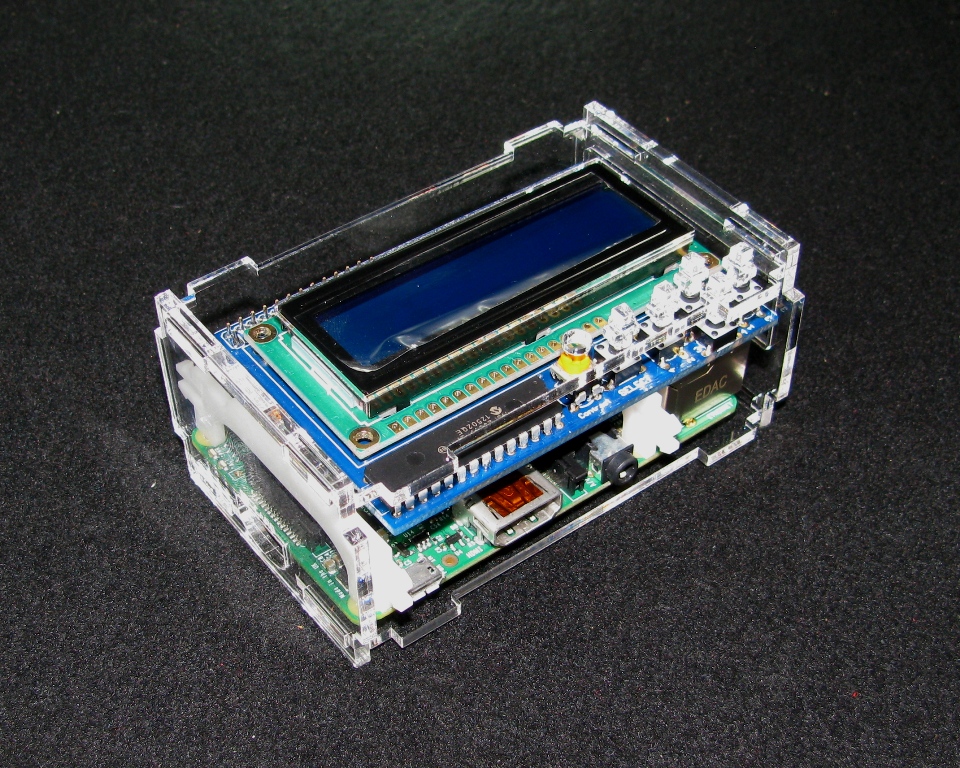
Raspberry Pi A+/B+ Adafruit LCD Case
*Raspberry Pi 3 compatible.
Grab a kit of this case from our or grab the design if you want to make your own or modify it!
This Case is designed to work with both the A+ and B+ models of the Raspberry Pi
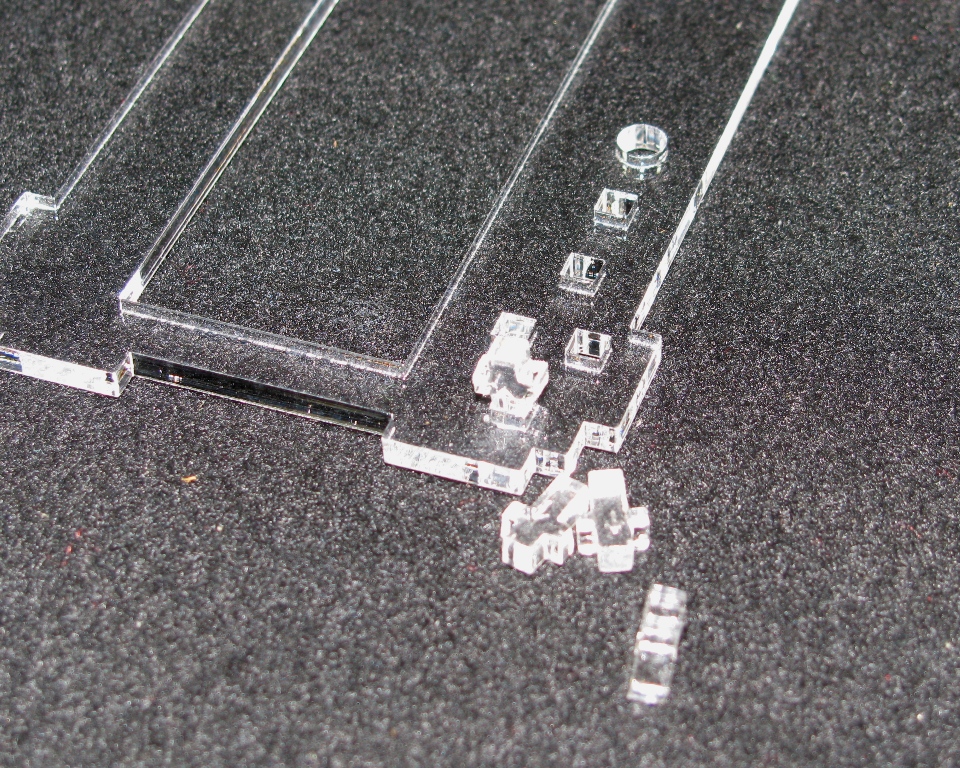
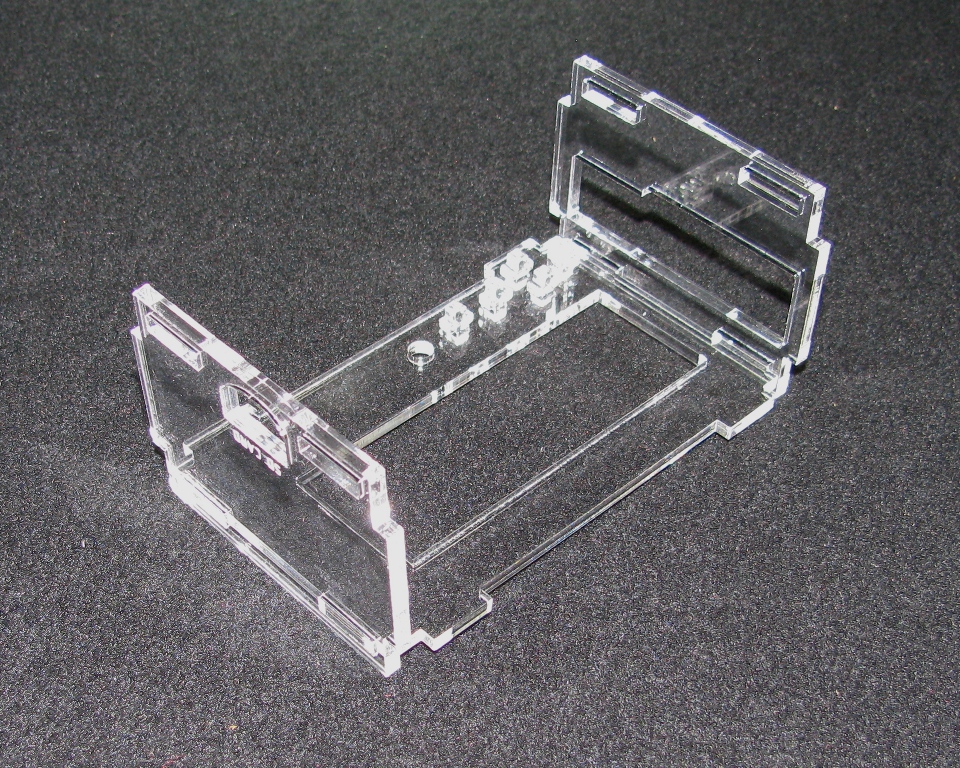
Step 1: Remove the Masking
All of the acrylic components have a brown paper masking on them. You will need to remove it to make the parts fit together nicely. It is best to start at a corner.

Make sure to remove the mask from both sides
Step 2: Attach the delrin clips and LCD PCB
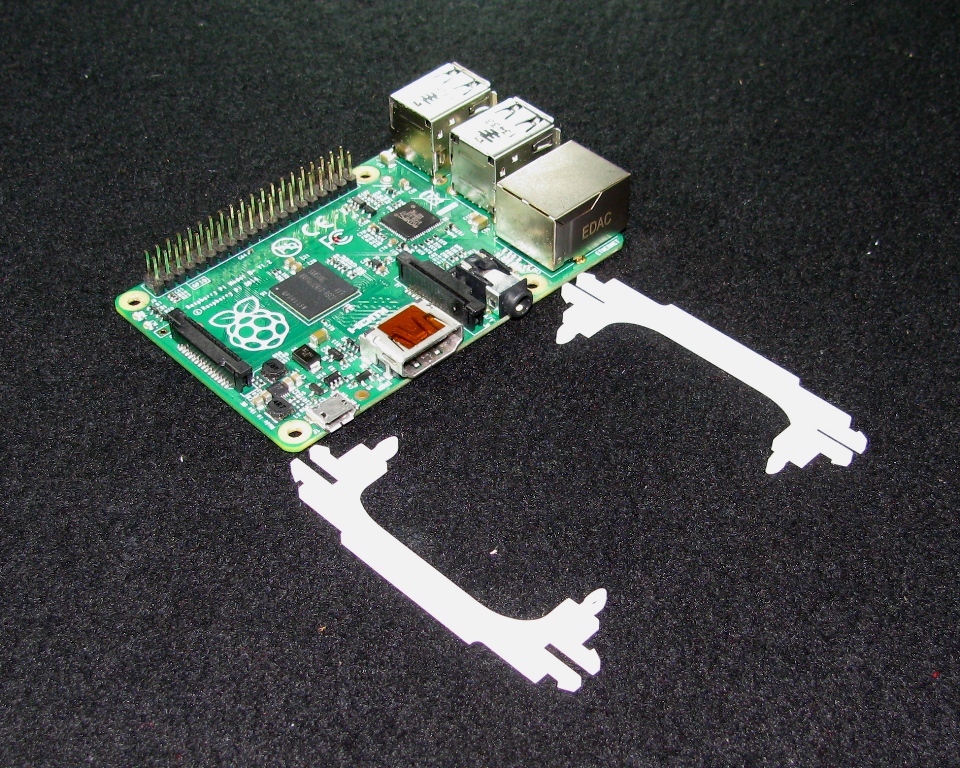
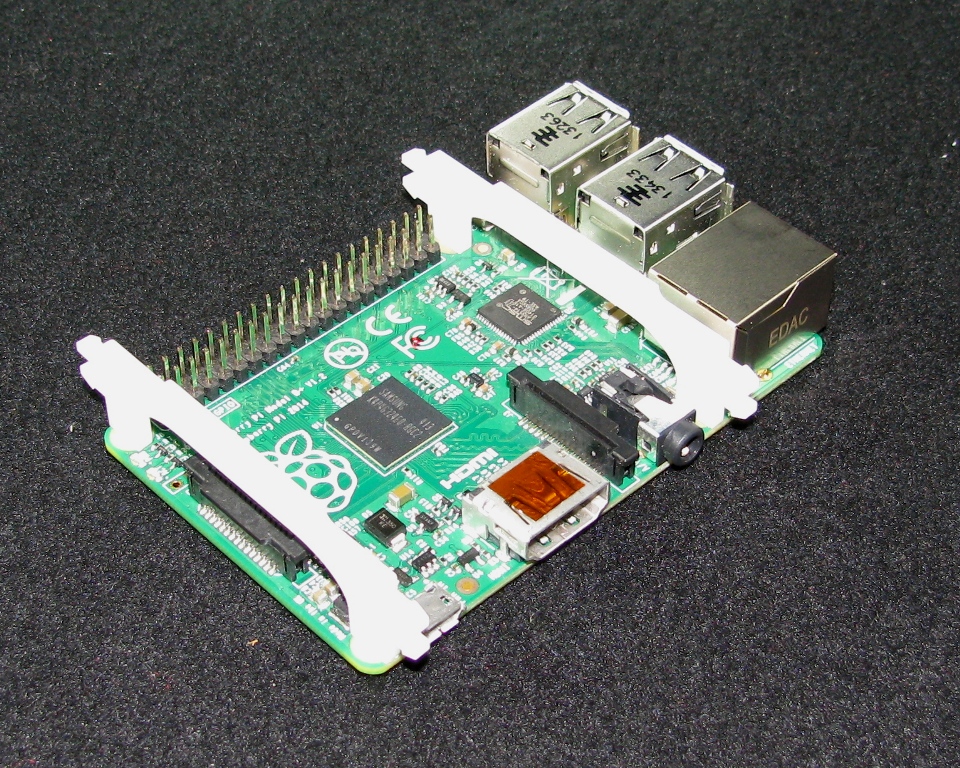
Snap the delrin clips in place and install the LCD PCB as shown above
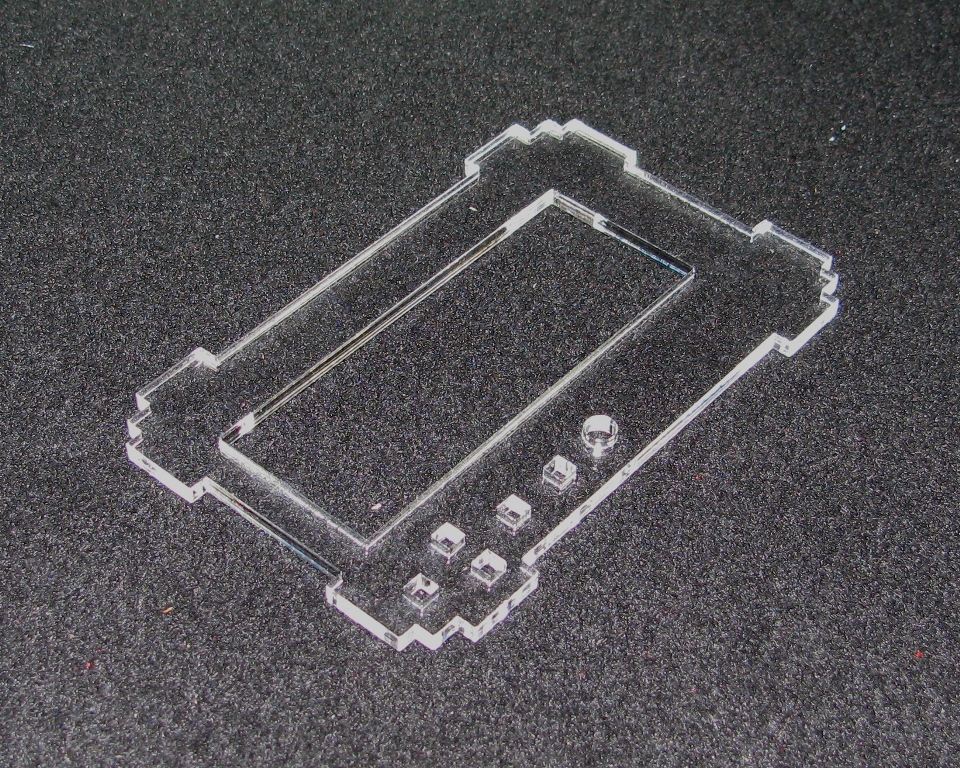
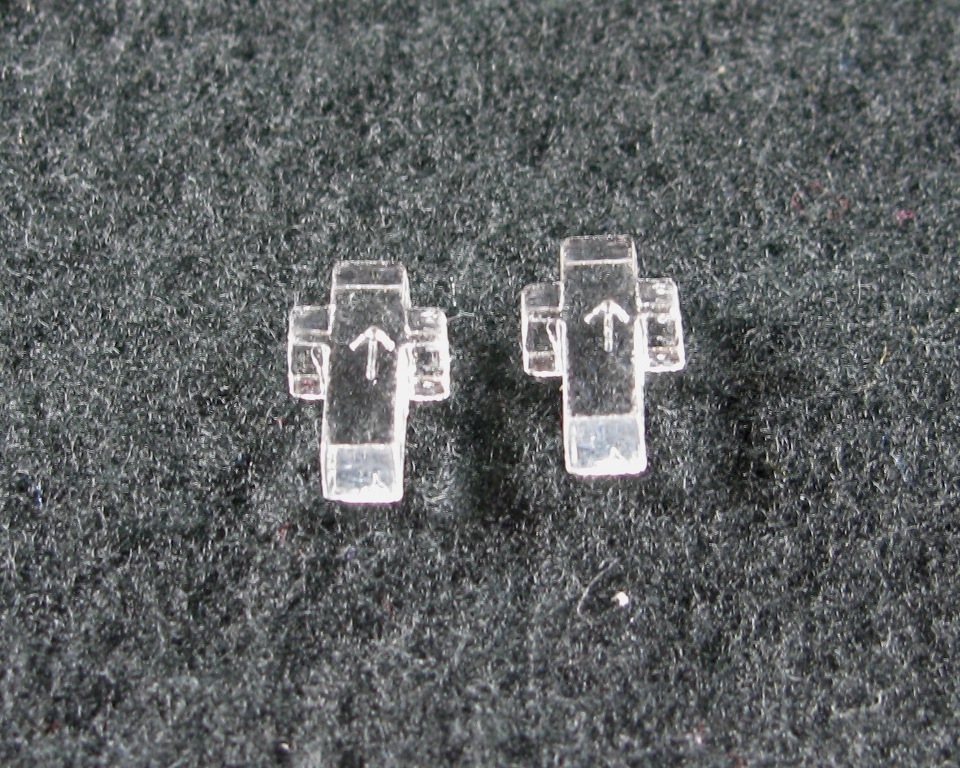
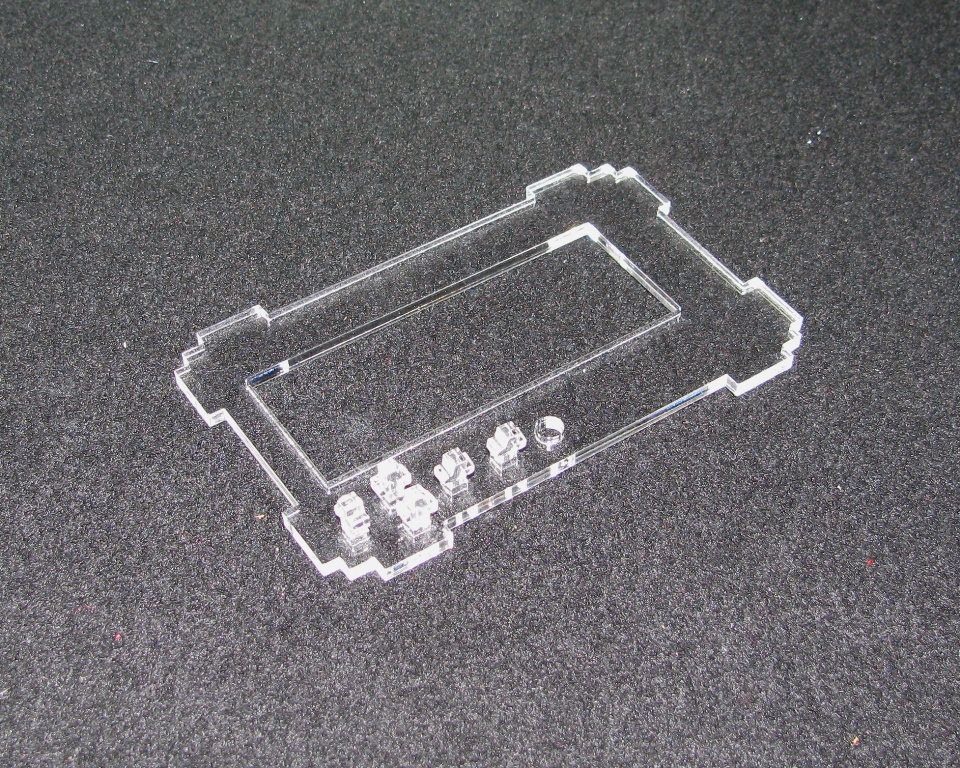
Step 3: Insert the Buttons into the Top Panel
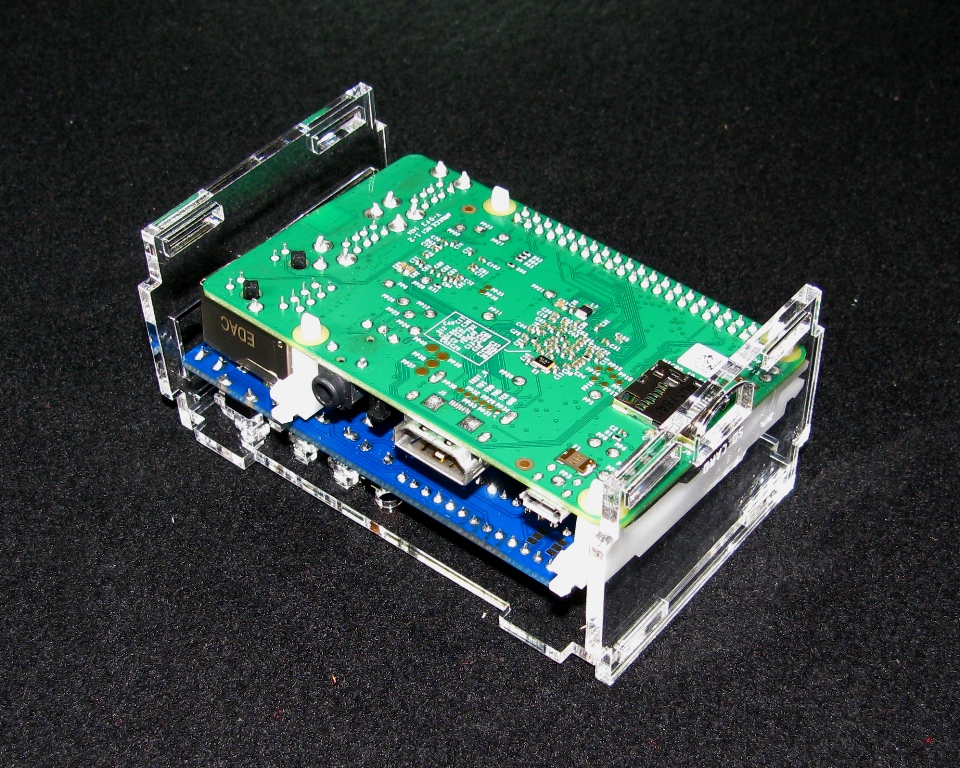
Step 4: Put the USB/Ethernet side in place


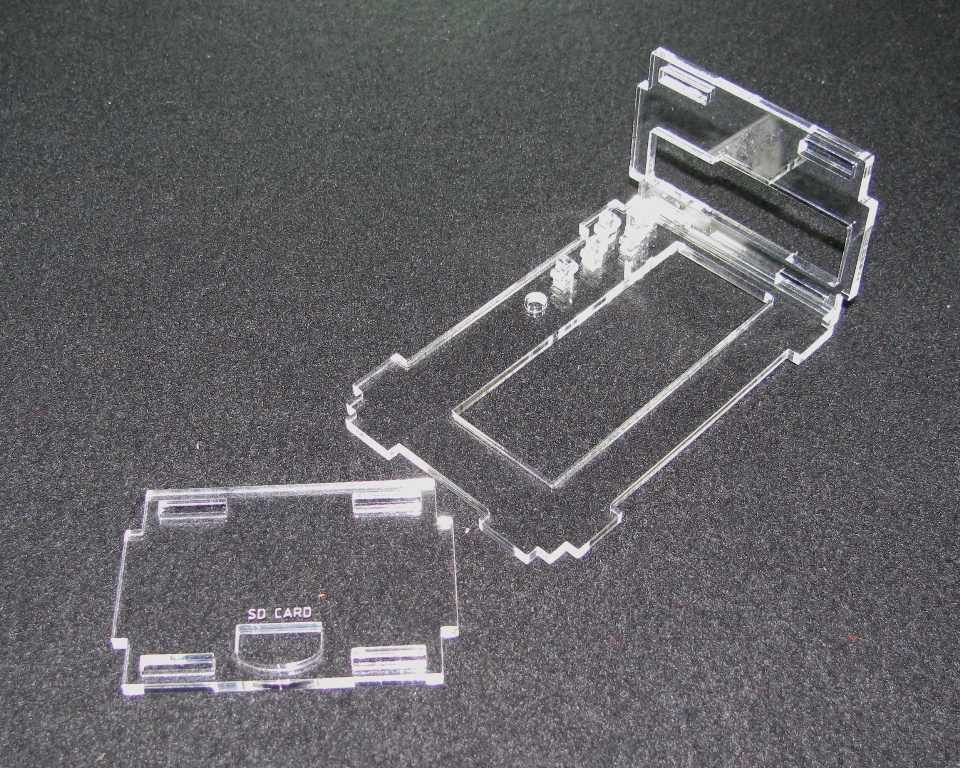
Step 5: Put the SD Card side in place
Step 6: Place the Pi in Place
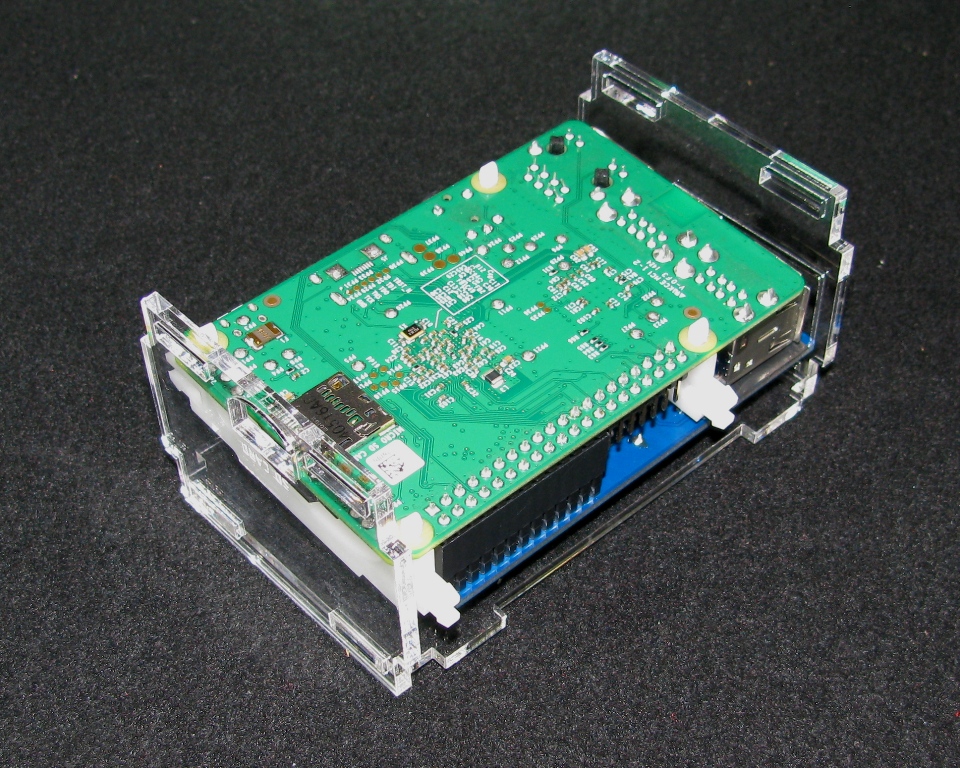
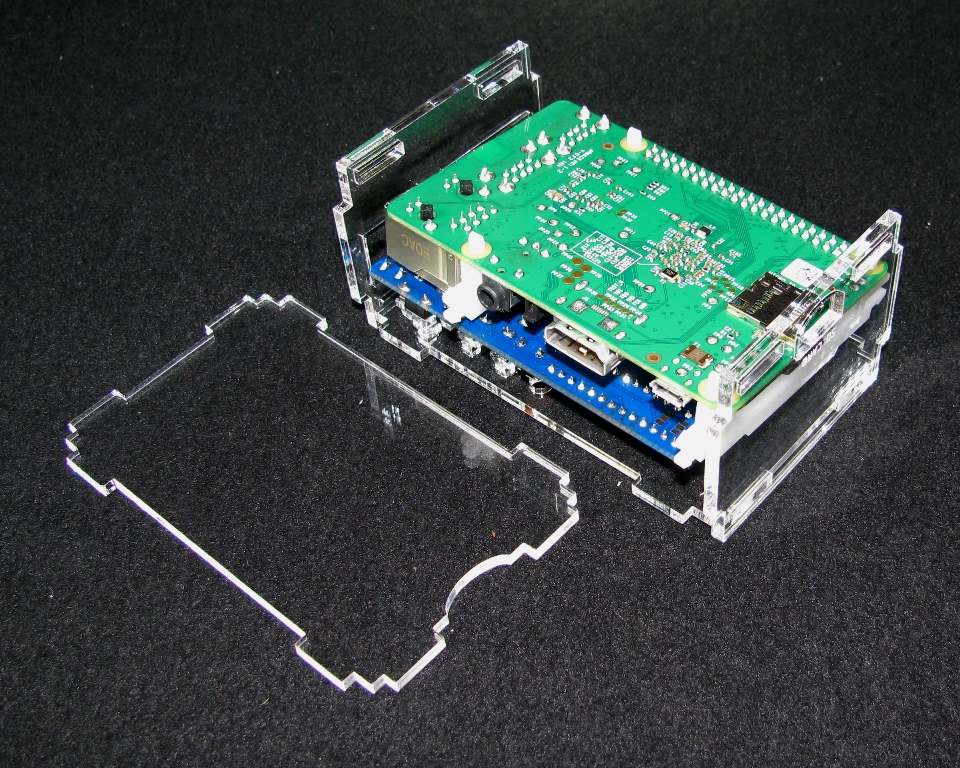
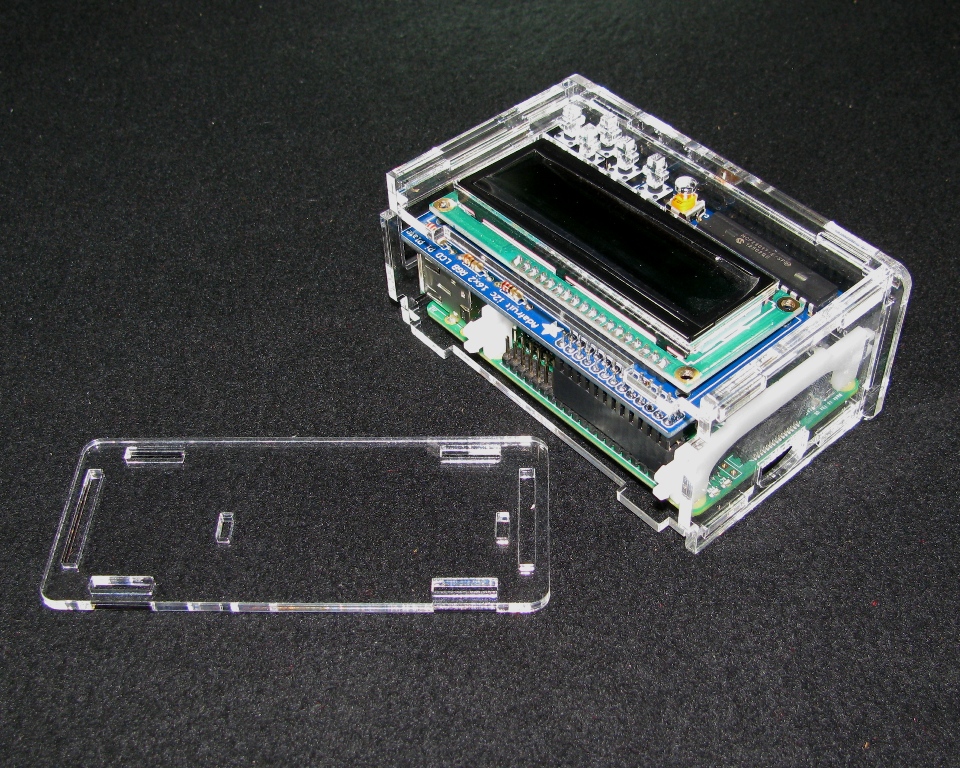
Step 7: Attach the Bottom Panel

At this point you can now flip the case over
Step 8: Snap the Power/HDMI/Audio side into place

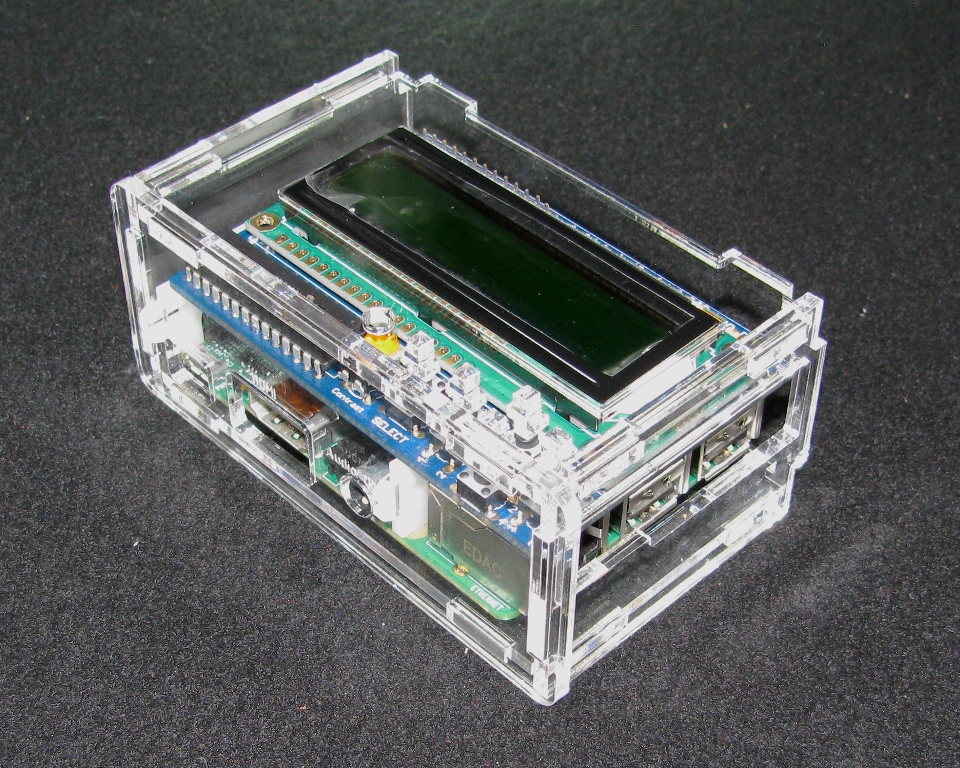
Step 11: Snap the I/O side in place
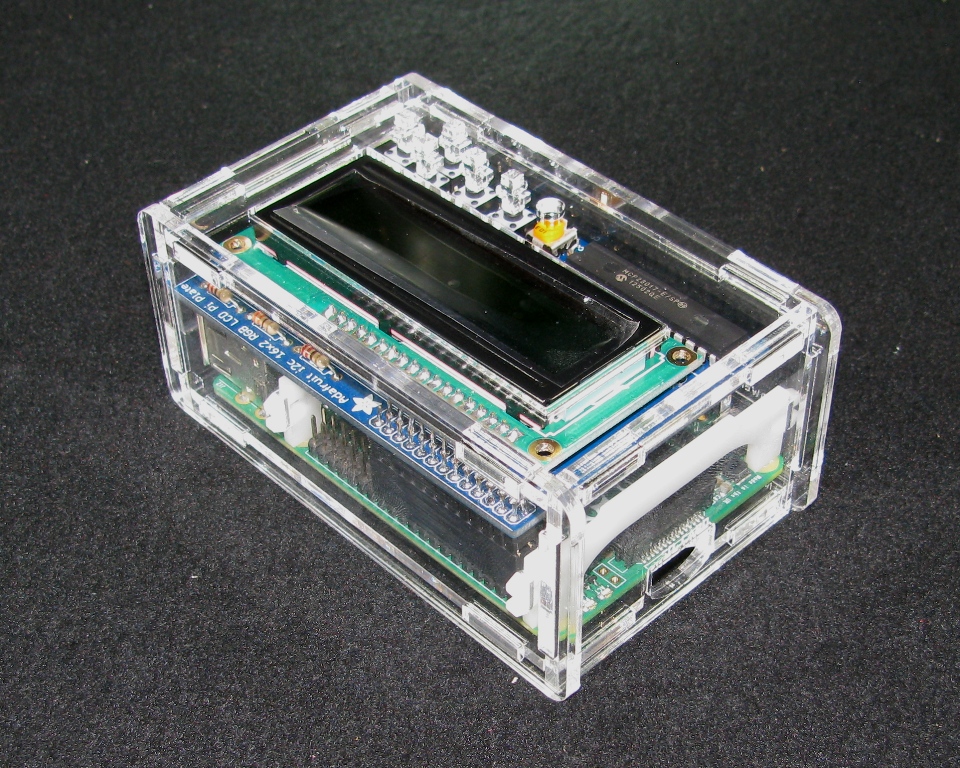
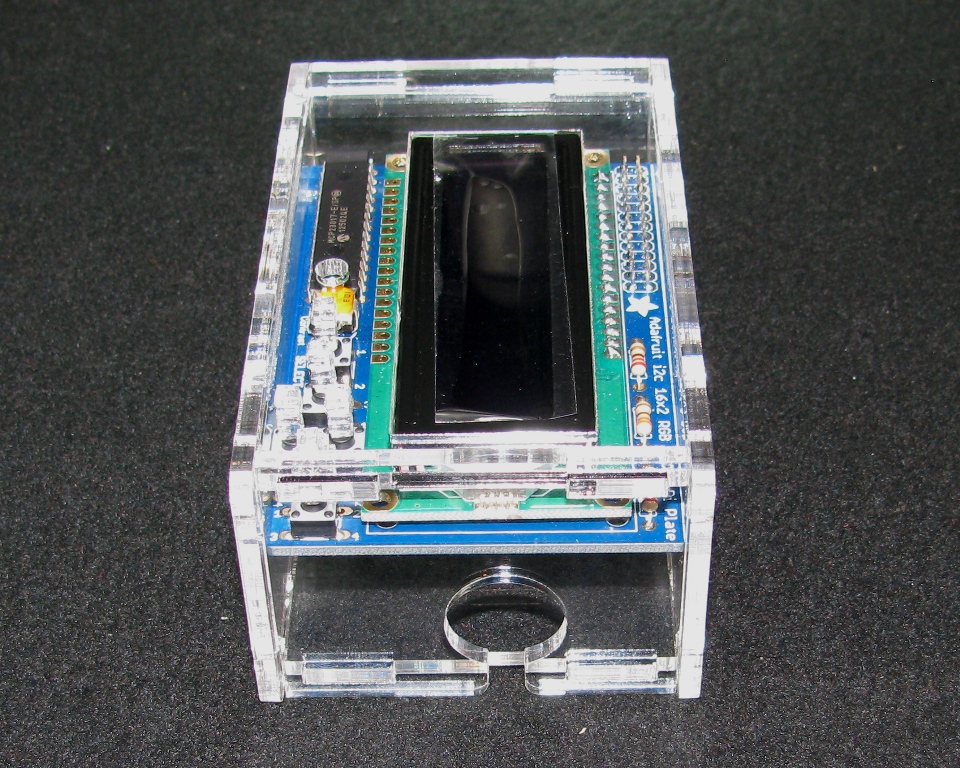
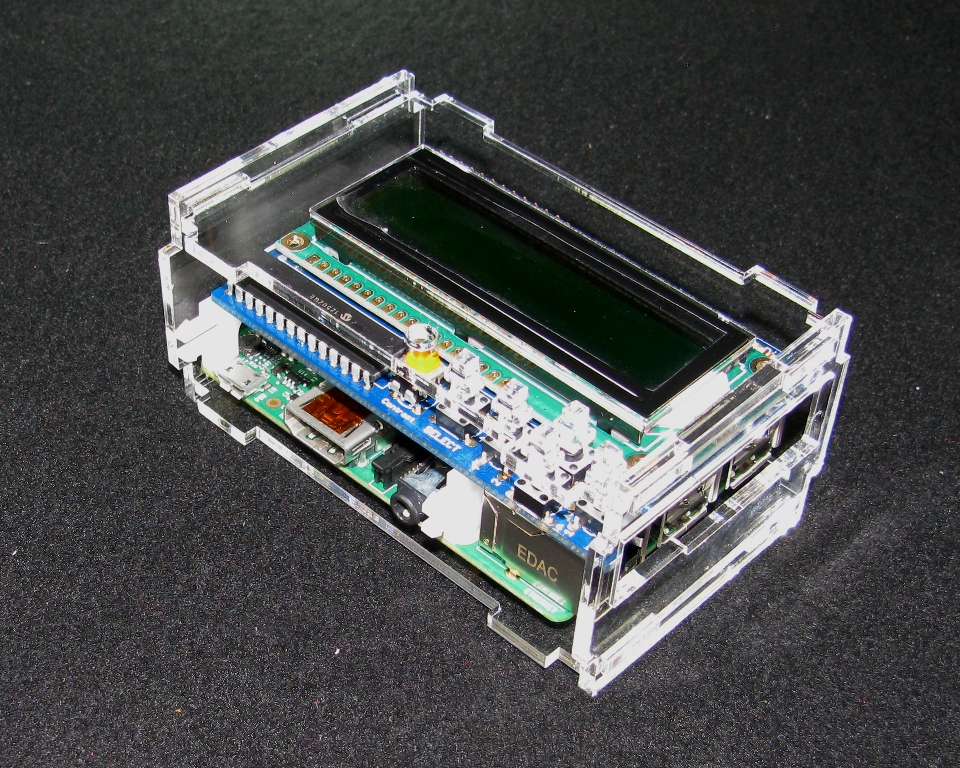
CONGRATULATIONS! You now have a fully assembled Raspberry Pi A+/B+ Adafruit LCD Case!
If you are using this case with the Raspberry Pi A+, simply change out the USB/Ethernet sides.