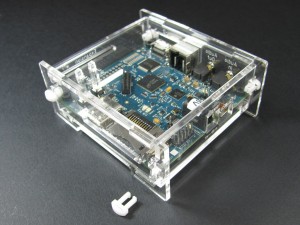
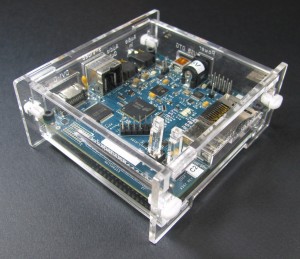
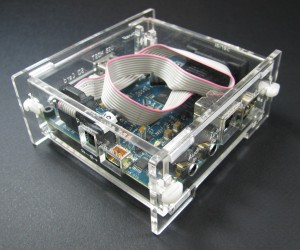
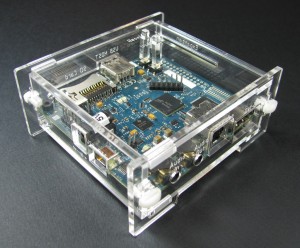
BeagleBoard Rev C Enclosure Instructions
Step 1: Prep the Parts
Remove the paper mask from all the acrylic parts in the kit.
Step 2: Mount the Board
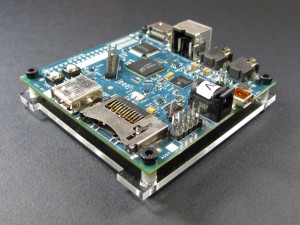
Start off by mounting the BeagleBoard to the bottom of the case using the M3x14 blots, M3 nuts, and 1/4" nylon standoffs.
Step 2:
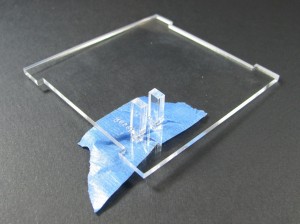
Next, get the top ready by inserting the button arms and using a little tape to hold them in place when assembling the rest of the case. This is entirely optional, but makes putting the top on a breeze later on.
Step 3: Start Assembling the Case
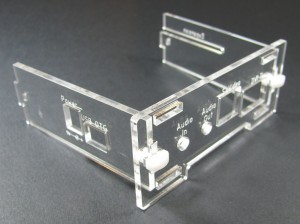
Now we need to clip a couple of the sides together, specifically the audio, power, and expansion sides. Take note of the orientation of the sides in the above picture and reference you BeagleBoard if you need to. Note also that the etching should always be on the outside of the enclosure.
Step 4: Install the Top
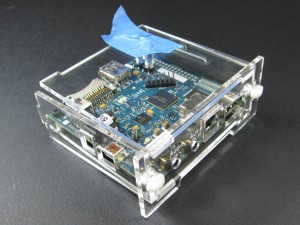
Next, slide the top into place with its tabs resting in the slots for it in the audio side.
Step 5: Finish Assembly
Lastly, slide the SD card side on carefully maneuvering it so that the tabs from all the other components fit into their respective slots. Slide in the final two clips and you're done!
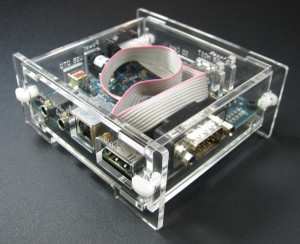
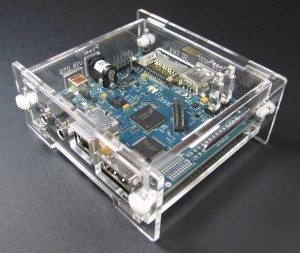
Here's some additional completed pics of the case with both the serial and expansion access sides on:
