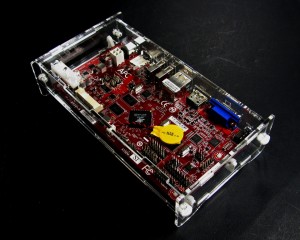
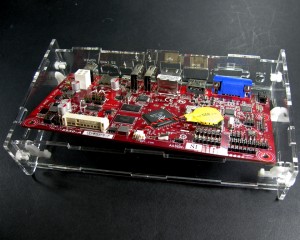
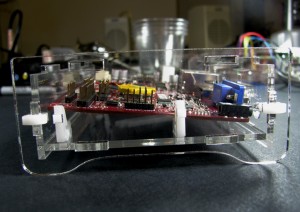
APC Rock Enclosure Assembly
WARNING: THIS ENCLOSURE WILL ROCK YOUR WORLD*
Grab the design files for this case here:
Grab a kit here:
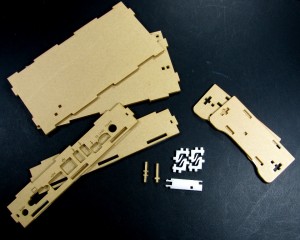
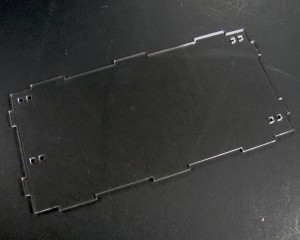
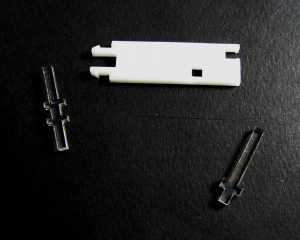
These are your parts
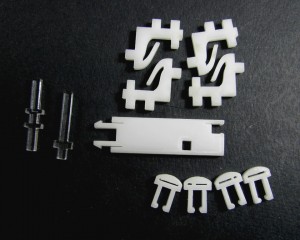
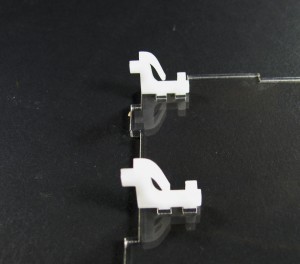
The case clips were late for the photo shoot
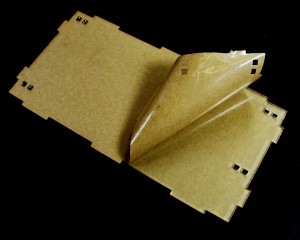
Step 1: Prep the parts
Remove the masking from both sides of the parts.
Step 2: Insert PCB mounting brackets
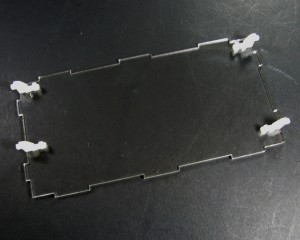
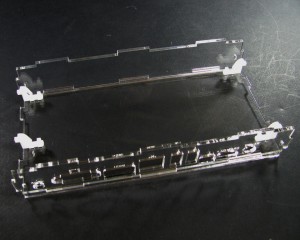
Take the bottom panel and set it in front of you as shown in the image below:
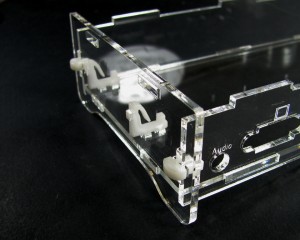
Insert the PCB clips as shown:
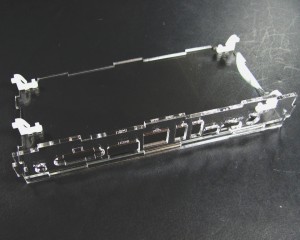
Step 3: Install the back panel
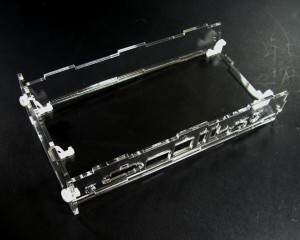
Install the back panel as shown:
Step 4: Install the front panel
Install the front panel as shown:
Step 5: Install the right side panel
It is currently on the left side, but I promise you that it is the right side.
The right side panel is the one with the two(2) square holes closer together.
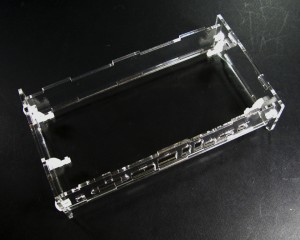
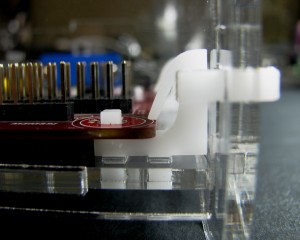
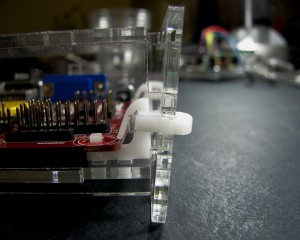
Install it as shown below. Make sure to line up the square holes with the pegs of the PCB mount.
Step 6: Install the left side
Repeat step 5 with the left side.
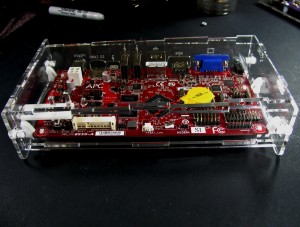
Step 7: Install the APC Rock PCB
Turn the case around so that the back panel is away from you
(See! Told you it was the right side)
Gently push down on the PCB until it snaps into place.
Step 8: Install the light pipe and power button
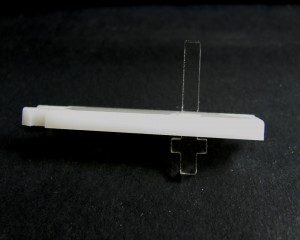
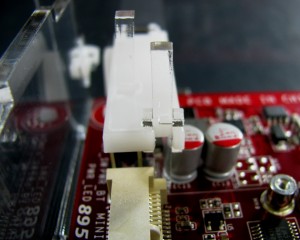
Take the button and light pipe clip (seen here):
Insert the button into the clip as shown below:
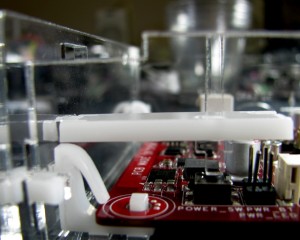
Install the clip into the side of the case as shown:
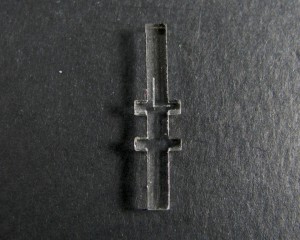
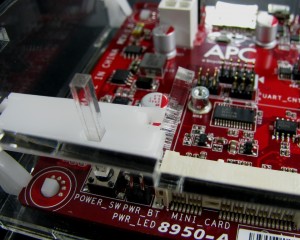
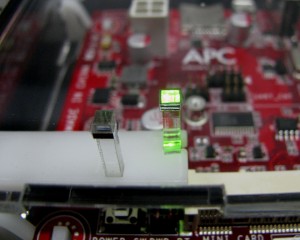
Take the light pipe in the orientation shown below and snap it in place on the clip as shown below:
Step 9: Install the top panel
Take the top panel and place it as shown below, lining up the button and light pipe holes.
Gently pull top of the right side panel until the top panel drops down into place.
Once the top panel is laying flat on the case, push the right side panel back into place.
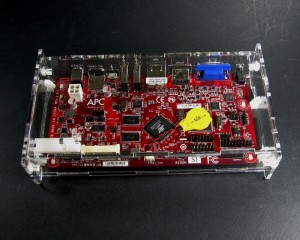
Enjoy your now assembled APC Rock Case!
