APC Enclosure Assembly Instructions
Step 1: Prep the Parts
The laser cut acrylic parts of the kit have a protective mask that keeps the parts from getting scratched up or marred during cutting. You'll need to peel this mask off all the parts before assembly.
Step 2: Insert the Nuts
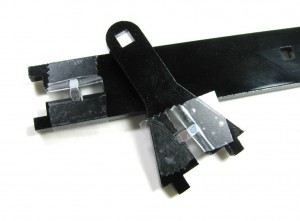
Tape 2 of the M3 nuts in place on the central support bar with some scotch or masking tape and the remaining M3 nut in place on the button support arm. This step is optional, but can make assembly a bit easier.
Step 3: Insert the Bolts, Install the Button Support Arm and install Board Stand-offs
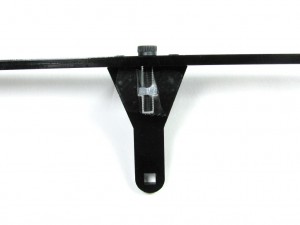
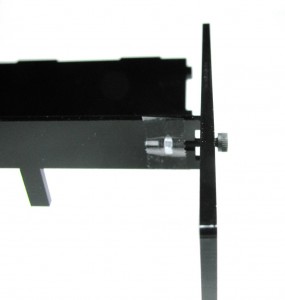
Take the Button Support Arm and attach it to the Central Support Bar with an M3 bolt as shown in the picture.
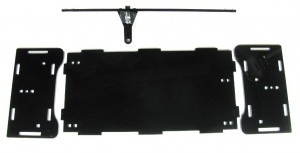
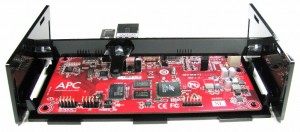
Now comes the tricky part. Grab the bottom of the case and the 2 sides and set it in front of you as shown in the picture. Be sure to get the Board Stand-off holes lined up correctly. Then, with the Button Support Arm facing you, bolt the 2 sides to the Central Support Bar.
At this point the bolts just need to be snug, we'll need to loosen them a bit to install the rest of the parts.
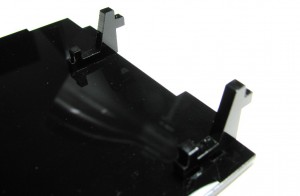
Install the Board Stand-offs as shown in the picture.
Step 4: Install the APC Board and Attach Sides to Bottom
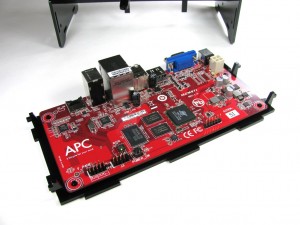
Take the APC board and set it on the Board Stand-offs. Then take the side assembly and loosen the 2 bolts about 2 twists.
Lift up on the side assembly and set it over the APC board. Make sure to keep adequate outward pressure on the sides so that the Central Support Bar doesn't fall out.
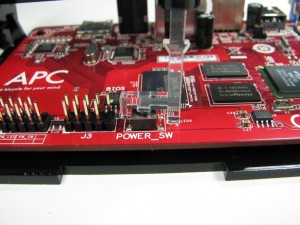
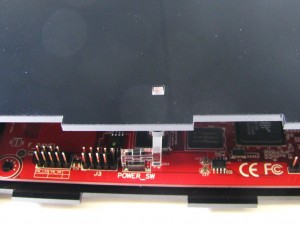
At this point you will need to install the Light pipe Button Extender. To do that, gently lift up on the Button Support Arm and slid the Light Pipe Button Extender into the hole. Make sure that you have the button pushing arm over the button.
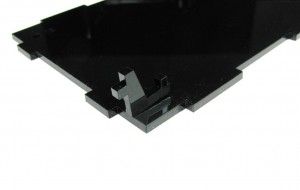
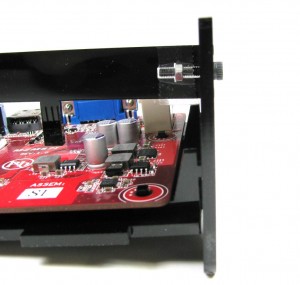
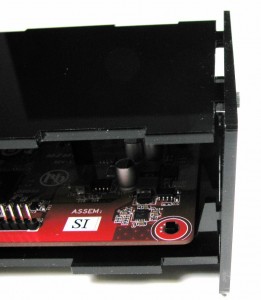
Now, Carefully lift up one side of the bottom plate, insert the tabs into the slots on the side and then tighten the bolt of that side. Repeat with the other side.
Step 5: Install the Top
Slide the top panel into place. Loosen and tighten side bolts as necessary. It is beneficial to tighten the bolts up after each side panel is installed to prevent the bottom from falling out.
Step 6: Install Front
Slide the front panel into place as you did with the top.
Step 7: Install Back
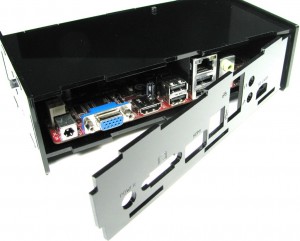
Slide the back panel into place as you did in steps 5 and 6. Then tighten the side bolts down until they are nice and snug because your case is done!
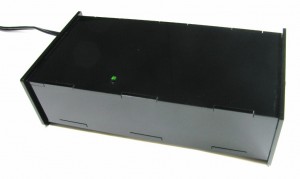
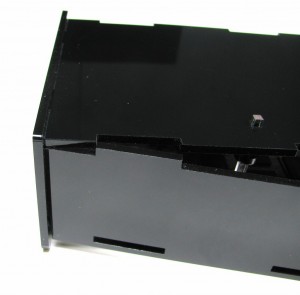
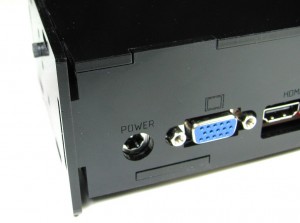
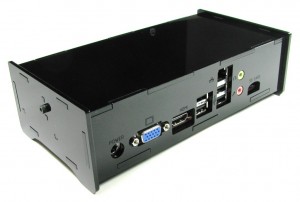
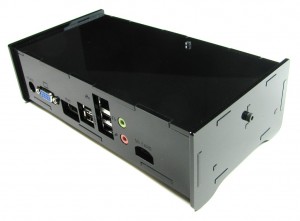
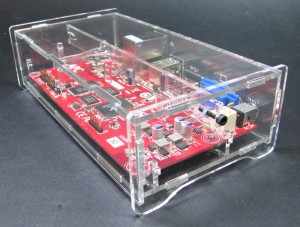
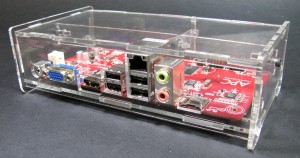
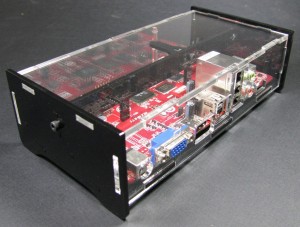
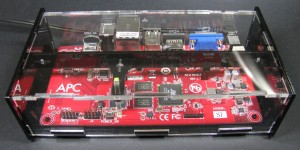
Your enclosure should now look something like this:
For added effect, try adding some acrylic paint or white-out to your back plate to make those labels stand out.
Need one of these cases? Grab one from our store here:
Want the design files to make your own or make a variation? Grab the design files here:
