A13-OLinuXino Enclosure Assembly Instructions
Step 1: Prep the Parts
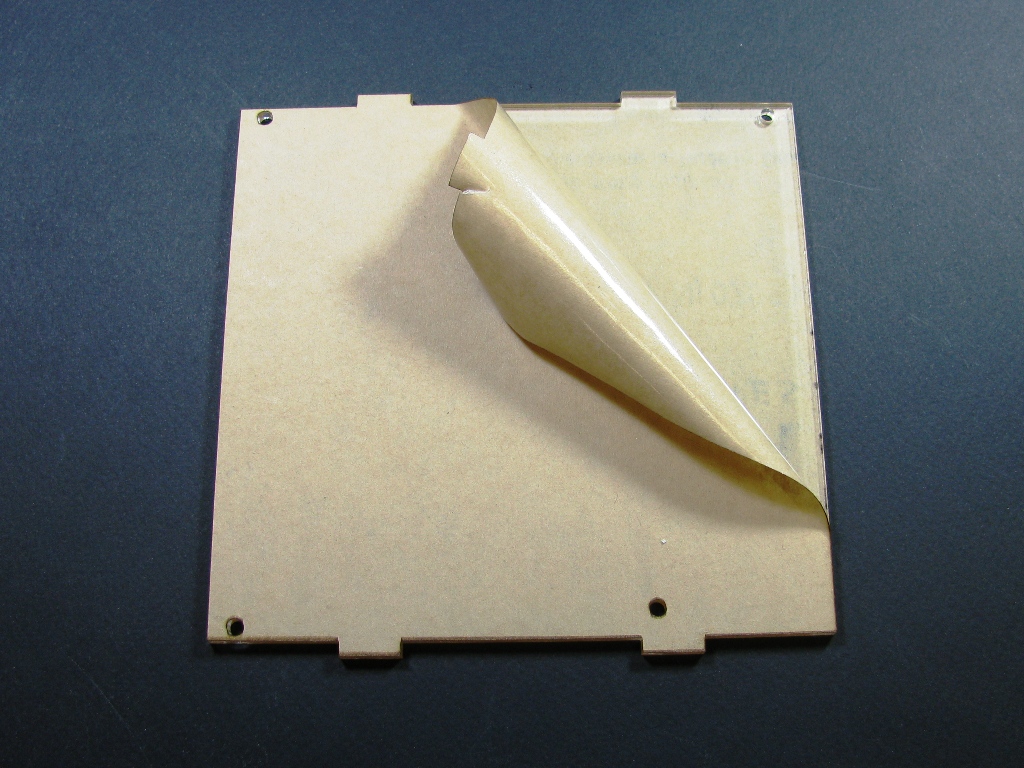
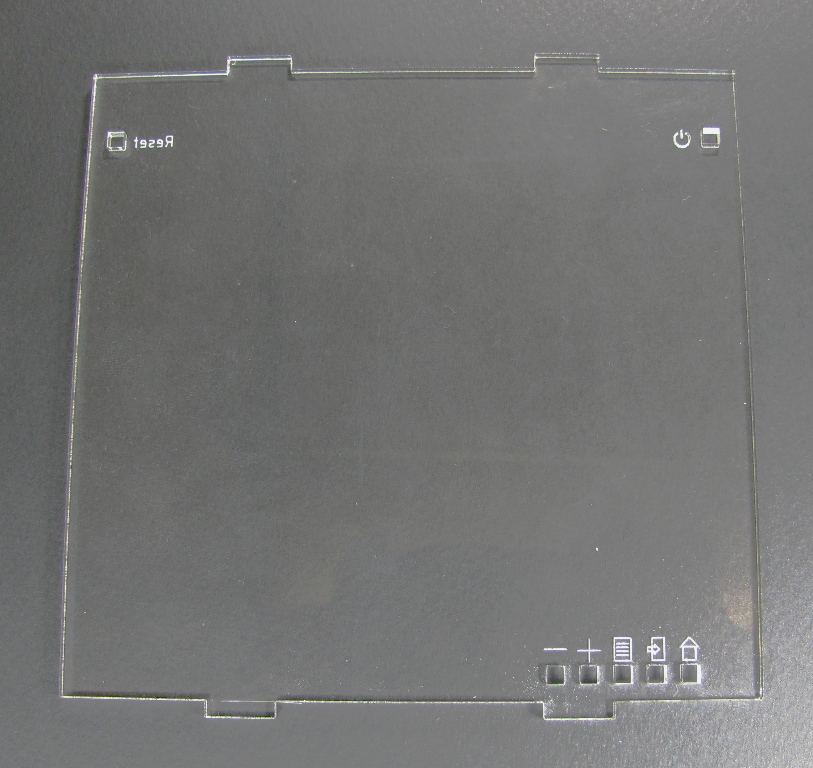
Remove the masking from all of the acrylic parts in the kit.
Step 2: Mount the PCB
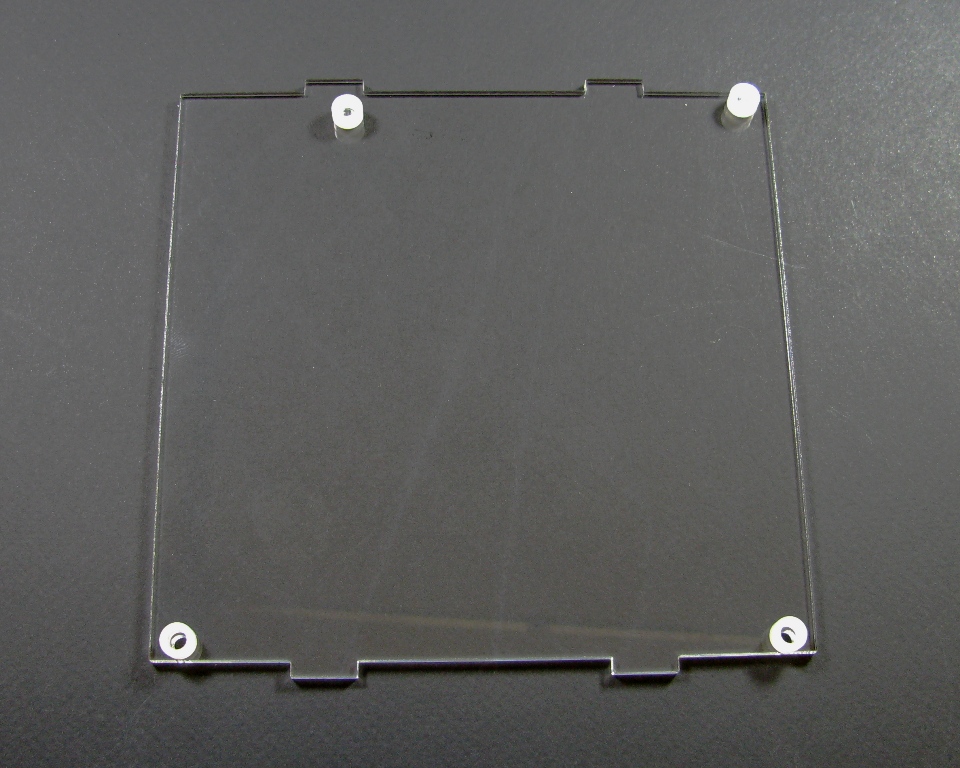
Place the nylon standoffs on the bottom piece as shown in the image above.
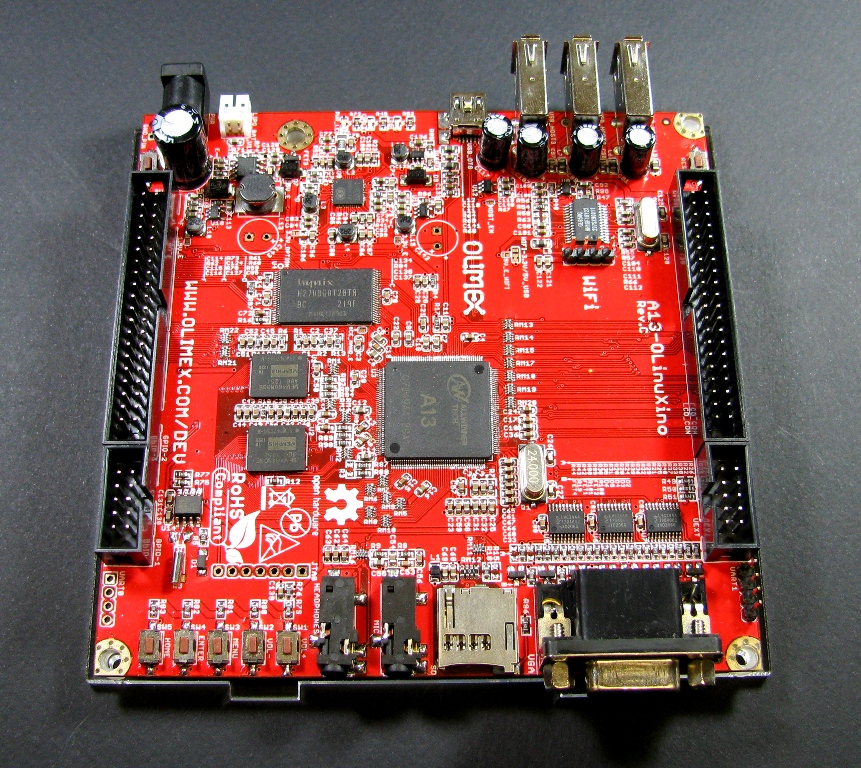
Carefully place the Olimex board on top of the standoffs.
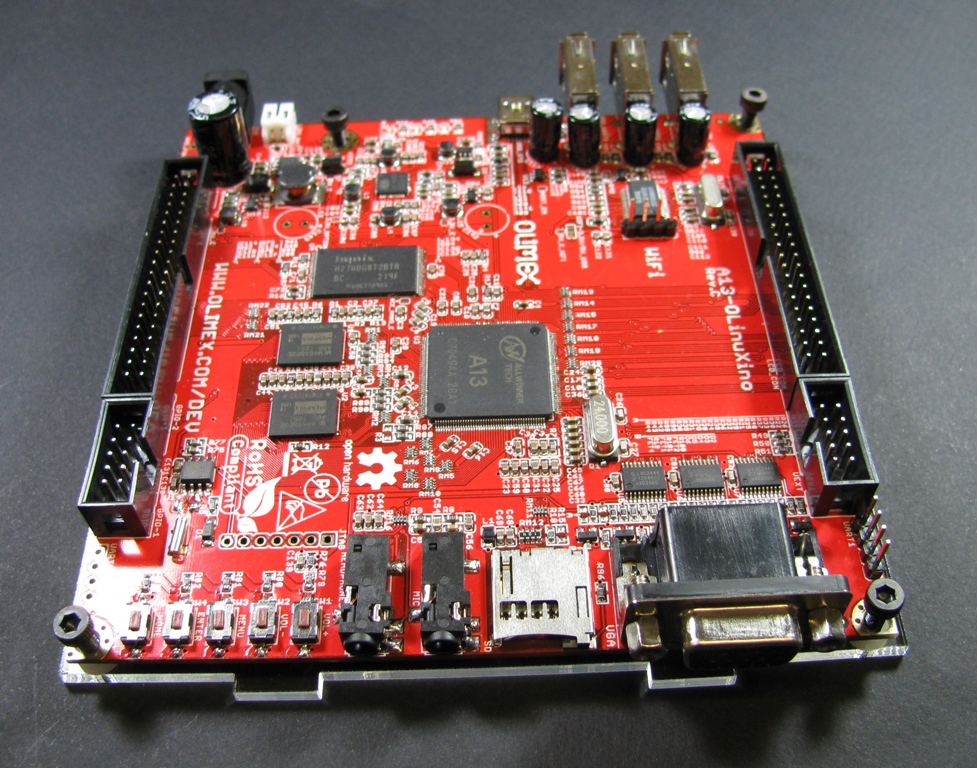
Drop the 4 M3x14 bolts into the holes.

Lift up the bottom piece and thread the M3 nuts onto the bolts.
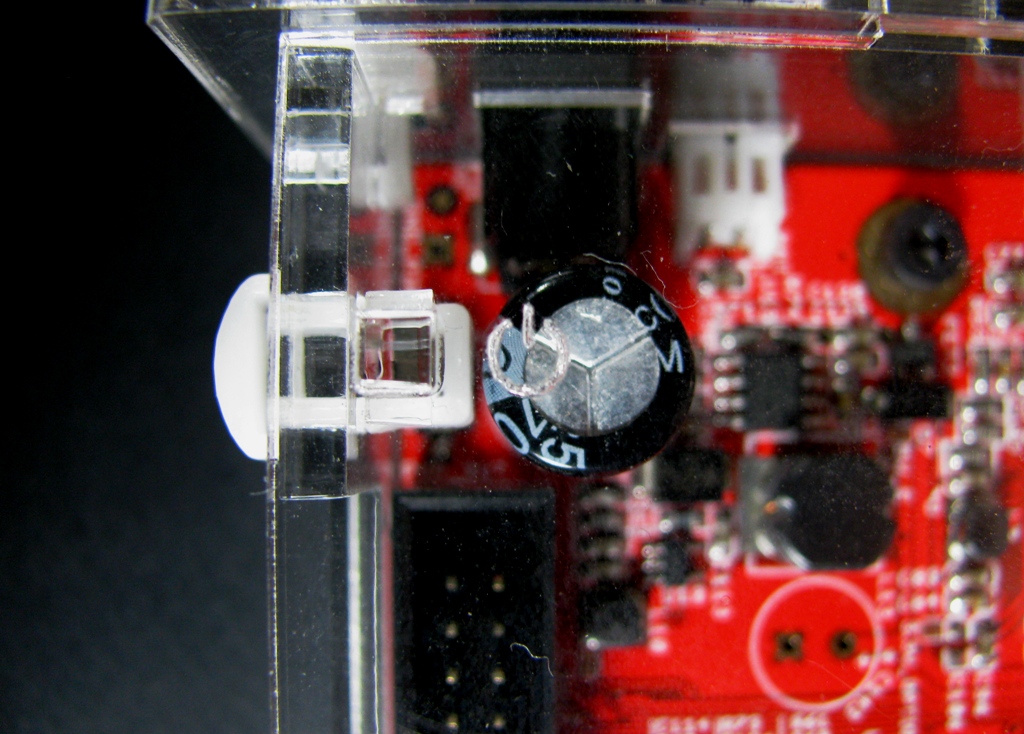
Step 3: Insert Buttons into Clips
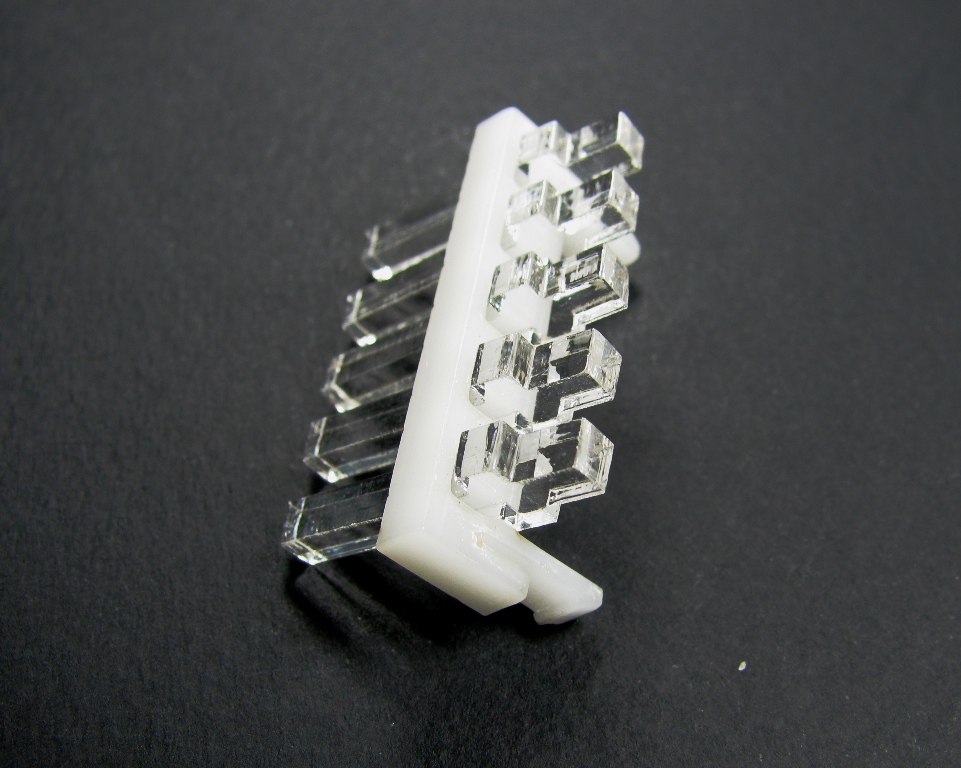
*NOTE: Some A13-OLinuXino Boards were manufactured with larger buttons than the one that we used for the case design. If your board has larger buttons, use the shorter acrylic buttons included in your hardware pack.

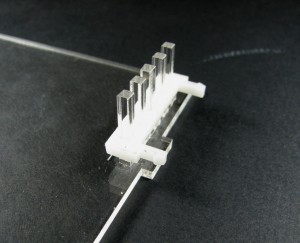
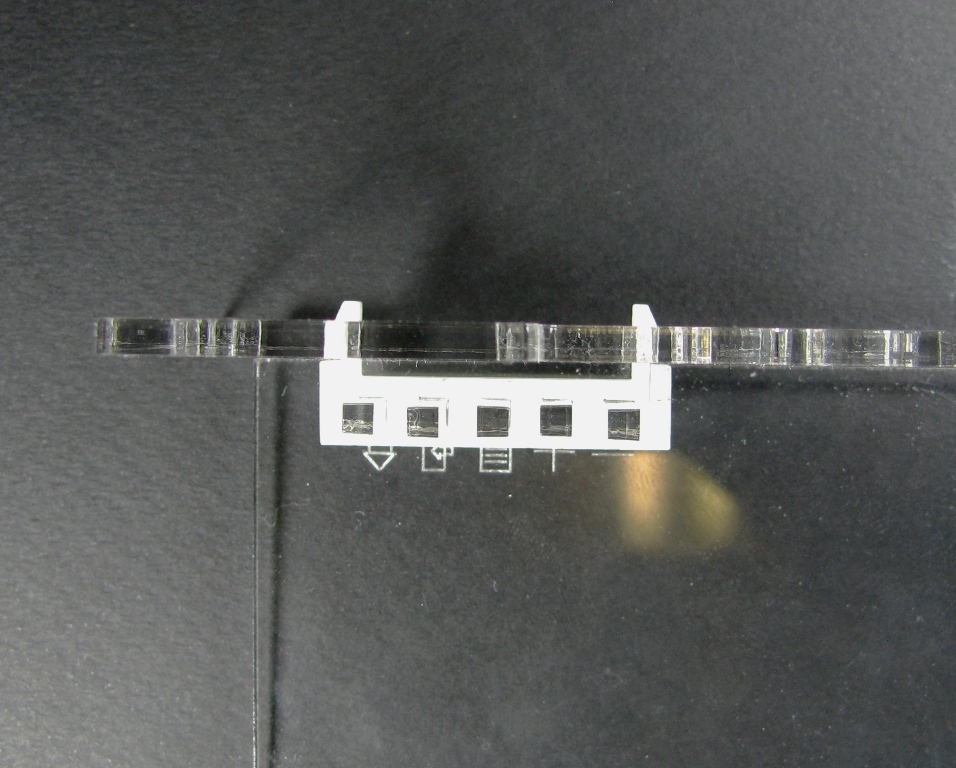
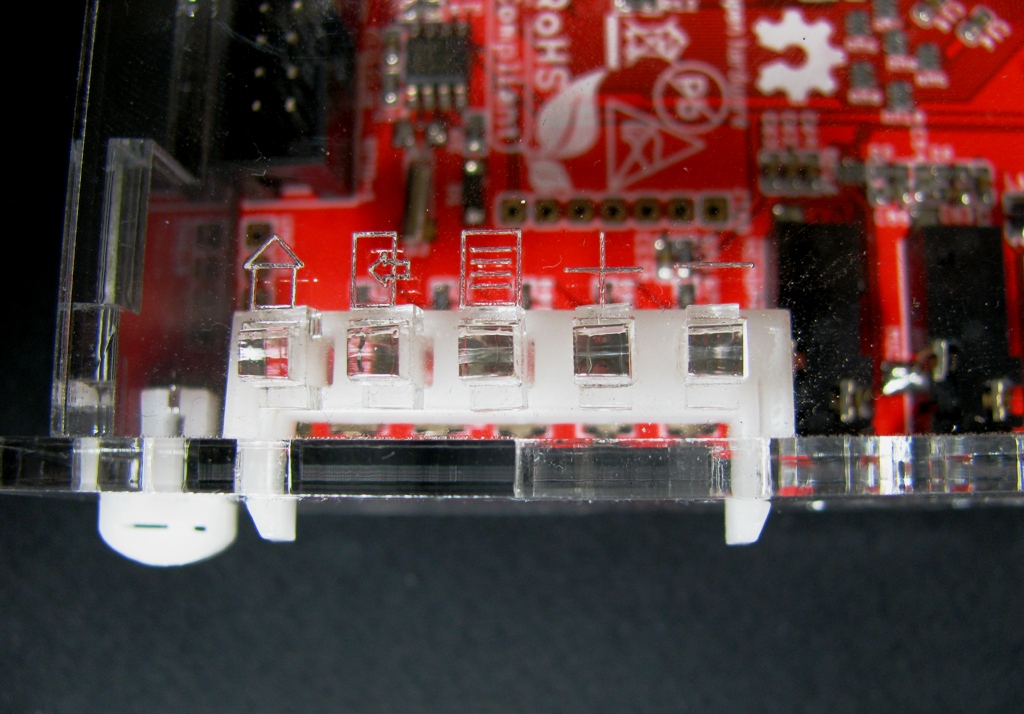
Insert 5 of the buttons into the clip as shown in the image below.
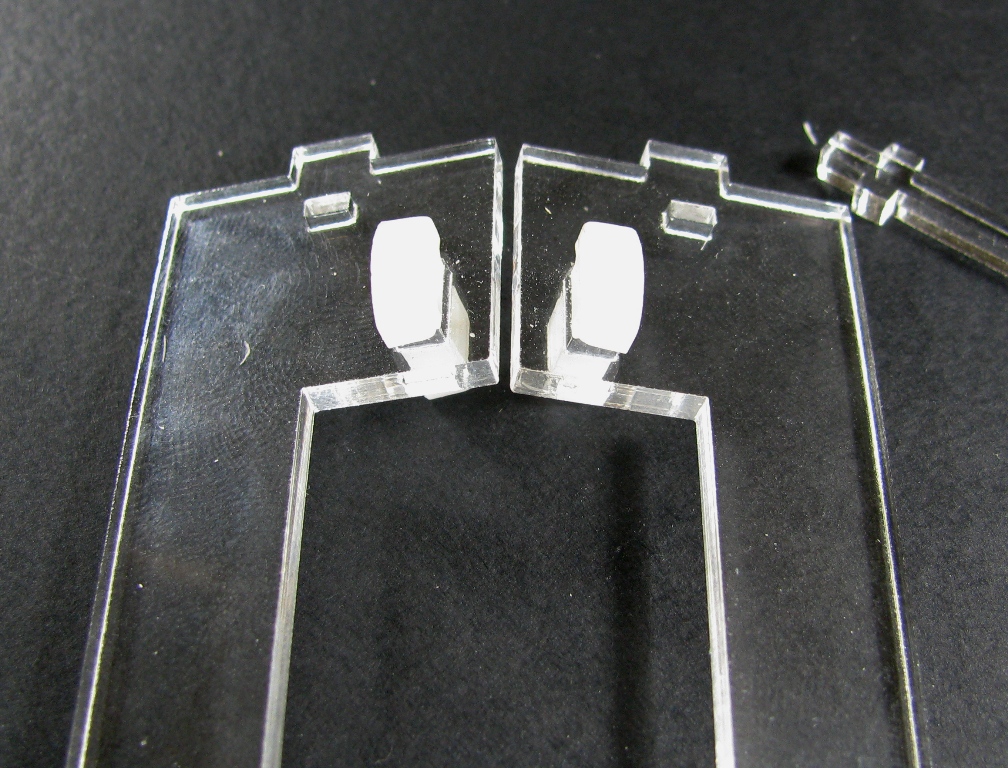
Grab the 2 IDE side pieces, 2 buttons and the 2 close end clips.
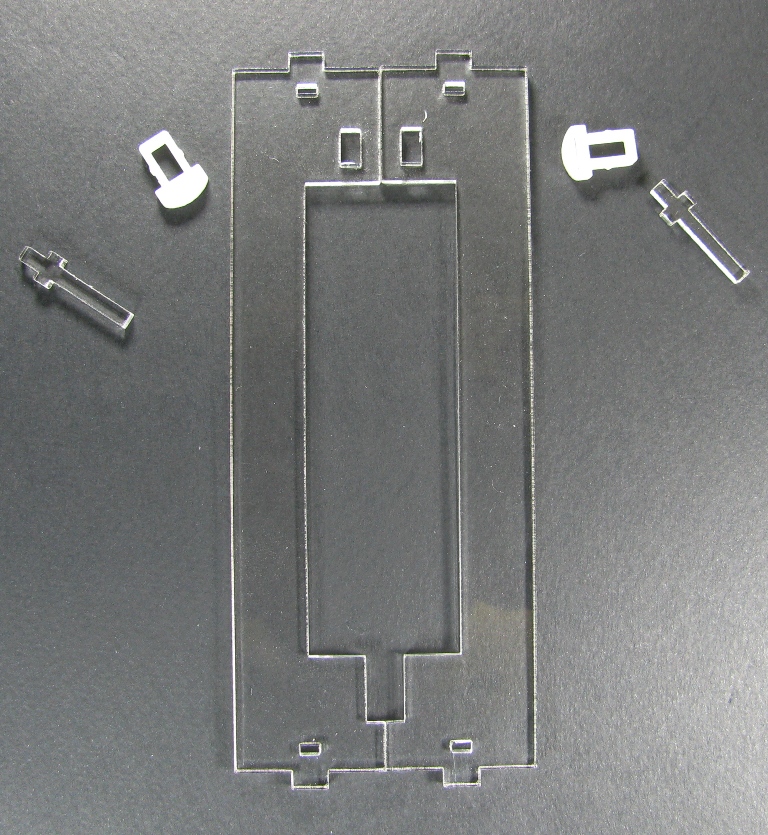
Insert the 2 close ended clips into the IDE side pieces and slid the buttons into them as shown in the images below.
Step 4: Start Assembling the Case
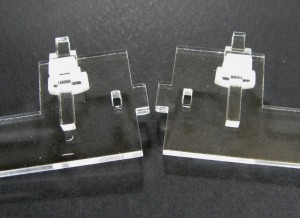
Take the top piece and set it out as shown below.
Insert the buttons upside down with the clip facing outward.
Take the VGA/ SD Card/ Audio In-Out side and install it as shown
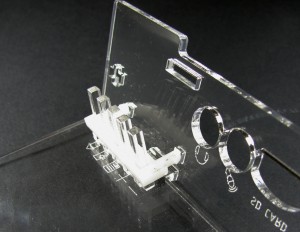
Step 5: Attach the IDE Sides
Place the IDE Sides on as shown making sure to get the buttons into the holes in the top piece.
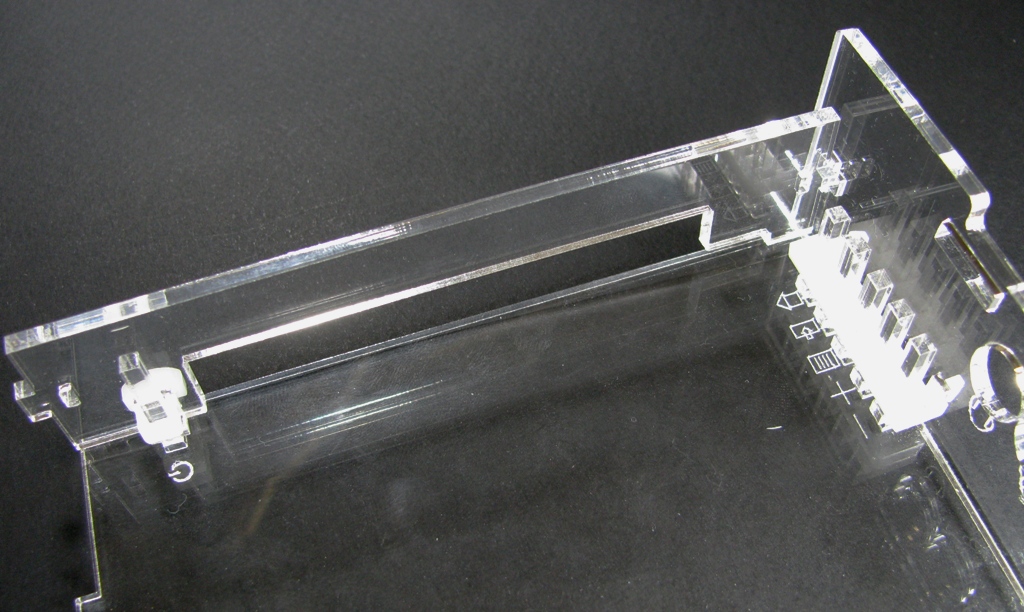
Then snap on the clips.

You should now be able to pick up the assembly like so:
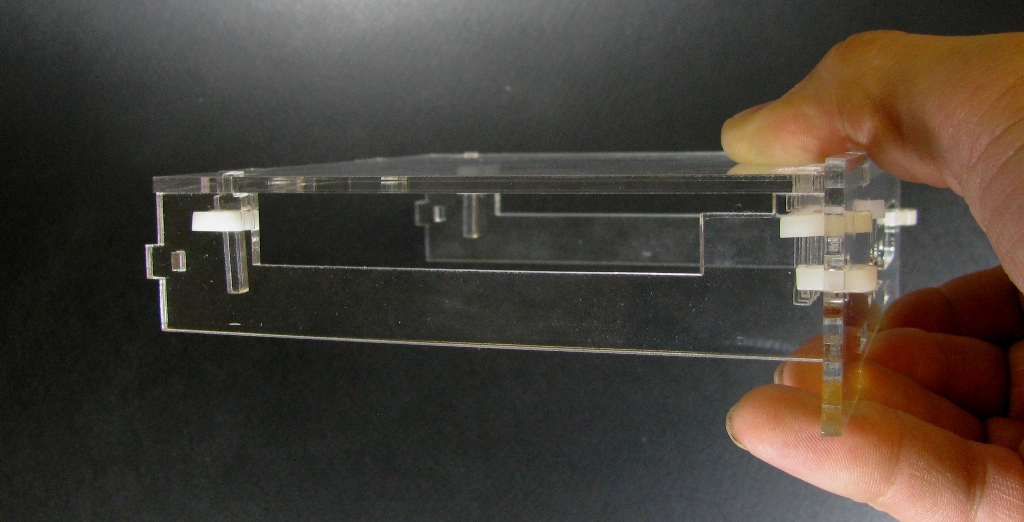
Be sure to not put too much pressure on the top pieces as it could cause the IDE sides to pull out of the snaps.
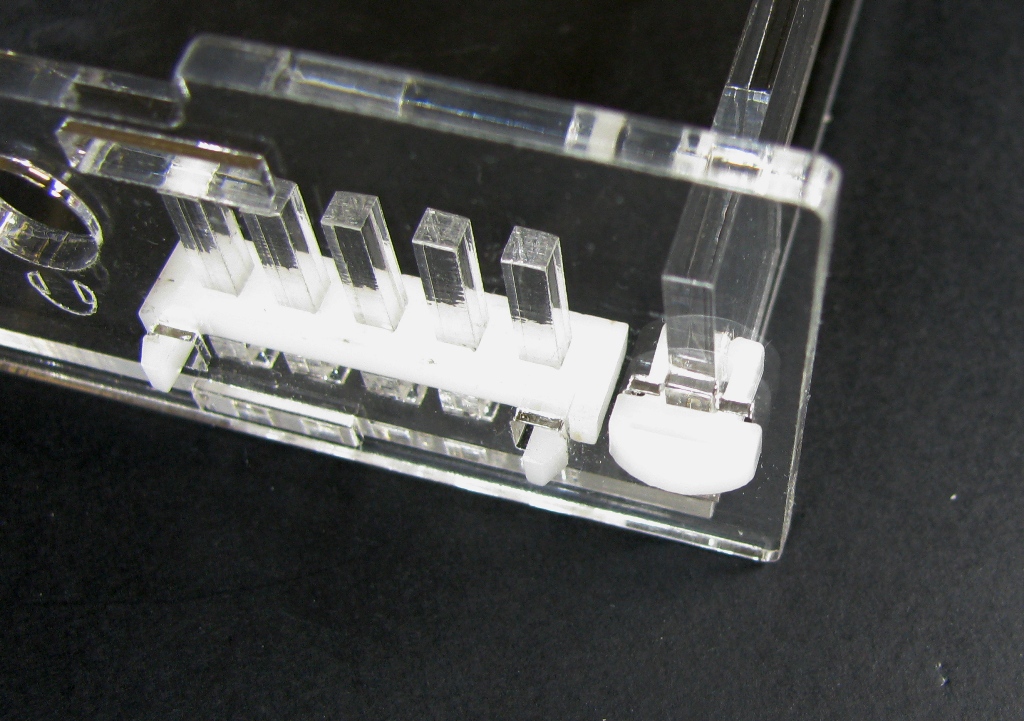
Step 6: Install the Bottom
Install the bottom piece into the slots on the VGA/ SD Card/ Audio In-Out side. It is best to do this at a slight angle so that the 5 acrylic buttons don't run into the sides of the buttons on the PCB.
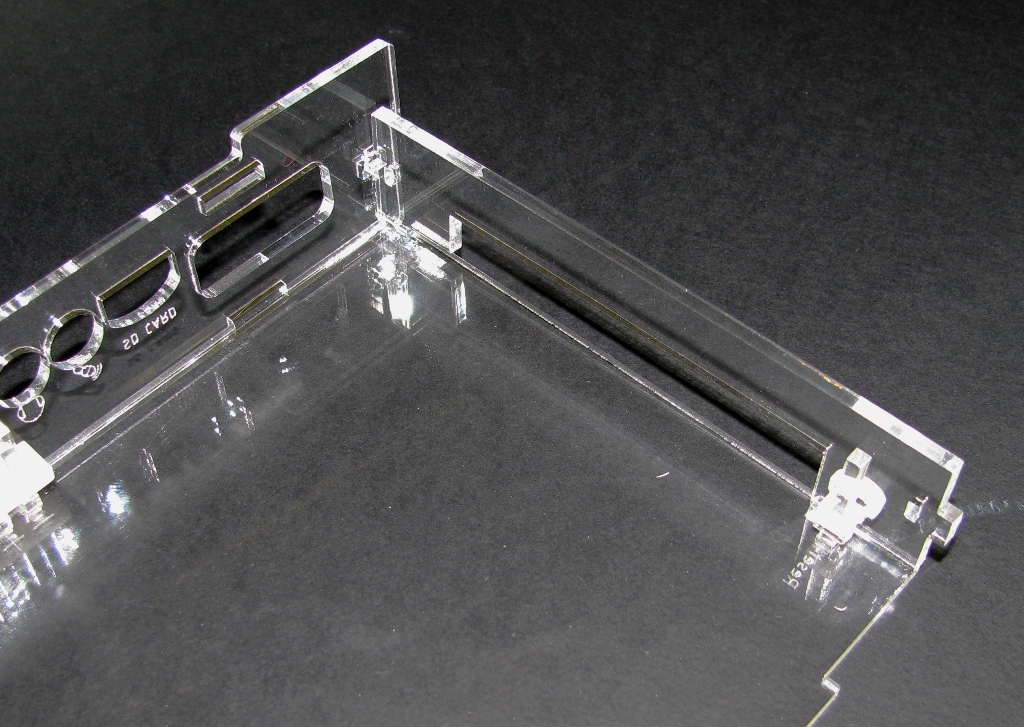
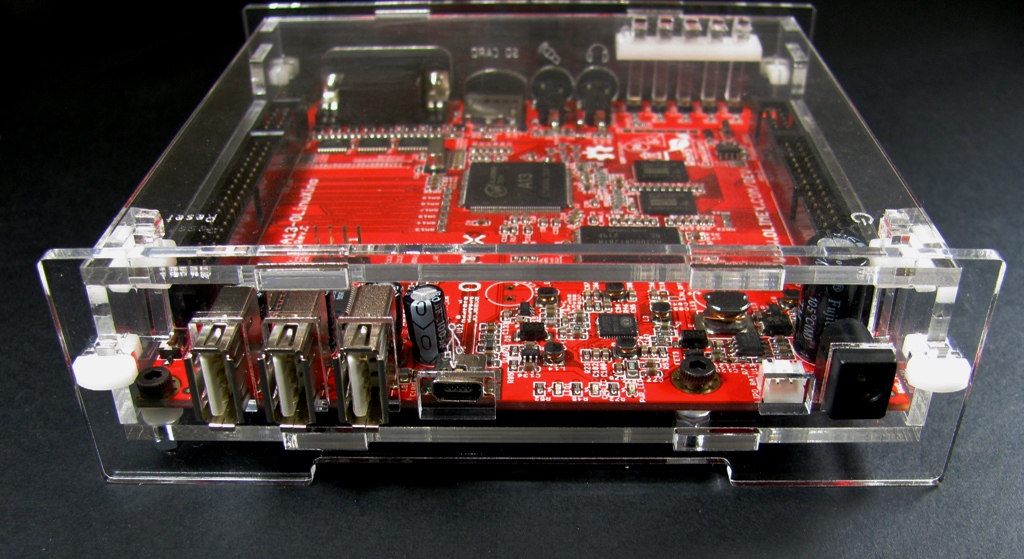
Step 7: Install USB side
Put the USB side on and snap in the clips.
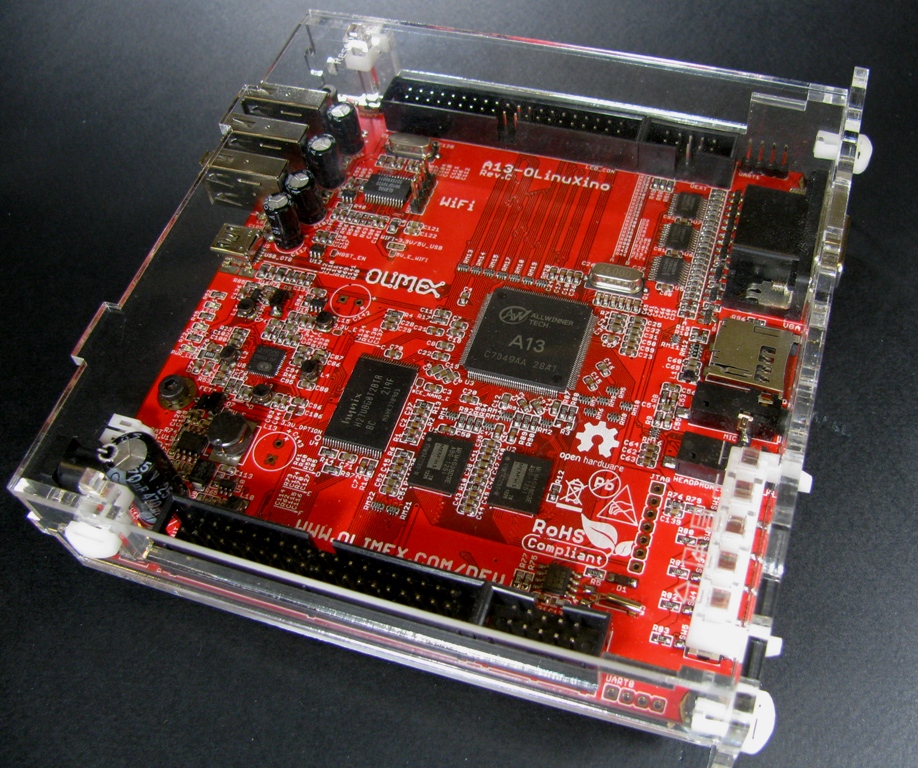
Step 8: ENJOY!
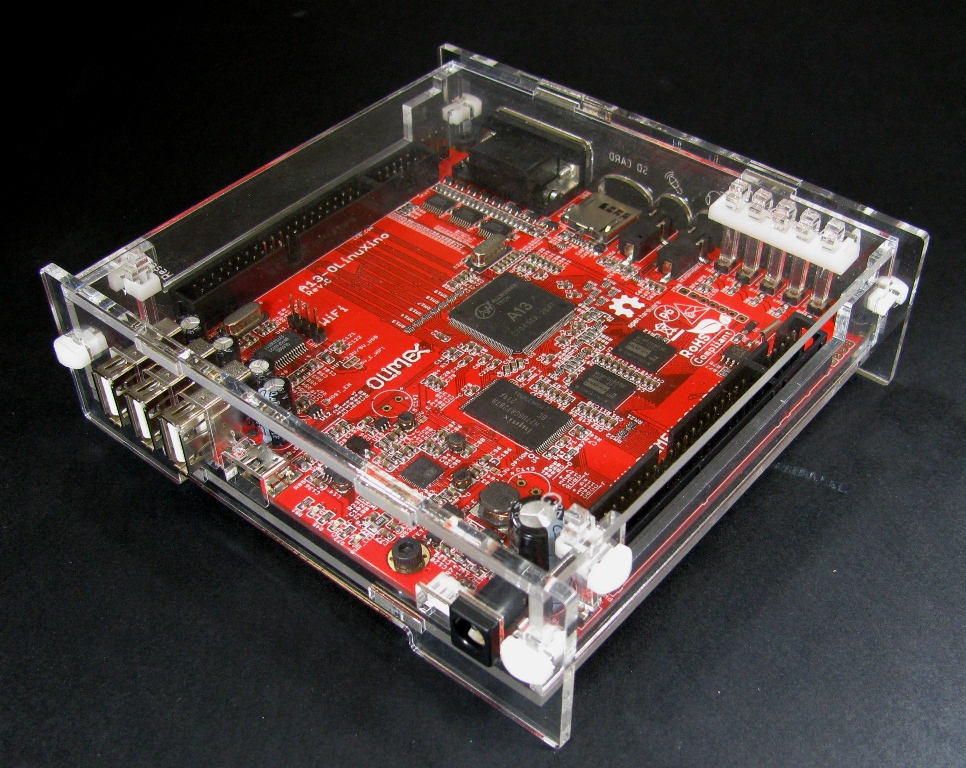
Congratulations! You now have a fully assembled enclosure for your A13-OLinuXino Board that should look something like this:


Grab one
Get the design files on Thingiverse
Designed By RoboLemur

