DockStar Enclosure Assembly
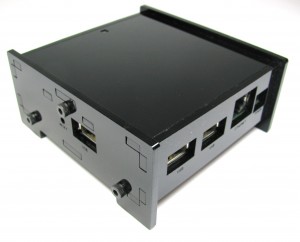 The DockStar is a nice little embedded device with lots of USB ports and a 1.2GHz processor under the hood. A small community has taken to hacking this nifty little ARM system, and when one of its members asked me to make them a custom enclosure for it, I was happy to oblige. You can go grab all the design files and fabrication instructions on my Thingiverse entry for this enclosure . You can also grab a kit . Once you've got all the parts, here's a few tips on assembling the thing:
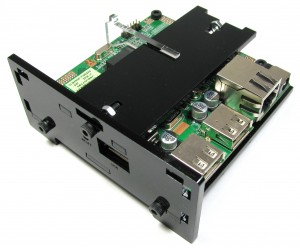
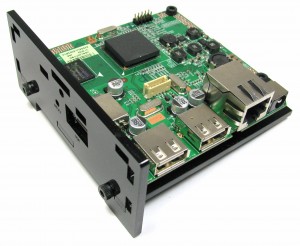 After removing the DockStar motherboard from it's original housing, use the 1/4" standoffs and M3-14 bolts to mount the motherboard to the new housing bottom. Note that one of the mount holes is a little offset so orientation is important. After that's done, bolt on one of the sides with feet (doesn't matter which at this point).
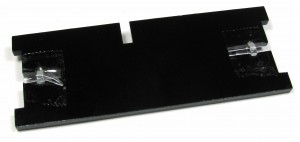 Next you may want to add a little tape to the spanning support and insert the M3 nuts as shown. This isn't totally necessary, but it makes assembly easier.
Now you can install the spanning support and put the light pipe piece in place.
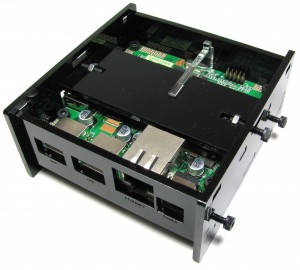
Now you can put the remaining sides on and start the remaining bolts. Don't screw the final side all the way down until you've got the top installed!
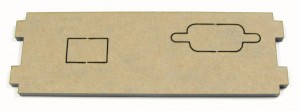
Additionally I designed an alternative side panel that allows you to break out a 9-pin D-sub mount and/or a small access hole for the on board debug header. Just apply a bit of pressure to the outline you want to break out and work it back and forth a bit until it snaps out.
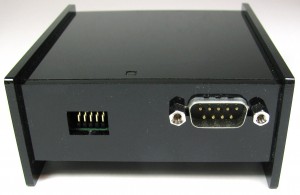
Then add your desired interfaces and install in place of the blank side!
