Wolfson Pi Audio Card Case Assembly Instructions
Grab a kit of this case from our , or grab the if you want to make your own or modify it.
Step 1: Install the Wolfson Pi Audio Card to the Raspberry Pi
element14 has nice instructions for installing the Wolfson Pi Audio Card on their page. Follow steps a-d in section 3 .
Step 2: Prep the Parts
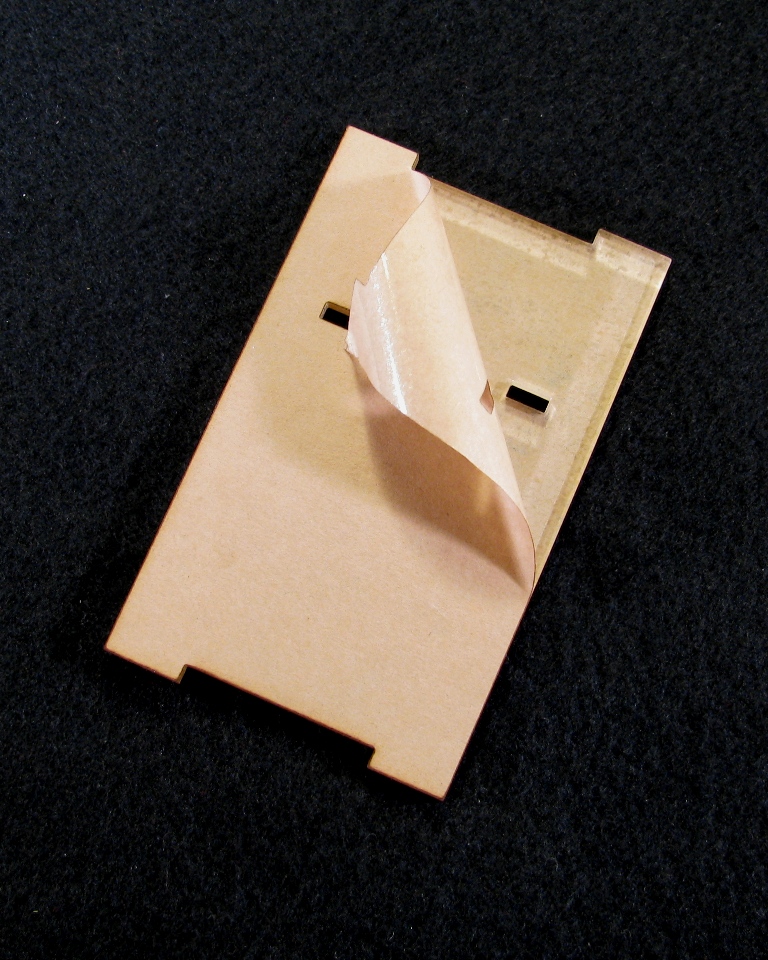
The laser cut acrylic parts of the kit have a protective mask that keeps the parts from getting scratched or marred during cutting. You'll need to peel this mask off all the parts before assembly.

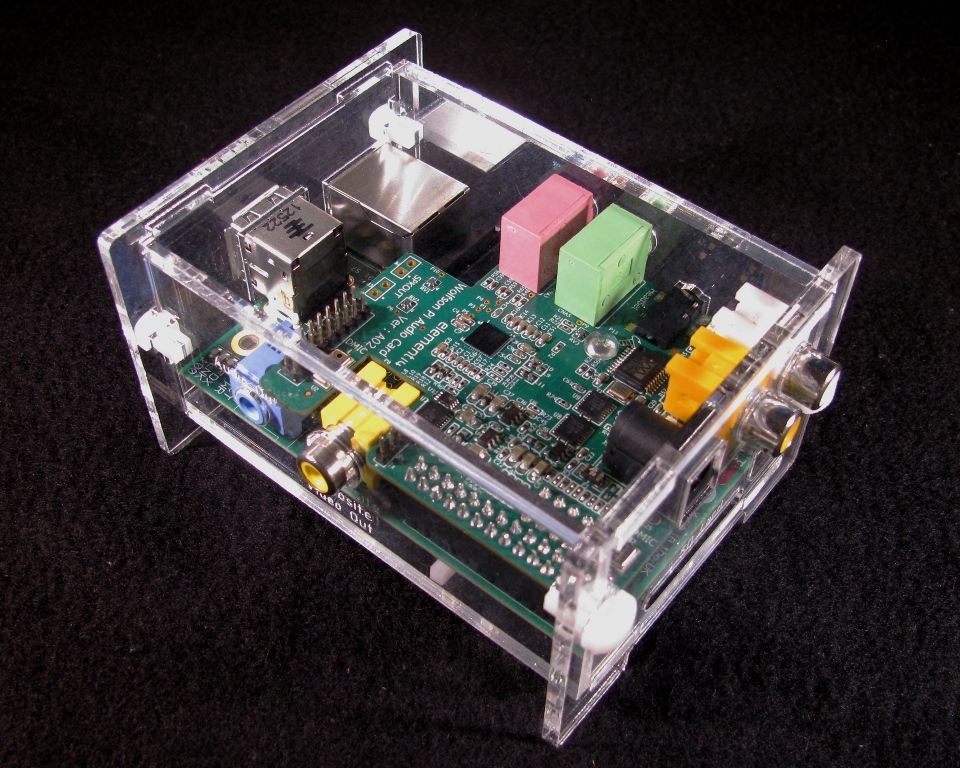
Step 3: Attach the PCB clip to the Raspberry Pi PCB
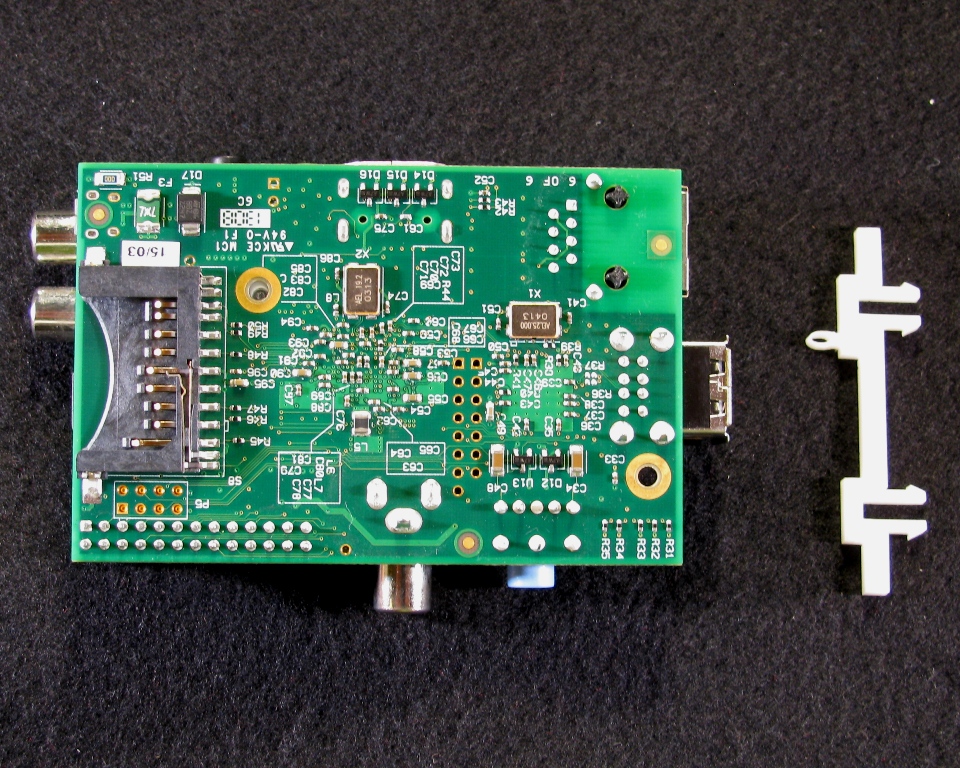
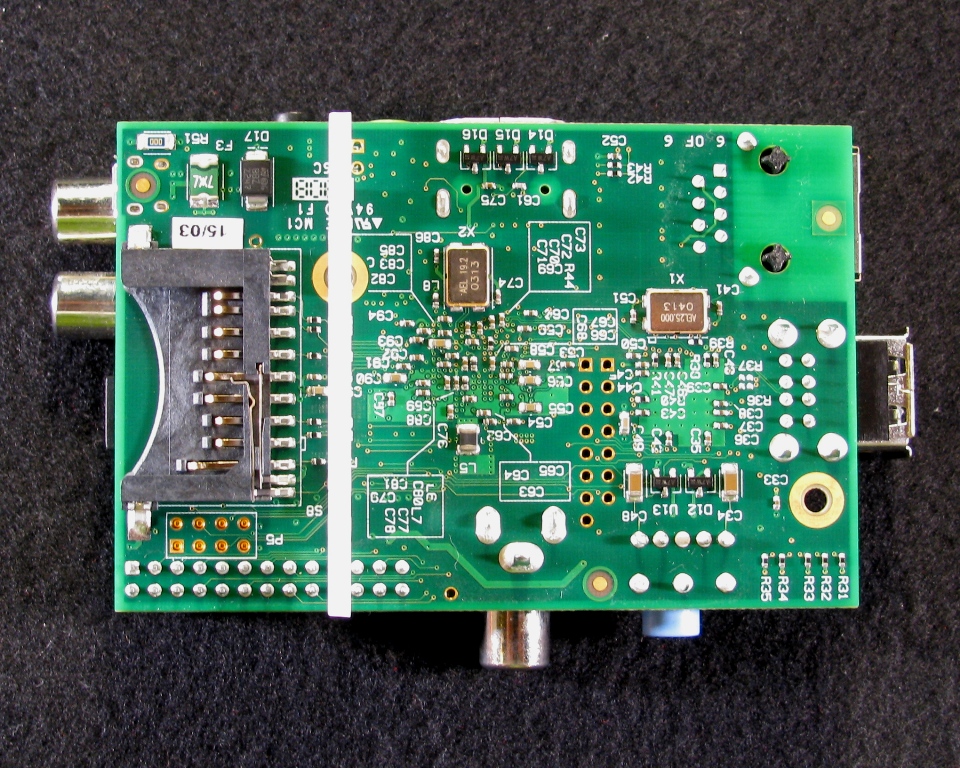
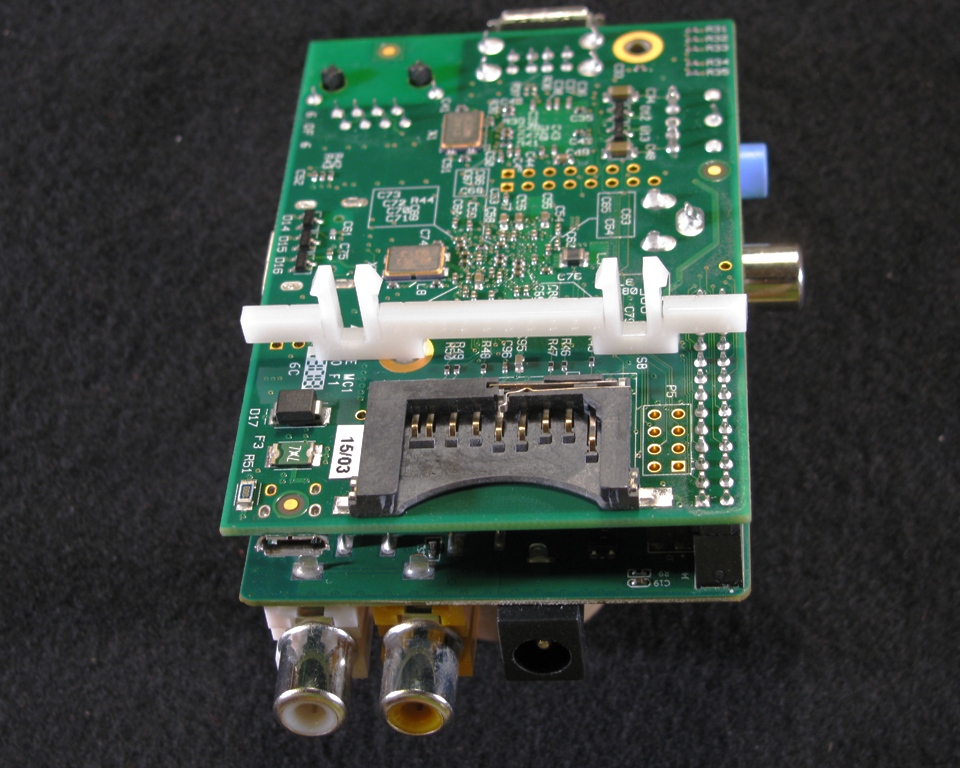
It should fit nicely into the nylon standoff for the Wolfson Pi Audio Card.
Step 4: Mount the Raspberry Pi to the bottom panel of the case
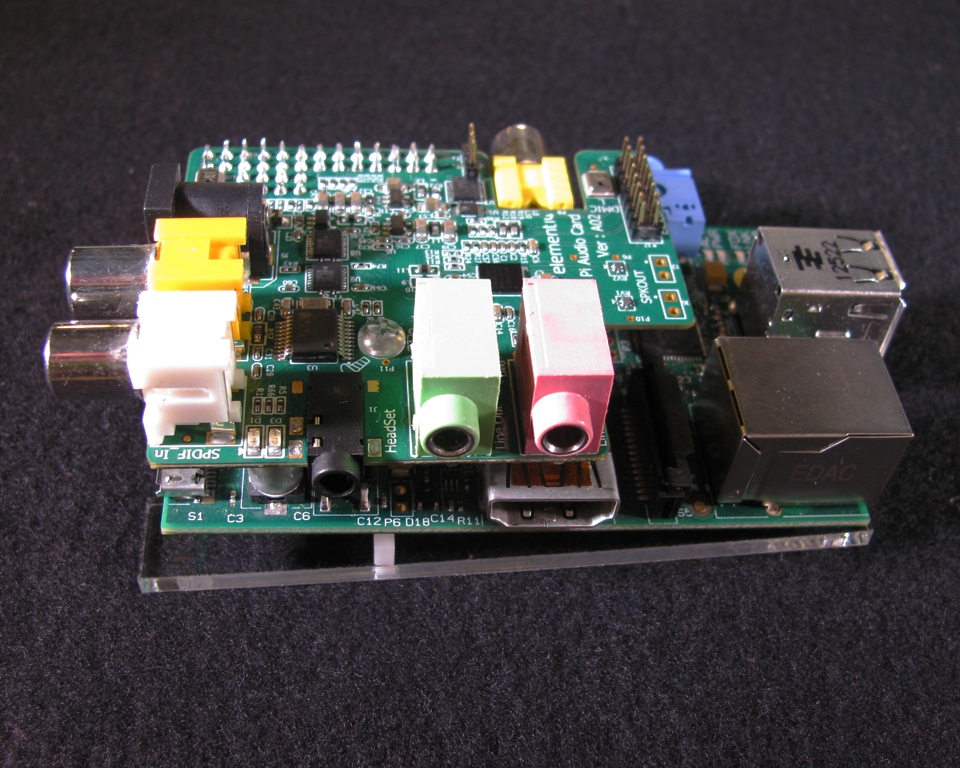
Line up the clips on the PCB clip with the slots on the bottom panel for the case.
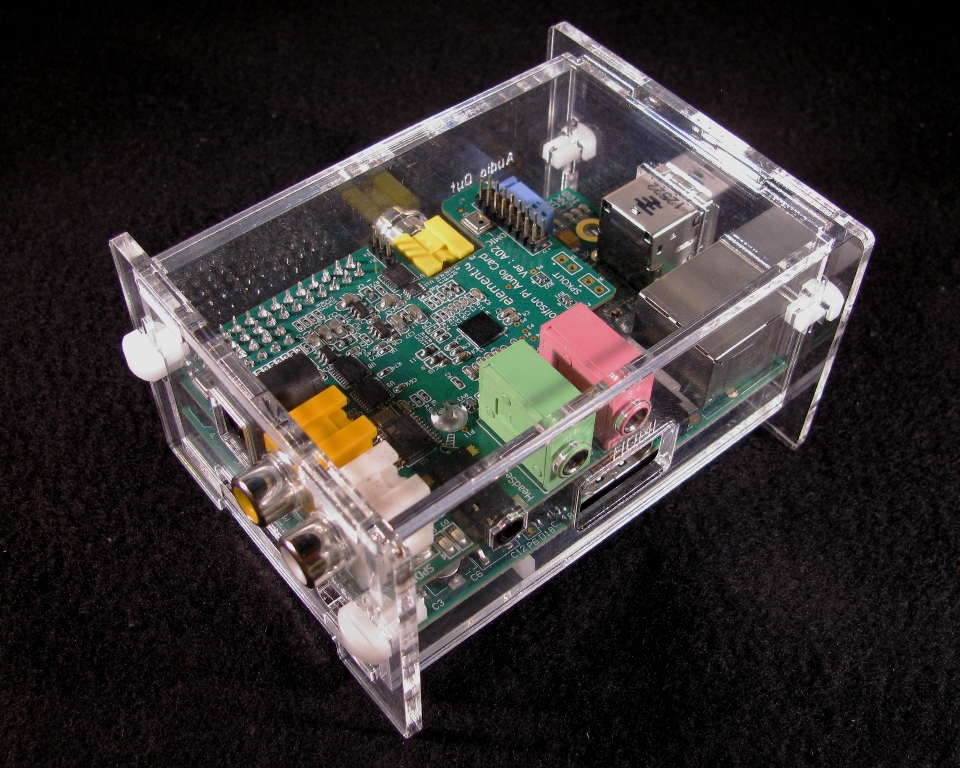
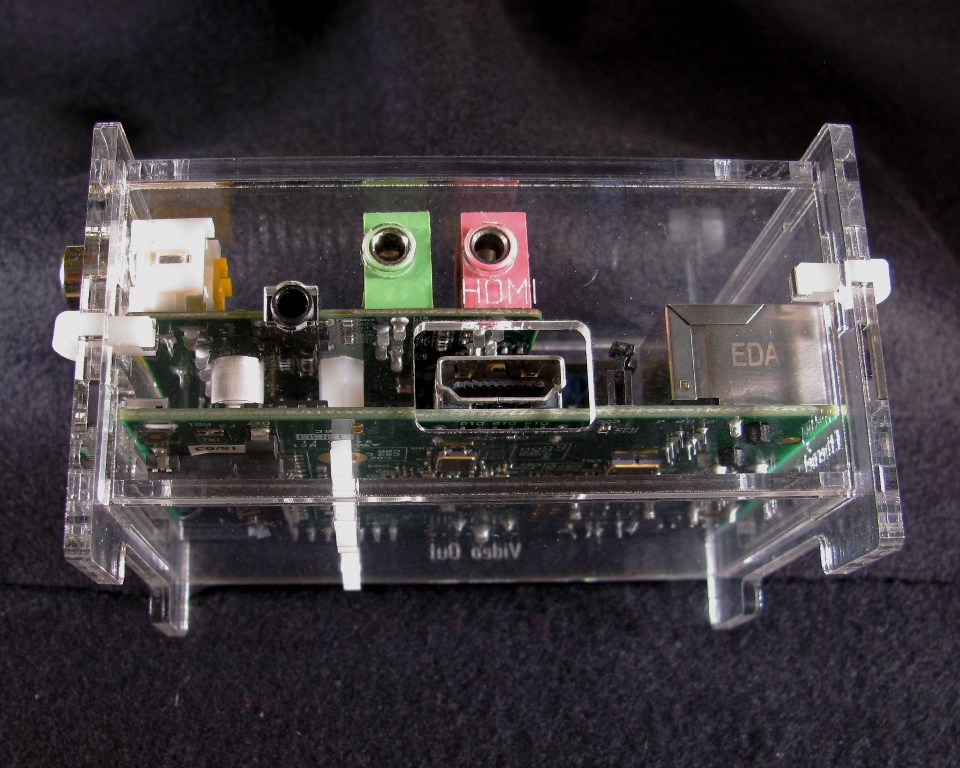
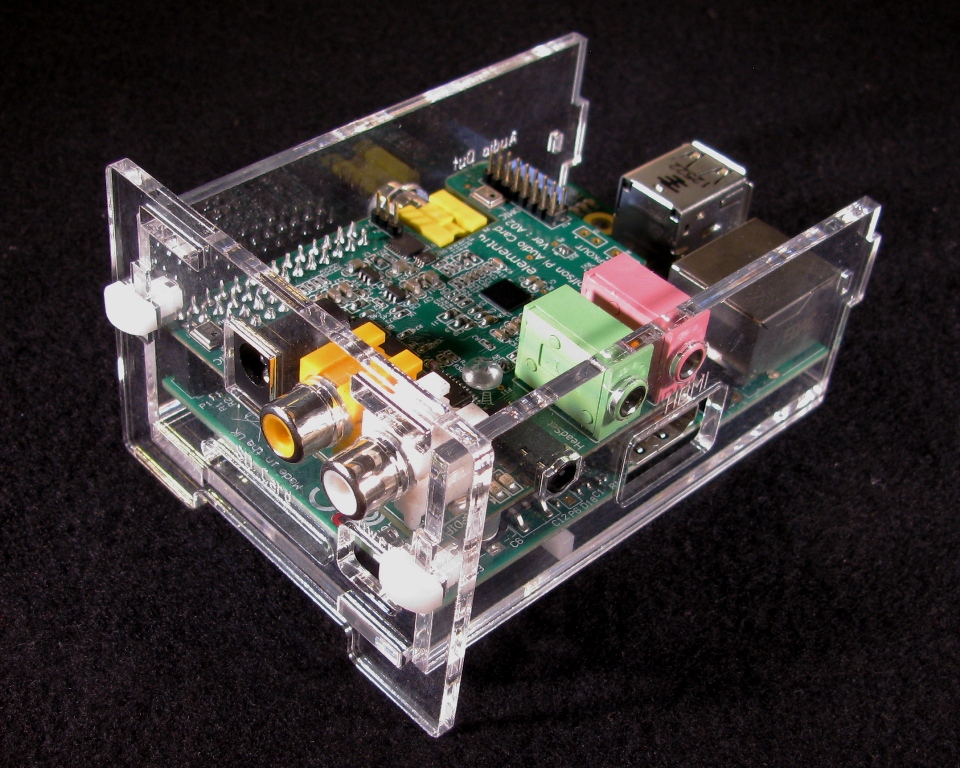
Step 5: Add the HDMI side
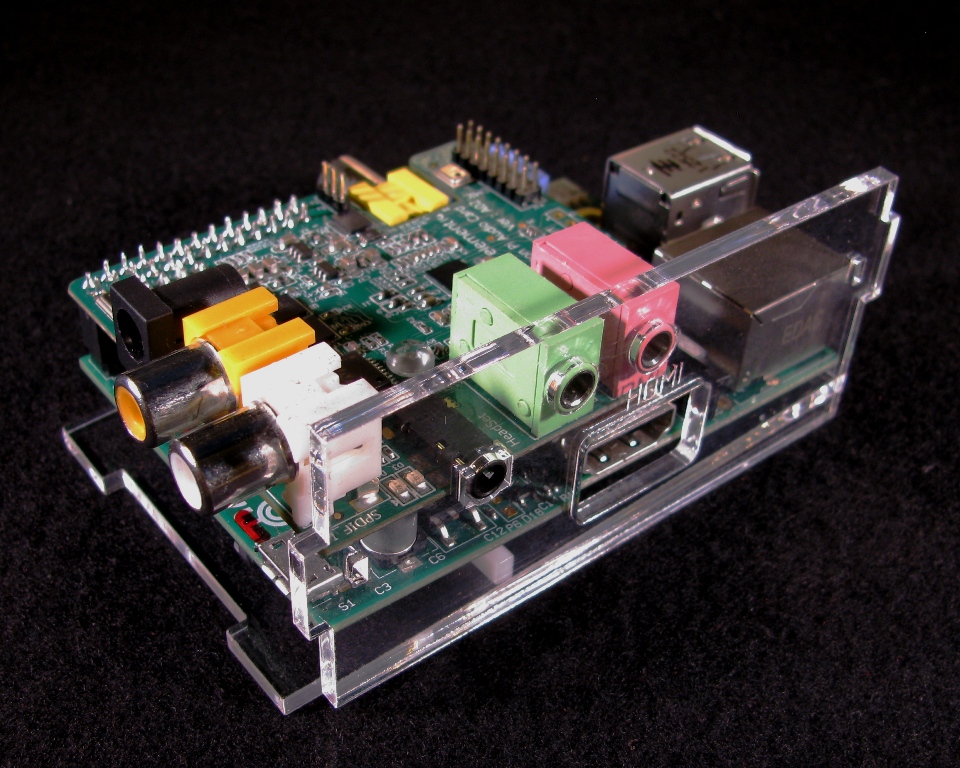
The audio jacks for the Wolfson Pi Audio Card should have a nice, snug fit in their respective holes.
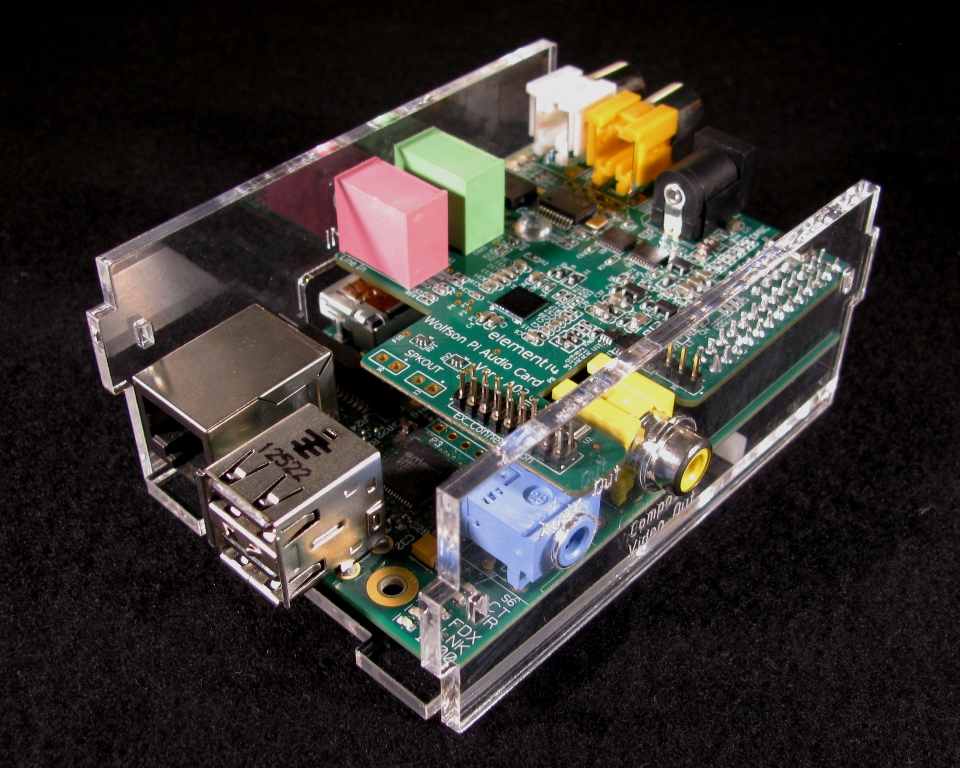
Step 6: Add the Composite and Audio Out side
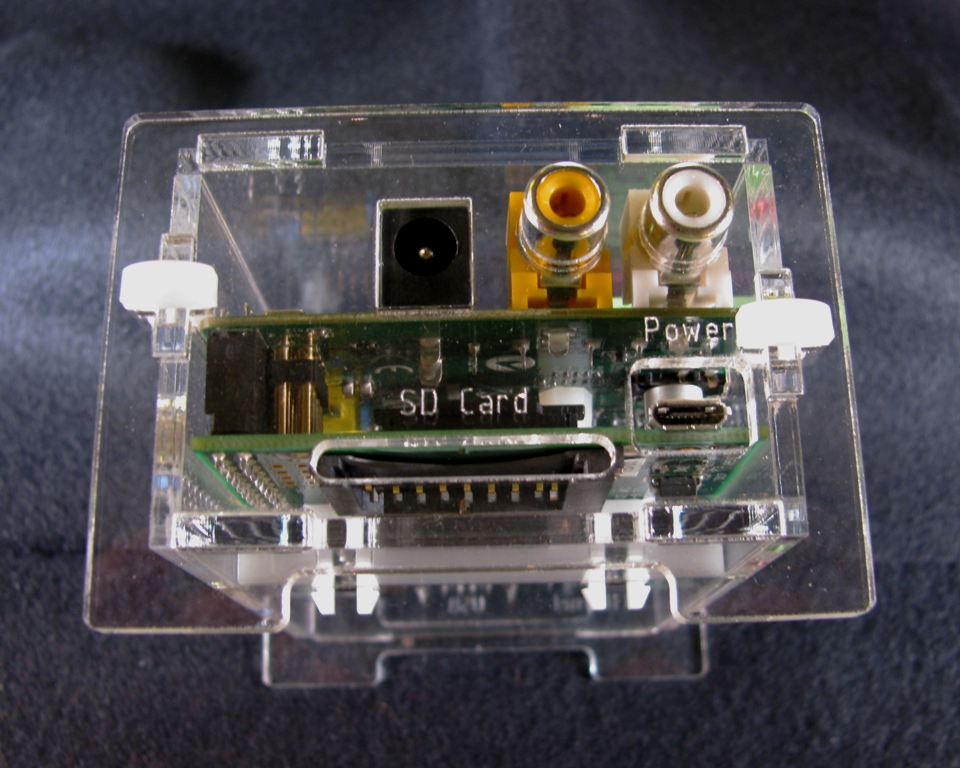
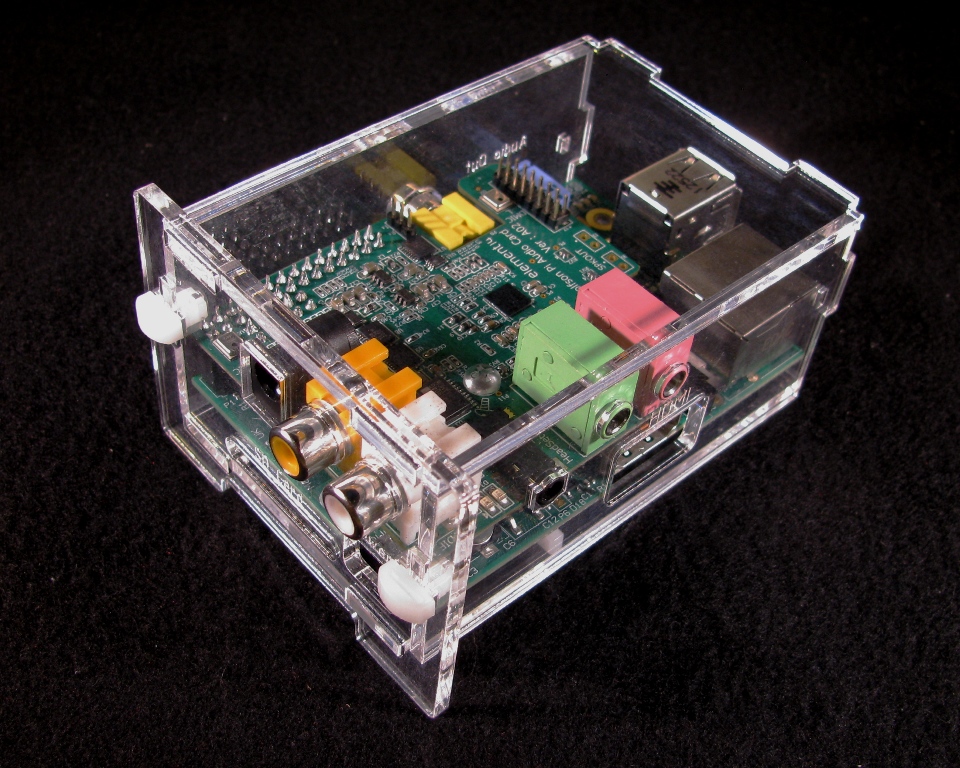
Step 7: Attach the SD Card end
Using two case clips, take the SD card end and attach it as shown. Note: the RCA jacks for the SPDF In and SPDF Out might need to be moved around slightly to get the end cap on there.
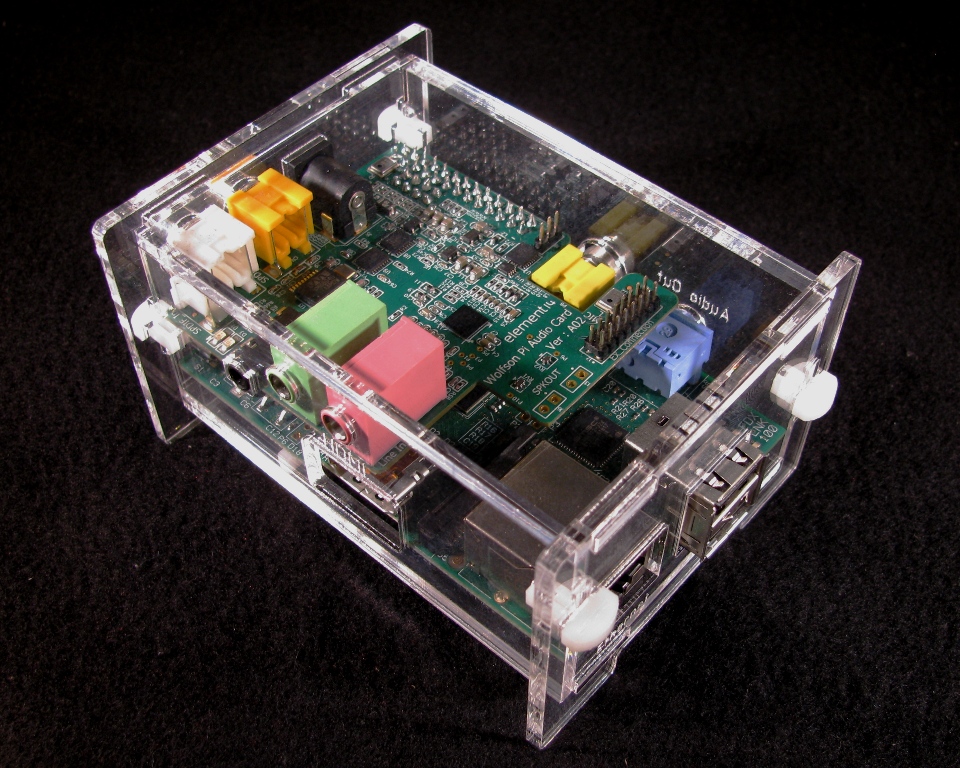
Step 8: Slide the Top Panel in place
Step 9: Attach the Ethernet/USB end
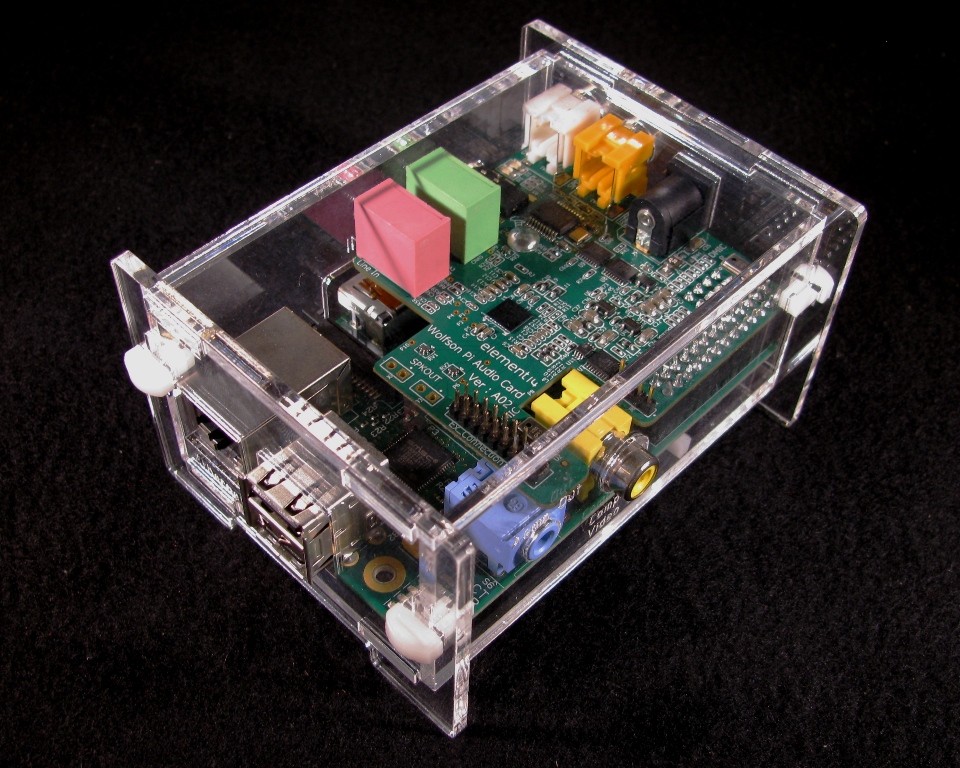
Congratulations! You have successively assembled your Wolfson Pi Audio Card case!