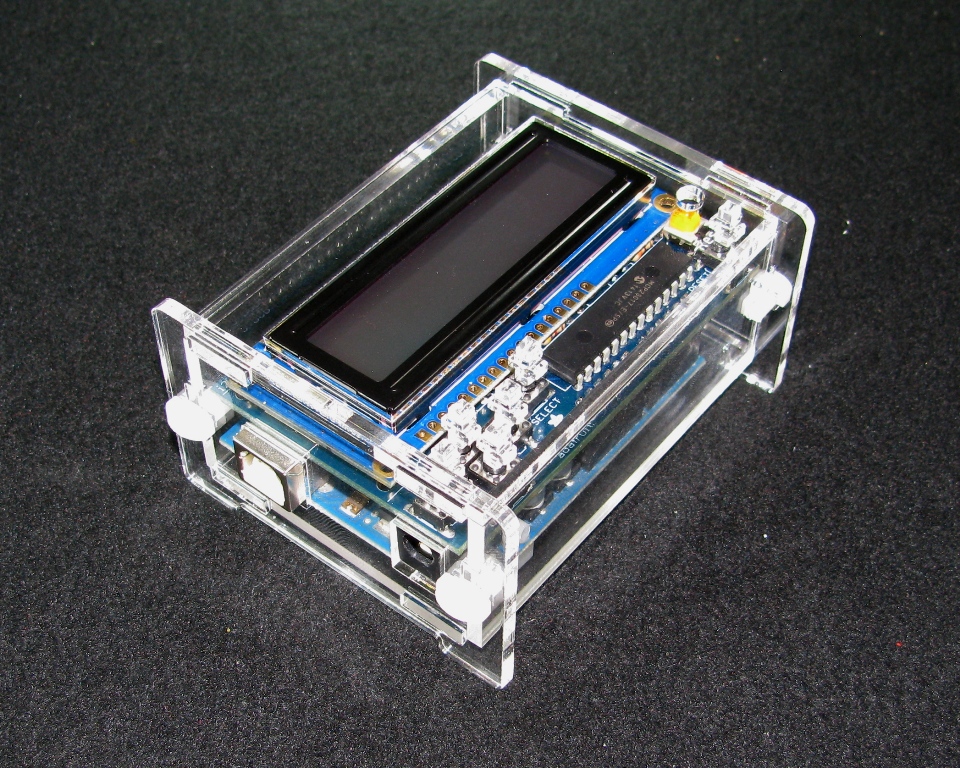
Arduino Adafruit LCD Case
Grab a kit of this case from our or grab the design if you want to make your own or modify it!
Step 1: Remove the Masking
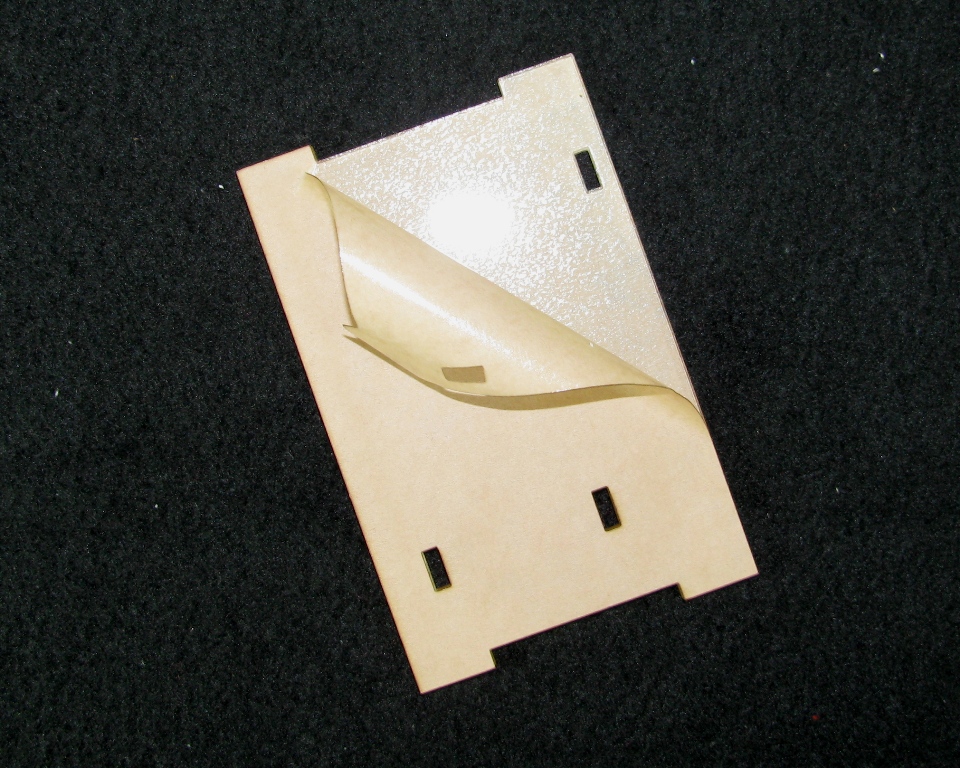
Be sure to remove the masking from both sides
Step 2: Insert the Delrin clips

Snap the clips in as shown above
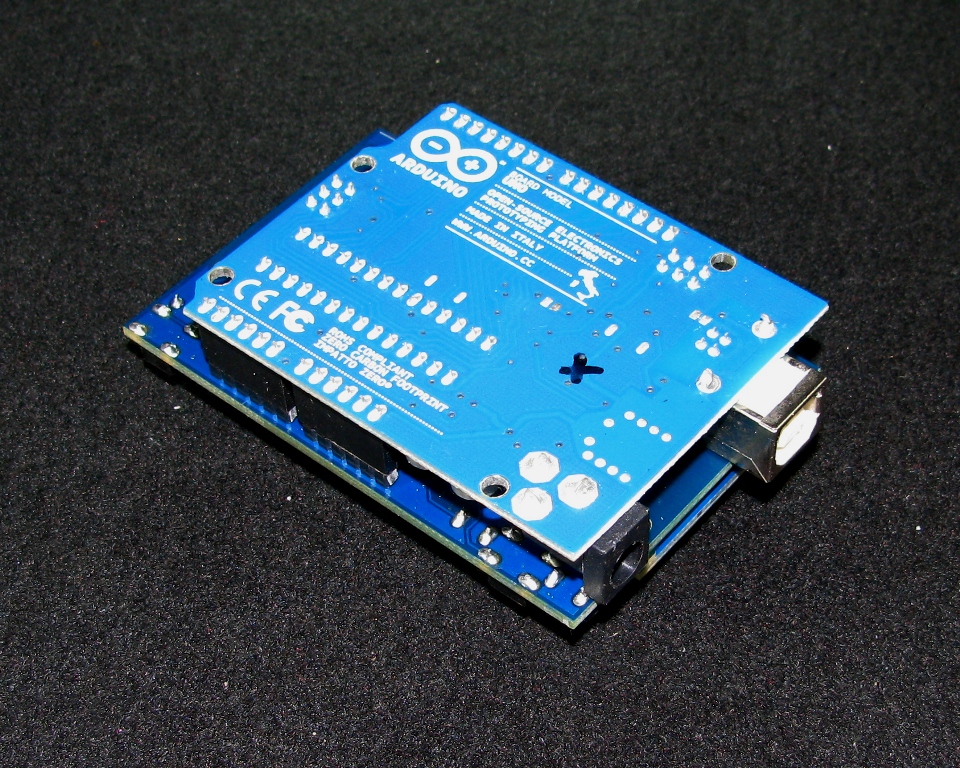
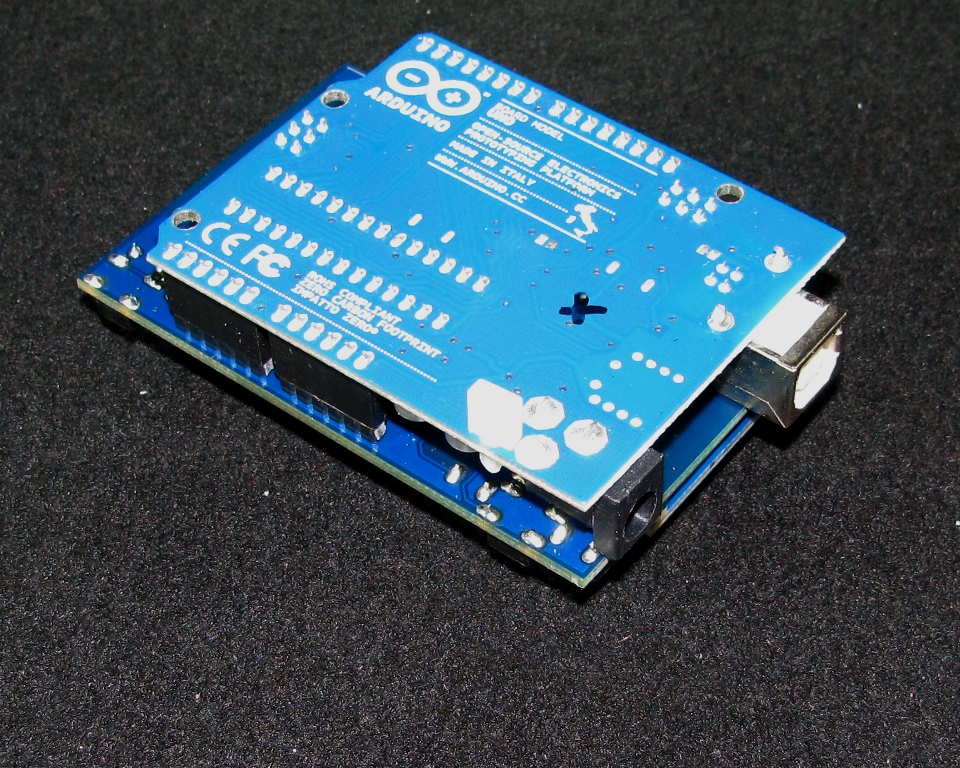
Step 3: Insert the Delrin standoff and Mount the Arduino

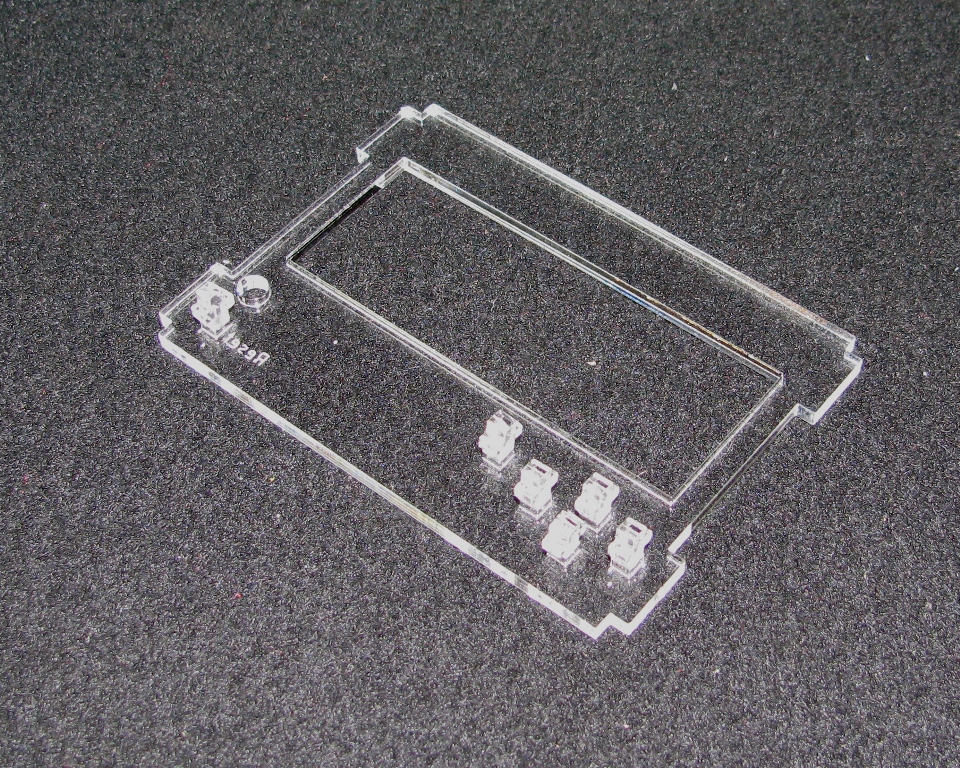
Step 4: Insert Buttons
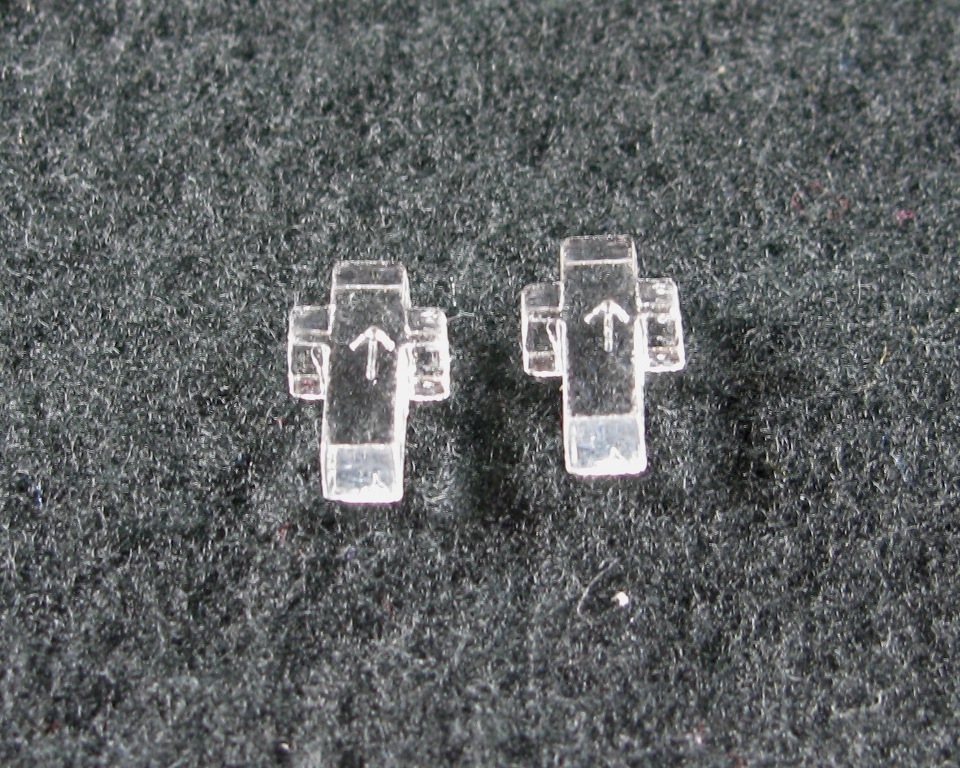

Insert the buttons with the arrow pointing up.
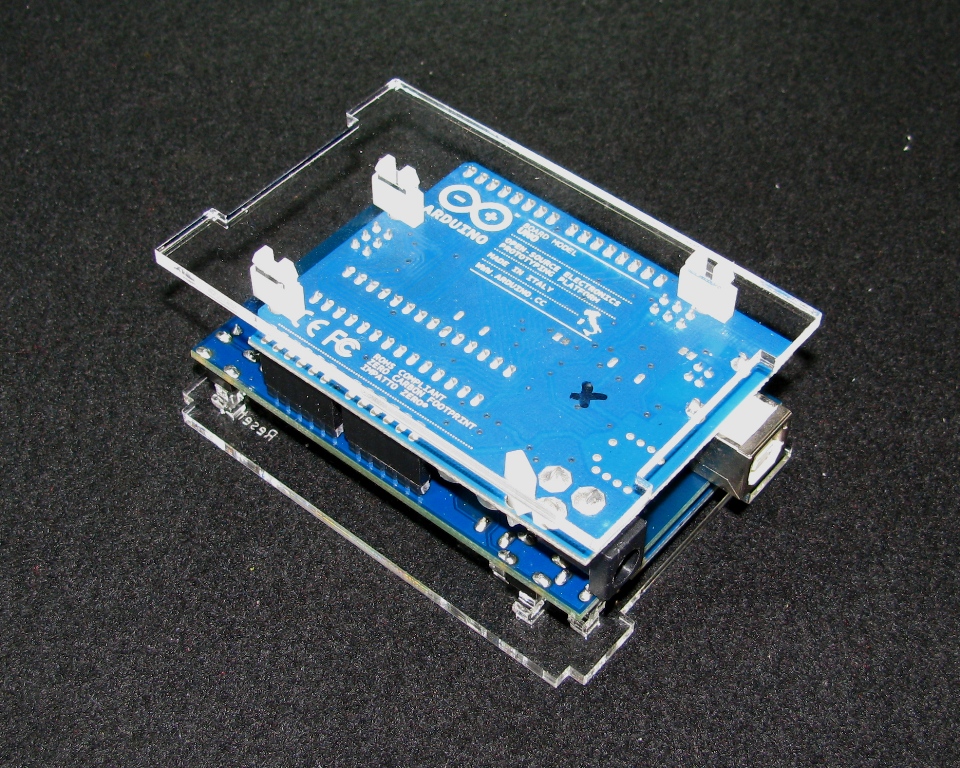
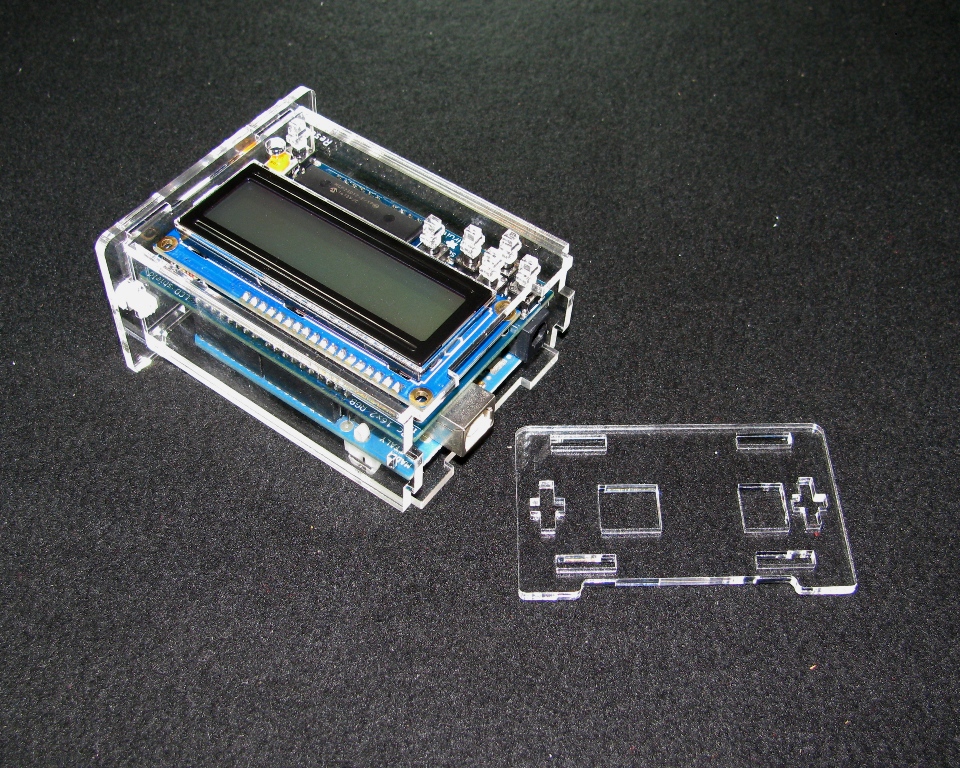
Step 5: Place the Arduino on the Top panel
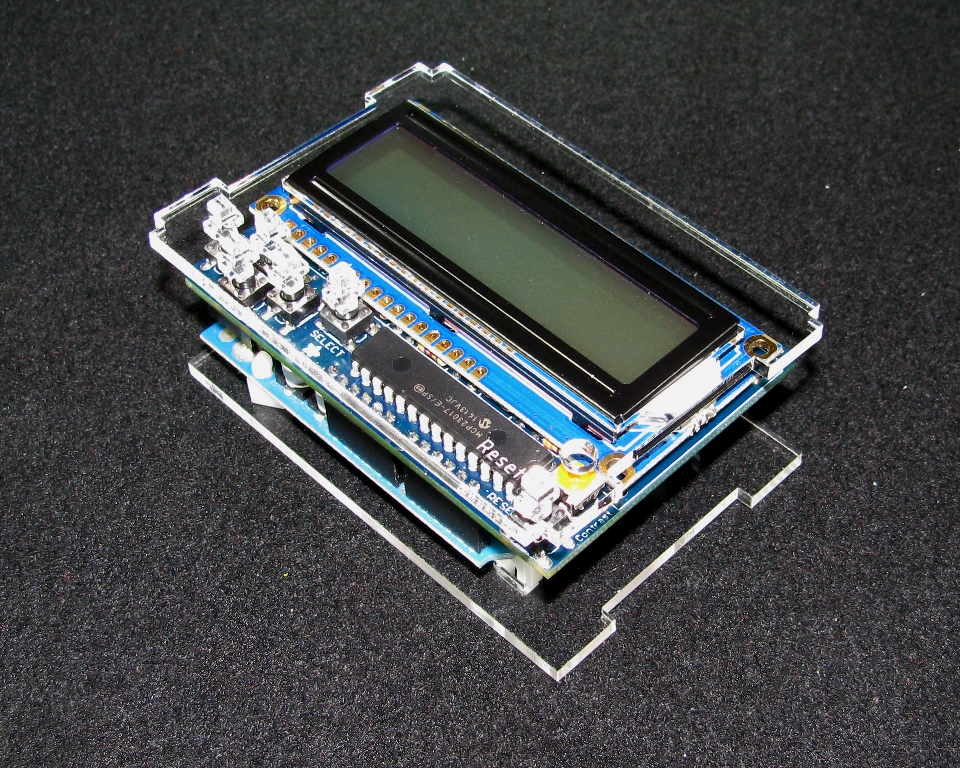
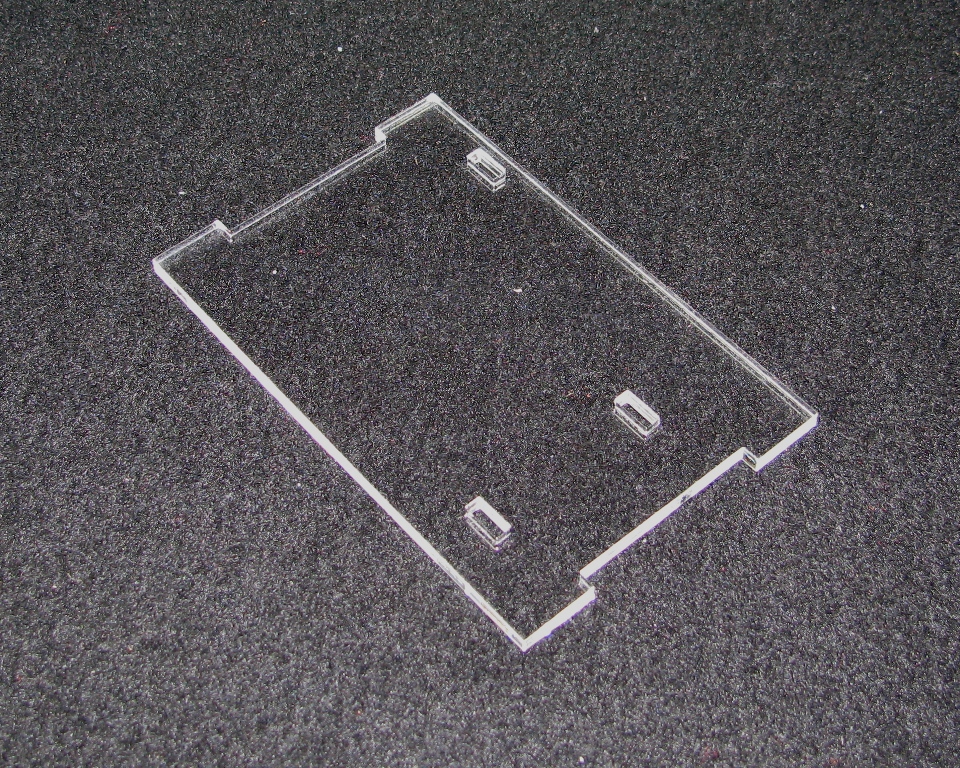
Step 6: Add Side Panel
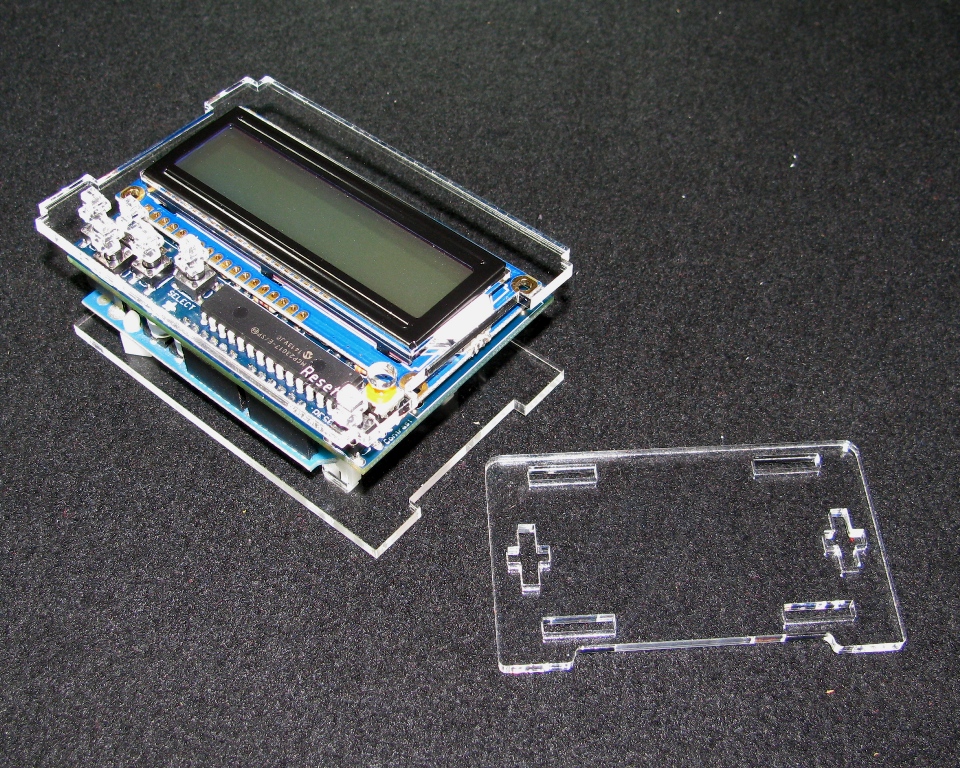
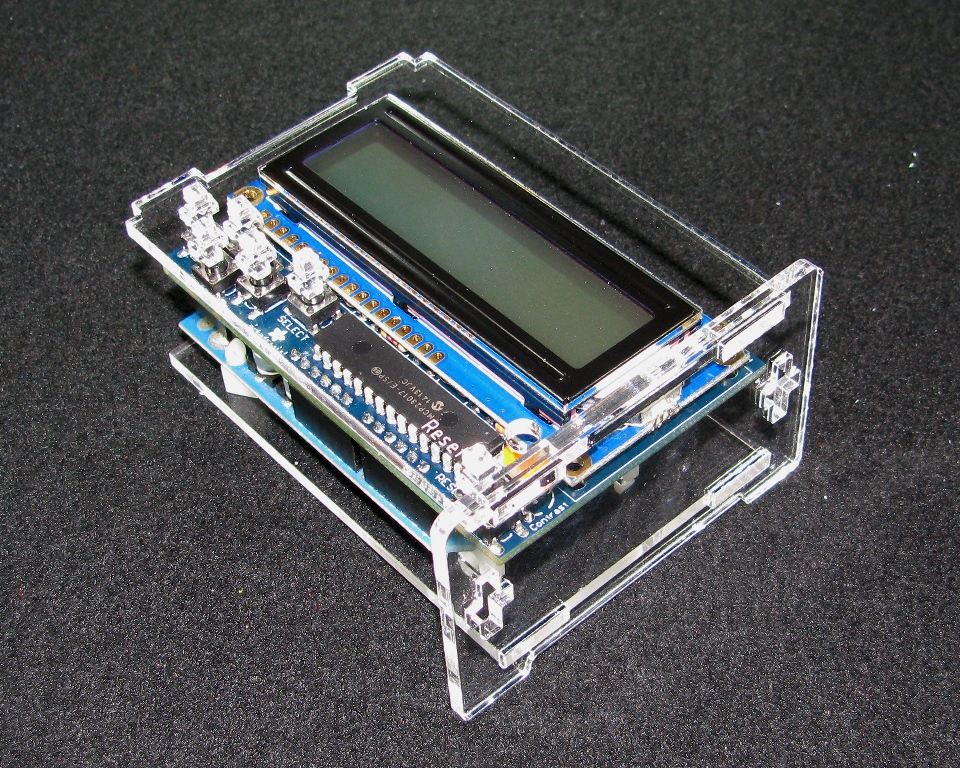
Step 7: Add Front Panel and Clip in place
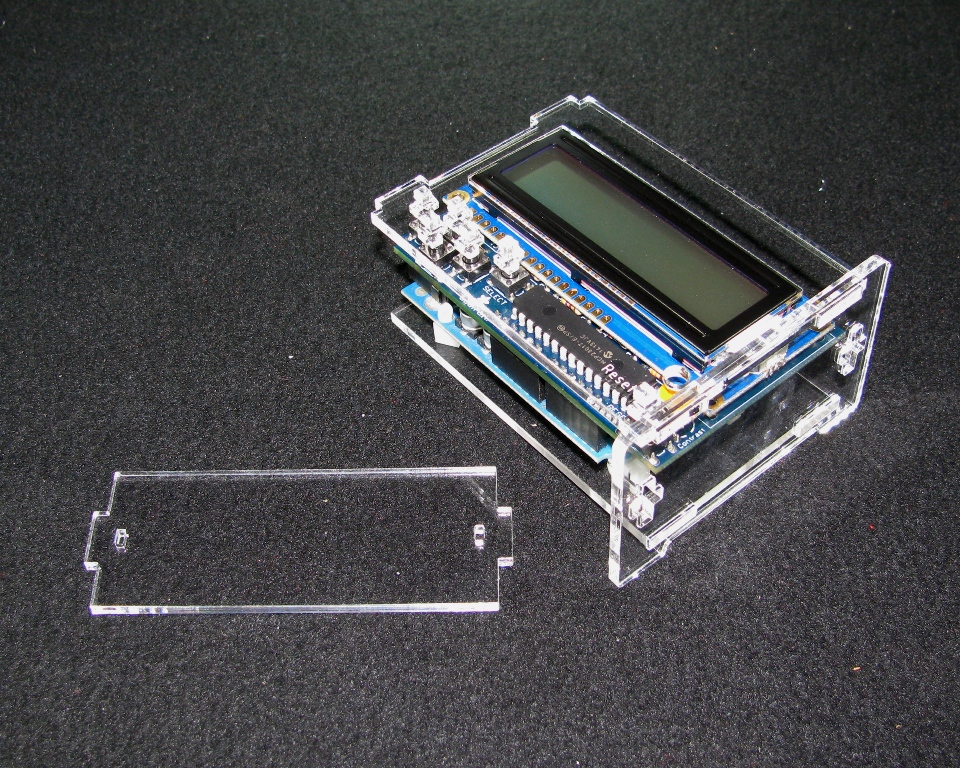

Step 7: Add Back Panel and Clip in place
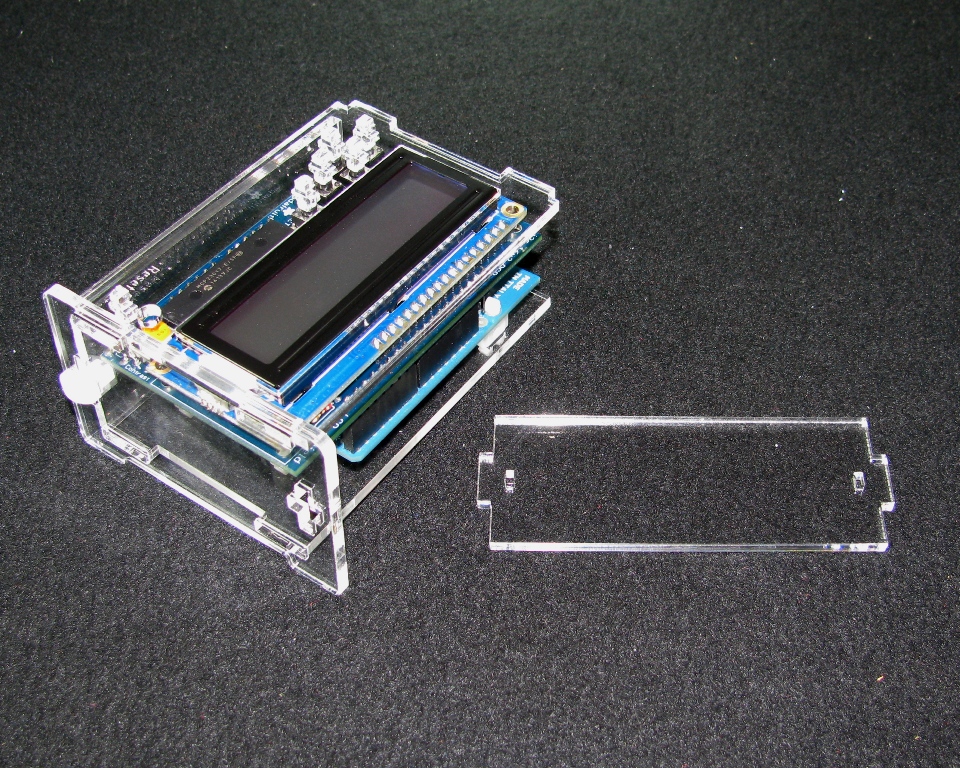
Step 8: Add the USB/Power side and final 2 clips

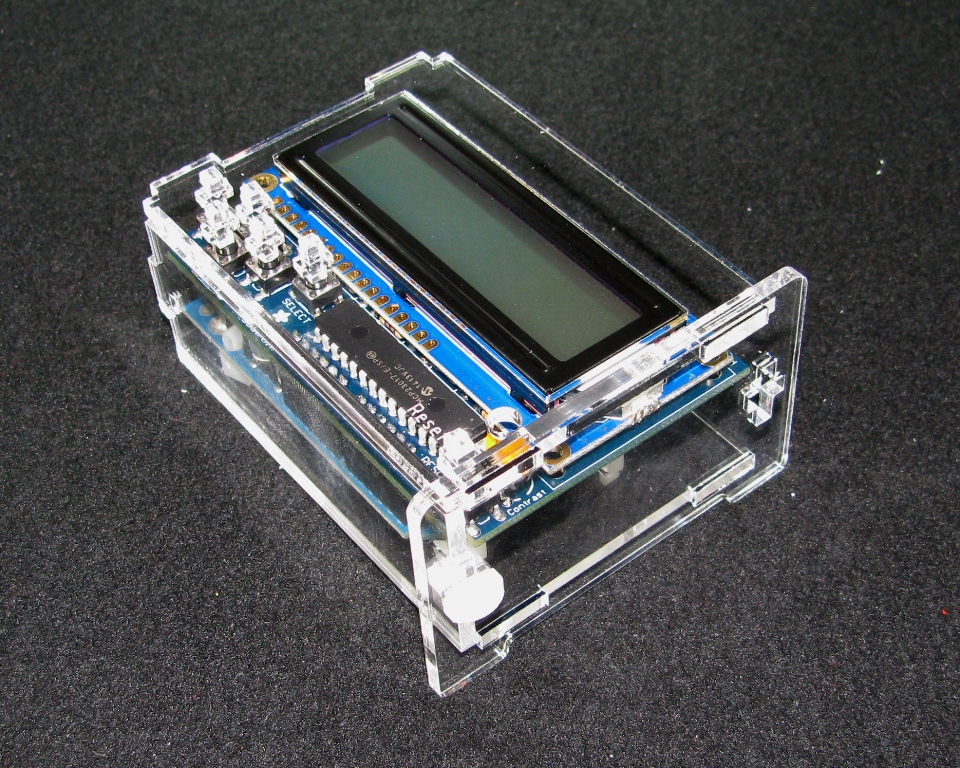
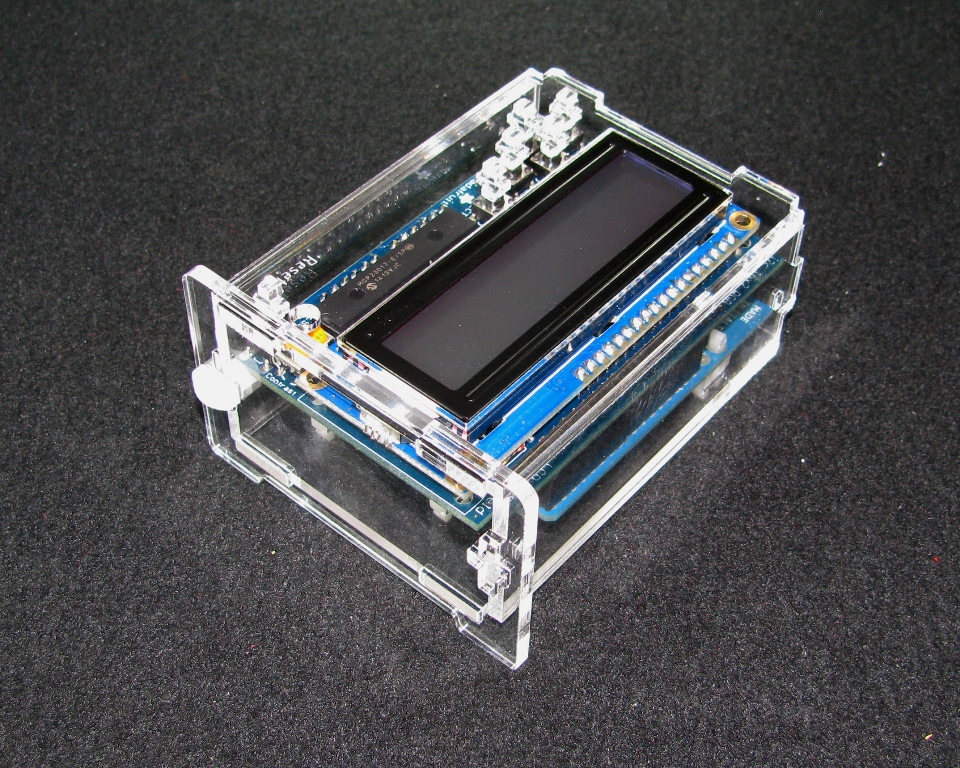
CONGRATULATIONS! You now have a fully assembled Arduino LCD Case!

