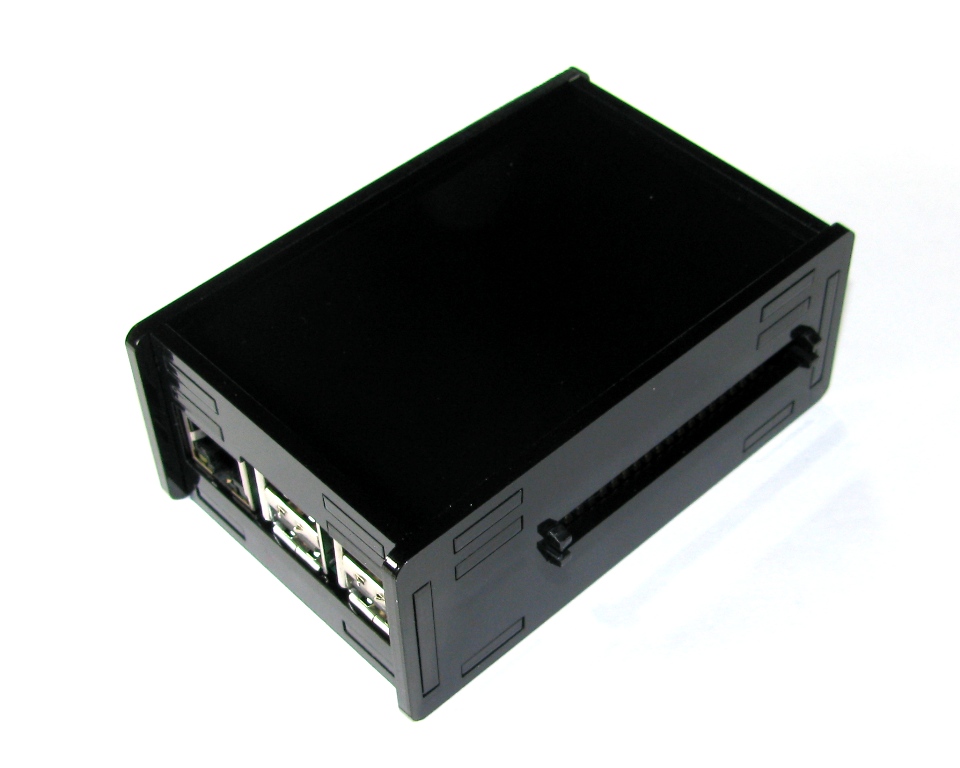
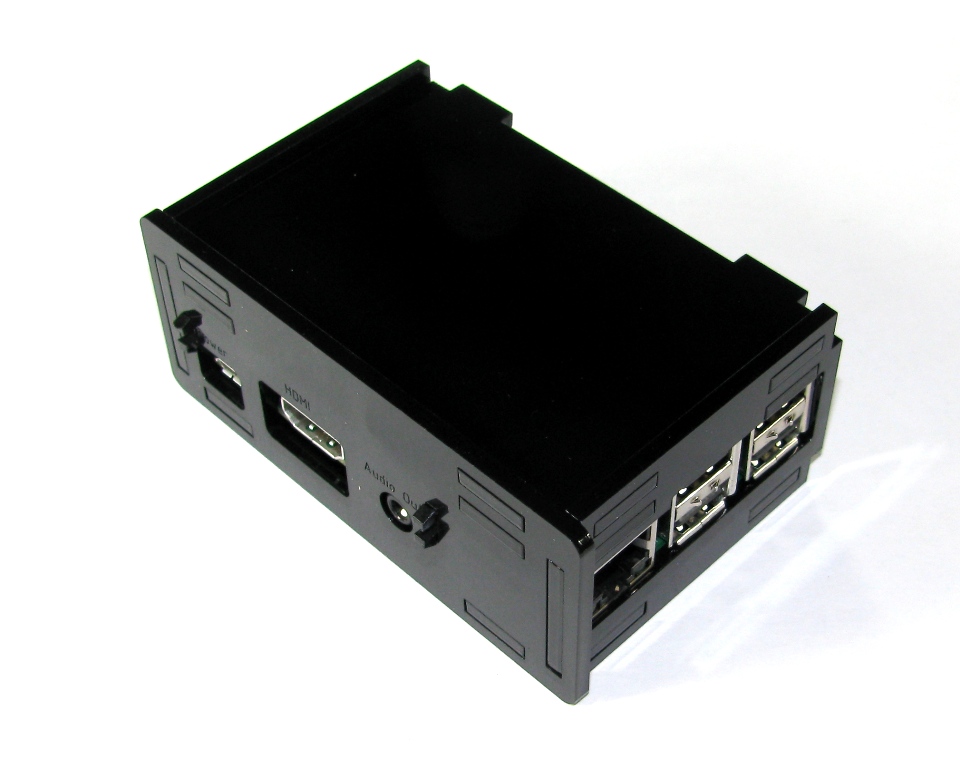
Raspberry Pi B+ Black Case
*Raspberry Pi 3 compatible.
Grab a kit of this case from our or grab the design if you want to make your own or modify it!
Step 1: Remove the Masking
All of the acrylic components have a brown paper masking on them. You will need to remove it to make the parts fit together nicely. It is best to start at a corner.
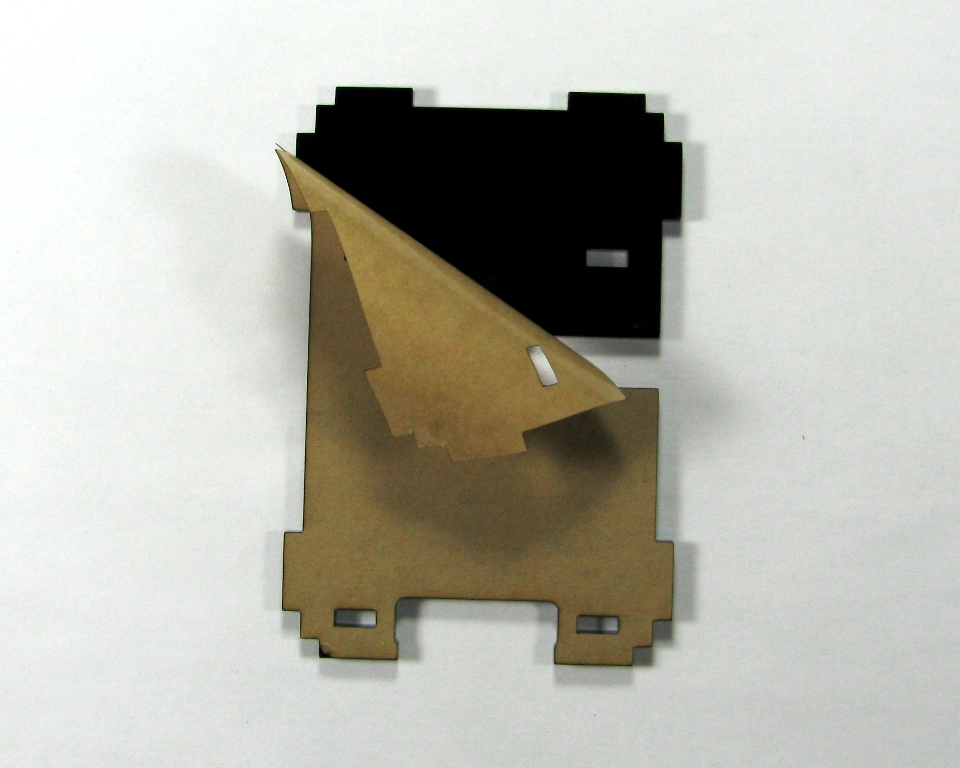
Make sure to remove the mask from both sides
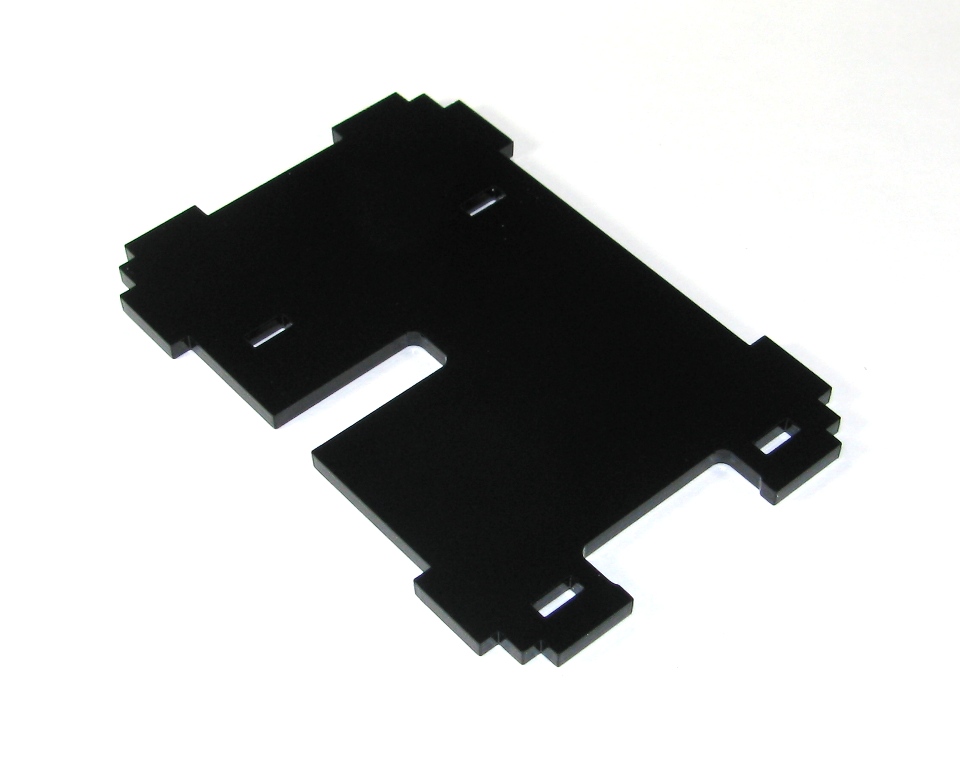
Step 2: Attach the delrin clips

Take the top panel and the two delrin clips and set them out as shown in the image above.

Snap the delrin clips in place as shown above
Step 3: Mount the PCB

Take the Raspberry Pi and mount it in place as shown in the images above.
Step 4: Place the Pi on the bottom panel
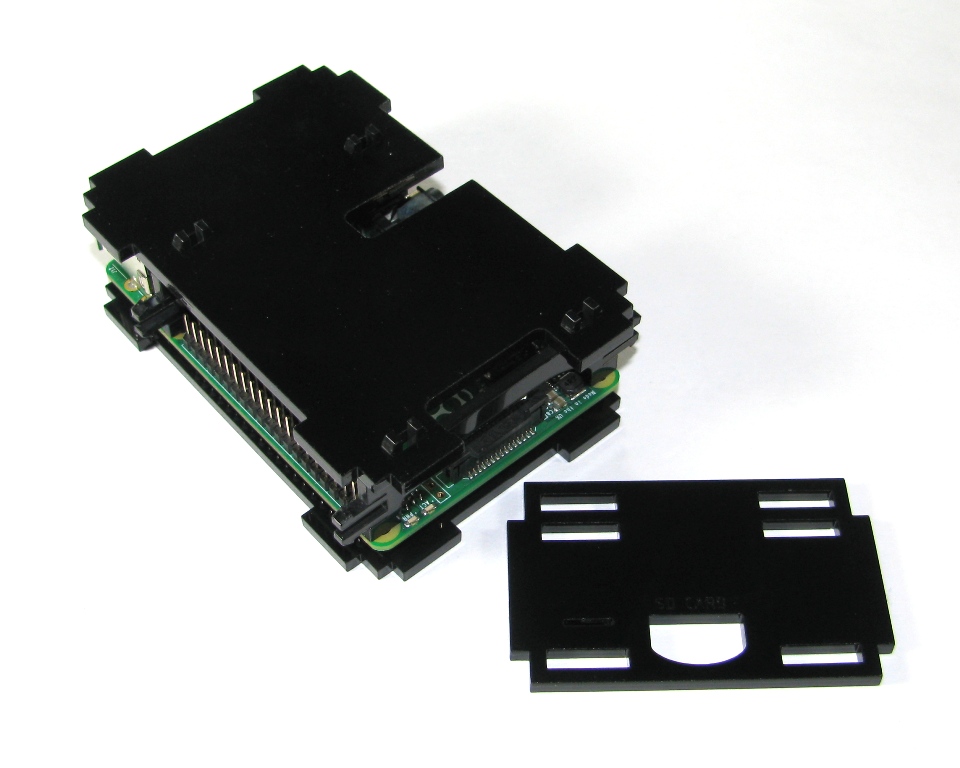
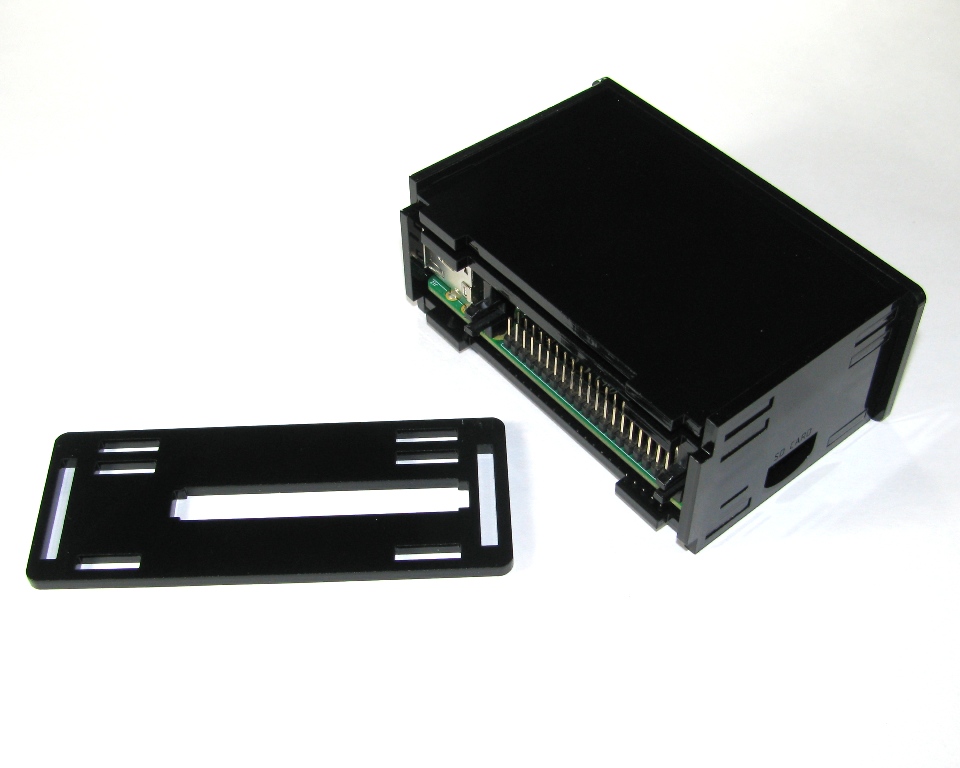
Step 5: Put the SD Card side in place
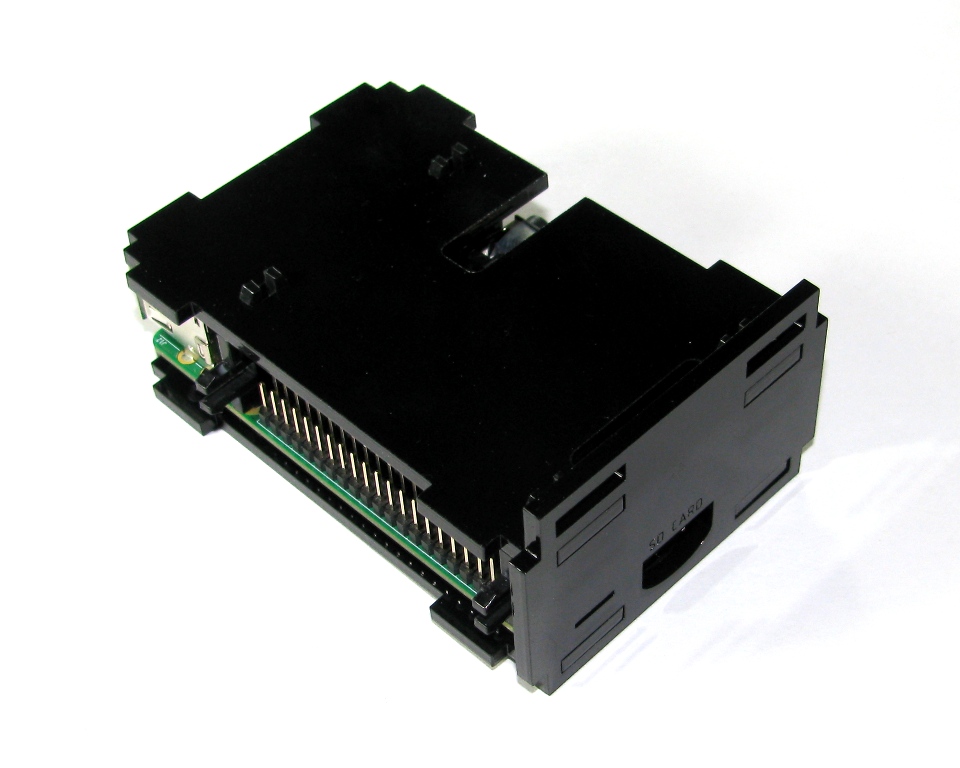
Step 6: Put the USB/Ethernet side in place
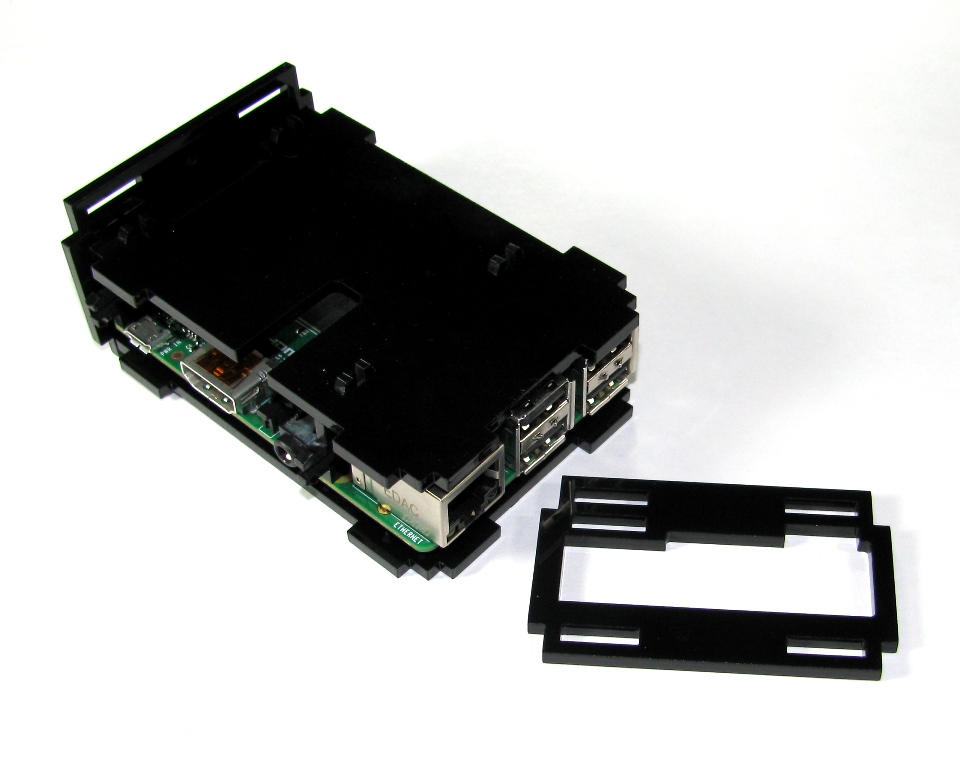
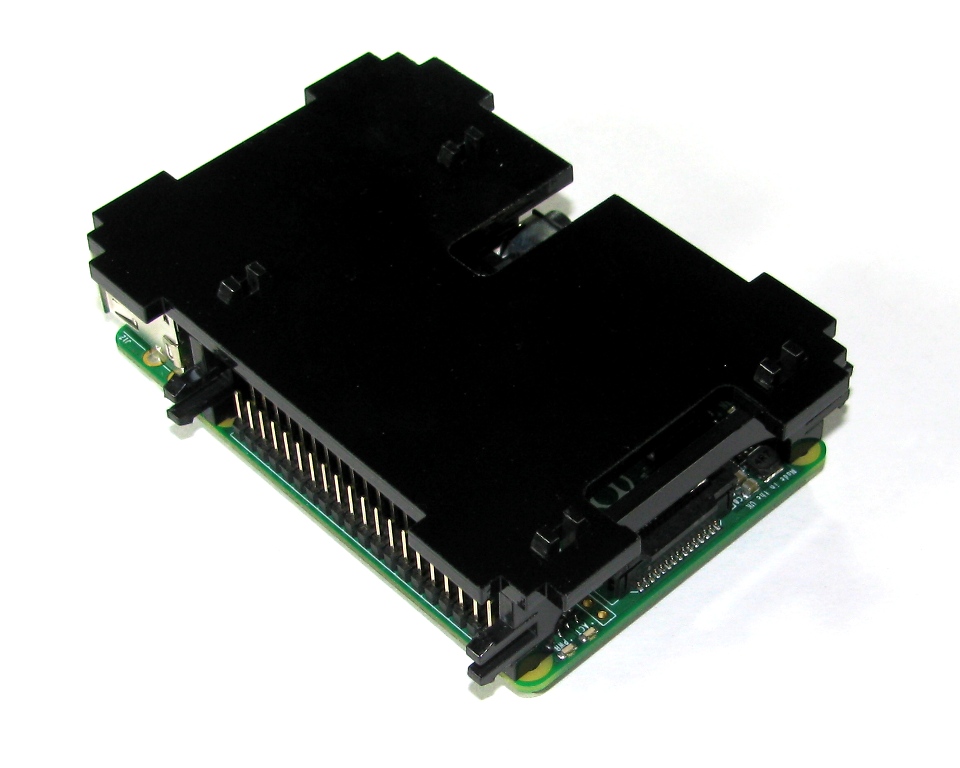
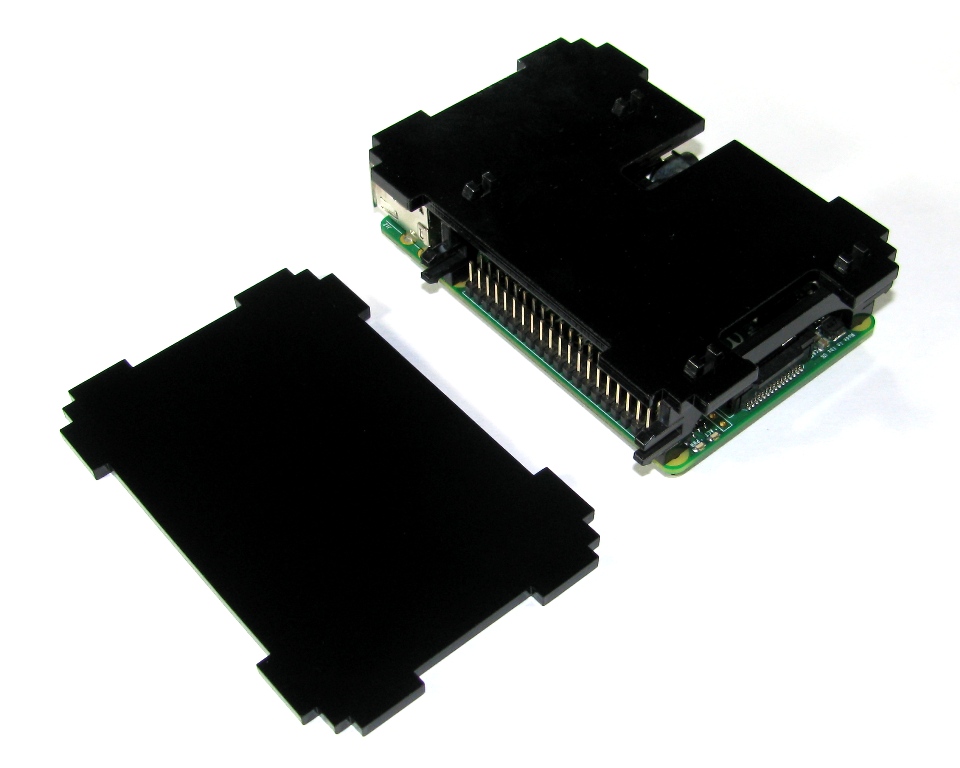
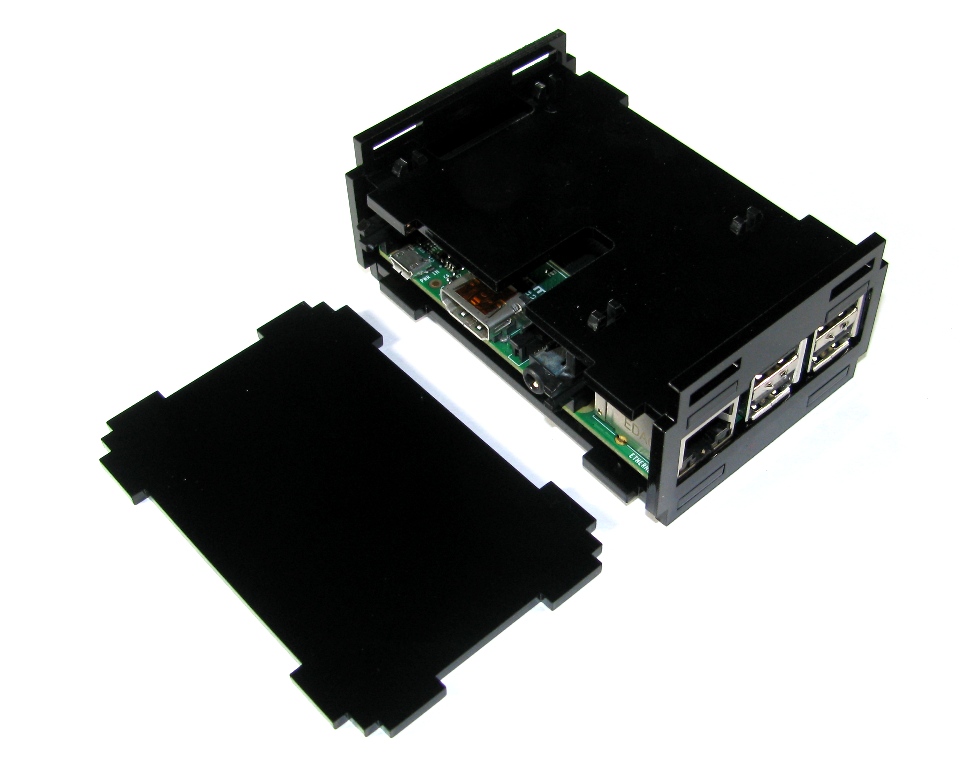
Step 7: Attach the Top Panel

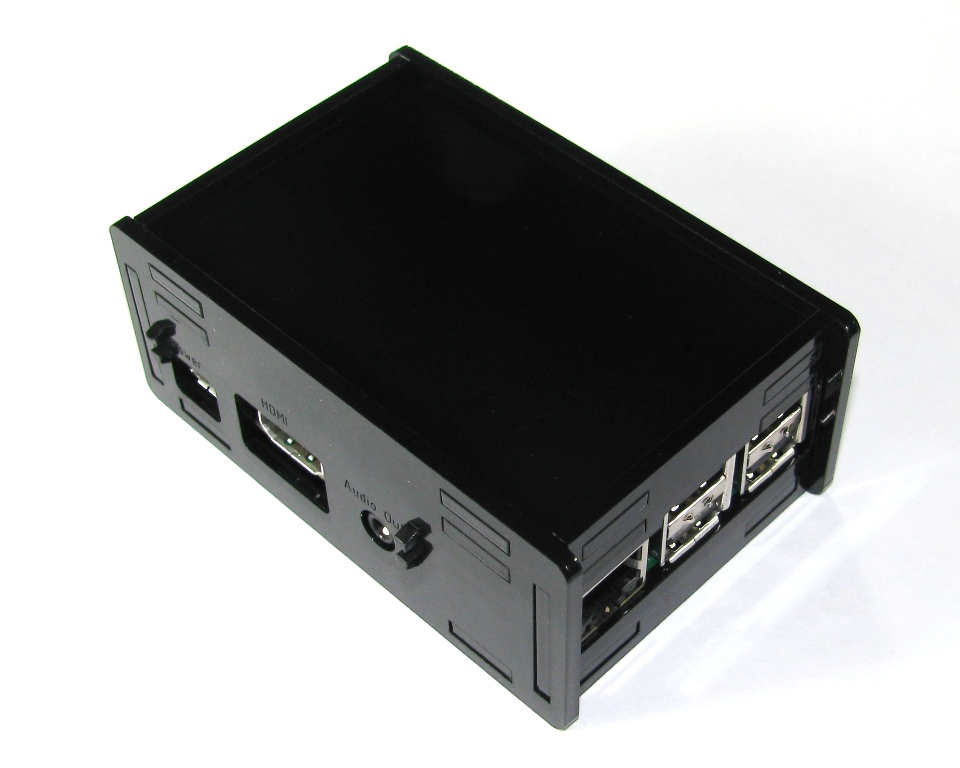
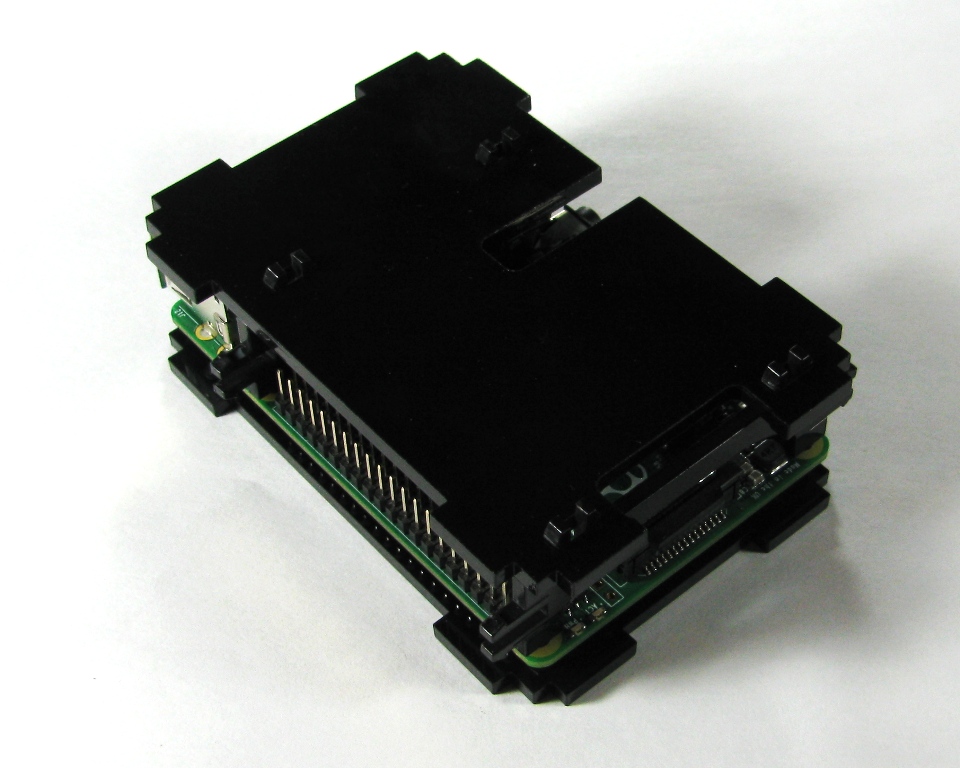
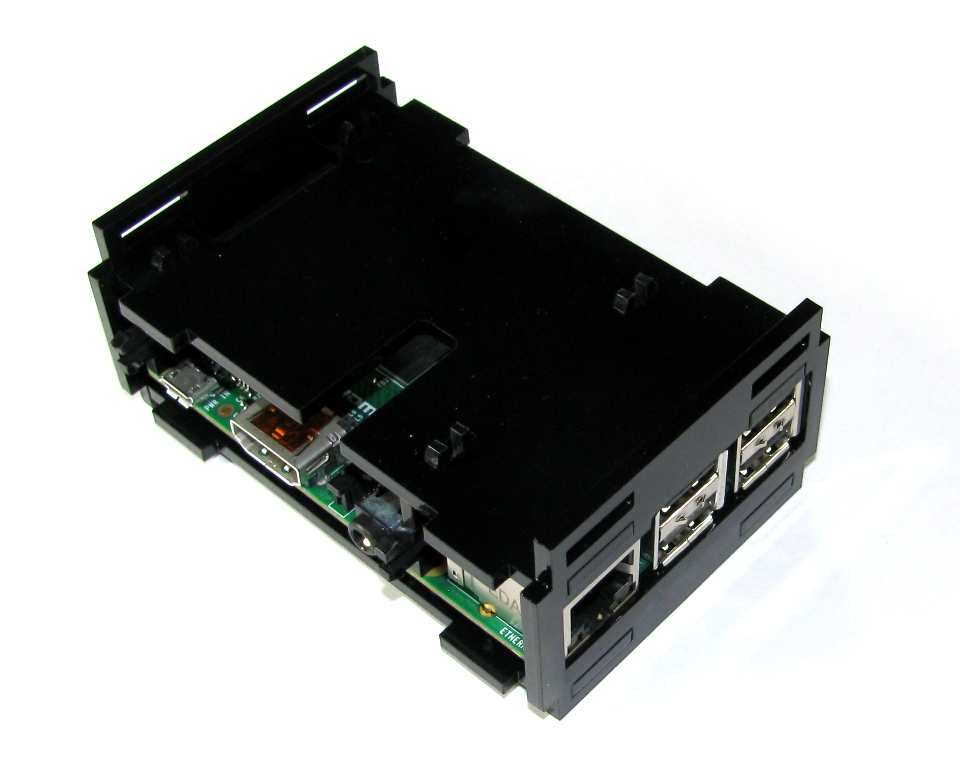
Step 8: Snap the Power/HDMI/Audio side into place

Step 9: Snap the I/O side in place

CONGRATULATIONS! You now have a fully assembled Raspberry Pi B+ Black Case!