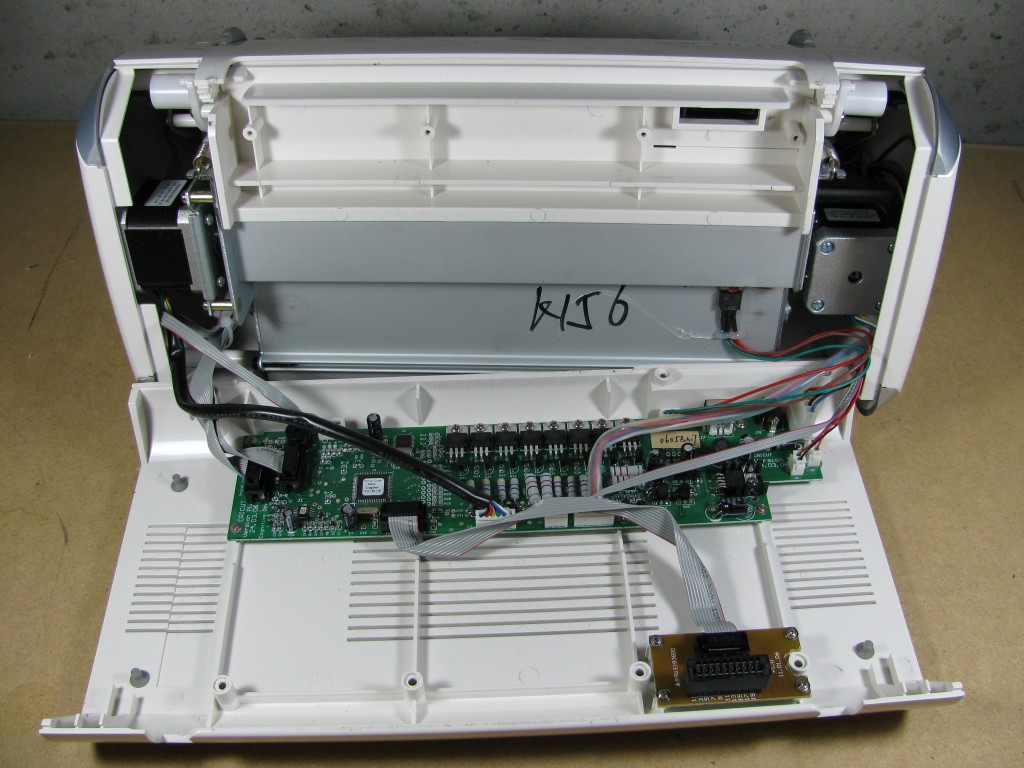
Here's what I found in my dissection of my Cricut Personal cutter. I think this is a pretty good jumping off point if you're interested in repurposing the hardware, but for now I'm not doing any advanced analysis of the circuits (tracing pinouts, etc). This may come later if I decide to make some custom firmware to do some other fancy things.
Actuators:
2 Steppers - 42BYGH4418 - These are standard NEMA 17 sized steppers with 6 leads. I didn't find any specific data on this stepper most likely driven in a unipolar configuration.
1 Solenoid - The cutter head seems to be a custom solenoid setup.
Chips:
- Main microcontroller for the entire system.
- FTDI USB to RS232 converter chip.
- 4MBit Serial EEPROM - This seems to be where the built in "Goerge and Basic Shapes" cartridge data is stored.
Power:
- 1.5A adjustable voltage regulator - Outputs 2.4V at power on.
- 5Volt 3A Step Down Switching Regulator
18V 2.5A Power Brick - Labeling seems to suggest there are 16V, 20V, and 21V versions as well.
Other Parts:
NPN Transistors and high wattage resistors - These 8 transistors are driving the individual stepper coils. The power resistors, transistors, and diodes in the center of the motherboard above all form the stepper control for the two steppers used in the setup. The steppers are driven off of the 18V supply from the power brick.
Potentiometers - The speed, pressure, and size dials are all just connected directly to potentiometers.
"George and Basic Shapes" cartridge tear down:
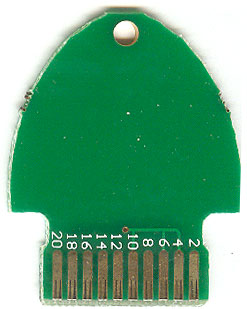
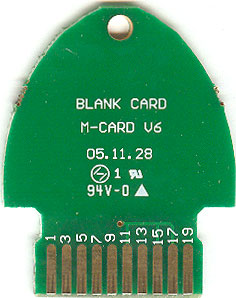
Here's a picture of the "George and Basic Shapes" cartridge from the side facing tward you when inserted into the machine. This is the cartridge that comes with the machine and is just a couple pins shorted together. If you've searched for Cricut hacks before, you probably already knew this, as this seems to be one of the few details floating around. I did manage to disassemble a standard cartridge at an earlier date and it contained an Atmega chip and another mysterious 8-pin Atmel chip just like the motherboard. I'll have to borrow another cartridge or two in the future and post some pics.
The back seems to be a mirror of the front. It seems that rather than key the cartridges, they simply manufacture them so they can be inserted either way and function normally.
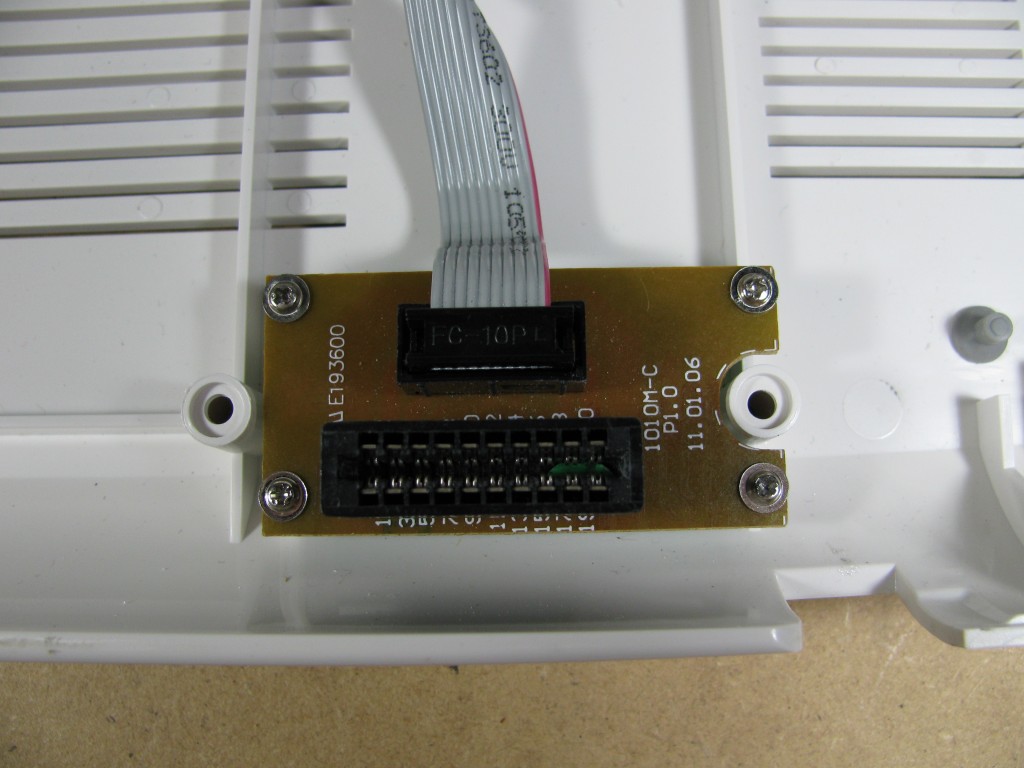
Cartridge socket machine side:
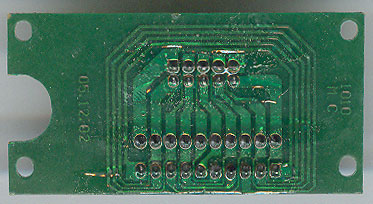
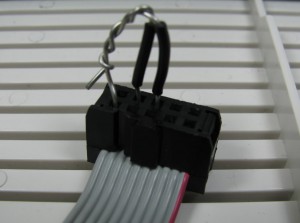
You can see from the traces on the cartridge socket PCB that the connections are mirrored on the machine side as well. After taking a look at the cartridge board, I simply disconnected it and used jumper wire to short the appropriate pins to emulate a George cartridge on my unit as many others have done since the George cartridge above is one that I borrowed. Here's a pic of my George cartridge emulation setup:
This solution works nice for me since it's quick and easy and I don't plan on using the Cricut with the standard cartridges. You can just as easily emulate a George cartridge a number of other ways if you what to still use other cartridges with the machine normally, ranging from making your own PCB to just gluing some foil traces to a piece of cardboard that will fit in the slot.
More hardware details to come as I start looking at signals and set up serial sniffing...
Tags: Cricut
