Construction of CCCKC's and my PE00001 MakerBot was pretty straight forward for the most part. The only major snags we hit were versioning issues and a finicky extruder. New laser cut parts are easy to get our hands on and relatively cheap, but extruder parts have to be ordered from MakerBot Industries costing us time and money. Also, if you want to re-use your nozzle and heater barrel, you have to soak your parts in an acetone bath for a few days to clean it out, which is a real pain because you also have to agitate the bath as well if you want to be reusing those parts any time soon. I've been told you can also use a lighter to melt out the plastic, but I have yet to experiment with this.
Anyway, here are a few things we picked up while debugging the extruder to consider in addition to the instructions on the MakerBot site:
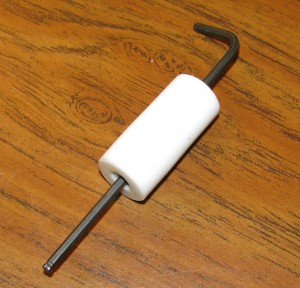
- Don't cross thread the PTFE! This is relatively easy to do since PTFE is a pretty soft plastic. If you're worried about it, use the 3mm hex wrench as a guide when screwing the heater barrel in:

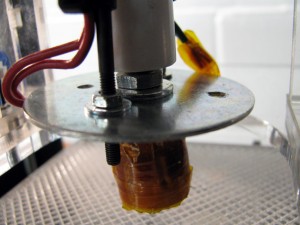
- Remove the PTFE as a load bearing structural component. This amounts to adding an M6 nut and washer in between the PTFE insulator and the fender washer. This translates force on the heater barrel back up to the main plastruder body through the bolts connected to the fender washer. While this won't stop damns of plastic from forming and slowing down extrusion, it should keep the heater barrel from getting pushed out of the PTFE, stripping the threads out as it does so.

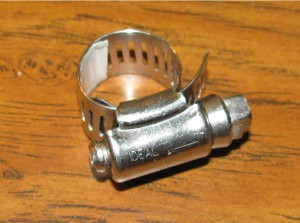
- Add a hose clamp where the heater barrel and PTFE meet. While not required, it probably couldn't hurt and it may stop damns from forming. I'm hoping this will extend the life of my extruder a bit. Remember to periodically tighten this clamp up as the PTFE "flows" away from the clamped area over time.

Check out this entry on thefor some additional info and some more awesome mods to the basic plastruder setup.
Tags: 3D Printer, Makerbot