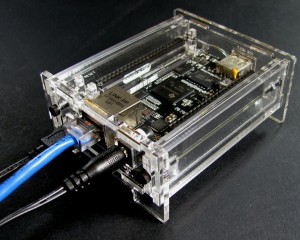
Beaglebone Black Enclosure Assembly
Need a kit? Grab one from the ! Want the design files and BOM for this thing? Head over to it's Thingiverse .
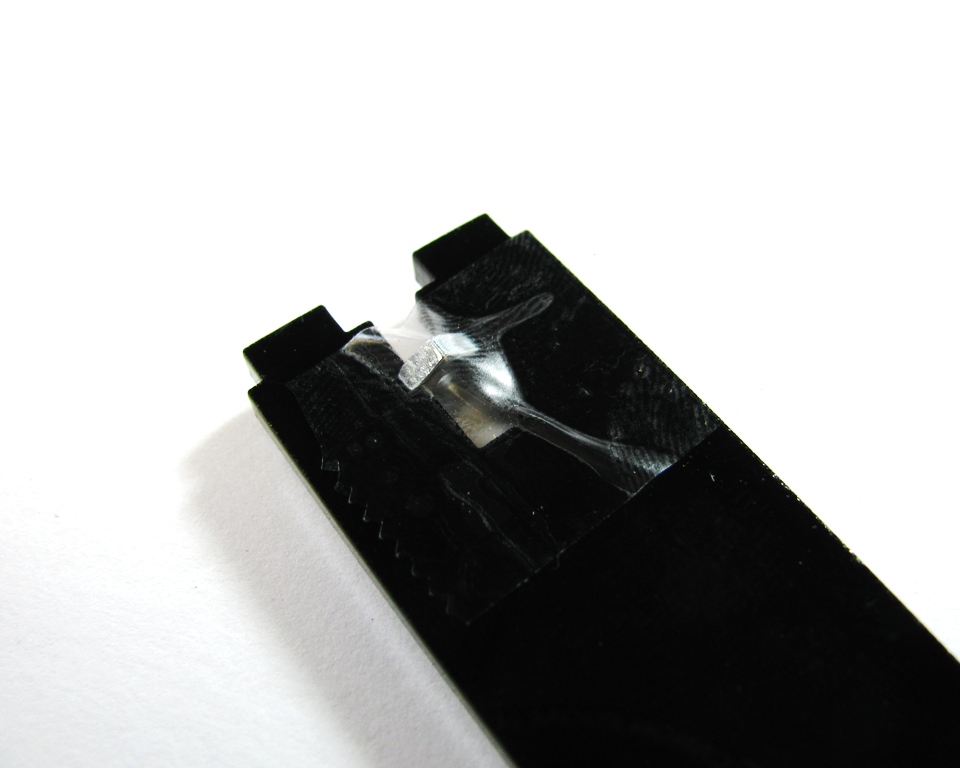
Step 1: Remove masking from parts
Every acrylic part comes with a paper masking on it to protect it. Now before assembly, it is time to remove the masking from all of the parts.
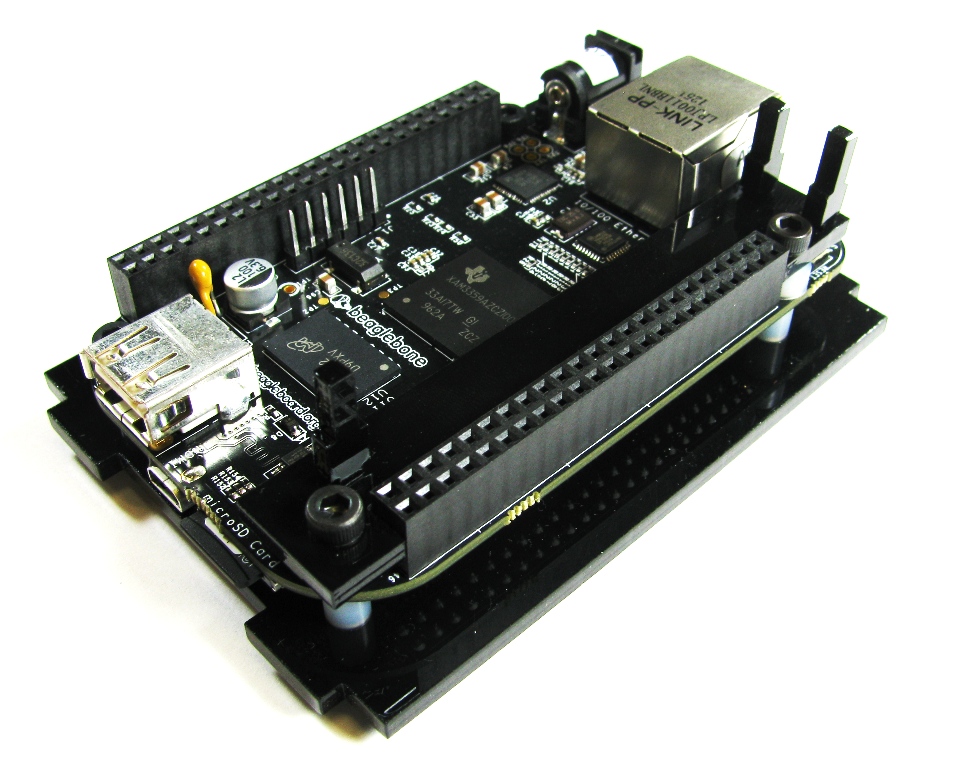
Step 2: Mount the PCB to the Bottom
Take the 4 quarter inch nylon standoffs and place them on the bottom piece, lined up with the holes.

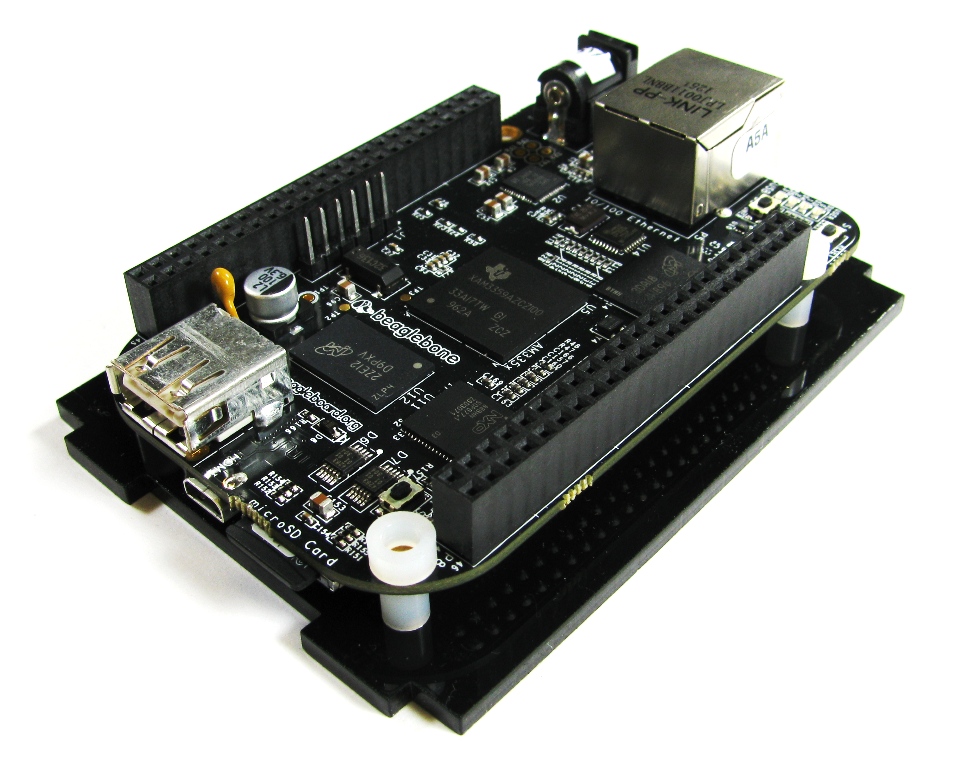
Carefully place the PCB on top of the standoffs
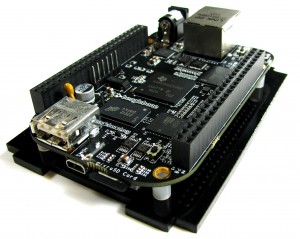
Take the 2 eighth inch standoffs and place them on top of the PCB as shown in the image below
NOTE: If you are using this enclosure for the original Beaglebone, you need to just insert 4 of the 14mm bolts and thread the nuts on. Then continue on to the next step.
Take the button guide (the small U-shaped part with 3 square holes in it) and place it on top of the 2 eighth inch standoffs and put the two 22mm bolts through. Insert 2 of the 14mm bolts through the other holes. Thread on the nuts and tighten the bolts down. Go ahead and put the buttons in place at this time.
Step 3: Pre Assemble the rest of the Enclosure
(optional) tape 4 of the remaining nuts into the slots in the two side brackets.
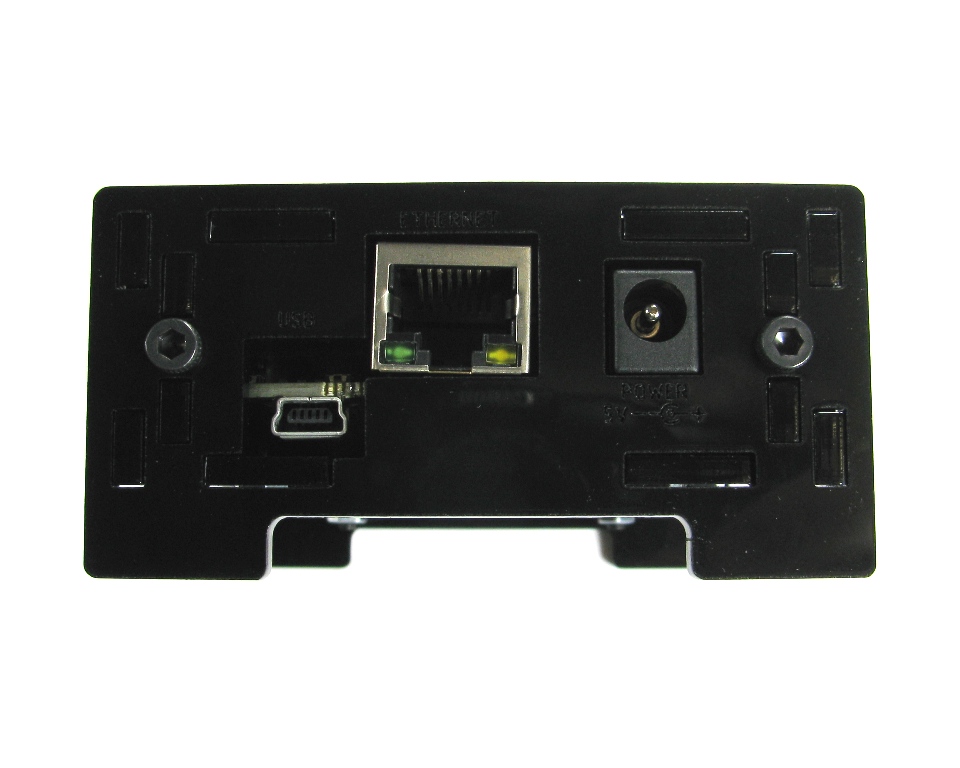
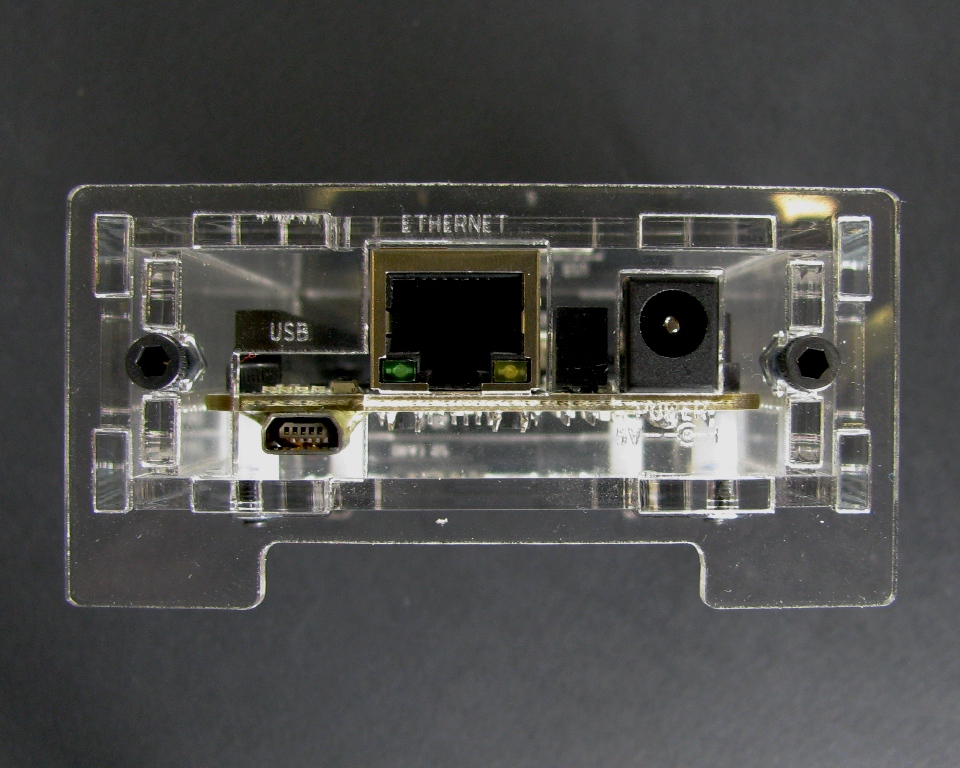
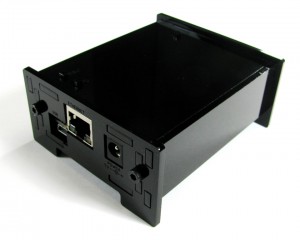
Insert one of the side brackets into the Ethernet/power sides and bolt it together.

Repeat with the other side bracket

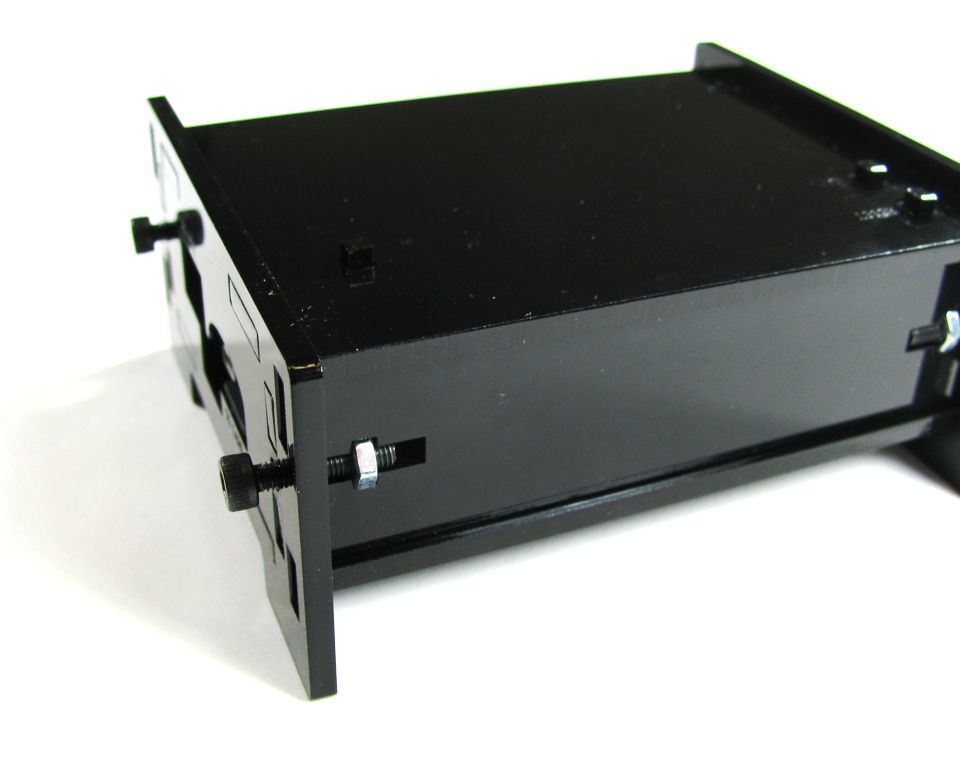
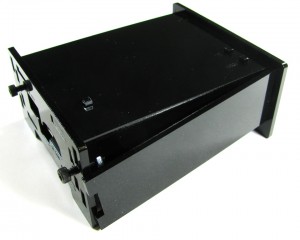
Step 4: Assemble the 2 assemblies together
Set the 2 side brackets and Ethernet/Power assembly on the bottom piece as shown below
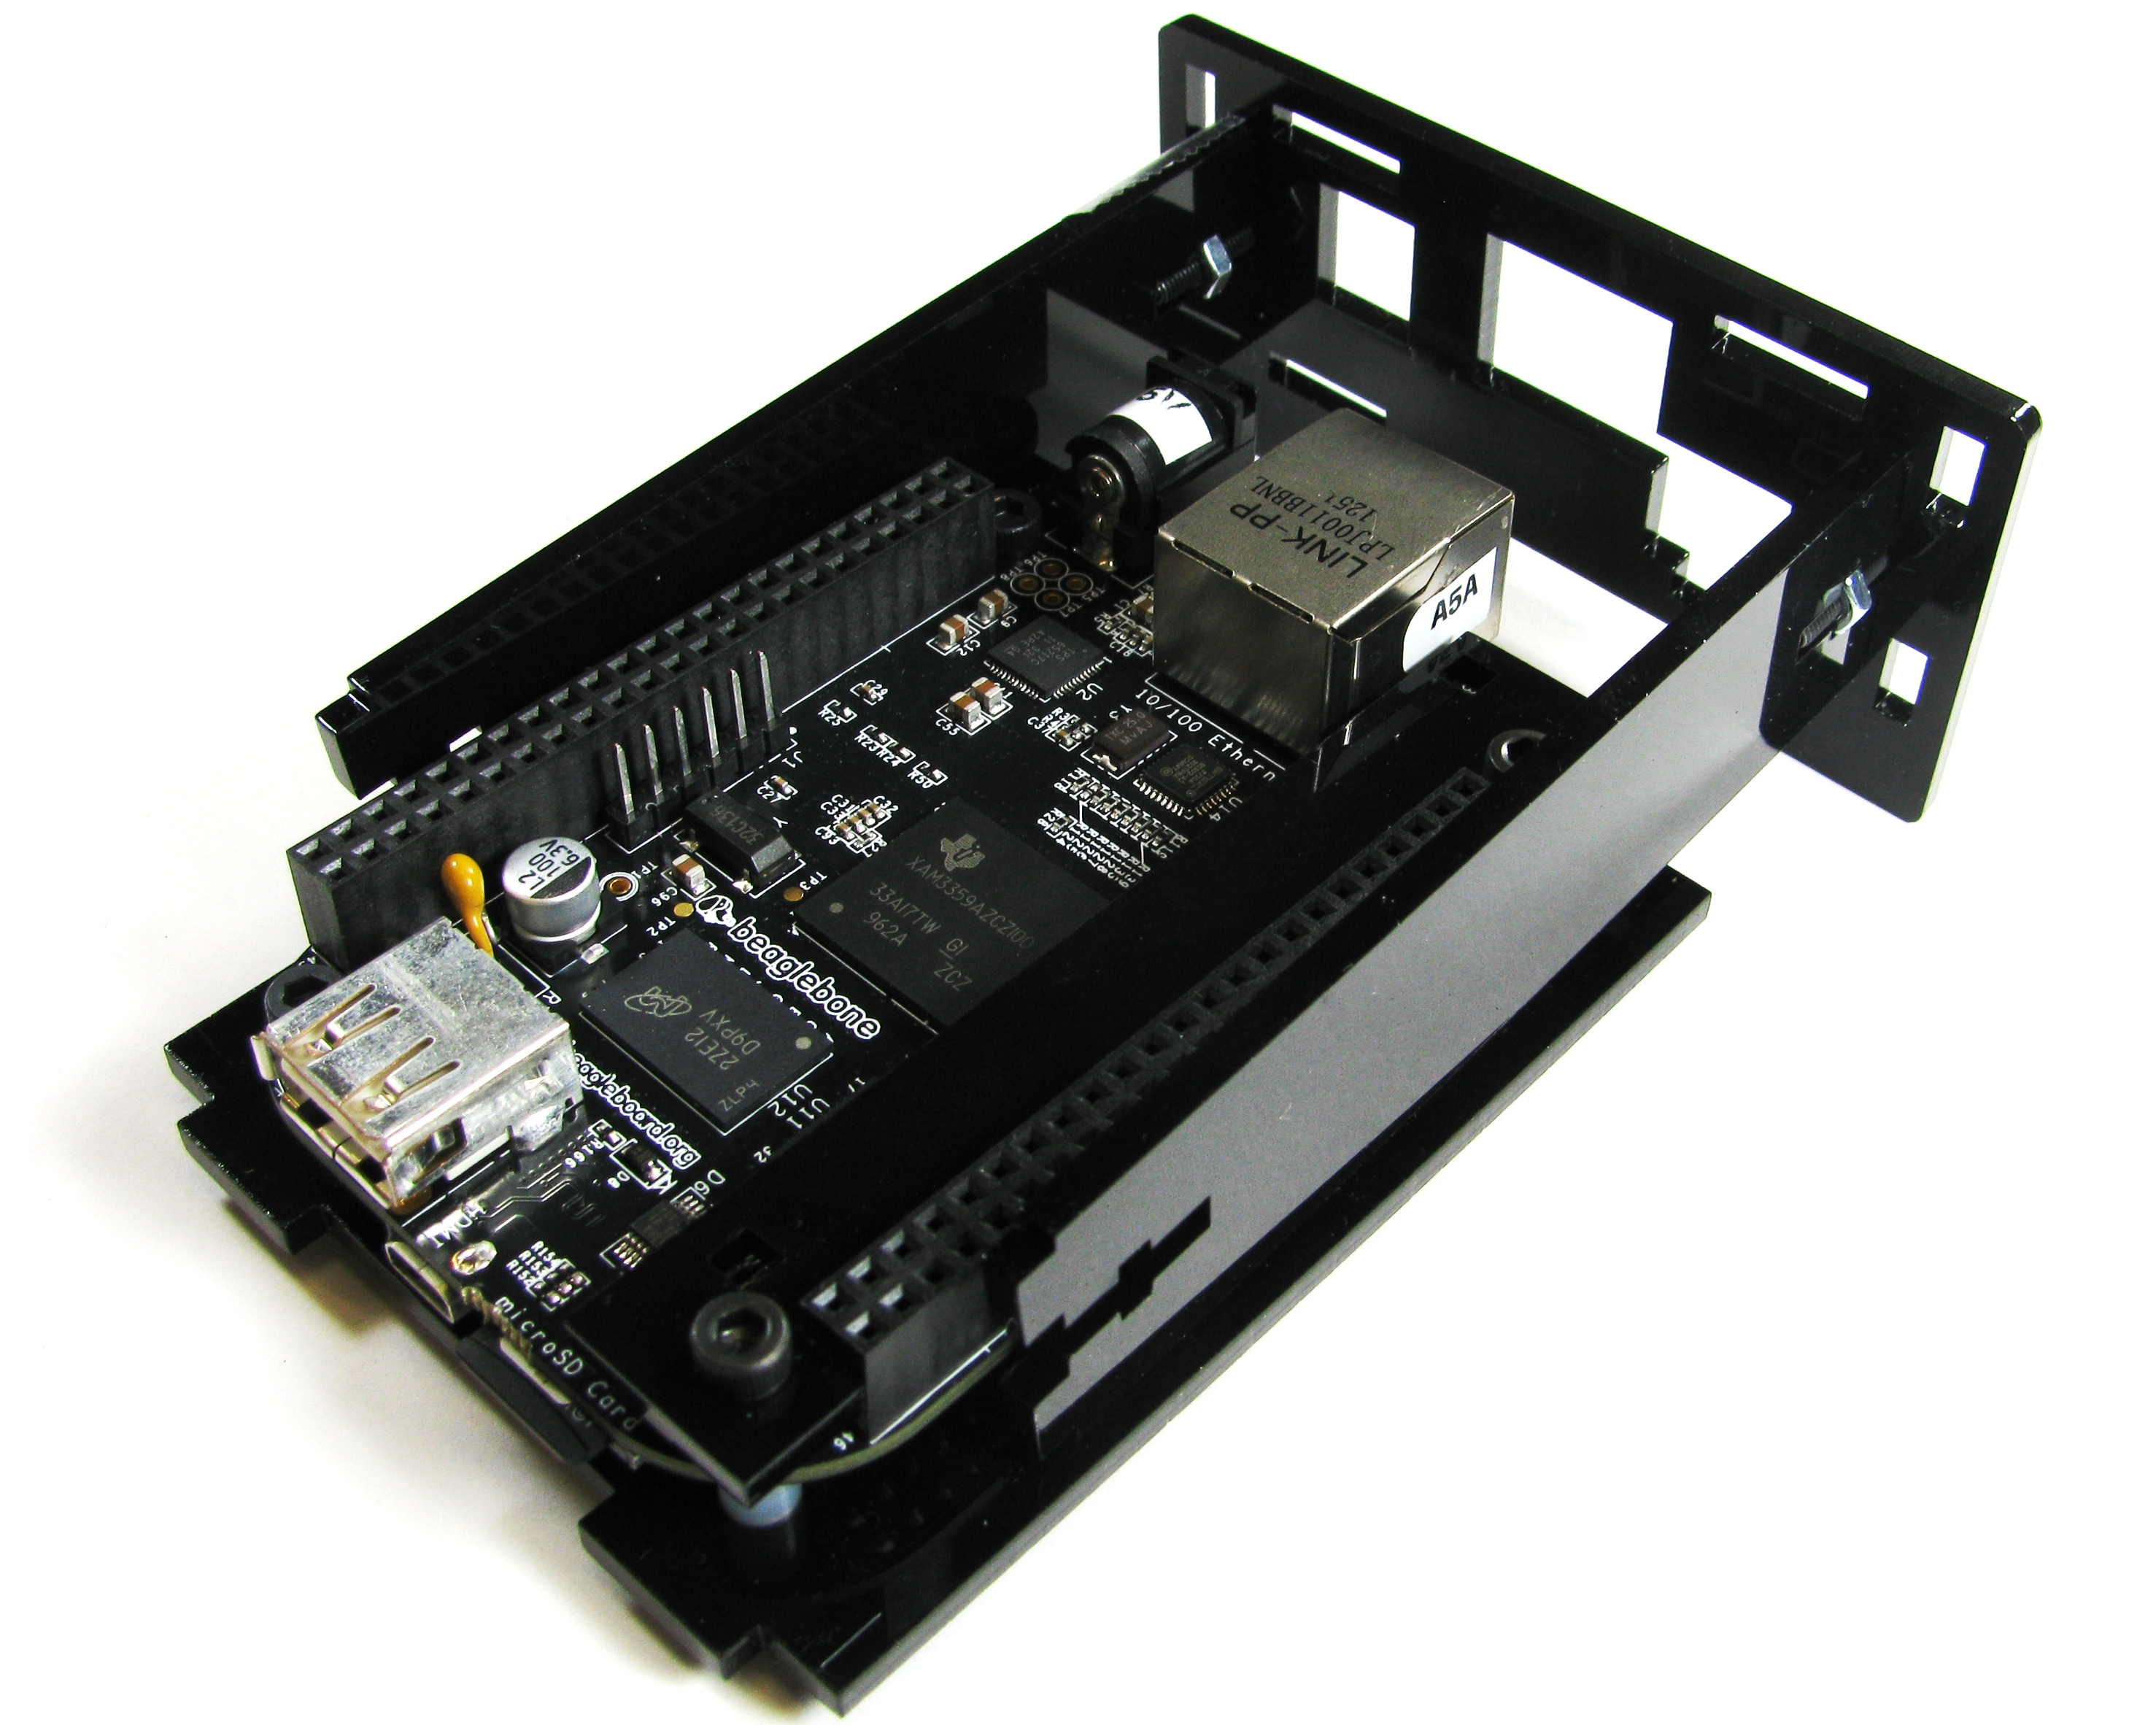
Now set the top piece on top making sure to line the holes up for the buttons (for the original Beaglebone, use the top piece with the single hole labeled 'reset')
Pick up the bottom piece and work the buttons through the holes on the top. Then slide the top and bottom into their slots on the Ethernet/Power side.
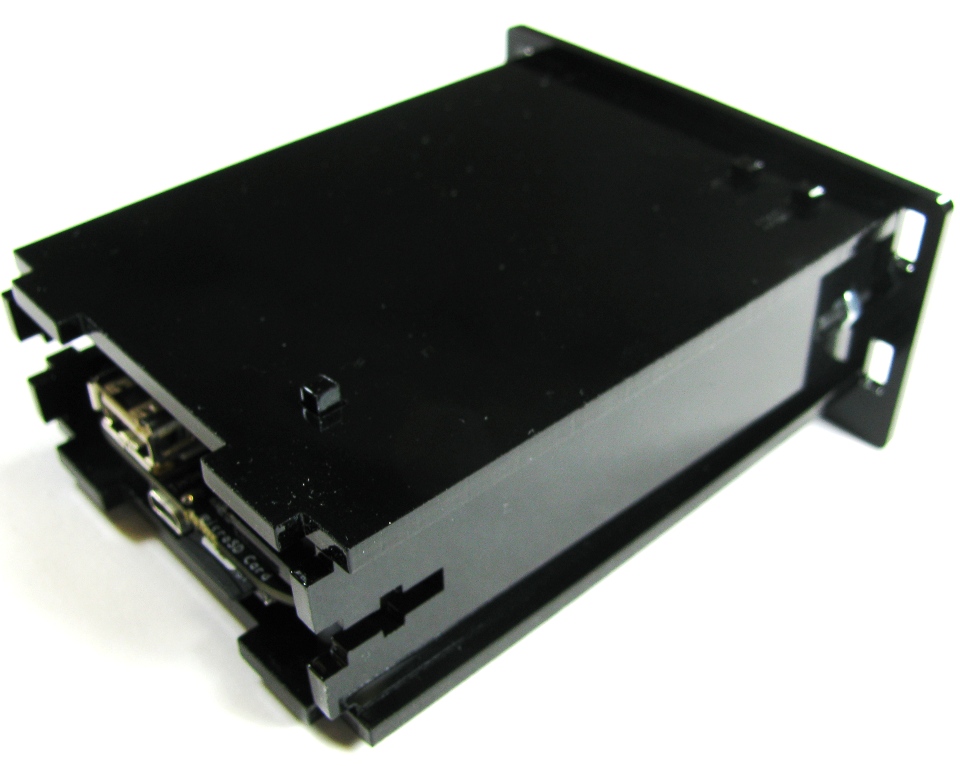
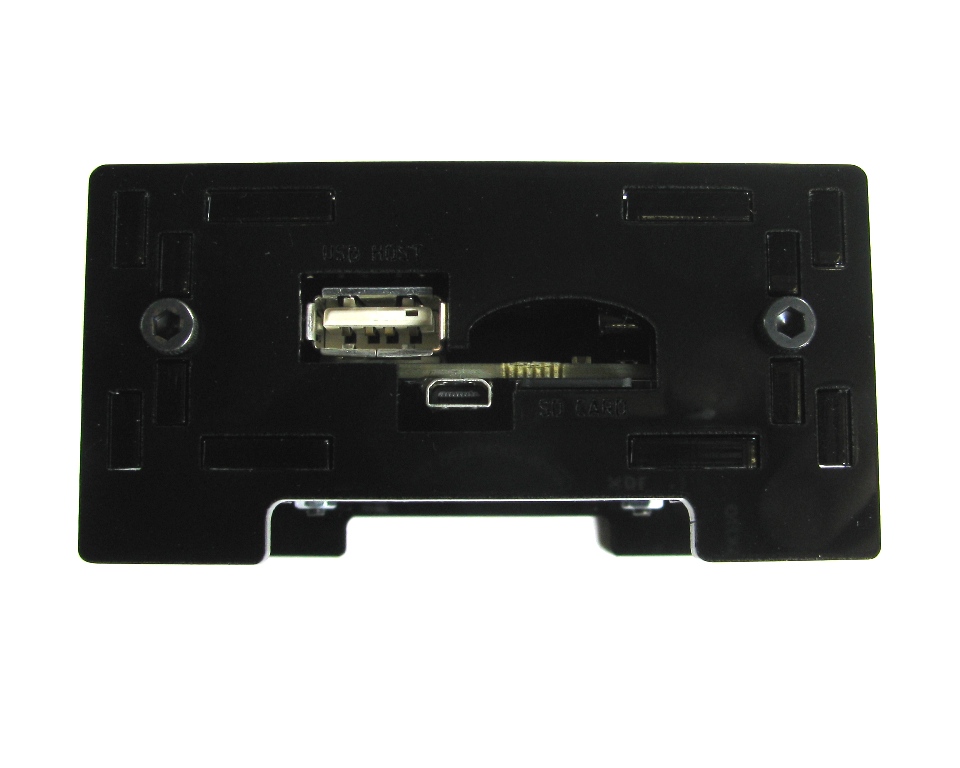
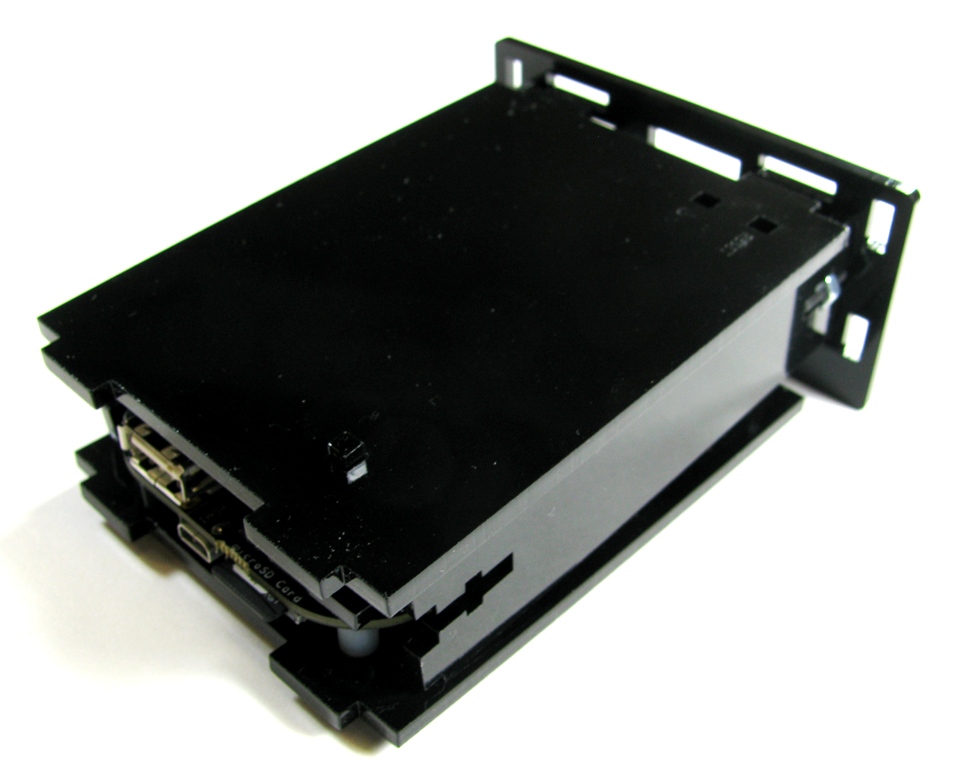
Step 5: Attach the USB/ SD/ HDMI side
Put the USB/ SD/ HDMI side in place and thread the bolts in without tightening them all the way down.
Now take the side pieces and insert them as shown in the images below.
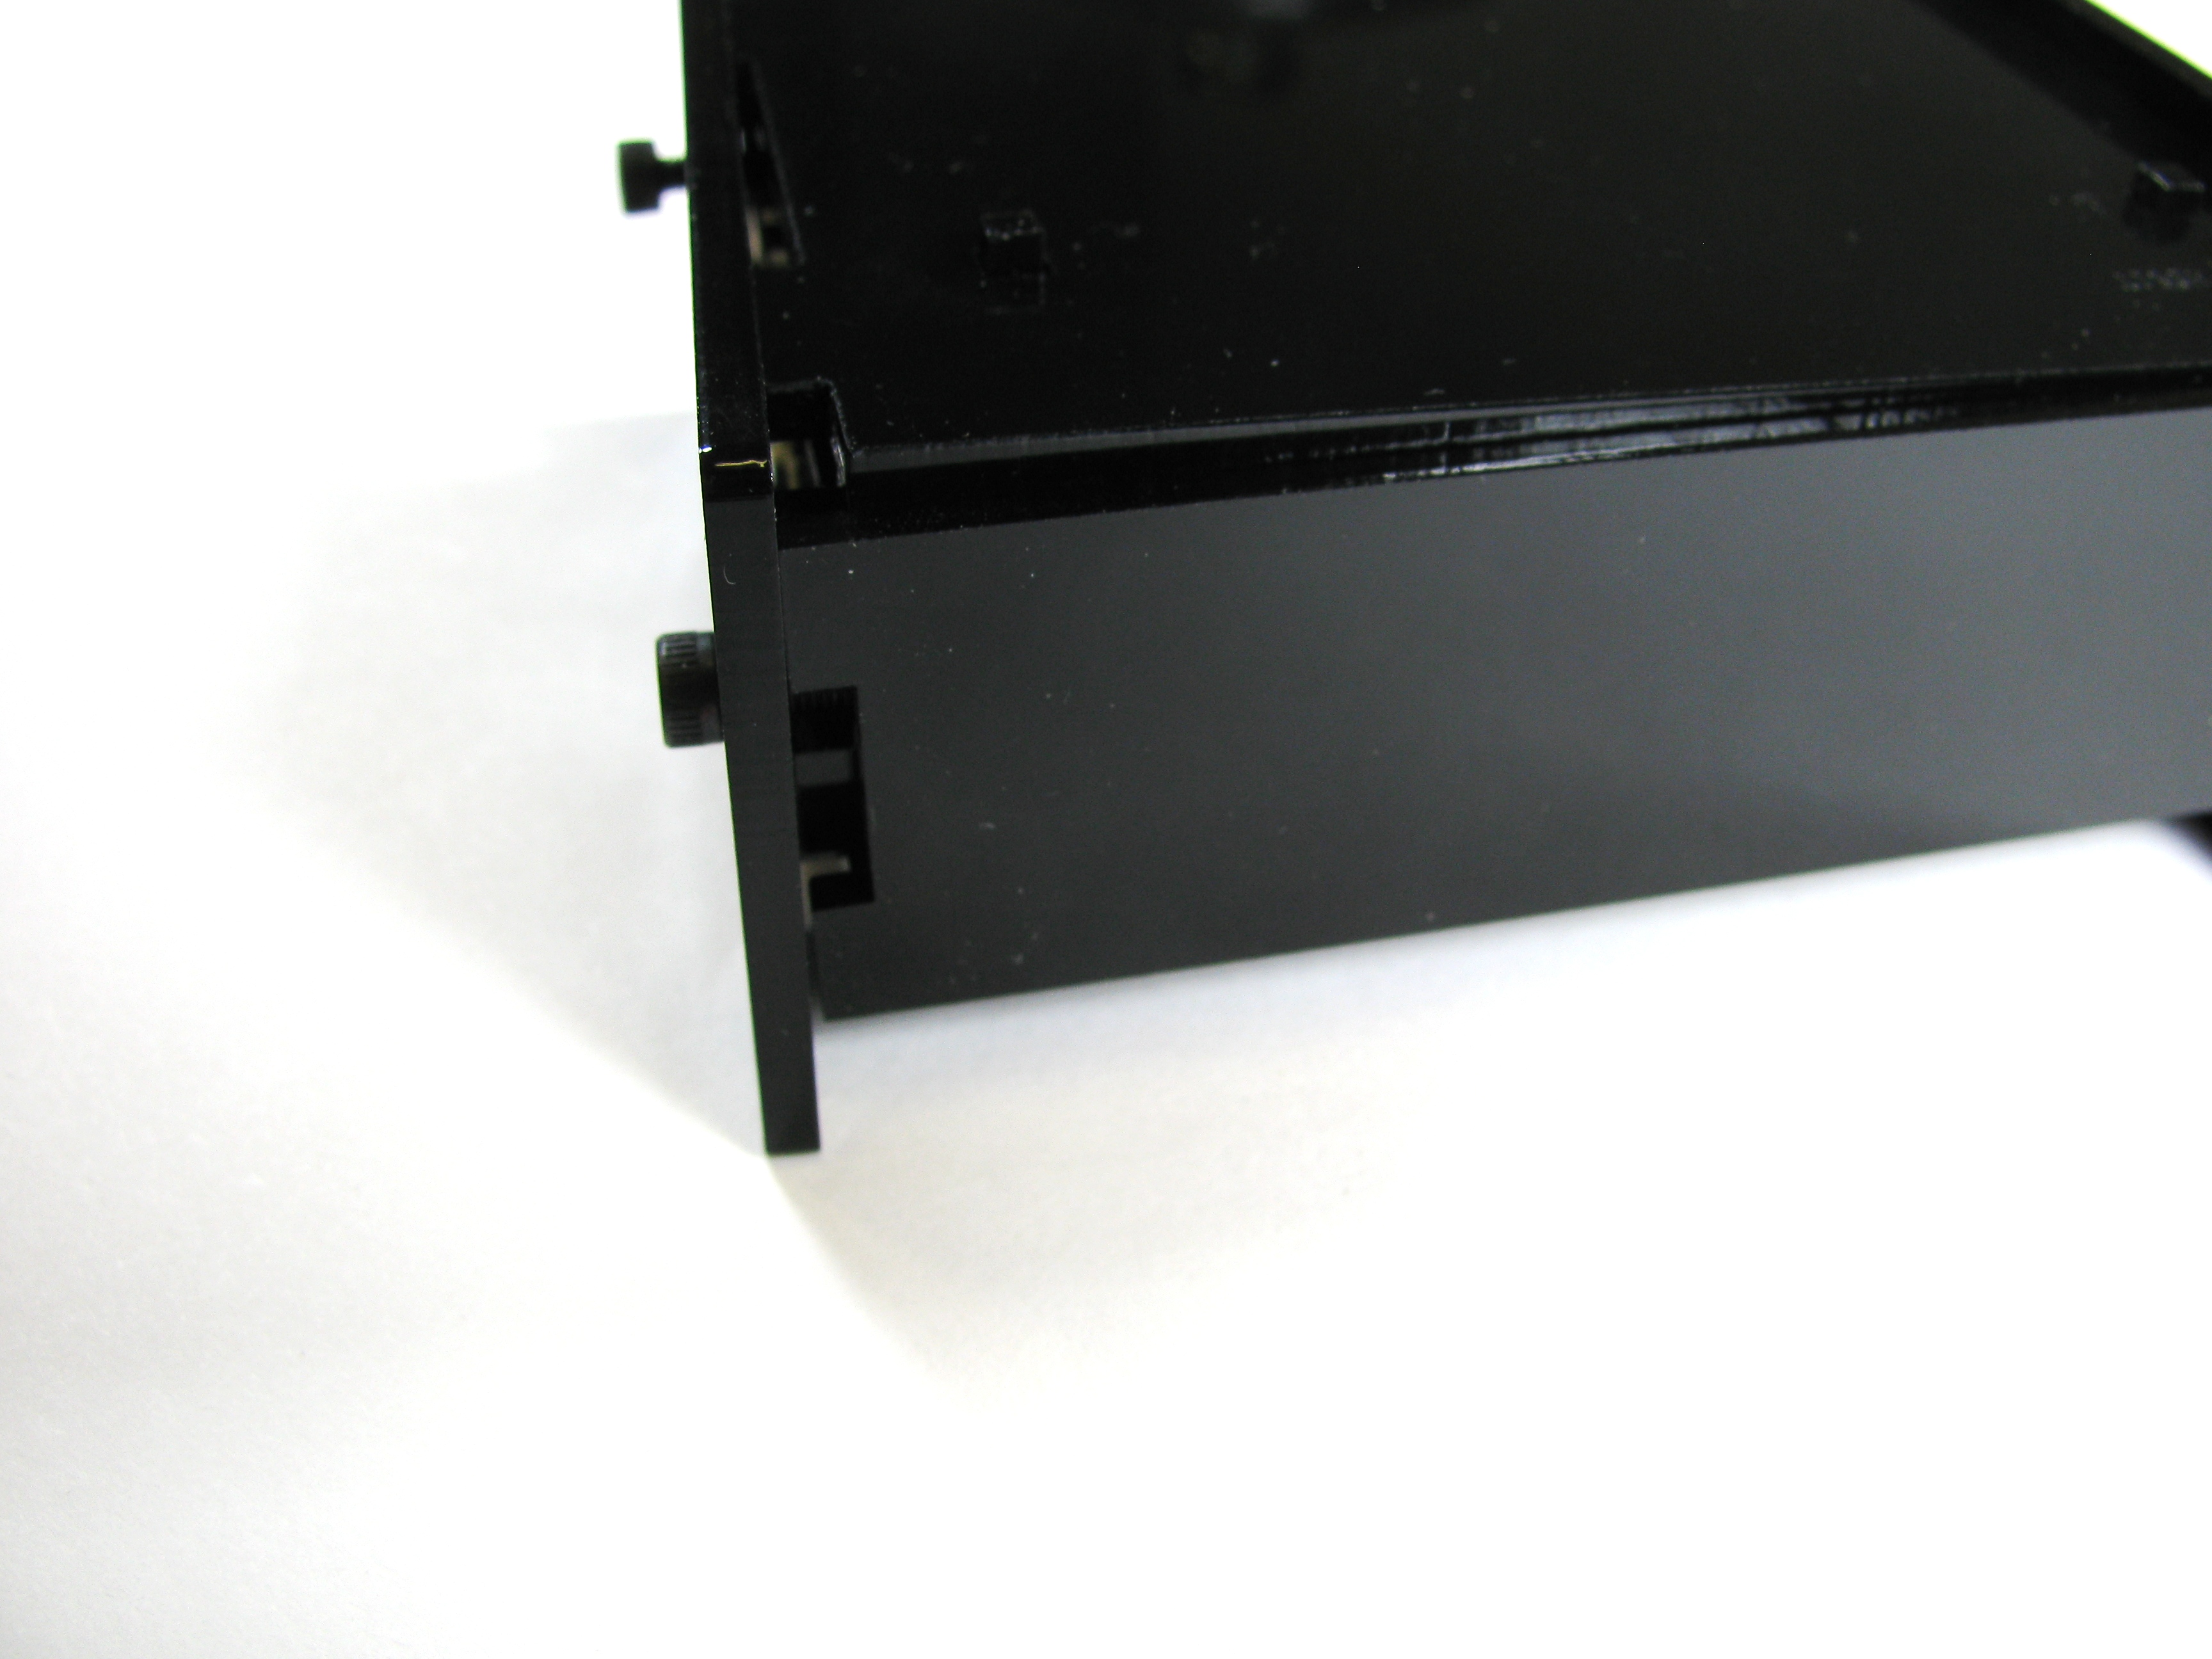
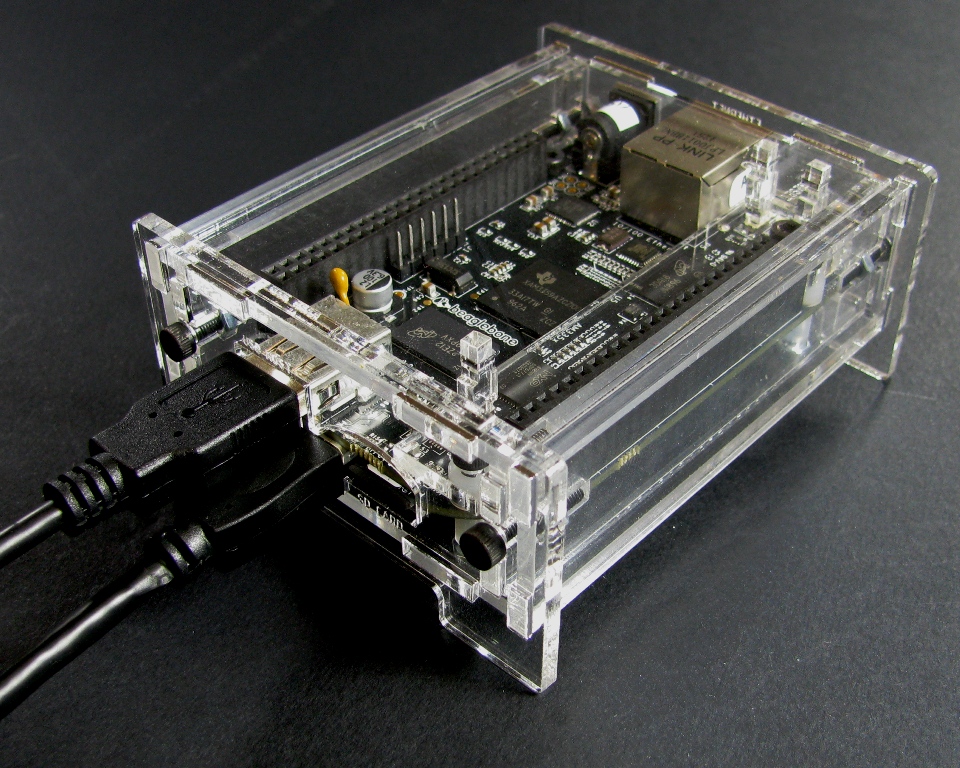
When both sides are on, tighten down the bolts and enjoy your new Beaglebone Black enclosure!